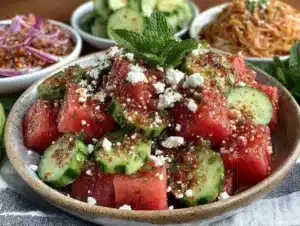
My fridge was practically empty except for a lonely jar of garlic cloves and a handful of cucumbers that had seen better days. Then the doorbell rang—unexpected guests, a whole family showing up with zero notice. Scrambling through what I had, I pulled together this quick batch of crispy garlic dill refrigerator pickles. Honestly, the crunch and tang saved the day, turning a last-minute snack into something memorable.
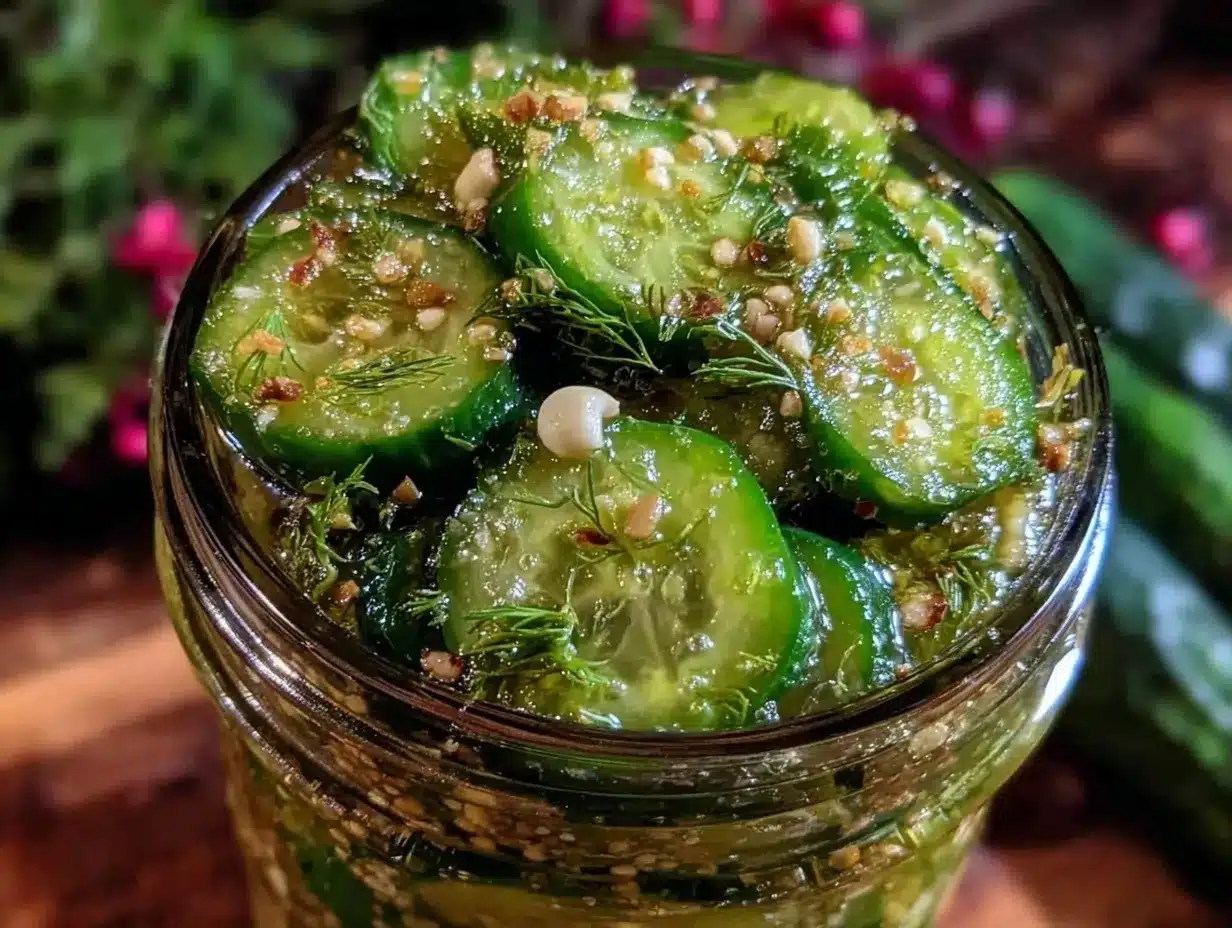
The smell of fresh dill mixed with garlic filled the kitchen as these pickles started their 24-hour magic. I never thought refrigerator pickles could be so satisfying with so little prep. The crispness held up, the dill was bright but not overpowering, and the garlic gave just the right punch. That unplanned moment birthed a recipe that’s now my go-to when I want something tangy, fresh, and ready without the weeks-long wait usual pickles demand.
It’s funny how sometimes the best recipes come from chaos and constraint—no fancy ingredients, no fuss, just simple pickling done right. This recipe stuck because it’s reliable, approachable, and genuinely delicious. If you want crunchy garlic dill pickles that you can whip up in a day, this one’s for you.
Why You’ll Love This Recipe
- Quick & Easy: Ready in just 24 hours, perfect for those spontaneous cravings or last-minute gatherings.
- Simple Ingredients: Uses everyday pantry staples—garlic, dill, cucumbers, and a few common spices.
- Perfect for Snacking & Meals: Adds a zingy crunch to sandwiches, burgers, or alongside a hearty stew like my hearty beef stew.
- Crowd-Pleaser: The balance of garlic and dill wins over kids and adults alike—even picky eaters.
- Unbelievably Delicious: The garlic infuses depth while the dill keeps it fresh and vibrant; these pickles aren’t just tangy but have layers of flavor.
- Unique Twist: This recipe skips the long fermentation and uses a quick refrigerator method that locks in crispness and flavor without bitterness.
What sets this apart is how it captures that classic dill pickle vibe but in a fraction of the time. The garlic doesn’t overpower but mingles nicely, giving a subtle heat and aroma. It’s the kind of pickle that makes you close your eyes after the first bite and nod in quiet satisfaction. Plus, it’s a fun way to turn simple cucumbers into something that feels special with barely any effort.
What Ingredients You Will Need
This recipe calls for fresh, quality ingredients that work together to create that perfect balance of crispness, tang, and savory garlic-dill flavor. Most are kitchen staples, so no extra grocery runs required.
- Fresh cucumbers (Kirby or Persian cucumbers work best for crunch, about 4-5 medium-sized, sliced into spears or rounds)
- Garlic cloves (5-6, peeled and lightly crushed for maximum flavor)
- Fresh dill sprigs (4-5 sprigs, or about 2 tablespoons dill seeds if fresh isn’t available)
- White vinegar (1 ½ cups / 360 ml, for that classic pickle tang)
- Water (1 ½ cups / 360 ml, preferably filtered)
- Pickling salt (2 tablespoons, kosher or sea salt—avoid iodized salt for clarity)
- Black peppercorns (1 teaspoon, whole for subtle warmth)
- Optional: Red pepper flakes (¼ teaspoon for a slight kick)
If you can find it, I recommend using a trusted brand like Diamond Crystal for the pickling salt—it dissolves perfectly without clouding the brine. For a gluten-free option, this recipe is naturally safe, but double-check your spices if you’re sensitive.
In summer, swapping fresh dill with a mix of dill and tarragon can add a lovely twist. If you’re out of fresh garlic, garlic powder can work in a pinch, but you’ll lose some of that fresh bite.
Equipment Needed
- Quart-sized glass jar (or two pint jars, clean and sterilized—mason jars are ideal)
- Mixing bowl for preparing the brine
- Measuring cups and spoons for precise ratios
- Sharp knife for slicing cucumbers
- Cutting board sturdy enough to handle the slicing
- Small saucepan to warm the brine (optional but helps dissolve salt)
If you don’t have a small saucepan, you can stir the salt into warm water in the microwave. I’ve tried plastic containers but glass jars preserve the crispness better and don’t hold onto flavors.
For budget-friendly options, mason jars can often be found at thrift stores or reused from store-bought pickles after thorough cleaning. Just remember to check the lids for a good seal.
Preparation Method
- Prepare the cucumbers: Wash and dry the cucumbers well. Slice them into spears about 3-4 inches long or into ¼-inch rounds, depending on your preference. This step takes about 5-7 minutes.
- Crush the garlic: Lightly crush the garlic cloves with the side of a knife to release more flavor. No need to finely chop—this keeps the garlic mellow and aromatic.
- Make the brine: In a small saucepan, combine the white vinegar, water, and pickling salt. Warm gently over medium heat, stirring until the salt dissolves completely—about 3-5 minutes. Remove from heat and let cool slightly.
- Layer the jar: Place a few sprigs of dill and some garlic cloves at the bottom of the jar. Add a layer of cucumber slices, then sprinkle peppercorns and optional red pepper flakes. Repeat layering until jar is nearly full, leaving about ½ inch of headspace.
- Pour the brine: Carefully pour the warm (not hot) brine over the cucumbers, covering them completely. Tap the jar gently on the counter to release any air bubbles.
- Seal and chill: Screw on the lid tightly and place the jar in the refrigerator. Let the pickles rest for at least 24 hours before tasting. The flavors intensify the longer they sit, but 24 hours is the magic minimum for that signature crispness and tang.
Pro tip: If after 24 hours your pickles taste a bit too salty or sharp, letting them sit an extra day or two mellows out the brine beautifully. The key is patience for that perfect bite.
Cooking Tips & Techniques
Making refrigerator pickles is forgiving but there are a few tricks to keep in mind. First, always use fresh cucumbers—waxy or old ones won’t crisp up well, no matter how long you soak them.
Don’t skip crushing the garlic; it releases essential oils that infuse the brine gently. I learned the hard way that finely minced garlic can sometimes overpower the pickles with bitterness.
Warming the brine is optional but recommended. It helps dissolve the salt fully and melds the flavors more evenly. Just make sure it’s not boiling hot when poured over cucumbers or you risk softening them.
Seal the jar tight and shake gently after pouring in the brine to remove air pockets, which can cause uneven pickling. Also, keep the jar refrigerated at all times to maintain the crisp texture and prevent fermentation.
Multi-task by preparing these pickles while you whip up a comforting dinner like herb roasted chicken with garlic mashed potatoes. The pickles add a bright contrast that’s just irresistible.
Variations & Adaptations
- Spicy variation: Add sliced jalapeños or increase red pepper flakes for a fiery kick.
- Low-sodium option: Reduce salt by half and increase vinegar slightly; flavors will be tangier but less salty.
- Herb swap: Try swapping dill for fresh thyme or tarragon for a different herbal note.
- Crunch booster: Add a few grape leaves or horseradish leaves to the jar; they contain tannins that keep pickles extra crisp.
- Quick pickle spears: Cut cucumbers into longer spears for easier snacking or sandwich additions.
I once made these pickles with a splash of apple cider vinegar instead of white vinegar—gave a subtle sweetness that paired beautifully with a classic deviled eggs recipe. It was a happy accident that I still repeat.
Serving & Storage Suggestions
Serve these pickles cold or straight from the fridge for maximum crunch. They’re a perfect side for sandwiches, burgers, or alongside a rich stew like my hearty beef stew. They also make a refreshing snack on their own when you want a tangy bite.
Store pickles in the refrigerator, tightly sealed, for up to 3 weeks. Over time, the flavor deepens and the texture softens slightly but remains pleasantly crunchy. If you want to keep them crisp longer, avoid opening the jar too frequently.
To reheat a meal with these pickles, simply remove the pickles beforehand—they don’t heat well. Add them fresh after warming your dish for that fresh burst of flavor and texture.
Nutritional Information & Benefits
These refrigerator pickles are low in calories (about 5-10 calories per spear) and fat-free, making them a guilt-free snack. The vinegar aids digestion and may help regulate blood sugar, while garlic offers immune-boosting properties.
They’re naturally gluten-free and vegan, perfect for many dietary needs. The fresh dill adds antioxidants, and the pickling process preserves the cucumbers’ crunch without added sugars or preservatives.
From a wellness perspective, these pickles are a flavorful way to enjoy fermented-like benefits without the wait or complexity of traditional fermentation.
Conclusion
This crispy garlic dill refrigerator pickle recipe is a lifesaver for those days when your fridge looks bare, but you want something homemade and satisfying. It’s simple, fast, and packed with flavor that grows on you with every bite. I love how it transforms humble cucumbers into a snack or side that feels special without any fuss.
Feel free to tweak the garlic level, spice, or herbs to match your mood or pantry. And if you try it, I’d love to hear how you made it your own—there’s something special about recipes that evolve with every cook.
Thanks for stopping by, and may your fridge always hold a jar or two of these easy, crunchy pickles ready to brighten your day.
Frequently Asked Questions
How long do refrigerator pickles last?
Stored in the fridge, these pickles stay fresh and crunchy for about 3 weeks. Flavor deepens over time, but they’re best eaten within that window.
Can I use regular cucumbers instead of Kirby or Persian?
You can, but regular slicing cucumbers have higher water content and may not stay as crisp. If using them, slice thicker and consume sooner.
Do I need to boil the brine?
Warming the brine helps dissolve the salt and blend flavors, but you don’t need to boil it. Just warm it until the salt dissolves, then cool slightly before pouring over cucumbers.
Can I add sugar to these pickles?
Traditional dill pickles don’t include sugar, but you can add a teaspoon if you prefer a slightly sweeter brine. It’s optional and changes the flavor profile slightly.
What’s the difference between refrigerator pickles and fermented pickles?
Refrigerator pickles use vinegar and salt brine to pickle quickly in the fridge without fermentation. Fermented pickles rely on natural bacteria over weeks to develop flavor and beneficial probiotics.
Pin This Recipe!
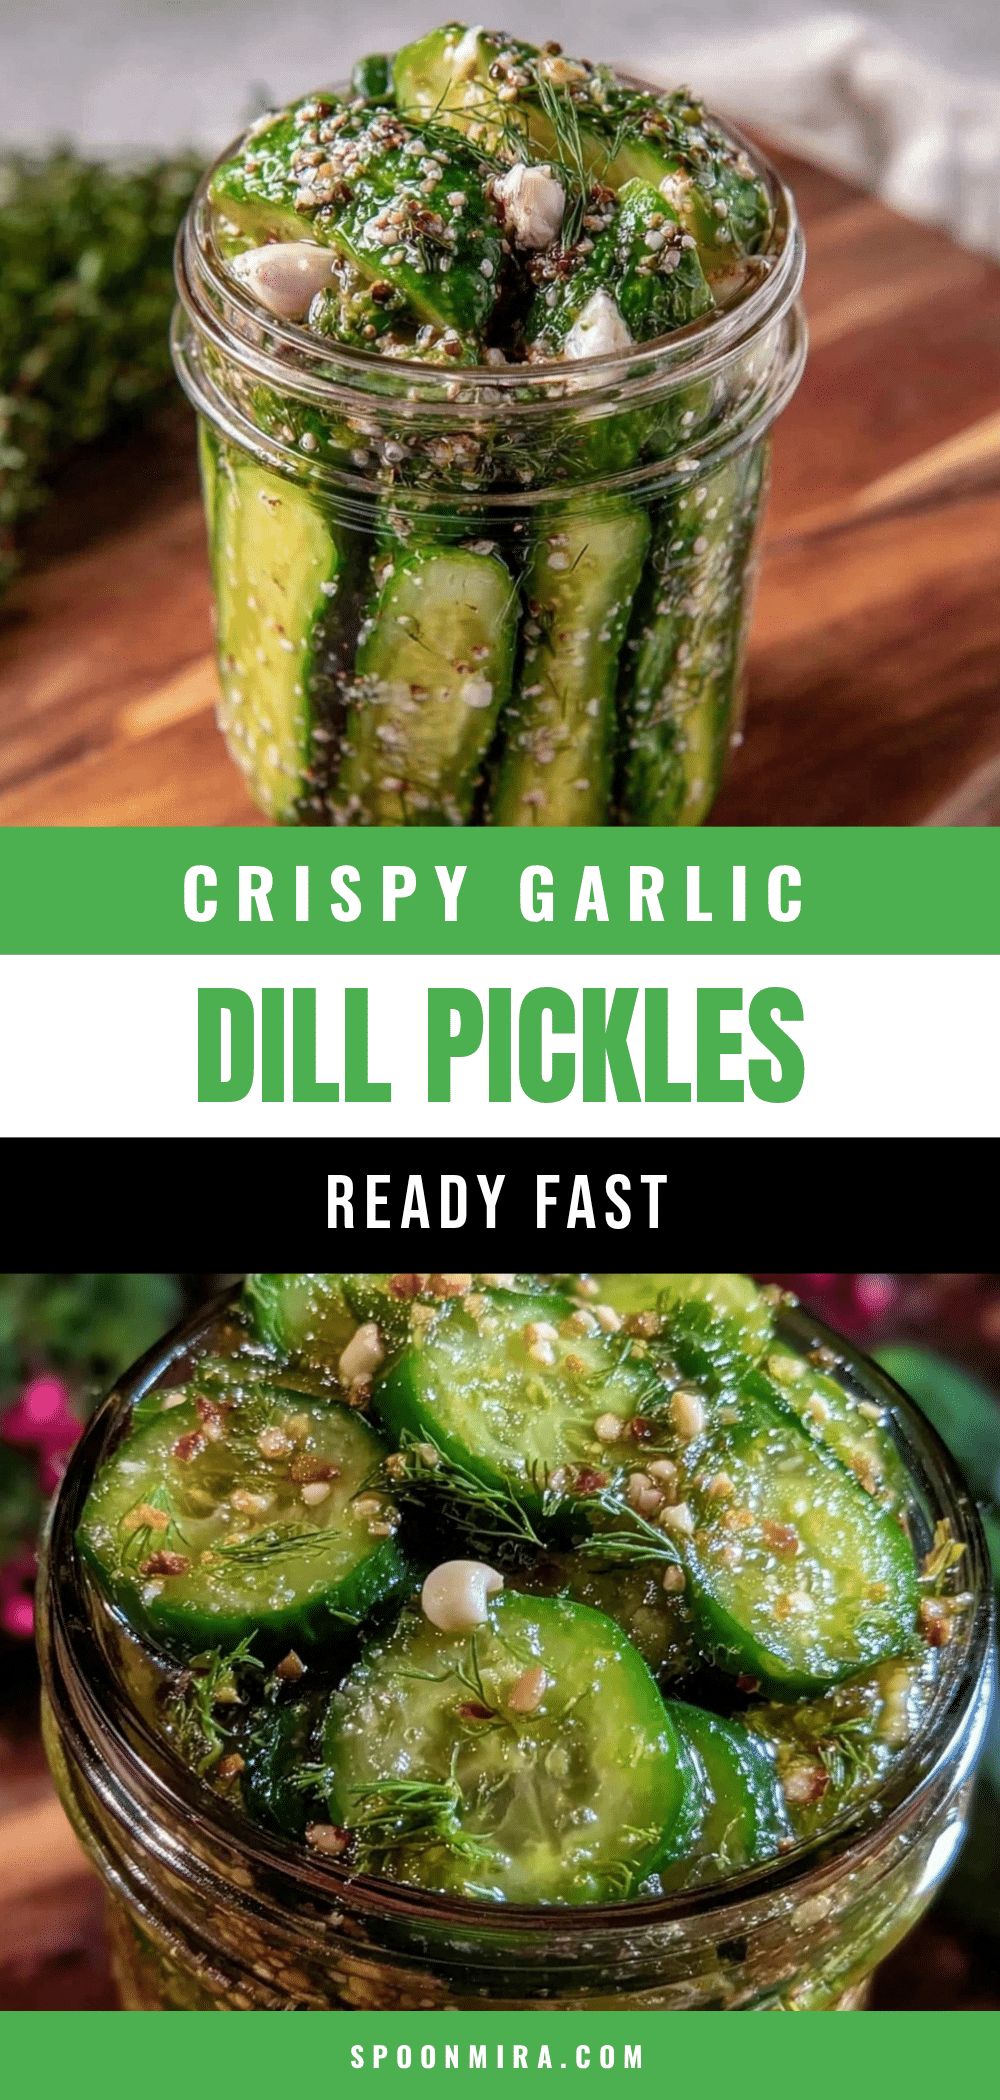
Crispy Garlic Dill Refrigerator Pickles
Quick and easy refrigerator pickles ready in 24 hours, featuring a perfect balance of garlic and dill for a crunchy, tangy snack or side.
- Prep Time: 10 minutes
- Cook Time: 5 minutes
- Total Time: 24 hours 15 minutes
- Yield: 1 quart jar (about 4 servings) 1x
- Category: Side Dish
- Cuisine: American
Ingredients
- 4–5 medium fresh cucumbers (Kirby or Persian), sliced into spears or rounds
- 5–6 garlic cloves, peeled and lightly crushed
- 4–5 fresh dill sprigs or about 2 tablespoons dill seeds
- 1 ½ cups (360 ml) white vinegar
- 1 ½ cups (360 ml) water, preferably filtered
- 2 tablespoons pickling salt (kosher or sea salt, avoid iodized salt)
- 1 teaspoon whole black peppercorns
- ¼ teaspoon red pepper flakes (optional)
Instructions
- Wash and dry the cucumbers well. Slice into spears about 3-4 inches long or into ¼-inch rounds.
- Lightly crush the garlic cloves with the side of a knife to release flavor.
- In a small saucepan, combine white vinegar, water, and pickling salt. Warm gently over medium heat, stirring until salt dissolves (3-5 minutes). Remove from heat and let cool slightly.
- Place a few dill sprigs and some garlic cloves at the bottom of a clean, sterilized quart-sized glass jar. Add a layer of cucumber slices, then sprinkle peppercorns and optional red pepper flakes. Repeat layering until jar is nearly full, leaving about ½ inch headspace.
- Pour the warm (not hot) brine over the cucumbers, covering them completely. Tap the jar gently on the counter to release air bubbles.
- Seal the jar tightly and refrigerate for at least 24 hours before tasting. Flavors intensify the longer they sit.
Notes
Use fresh cucumbers for best crispness. Lightly crush garlic instead of mincing to avoid bitterness. Warm brine helps dissolve salt but should not be boiling when poured. Seal jar tightly and refrigerate to maintain crunch. Pickles improve in flavor after 24 hours and can be stored up to 3 weeks refrigerated.
Nutrition
- Serving Size: About 1/4 of the jar
- Calories: 510
- Sodium: 400
- Carbohydrates: 1
- Fiber: 0.3
- Protein: 0.2
Keywords: refrigerator pickles, garlic dill pickles, quick pickles, easy pickling, homemade pickles, crunchy pickles, dill pickles, garlic pickles