By the fifth batch in three days, I’d stopped apologizing to my family for the state of the kitchen counter. A fine dusting of oat flour, a sticky ring from the honey jar, and a small mountain of peanut butter-smeared spoons piling up in the sink. It wasn’t chaos, exactly. It was focus. I was chasing a texture—that specific, slightly chewy, not-too-dry, not-too-wet consistency that makes a no-bake energy ball feel like a treat and not a chore. The first batch was too crumbly. The second was a sticky mess that wouldn’t roll into anything resembling a ball. The third was close, but it felt dense, like a hockey puck wrapped in peanut butter flavor. By the fourth, I stopped measuring with cups and started using my hands, feeling the mixture give just the right amount of resistance. That’s when it clicked. These Easy 3-Ingredient Peanut Butter Energy Balls aren’t just about convenience; they’re about that perfect, snackable balance. It turns out, the secret isn’t a fancy ingredient—it’s just a little bit of patience and a willingness to get your hands dirty. And honestly, that’s a lesson I’ll take into pretty much everything I cook from now on.
Why You’ll Love This Recipe
This isn’t just another snack recipe you’ll pin and forget. I’ve tested this one to death, literally making batch after batch until I got it right. Here’s what makes these Easy 3-Ingredient Peanut Butter Energy Balls a keeper you’ll actually make again.
- Truly Simple Ingredients: You only need three things—peanut butter, honey, and old-fashioned oats. No weird protein powders, no expensive add-ins, no trips to a specialty store. You probably have them right now.
- No-Bake and Ready in Minutes: Forget turning on the oven. This comes together in about 10 minutes of active time. It’s perfect for those afternoons when you need something fast.
- A Perfectly Balanced Snack: These little guys pack protein from the peanut butter, carbs from the oats for energy, and natural sweetness from the honey. They’re the kind of snack that keeps you full without making you feel heavy.
- Kid-Approved and Adult-Loved: I’ve packed these in lunchboxes, taken them on road trips, and even served them as a quick dessert. They disappear. Every. Single. Time. My toddler calls them “cookie balls,” which is honestly a pretty accurate description.
- Endlessly Customizable: Once you master the base recipe, you can toss in chocolate chips, coconut flakes, or a pinch of salt. It’s a blank canvas for your cravings.
What makes this version different from the countless other energy ball recipes out there? It’s the texture. By using the right ratio of wet to dry ingredients and letting the mixture rest for just a few minutes, you get a ball that’s soft, chewy, and holds together perfectly without being sticky or dry. It’s the kind of snack that makes you close your eyes for a second after that first bite—simple, honest, and exactly what you needed.
What Ingredients You Will Need
This recipe is proof that you don’t need a long list of fancy ingredients to make something delicious. Each of these three components plays a crucial role, so let’s talk about what to look for and why.
- Creamy Peanut Butter (1 cup): This is the backbone of the recipe, providing fat, protein, and that rich, nutty flavor we all love. I strongly recommend using a standard, shelf-stable peanut butter like Jif or Skippy for the best texture. Natural peanut butters that separate and have a lot of oil can make the mixture too greasy and cause the balls to fall apart. If you only have natural peanut butter, you’ll need to stir it really well and might need to add a tablespoon more of oats to compensate for the extra oil. For a nut-free version, you can use sunflower seed butter, but know the color will turn a little green from a natural reaction—it’s totally safe and still delicious.
- Honey (1/2 cup): Honey is our liquid sweetener and binder. It adds a lovely floral sweetness that complements the peanut butter beautifully. I use regular clover honey, but any liquid honey will work. If you’re vegan, you can swap this for maple syrup or agave nectar. Keep in mind that maple syrup is a bit thinner, so you might need to add an extra tablespoon or two of oats to get the right consistency. The honey is what gives these balls that slightly chewy, satisfying texture.
- Old-Fashioned Rolled Oats (1 1/2 cups): These provide the bulk, the fiber, and the hearty texture. I really recommend using old-fashioned oats over quick oats here. Quick oats are chopped smaller and will turn your energy balls into a pasty, dense mess. Old-fashioned oats give you that nice, chewy texture you can actually feel. They also hold their shape better. For a gluten-free option, make sure you buy certified gluten-free oats. You can also pulse the oats in a food processor a few times if you want a finer texture, but I prefer them whole for the best bite.
That’s it. Three ingredients. No hidden surprises. The beauty of this recipe is that it’s a starting point. Once you get the hang of it, you can add a handful of mini chocolate chips, a tablespoon of chia seeds, or a pinch of flaky sea salt on top. But for now, just these three are all you need to make something truly special.
Equipment Needed
One of the best things about this recipe is that you don’t need any fancy kitchen gadgets. Here’s what you’ll need to get the job done.
- Large Mixing Bowl: Any medium-to-large bowl will do. I use a standard glass mixing bowl because it’s easy to see when everything is combined.
- Rubber Spatula or Wooden Spoon: You need something sturdy to mix this together. The mixture gets pretty thick, so a good spatula or a strong wooden spoon is your best friend. A whisk won’t cut it here.
- Measuring Cups: You’ll need a 1-cup measure for the peanut butter, a 1/2-cup for the honey, and a 1 1/2-cup measure for the oats. I find that packing the oats lightly into the cup gives the best results.
- Baking Sheet or Plate: To hold the rolled balls while they firm up in the fridge. I line mine with a piece of parchment paper for easy cleanup, but it’s not strictly necessary.
- Cookie Scoop (Optional but Helpful): A 1-tablespoon cookie scoop makes portioning the dough into even balls incredibly easy and keeps your hands cleaner. If you don’t have one, just use a regular spoon.
- Parchment Paper (Optional): Helps prevent sticking while the balls chill. You can also use wax paper.
If you don’t have a cookie scoop, don’t sweat it. Just wet your hands slightly with water to keep the mixture from sticking to your palms, and roll the balls by hand. It’s a little messier, but it works perfectly.
Preparation Method
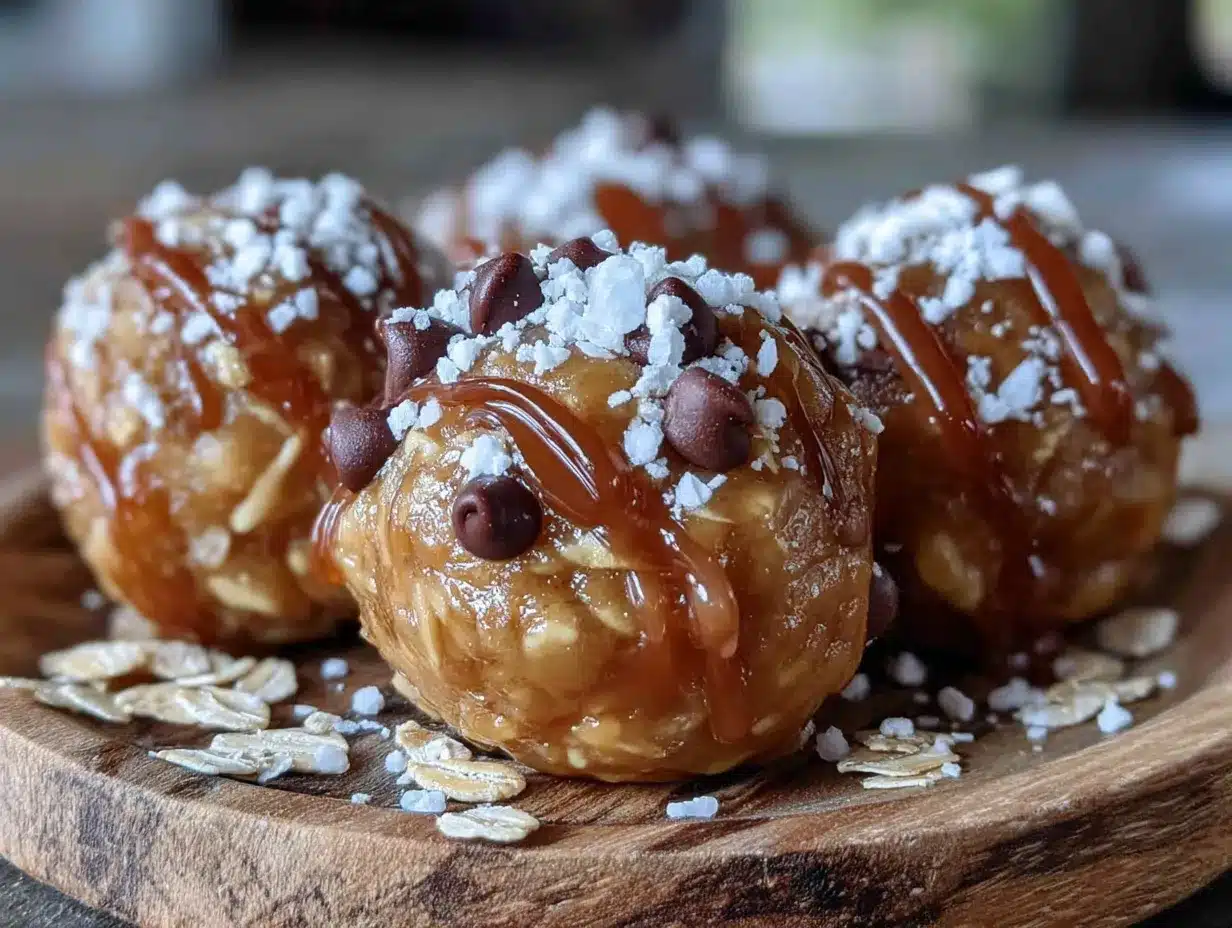
Making these Easy 3-Ingredient Peanut Butter Energy Balls is almost too simple. But there are a few small details that make the difference between a good ball and a great one. Follow these steps, and you’ll be snacking in no time.
- Combine the Wet Ingredients: In your large mixing bowl, add 1 cup of creamy peanut butter and 1/2 cup of honey. Use your rubber spatula to stir them together until they are completely smooth and well-combined. It should look like a thick, glossy caramel. This takes about 30 seconds of good stirring. Don’t rush this step—if the peanut butter and honey aren’t fully incorporated, your balls won’t hold together.
- Add the Oats: Pour 1 1/2 cups of old-fashioned rolled oats into the bowl with the peanut butter and honey mixture. Stir everything together until the oats are evenly coated. The mixture will be very thick and a little sticky. At first, it might seem like there aren’t enough wet ingredients, but keep folding. The oats will absorb the moisture and the mixture will come together into a cohesive dough. It should look like a uniform, slightly sticky mass with no dry patches of oats remaining.
- Let the Mixture Rest (This is Key!): Here’s the trick I learned through my obsessive testing. Cover the bowl with a clean kitchen towel or some plastic wrap and let it sit on the counter for 10 minutes. This rest time allows the oats to absorb some of the moisture from the peanut butter and honey. This makes the dough much easier to roll and results in a better, chewier texture. Don’t skip this step! It’s the difference between a ball that crumbles and one that holds its shape beautifully.
- Roll the Balls: After the rest, line a baking sheet or plate with parchment paper. Using a 1-tablespoon cookie scoop or a regular spoon, portion out the dough. Lightly wet your hands with a little water (this prevents the dough from sticking to your palms). Roll each portion between your hands into a smooth ball. If the dough feels too sticky, wet your hands again. If it feels too dry, you can add a teaspoon of honey or a splash of water. Place each ball on the prepared baking sheet. You should get about 18 to 20 balls.
- Chill to Set: Place the baking sheet with the rolled energy balls into the refrigerator. Let them chill for at least 30 minutes. This firms them up and makes them easy to handle. They will be soft but hold their shape perfectly. If you can’t wait that long, 15 minutes in the freezer will also do the trick.
That’s it. From start to finish, including the rest and chill time, you’re looking at about 45 minutes. Most of that is inactive time while they set in the fridge. The actual hands-on work is only about 10 minutes.
Cooking Tips & Techniques
I’ve made this recipe so many times that I’ve collected a few hard-earned lessons. Here are my best tips to make sure your first batch (and every batch after) comes out perfect.
- The Dough Should Be Sticky, But Not Too Sticky: This is the most common issue people face. The dough should hold together when you squeeze it in your hand. If it crumbles apart, it’s too dry. Add a teaspoon of honey or a splash of water. If it sticks to your hands like glue and won’t come off, it’s too wet. Add a tablespoon of oats at a time until it firms up. The resting period helps a ton with this.
- Don’t Overmix: Once the oats are incorporated, stop stirring. Overmixing can break down the oats and make the texture mushy rather than chewy. Just mix until you see no dry streaks.
- Use Room Temperature Peanut Butter: If your peanut butter is cold from the fridge, it will be hard to mix. Let it sit on the counter for 15 minutes before you start. This makes stirring much easier.
- Wet Hands Are Your Friend: I cannot stress this enough. Rolling sticky dough with dry hands is a recipe for frustration. A quick dip in water keeps the dough from sticking to your skin and gives you perfectly smooth balls.
- For a Firmer Ball, Add More Oats: If you like your energy balls on the firmer, denser side, add an extra 1/4 cup of oats. This will also make them a little less sweet.
- My Biggest Failure: The first time I made these, I used a natural, runny peanut butter and didn’t adjust the recipe. The balls were a greasy, sticky mess that never set properly. I learned the hard way that the type of peanut butter matters. Stick with the standard stuff for the most foolproof results.
Variations & Adaptations
Once you have the basic recipe down, the possibilities are endless. This is where you can really make the recipe your own. Here are a few of my favorite ways to switch it up.
- Chocolate Chip Peanut Butter Balls: Add 1/3 cup of mini chocolate chips to the dough along with the oats. The mini chips distribute better than regular-sized ones. This is my personal favorite variation and the one my kids beg for the most.
- Crunchy Peanut Butter Version: Swap the creamy peanut butter for crunchy peanut butter. This adds a wonderful texture and little bits of peanut in every bite. It’s a great way to add more interest without any extra ingredients.
- Coconut Peanut Butter Balls: Add 1/2 cup of unsweetened shredded coconut to the dough. It adds a chewy texture and a subtle tropical flavor that pairs surprisingly well with the peanut butter. You can also roll the finished balls in more shredded coconut for a pretty presentation.
- Gluten-Free Adaptation: This is simple. Just use certified gluten-free old-fashioned oats. Everything else in the recipe is naturally gluten-free. Just double-check your peanut butter label to be safe.
- Vegan Adaptation: Swap the honey for an equal amount of maple syrup or agave nectar. As I mentioned, maple syrup is thinner, so you may need to add an extra tablespoon or two of oats to get the dough to the right consistency.
- Add a Spice: A 1/2 teaspoon of cinnamon or a pinch of nutmeg adds a lovely warmth to the flavor. It makes them taste almost like a peanut butter cookie.
I once made a batch with a tablespoon of instant espresso powder mixed into the peanut butter. It sounds weird, but it gave the balls a deep, mocha-like flavor that was incredible. Don’t be afraid to experiment!
Serving & Storage Suggestions
These energy balls are incredibly versatile and store beautifully, making them perfect for meal prep.
Serving: These are best enjoyed cold or at room temperature. I love grabbing one straight from the fridge for a quick breakfast on the go. They’re also perfect for packing in lunchboxes. If you’re packing them for school, they’ll be perfectly soft and ready to eat by lunchtime. For a fun snack board, arrange a few on a plate with some apple slices and a glass of milk. They’re a fantastic, healthier alternative to cookies for an after-school snack. If you’re making a batch for a busy week, consider pairing them with a quick breakfast like our Easy Make-Ahead Egg Muffin Cups for a complete, balanced start to your day.
Storage: Store the energy balls in an airtight container in the refrigerator. They will stay fresh and delicious for up to one week. I like to layer them between sheets of parchment paper so they don’t stick together. They actually get a little firmer and chewier after a day in the fridge, which I personally prefer.
Freezing: These freeze like a dream. Place the rolled energy balls on a baking sheet in a single layer and freeze them for about an hour, or until they are solid. Then, transfer them to a freezer-safe bag or container. They will keep for up to 3 months. You can eat them straight from the freezer (they’re like a firm, frozen treat) or let them thaw for about 10 minutes at room temperature. This is my go-to strategy for having a healthy snack on hand at all times. I often make a double batch just for the freezer. For another great snack option that freezes well, check out our Chewy No-Bake Granola Bars.
How Flavors Develop: The flavors in these balls actually meld and deepen after a day in the fridge. The honey’s sweetness becomes more subtle, and the peanut butter flavor becomes more pronounced. They are good on day one, but they are amazing on day three.
Nutritional Information & Benefits
These aren’t just tasty—they’re a genuinely good-for-you snack. Here’s a quick look at what you’re getting in one ball (based on a batch of 20 balls).
Estimated Nutritional Values (Per Ball):
- Calories: ~145
- Fat: 8g
- Carbohydrates: 15g
- Fiber: 2g
- Sugar: 9g
- Protein: 5g
Health Benefits: The combination of peanut butter and oats provides a great balance of protein, healthy fats, and complex carbohydrates. This means they provide slow-release energy, keeping you full and focused for longer than a sugary snack would. The oats are a great source of soluble fiber, which is good for heart health. Peanut butter is packed with protein and healthy monounsaturated fats.
Dietary Considerations: This recipe is naturally vegetarian. As noted, it can be easily made vegan and gluten-free with simple substitutions. It is also nut-free if you use sunflower seed butter. The main potential allergen is peanuts, so be mindful if you’re serving these to others.
I love that I can feel good about giving these to my family. They satisfy a sweet craving without the crash, and they’re made from real, whole food ingredients. For another wholesome snack idea, you might enjoy our Easy After-School Protein Energy Balls, which are a fun twist on this classic.
Conclusion
These Easy 3-Ingredient Peanut Butter Energy Balls are the definition of a win-win recipe. They’re incredibly simple to make, use ingredients you already have, and taste so good you’ll forget they’re actually healthy. They’ve become a staple in my kitchen for a reason—they solve the “what’s for a snack?” question in the most delicious and practical way possible.
I love that this recipe is a starting point, not a rigid set of rules. Add chocolate chips, throw in some coconut, or keep it pure and simple. Make it your own. That’s the beauty of cooking at home. I’d love to hear how yours turn out. What variations did you try? Did you add anything unexpected? Drop a comment below and share your creation—or tag me in your photos! Your next perfect snack is just 10 minutes away. Go make a batch!
Frequently Asked Questions
Can I use quick oats instead of old-fashioned oats?
You can, but I don’t recommend it. Quick oats are more finely processed and will absorb moisture differently, resulting in a denser, pastier, and less chewy texture. Old-fashioned oats give these energy balls their signature hearty bite. If quick oats are all you have, you might need to use a little less honey to keep the texture from becoming too mushy.
My mixture is too dry and crumbly. What did I do wrong?
This usually happens if your peanut butter was a bit dry or if you over-measured the oats. The fix is simple: add a little more honey or a splash of water, one teaspoon at a time, until the mixture holds together when squeezed. Also, make sure you didn’t skip the 10-minute rest period, as this allows the oats to fully hydrate.
My mixture is too sticky to roll. How can I fix it?
If the dough is sticking to your hands like crazy, it’s likely too wet. The easiest fix is to add a tablespoon of old-fashioned oats at a time until the dough firms up. Also, make sure you are wetting your hands with water before rolling—this is a game-changer. Chilling the dough for 15 minutes before rolling can also help.
How long do these energy balls last at room temperature?
They can be kept at room temperature for a day or two, but they will be much softer. For the best texture and longest shelf life, I always recommend storing them in the refrigerator. They will last for up to a week in the fridge and up to three months in the freezer.
Can I make these without honey or maple syrup?
You need a liquid sweetener to bind the ingredients together. If you don’t have honey or maple syrup, you could try using agave nectar or brown rice syrup. Date syrup would also work, though it will make the balls a bit darker and add a different flavor. Using a dry sweetener like granulated sugar will not work, as it won’t provide the necessary moisture to hold the balls together.
Pin This Recipe!
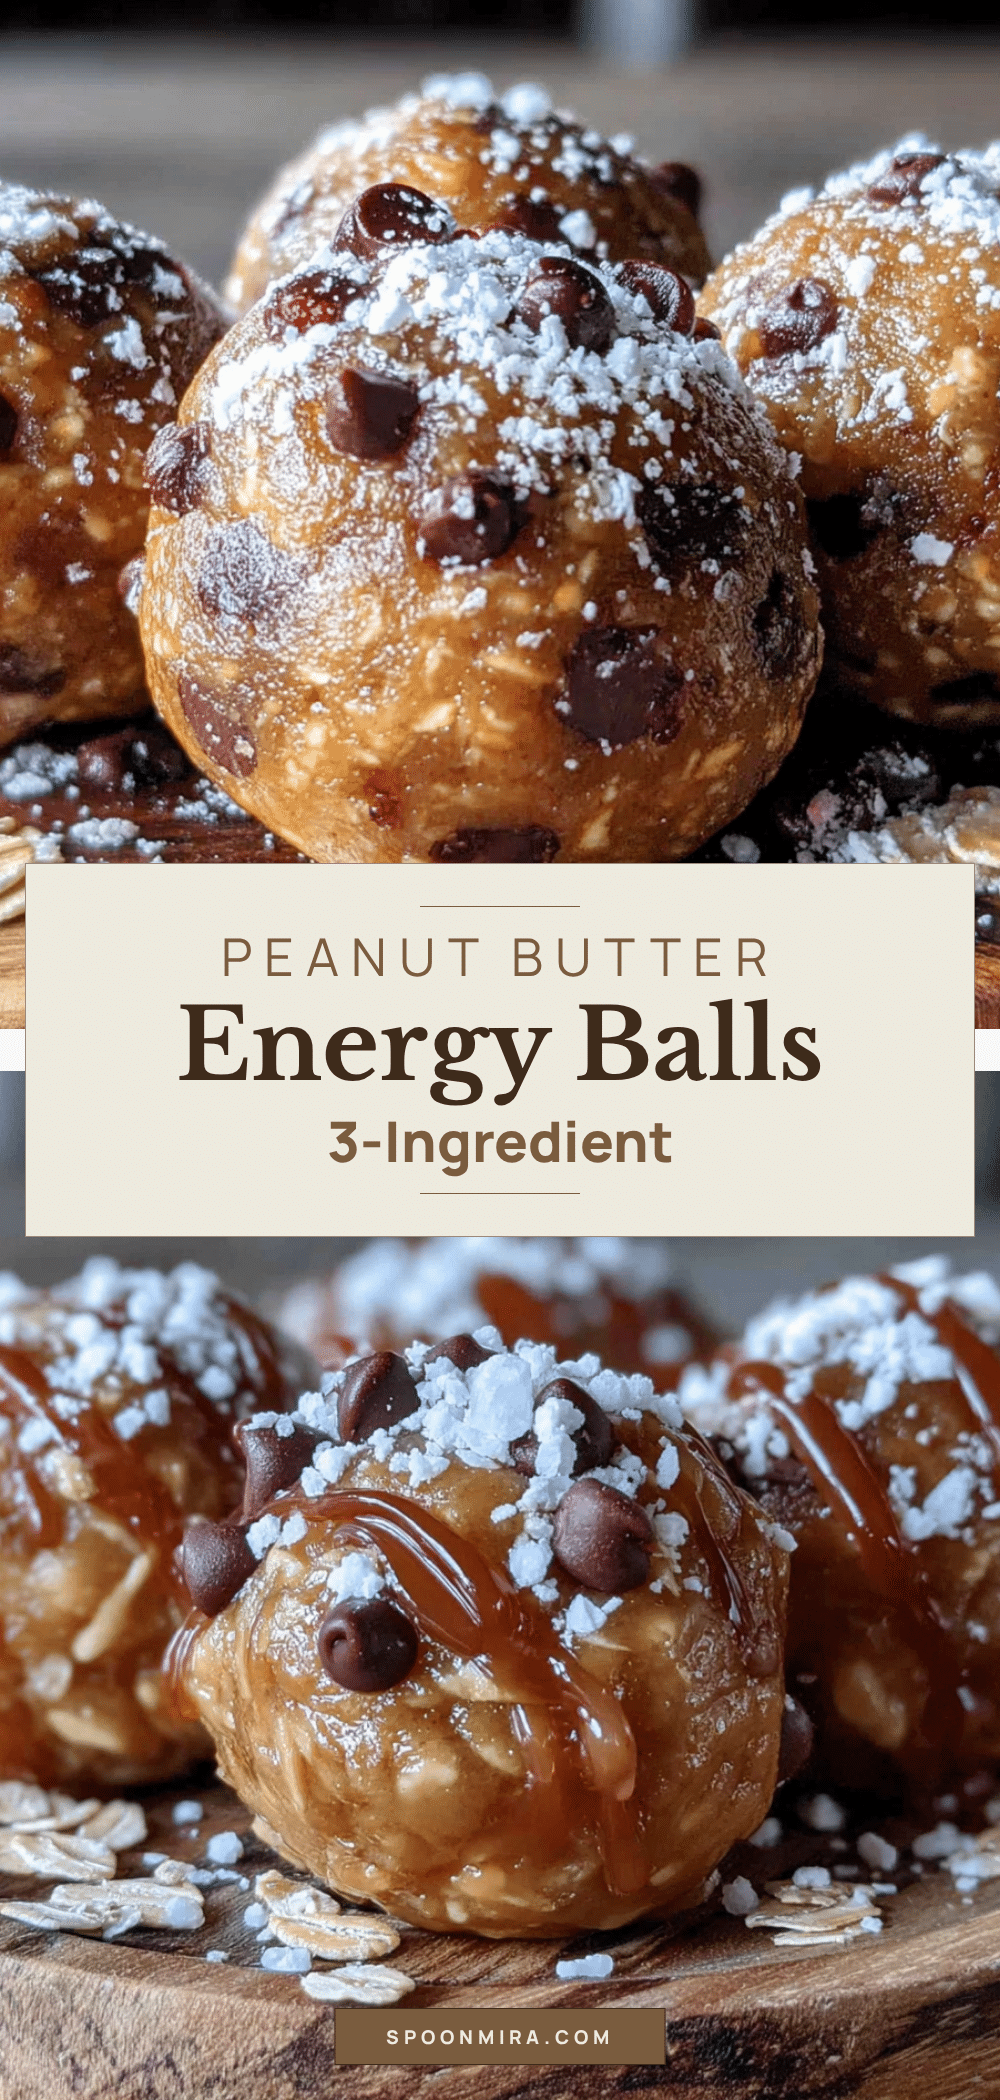
Easy 3-Ingredient Peanut Butter Energy Balls: Best No-Bake Snack

These Easy 3-Ingredient Peanut Butter Energy Balls are the perfect no-bake snack made with just peanut butter, honey, and oats. They’re chewy, satisfying, and ready in minutes for a healthy treat.
- Prep Time: 10 minutes
- Cook Time: 0 minutes
- Total Time: 45 minutes (includes 10 minutes rest and 30 minutes chill time)
- Yield: 18-20 balls 1x
- Category: Snack
- Cuisine: American
Ingredients
- 1 cup creamy peanut butter (standard shelf-stable like Jif or Skippy recommended)
- 1/2 cup honey
- 1 1/2 cups old-fashioned rolled oats
Instructions
- In a large mixing bowl, combine 1 cup creamy peanut butter and 1/2 cup honey. Stir with a rubber spatula until completely smooth and well-combined, about 30 seconds.
- Add 1 1/2 cups old-fashioned rolled oats to the bowl. Stir until the oats are evenly coated and the mixture forms a thick, cohesive dough with no dry patches.
- Cover the bowl with a clean kitchen towel or plastic wrap and let it rest on the counter for 10 minutes. This allows the oats to absorb moisture for better texture.
- Line a baking sheet or plate with parchment paper. Using a 1-tablespoon cookie scoop or spoon, portion out the dough. Lightly wet your hands with water to prevent sticking, then roll each portion into a smooth ball. Place on the prepared baking sheet. You should get about 18 to 20 balls.
- Refrigerate the baking sheet for at least 30 minutes to firm up the balls. They will be soft but hold their shape. For a quicker set, freeze for 15 minutes.
Notes
For best results, use standard creamy peanut butter (not natural or runny) to avoid greasy balls. Let the mixture rest for 10 minutes before rolling to improve texture. Wet your hands slightly to prevent sticking when rolling. Store in an airtight container in the refrigerator for up to 1 week or freeze for up to 3 months. Add-ins like mini chocolate chips, shredded coconut, or cinnamon can be mixed in for variation.
Nutrition
- Serving Size: 1 ball
- Calories: 145
- Sugar: 9
- Sodium: 75
- Fat: 8
- Saturated Fat: 1.5
- Carbohydrates: 15
- Fiber: 2
- Protein: 5
Keywords: peanut butter energy balls, no-bake snack, 3-ingredient recipe, healthy snack, energy balls, peanut butter oats, easy snack


