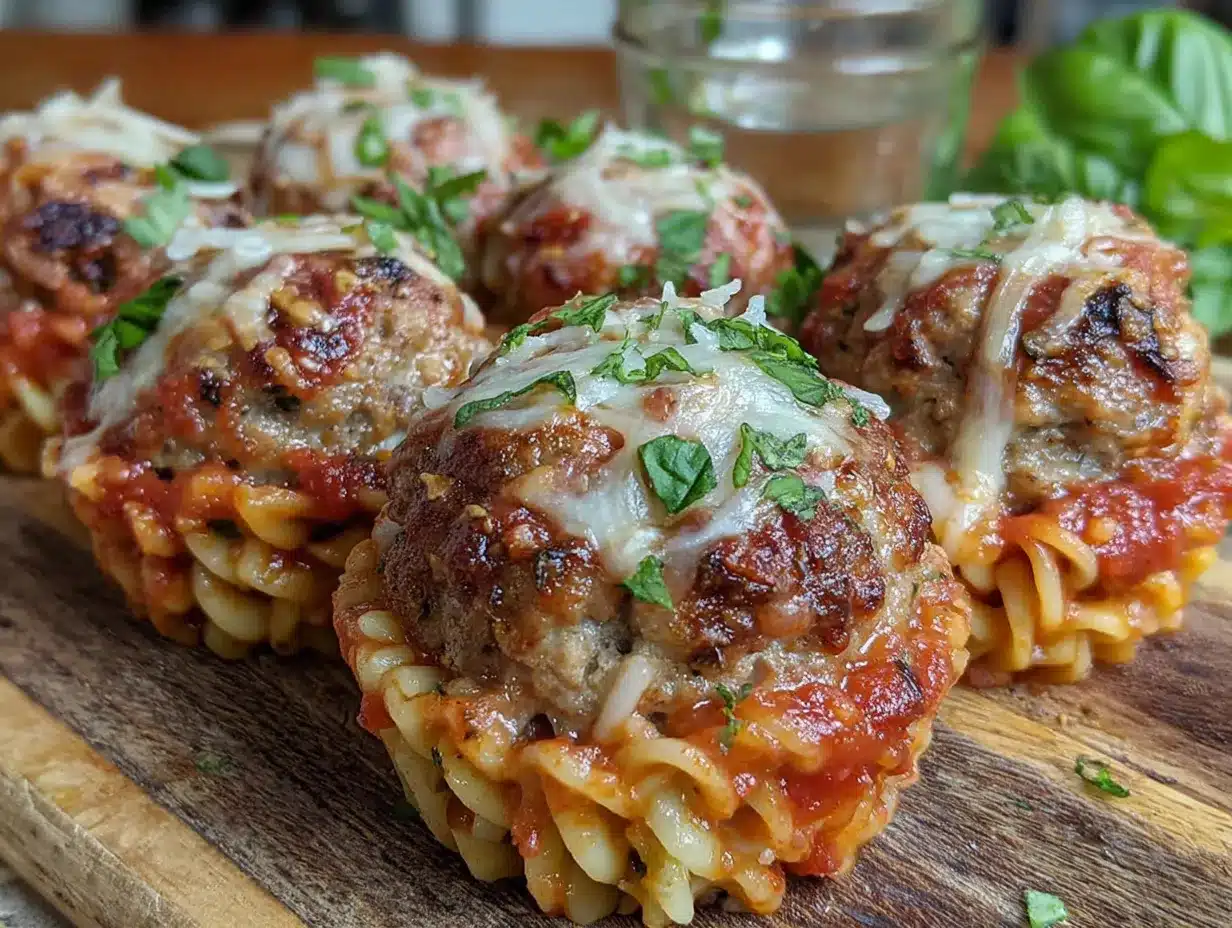
The mini muffin tin was still warm when my neighbor texted me a photo of her toddler clutching one of these turkey meatball cups like it was a winning lottery ticket. I hadn’t even had time to clean up the counter. That was the moment I knew these little things were more than just another recipe experiment—they were a genuine solution to a problem every parent knows too well.
It started on a Sunday afternoon when I was staring at a pound of ground turkey in my fridge, wondering how to make lunch prep less of a chore. My kids were tired of sandwiches, and I was tired of the morning scramble. I wanted something that tasted like real food, not a frozen entree from a box. Something I could grab from the freezer and toss into a lunchbox without a second thought.
These mini turkey meatball cups came together in a way that felt almost accidental. I mixed, I pressed, I baked. And when I pulled them out of the oven, I knew I had stumbled onto something special. They were juicy, perfectly seasoned, and bite-sized in a way that made them fun to eat. No forks required. No reheating necessary if you’re in a hurry.
Honestly, I didn’t set out to create a freezer-friendly lunchbox hero. I just wanted dinner prep to feel less like a chore and more like a small win. Turns out, that’s exactly what these became.
Why You’ll Love This Recipe
Let me tell you why these mini turkey meatball cups have earned a permanent spot in my weekly rotation. After testing them on my own kids, my neighbor’s kids, and even a few skeptical adults at a potluck, I can confidently say these are a game-changer.
- Quick & Easy: From start to finish, you’re looking at about 30 minutes of active time. The oven does the rest. Perfect for a Sunday meal prep session or a weeknight when you need something reliable.
- Simple Ingredients: Ground turkey, breadcrumbs, an egg, some Parmesan, and a few pantry spices. No weird additives or hard-to-find items. You probably have everything right now.
- Perfect for Lunchboxes: These cups are built for lunchboxes. They hold their shape, don’t get soggy, and taste great cold or warm. Pair them with a fresh toddler bento box for a complete meal that kids actually eat.
- Crowd-Pleaser: I’ve served these to picky eaters, adventurous foodies, and everyone in between. The universal reaction? Silence, followed by reaching for another one.
- Unbelievably Delicious: The secret is in the balance—moist turkey, a hint of garlic, and a touch of Parmesan that adds depth without overwhelming. Each bite is satisfying and flavorful.
What makes these different from other meatball recipes is the cup format. Instead of rolling balls, you press the mixture into a mini muffin tin. This creates a perfectly portioned, handheld shape with crispy edges and a tender center. No rolling, no mess, no uneven cooking. It’s the kind of smart shortcut that makes you wonder why you didn’t think of it sooner.
These aren’t just good for a freezer meal—they’re good, period. The kind of recipe that makes you feel like you’ve got your act together, even on chaotic mornings.
What Ingredients You Will Need
This recipe uses simple, wholesome ingredients that work together to create mini turkey meatball cups that are moist, flavorful, and freezer-friendly. No fancy shopping trips required—just honest, everyday staples.
For the Meatball Cups
- 1 pound ground turkey (93% lean works best—not too dry, not too fatty)
- 1/2 cup plain breadcrumbs (Panko works great for extra texture; use gluten-free if needed)
- 1 large egg, lightly beaten
- 1/3 cup grated Parmesan cheese (the real stuff, not the powdered kind—trust me on this)
- 2 cloves garlic, minced (or 1 teaspoon garlic powder if you’re in a rush)
- 1 teaspoon dried oregano
- 1/2 teaspoon salt
- 1/4 teaspoon black pepper
- 2 tablespoons milk (any kind works—dairy or plant-based)
- 1 tablespoon olive oil
For the Optional Glaze (Adds Extra Flavor)
- 2 tablespoons ketchup
- 1 tablespoon honey or maple syrup
- 1 teaspoon Worcestershire sauce
I recommend using ground turkey that’s not too lean—93% is my sweet spot. It keeps the cups moist without feeling greasy. If you can only find 99% lean, add an extra tablespoon of olive oil to compensate.
For the breadcrumbs, I’ve tested this with both regular and gluten-free versions, and both work beautifully. Panko gives a slightly lighter texture, while traditional breadcrumbs create a denser, more classic meatball feel.
The Parmesan is non-negotiable in my book. It adds a savory umami that elevates the whole dish. I buy a block and grate it myself—it melts better and tastes infinitely better than the pre-shredded stuff.
If you’re out of oregano, dried basil or Italian seasoning works perfectly. And don’t skip the milk—it keeps the turkey tender and prevents the cups from drying out during baking.
Equipment Needed
You don’t need a professional kitchen to make these mini turkey meatball cups. Here’s what you’ll need:
- Mini muffin tin: This is essential. A standard 24-cup mini muffin tin is perfect. If you only have a 12-cup, just bake in batches.
- Large mixing bowl: For combining all the ingredients.
- Measuring cups and spoons: Accuracy matters, especially with the breadcrumbs and Parmesan.
- Garlic press or knife: For mincing the garlic.
- Small bowl: For the optional glaze ingredients.
- Pastry brush or spoon: For applying the glaze.
- Cooling rack: Helps the cups cool evenly before freezing.
- Freezer-safe bag or container: For storing the cups long-term.
If you don’t have a mini muffin tin, you can use a regular muffin tin—just adjust the baking time by about 5-8 minutes. The cups will be larger, but just as delicious. I’ve also used silicone mini muffin molds with great success; they release the cups effortlessly.
For the cooling rack, a basic wire rack works fine. If you don’t have one, just let the cups cool on a plate lined with paper towels. Not ideal, but it gets the job done.
Preparation Method
Let’s get cooking. These mini turkey meatball cups come together quickly, so have your ingredients prepped and ready.
- Preheat your oven to 375°F (190°C). Lightly grease a 24-cup mini muffin tin with cooking spray or a thin layer of olive oil. This ensures the cups release easily after baking.
- In a large mixing bowl, combine the ground turkey, breadcrumbs, beaten egg, grated Parmesan, minced garlic, oregano, salt, pepper, milk, and olive oil. Use your hands or a spatula to mix until just combined. Don’t overmix—overworking the meat can make the cups tough. You want everything evenly distributed but still light.
- Scoop about 1 tablespoon of the mixture into each mini muffin cup. Use a small cookie scoop or your fingers. Gently press the mixture down so it fills the cup evenly. Don’t pack it too tightly—leave a little room for the cups to puff up as they bake.
- If using the optional glaze, whisk together the ketchup, honey, and Worcestershire sauce in a small bowl. Brush a thin layer over the top of each meatball cup. This adds a beautiful sheen and a sweet-savory kick that kids especially love.
- Bake for 15-18 minutes, or until the internal temperature reaches 165°F (74°C). The tops should be golden brown and the edges slightly crispy. If you’re using a regular muffin tin, bake for 20-25 minutes.
- Let the cups cool in the pan for 5 minutes. Then run a small knife or offset spatula around the edges to loosen them. Transfer to a cooling rack to cool completely. If you try to remove them too early, they might fall apart—patience pays off here.
- Once cooled, enjoy immediately or prepare for freezing. If freezing, arrange the cups in a single layer on a baking sheet and freeze for 1-2 hours until solid. Then transfer to a freezer-safe bag or container. Label with the date—they’ll keep for up to 3 months.
A quick note: the mixture will look a bit wet before baking. That’s normal. The breadcrumbs and egg need a few minutes to absorb the moisture. If it feels too loose, add an extra tablespoon of breadcrumbs. If it’s too dry, add a splash more milk.
The glaze is optional, but I highly recommend it. It adds a sticky-sweet finish that makes these cups feel more like a treat and less like a health food. My kids call them “meatball muffins” and ask for them by name.
Cooking Tips & Techniques
After making these mini turkey meatball cups more times than I can count, I’ve picked up a few tricks that make a real difference.
Don’t skip the milk. I learned this the hard way. The first time I made these, I thought the milk was unnecessary. The cups came out dry and crumbly. The milk adds moisture and tenderness, especially with lean ground turkey. It’s a small step with big results.
Use a cookie scoop for even portions. A 1-tablespoon cookie scoop ensures every cup is the same size, so they cook evenly. If you don’t have one, use a measuring spoon. Trust me, eyeballing it leads to some cups being overcooked and others underdone.
Let them rest before removing. I know it’s tempting to pop them out right away, but those 5 minutes of cooling in the pan are crucial. The cups firm up as they cool, making them much easier to remove without breaking.
Double the batch. These freeze beautifully, so I always make a double batch. One for now, one for later. It takes the same amount of effort and saves you time down the road. On busy weeks, I just grab a few cups from the freezer and add them to a no-sandwich snack box lunch for a complete meal.
Watch the internal temperature. Ground turkey needs to reach 165°F (74°C) to be safe. An instant-read thermometer is your best friend here. Overcooking is the most common mistake—once they hit that temperature, pull them out immediately.
Season generously. Turkey is lean and mild, so it needs a good amount of seasoning to shine. Don’t be shy with the garlic, oregano, and salt. The Parmesan adds saltiness too, so adjust accordingly if you’re watching sodium.
Variations & Adaptations
One of the best things about this recipe is how adaptable it is. Here are some variations I’ve tried and loved:
Cheesy Italian Variation
Add 1/4 cup of finely chopped mozzarella or provolone to the mixture. The cheese melts into the cups, creating little pockets of gooey goodness. Serve with marinara sauce for dipping—it’s like a mini Italian meatball sub without the bread.
Spicy Southwest Twist
Swap the oregano for 1 teaspoon of cumin and 1/2 teaspoon of chili powder. Add 2 tablespoons of finely chopped cilantro and a pinch of cayenne if you like heat. These pair perfectly with a side of black beans or corn salsa.
Hidden Veggie Version
Grate 1/4 cup of zucchini or carrot and squeeze out the excess moisture. Mix it into the meatball mixture. The veggies add moisture and nutrients without changing the flavor. My kids have no idea they’re eating vegetables—and I’m not telling.
Gluten-Free Adaptation
Use gluten-free breadcrumbs or crushed pork rinds for a low-carb option. The texture stays surprisingly similar. I’ve also used almond flour with good results—just add an extra tablespoon of milk to compensate for the dryness.
Air Fryer Method
If you want an even faster option, cook these in an air fryer at 375°F (190°C) for 10-12 minutes. No need to preheat. The cups get extra crispy on the outside while staying tender inside. Just make sure they’re in a single layer and not overcrowded.
I personally love the hidden veggie version. It’s a small change that makes a big difference, especially for parents trying to sneak more nutrients into their kids’ meals. Plus, the zucchini keeps the cups incredibly moist.
Serving & Storage Suggestions
These mini turkey meatball cups are incredibly versatile when it comes to serving and storing.
Serving temperature: They’re delicious warm, at room temperature, or even straight from the fridge. If you’re packing a lunchbox, they’ll thaw by lunchtime and taste just as good as fresh. For a hot meal, microwave them for 30-45 seconds or reheat in a 350°F (175°C) oven for 5-8 minutes.
Presentation ideas: Serve them on a platter with toothpicks for a party appetizer. Arrange them in a lunchbox with easy creamy turkey pinwheel roll-ups, cheese cubes, grapes, and a small container of marinara or ranch for dipping. They also work great as a protein-packed snack after school or a quick dinner alongside roasted vegetables and rice.
Complementary dishes: These cups pair beautifully with pasta, salads, roasted veggies, or even in a wrap with lettuce and tomato. For a complete meal, serve them with a side of garlic bread or a simple green salad.
Storage instructions: Store in an airtight container in the refrigerator for up to 4 days. For longer storage, freeze as described above. To thaw, transfer to the refrigerator overnight or microwave directly from frozen for 1-2 minutes.
Reheating tips: The microwave is fastest, but the oven or air fryer gives you back that crispy exterior. If reheating from frozen, add a splash of water to the container before microwaving to create steam and prevent drying out.
Flavor development: These cups actually taste better the next day. The flavors meld together as they sit, making them even more delicious. If you can resist eating them all fresh, you’re in for a treat.
Nutritional Information & Benefits
Here’s a rough estimate for one mini turkey meatball cup (based on 24 cups, without glaze):
- Calories: ~55
- Protein: 6g
- Fat: 3g
- Carbohydrates: 2g
- Fiber: 0g
- Sugar: 0g
- Sodium: ~120mg
Health benefits: Ground turkey is a lean source of protein, which supports muscle growth and keeps you feeling full longer. The Parmesan adds calcium and a small amount of protein. Using lean turkey keeps the saturated fat content low, making these a heart-friendly option compared to beef or pork meatballs.
Dietary considerations: This recipe is naturally low-carb and can be made gluten-free with a simple swap. It’s also nut-free and egg-free if you use a flax egg (1 tablespoon ground flaxseed + 3 tablespoons water). For a dairy-free version, skip the Parmesan or use a plant-based alternative.
Potential allergens: Contains dairy (Parmesan) and eggs. Gluten if using regular breadcrumbs. Always check labels if cooking for someone with allergies.
Personal perspective: I love that these cups are packed with protein but don’t feel heavy. They’re satisfying without weighing you down. Perfect for active kids or adults who need a quick, balanced meal that actually tastes good.
Conclusion
These easy freezer-friendly mini turkey meatball lunchbox cups are more than just a recipe—they’re a small victory in the daily battle of feeding your family well. They’re proof that you don’t need complicated techniques or exotic ingredients to create something genuinely useful and delicious.
I love that I can make a batch on a lazy Sunday and have lunches sorted for weeks. No more last-minute scrambling, no more sad sandwiches. Just grab, pack, and go. It’s the kind of simple solution that makes life feel a little more manageable.
So go ahead and give these a try. Customize them with your favorite flavors, double the batch, and stash them in your freezer for those days when you need a win. And if you come up with a variation I haven’t tried, I’d love to hear about it. Drop a comment below or tag me in your photos—I’m always looking for new ideas.
Here’s to less stress and more good food. You’ve got this.
Frequently Asked Questions
Can I use ground chicken or beef instead of turkey?
Absolutely. Ground chicken works perfectly as a direct swap. Ground beef (80/20 or 90/10) also works well—just drain any excess fat after baking. The cooking time remains the same.
How do I prevent the cups from sticking to the pan?
Grease the mini muffin tin generously with cooking spray or olive oil. Let the cups cool in the pan for 5 minutes after baking before attempting to remove them. Using a silicone mini muffin tin also helps prevent sticking.
Can I make these ahead of time for a party?
Yes! These are perfect for entertaining. Make them up to 3 days ahead and store in the refrigerator. Reheat in a 350°F (175°C) oven for 5-8 minutes before serving. They’re also great at room temperature, so you can set them out on a platter without worrying about keeping them hot.
How long do they last in the freezer?
Properly stored in a freezer-safe bag or container, these cups will maintain their best quality for up to 3 months. After that, they’re still safe to eat but may lose some moisture and flavor. Always label with the date so you know what’s in your freezer.
Can I skip the egg for an egg-free version?
Yes. Use a flax egg (1 tablespoon ground flaxseed mixed with 3 tablespoons water, let sit for 5 minutes to thicken) or a commercial egg replacer. The texture will be slightly less firm but still delicious. You can also use 2 tablespoons of applesauce as a binder.
Pin This Recipe!
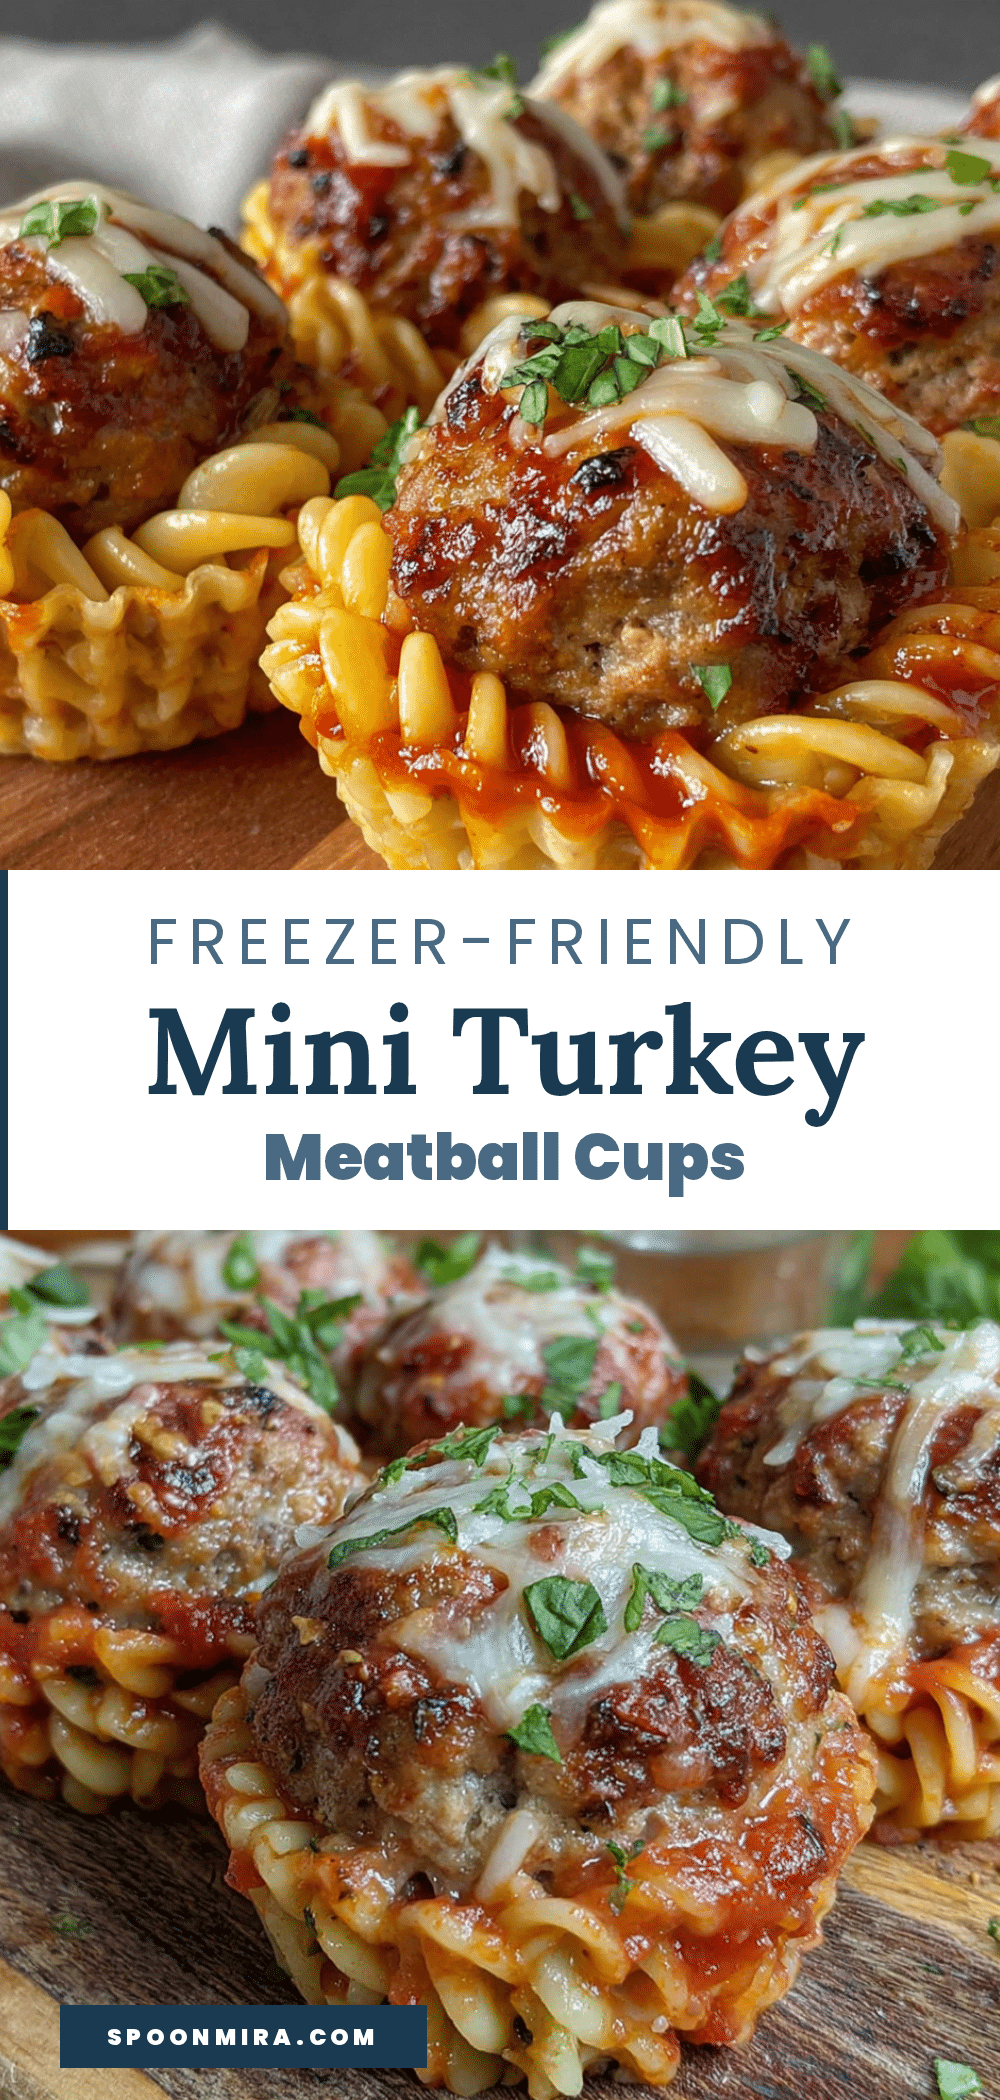
Easy Freezer-Friendly Mini Turkey Meatball Lunchbox Cups

These mini turkey meatball cups are a freezer-friendly lunchbox hero made with simple ingredients. They’re juicy, perfectly seasoned, and bite-sized, perfect for quick meals or meal prep.
- Prep Time: 15 minutes
- Cook Time: 18 minutes
- Total Time: 33 minutes
- Yield: 24 cups 1x
- Category: Appetizer
- Cuisine: American
Ingredients
- 1 pound ground turkey (93% lean)
- 1/2 cup plain breadcrumbs (Panko works great; use gluten-free if needed)
- 1 large egg, lightly beaten
- 1/3 cup grated Parmesan cheese
- 2 cloves garlic, minced (or 1 teaspoon garlic powder)
- 1 teaspoon dried oregano
- 1/2 teaspoon salt
- 1/4 teaspoon black pepper
- 2 tablespoons milk (any kind)
- 1 tablespoon olive oil
- 2 tablespoons ketchup (for optional glaze)
- 1 tablespoon honey or maple syrup (for optional glaze)
- 1 teaspoon Worcestershire sauce (for optional glaze)
Instructions
- Preheat your oven to 375°F (190°C). Lightly grease a 24-cup mini muffin tin with cooking spray or olive oil.
- In a large mixing bowl, combine the ground turkey, breadcrumbs, beaten egg, grated Parmesan, minced garlic, oregano, salt, pepper, milk, and olive oil. Mix until just combined; do not overmix.
- Scoop about 1 tablespoon of the mixture into each mini muffin cup. Gently press the mixture down so it fills the cup evenly, but do not pack too tightly.
- If using the optional glaze, whisk together the ketchup, honey, and Worcestershire sauce in a small bowl. Brush a thin layer over the top of each meatball cup.
- Bake for 15-18 minutes, or until the internal temperature reaches 165°F (74°C). The tops should be golden brown and the edges slightly crispy.
- Let the cups cool in the pan for 5 minutes. Then run a small knife or offset spatula around the edges to loosen them. Transfer to a cooling rack to cool completely.
- Once cooled, enjoy immediately or prepare for freezing. If freezing, arrange the cups in a single layer on a baking sheet and freeze for 1-2 hours until solid. Then transfer to a freezer-safe bag or container. Label with the date—they’ll keep for up to 3 months.
Notes
The mixture will look a bit wet before baking; that’s normal. If it feels too loose, add an extra tablespoon of breadcrumbs. If too dry, add a splash more milk. The glaze is optional but recommended for extra flavor. These cups taste even better the next day as flavors meld.
Nutrition
- Serving Size: 1 cup
- Calories: 55
- Sodium: 120
- Fat: 3
- Saturated Fat: 1
- Carbohydrates: 2
- Protein: 6
Keywords: turkey meatball cups, freezer-friendly, lunchbox, mini meatballs, kid-friendly, meal prep, healthy snacks