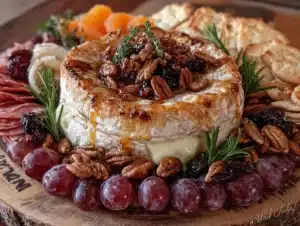
My friend Maria texted me a photo of her Halloween party spread last October, and honestly, I spent more time zooming in on the dessert table than I did on her costume. There, nestled between a chocolate cake and a pumpkin pie, sat a platter of the cutest little ghost-shaped cookies I had ever seen. They looked impossibly light, almost floating off the plate. I asked her what they were, and she said, with a shrug, “Oh, just meringues.” Just meringues. I had been looking for a Halloween treat that wasn’t another bucket of candy or a heavy, spiced cake. Something that felt a little whimsical but didn’t require a pastry degree. For a while, I just accepted that Halloween baking meant either sugar overload or a total mess in the kitchen. But those little ghosts stuck with me. They were proof that something so simple could be the most charming thing on the table. It took me a few tries to get the piping just right, to find that perfect pastel shade that didn’t look like a mistake, but once I did, I knew I had found my go-to holiday recipe. These fluffy pastel ghost meringue cookies are that recipe. They are the answer to the question I didn’t even know I was asking.
Why You’ll Love This Recipe
I have tested this recipe more times than I care to count, and I can tell you with complete confidence that it works. There is no finicky sugar syrup to boil, no candy thermometer to watch like a hawk. You just need a clean bowl, a good mixer, and a little patience. These cookies are a game-changer for anyone who wants to make something special for Halloween (or any pastel-themed party) without spending all day in the kitchen.
- Quick & Easy : The active prep time is only about 15 minutes. The longest part is the low-and-slow baking, which the oven does for you.
- Simple Ingredients : You only need three main ingredients. If you have eggs and sugar in your pantry, you are already halfway there.
- Perfect for Halloween Parties : These are a standout addition to any spooky spread. They are lighter than a cupcake and far more memorable than a store-bought cookie.
- Crowd-Pleaser : Kids love the ghost shape, and adults appreciate that they are naturally gluten-free and low in fat. They vanish from the plate every single time.
- Unbelievably Delicious : The texture is what gets everyone. They are crisp on the outside, with a soft, marshmallowy center that melts on your tongue. The light pastel colors make them feel extra special.
What makes this recipe different from the rest is the technique. I have perfected the method for getting that stable, glossy meringue that holds its shape perfectly when piped. No flat ghosts here. The secret is in how you add the sugar and how long you whip. I also use a tiny bit of gel food coloring to get those soft, dreamy pastel shades without deflating the batter. This isn’t just another meringue recipe—it is my best version, tested and tweaked until it was foolproof. It’s the kind of cookie that makes you close your eyes after the first bite, not because it’s rich, but because it’s so perfectly light and sweet.
What Ingredients You Will Need
This recipe uses the simplest pantry staples to create something truly magical. The beauty of meringues is that they rely on technique more than a long list of ingredients. Here is everything you need to get started.
- 3 large egg whites (room temperature is key here. Cold eggs won’t whip up as high or as stable).
- ¾ cup (150g) granulated sugar (I prefer using an ultra-fine baker’s sugar if you can find it. It dissolves faster, which gives you a smoother meringue. Regular granulated sugar works perfectly fine too).
- ¼ teaspoon cream of tartar (this is your secret weapon for stability. It helps the egg whites hold their structure and prevents them from collapsing).
- Gel food coloring in pastel pink, lavender, and mint green (I like the Americolor brand for their vibrant yet soft shades. Liquid food coloring can deflate the meringue, so stick with gel).
- ½ teaspoon vanilla extract (optional, but I love the subtle flavor it adds. You could also use almond extract for a different twist).
The egg whites are the foundation here. They need to be completely free of any yolk, as even a tiny bit of fat can prevent them from whipping up properly. I always separate my eggs one at a time into a small bowl before adding them to the main mixing bowl, just to be safe. The cream of tartar is non-negotiable for me. It’s a small ingredient that makes a huge difference, especially if you are baking in a humid environment. If you don’t have it, you can substitute it with a teaspoon of lemon juice or white vinegar, but the cream of tartar is the most reliable option.
Equipment Needed
You don’t need a lot of fancy tools for this, which is part of the appeal. Here is what you will need to make these fluffy ghosts.
- Stand mixer or electric hand mixer : A stand mixer with a whisk attachment is my preference because it frees up my hands, but a hand mixer works just as well. You will be whipping for a good 8-10 minutes, so your arm might get a workout with a hand mixer.
- Large glass or metal mixing bowl : Make sure it is completely clean and dry. Any trace of grease will ruin your meringue. I like to wipe my bowl down with a little lemon juice and a paper towel before I start.
- Piping bag and a large star tip (like a Wilton 1M or 2D) : The star tip gives the ghosts their ruffled, ethereal shape. You can also use a round tip for a more classic ghost look. If you don’t have a piping bag, a sturdy zip-top bag with the corner snipped off will work in a pinch.
- Baking sheets lined with parchment paper : Parchment is a must. The meringues will stick to a bare baking sheet. Silicone baking mats also work wonderfully.
- Small paintbrush or toothpick : For adding the pastel color stripes to the inside of your piping bag. This is the trick for getting those beautiful two-toned ghosts.
Preparation Method
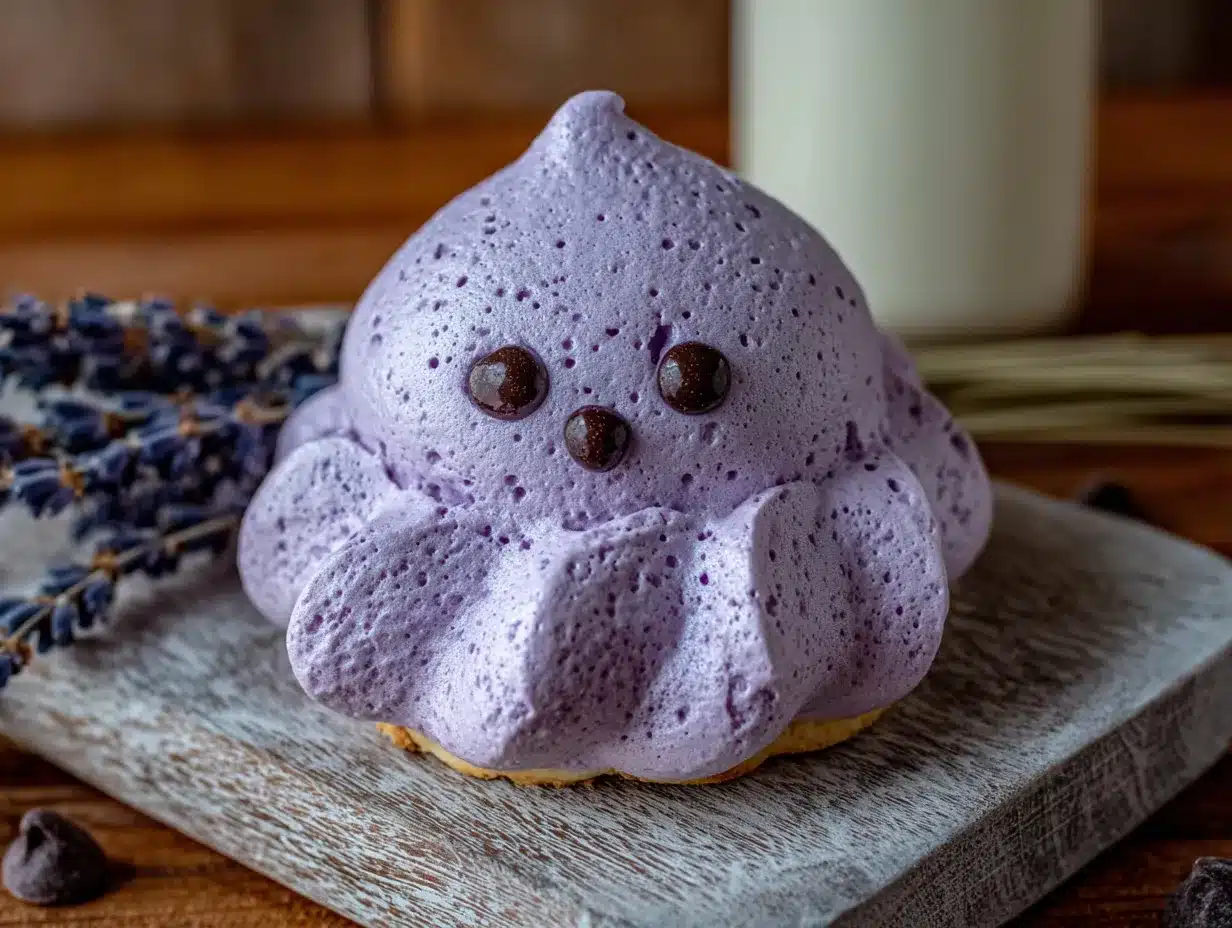
Follow these steps carefully, and you will have a platter of adorable, fluffy ghosts that look like they came from a bakery. The key is to be patient and not rush the whipping process.
- Preheat and Prep : Preheat your oven to 200°F (93°C). Line two large baking sheets with parchment paper. This low temperature is what dries the meringues out slowly, giving them that perfect crisp texture.
- Prepare the Piping Bag : This is the fun part. Using a small paintbrush or a toothpick, paint a few vertical stripes of your pastel gel food coloring on the inside of your piping bag. I like to do one stripe of pink, one of lavender, and one of mint green. Place the star tip in the bag and set it aside.
- Whip the Egg Whites : Place your room-temperature egg whites and cream of tartar in the clean, dry bowl of your stand mixer. Start whisking on medium speed until the mixture becomes foamy and frothy, about 1-2 minutes. You want it to look like a bubble bath.
- Add the Sugar Slowly : With the mixer running on medium-high speed, begin adding the granulated sugar one tablespoon at a time. This is the most important step. Adding the sugar slowly allows it to dissolve completely into the egg whites. If you dump it all in at once, your meringue will be grainy and unstable. Take your time—this should take about 2-3 minutes.
- Whip to Stiff Peaks : Once all the sugar is in, increase the speed to high and whip for another 5-7 minutes. You are looking for stiff, glossy peaks. This means when you lift the whisk attachment, the meringue stands straight up without drooping. Another test is to rub a little bit of the meringue between your fingers. If it feels smooth and not gritty, the sugar is fully dissolved. This is your goal.
- Add Vanilla : Gently fold in the vanilla extract with a rubber spatula. Be careful not to overmix and deflate all that air you just whipped in.
- Pipe the Ghosts : Carefully spoon the meringue into your prepared piping bag. Hold the bag straight up and down over your parchment-lined baking sheet. Squeeze a generous amount of meringue to form a tall, wide base, then stop squeezing and pull the bag straight up to create a little peak on top. This peak is the ghost’s head. Don’t worry if they look a little messy at first. The ruffled shape from the star tip hides a multitude of sins.
- Bake Low and Slow : Place the baking sheets in the preheated oven. Bake for 1 hour and 30 minutes to 1 hour and 45 minutes. The meringues are done when they are firm to the touch and easily peel off the parchment paper. They should not be brown at all. If they start to color, your oven is too hot.
- Cool in the Oven : This is my secret step for perfect meringues. Turn the oven off but leave the cookies inside to cool completely for at least an hour. This helps them dry out all the way through and prevents them from cracking or getting sticky.
Cooking Tips & Techniques
I have made my fair share of flat, weepy meringues, so trust me when I say these tips are hard-earned. The biggest mistake people make is rushing the sugar addition. I once tried to speed through it, and I ended up with a grainy, sticky mess that never held its shape. It was a total loss. Take the full two to three minutes to add the sugar a spoonful at a time. It feels tedious, but it is the foundation of a stable meringue.
Another common issue is humidity. Meringues are basically sugar sponges. If you try to make these on a rainy or humid day, they will likely absorb moisture from the air and become sticky or chewy. I always check the weather forecast before I make these. A dry, sunny day is your best friend for meringue baking.
For the most consistent results, I let my egg whites sit on the counter for about 30 minutes before I start whipping them. Room temperature egg whites whip up to a much greater volume than cold ones. Also, make sure your bowl is spotless. I wash mine with hot, soapy water and then dry it thoroughly before I even crack an egg. Any trace of oil or grease will prevent the egg whites from forming stiff peaks.
Finally, don’t skip the cooling step. Letting the meringues cool down slowly in the turned-off oven helps them dry out completely. If you pull them out too soon, the centers might be a little chewy or soft. Patience is the hardest part of this recipe, but it pays off.
Variations & Adaptations
These pastel ghosts are already pretty perfect, but there is always room for a little creativity. Here are a few ways you can mix things up.
- Spooky Season : Instead of pastel colors, use black and orange gel food coloring for a more traditional Halloween look. You can even pipe them into small pumpkins by using a round tip and a little green icing for a stem.
- Flavor Twist : Swap the vanilla extract for peppermint or almond extract. A little peppermint makes them taste like a light, airy candy cane, which is perfect for a Christmas holiday party. For a citrusy kick, add a teaspoon of lemon or orange zest along with the vanilla.
- Dietary Adaptation : These are naturally gluten-free and dairy-free, which makes them a fantastic option for guests with dietary restrictions. Just double-check that your food coloring is also gluten-free (most are).
- Different Shapes : You don’t have to make ghosts. You can pipe the meringue into small kisses, stars, or even little swirls. If you want to make them for a baby shower, use only pastel pink and blue colors and pipe them into little clouds.
- Chocolate Drizzle : Once the meringues are completely cool, you can drizzle them with a little melted dark or white chocolate. It adds a lovely richness and a beautiful finishing touch. I once made a batch for a friend’s birthday and drizzled them with white chocolate and sprinkles. They were a huge hit.
Serving & Storage Suggestions
These meringues are best served at room temperature. They are a fantastic, light dessert after a heavy meal like the creamy crockpot crack chicken with bacon or a rich smothered pork chops recipe. Their airy sweetness is a perfect palate cleanser. I like to arrange them on a large, white platter to really let the pastel colors pop. They look beautiful towering on a cake stand for a party.
For storage, this is the most important rule: keep them away from moisture. Store them in an airtight container at room temperature. Do not put them in the refrigerator, as the humidity will make them sticky and soft. If stored properly in a cool, dry place, these meringues will last for up to two weeks. They actually stay crisp and fresh for quite a while, which makes them a great make-ahead treat for a party.
I do not recommend freezing these meringues. The texture changes when they thaw, and they tend to become chewy rather than crisp. It is much better to just keep them in their airtight container on the counter. If you live in a very humid climate, you can add a silica gel packet (the kind you find in shoe boxes) to the container to help absorb any excess moisture. It sounds a little strange, but it really works.
Nutritional Information & Benefits
While these are still a sweet treat, they are surprisingly light compared to most cookies. One ghost meringue contains approximately 25-30 calories, 0g of fat, and 7g of sugar. The primary ingredient is egg whites, which are a fantastic source of high-quality protein and contain no cholesterol. They are also naturally gluten-free and dairy-free, making them a safe option for many common food allergies.
Because they are so light and airy, it is easy to enjoy one or two without feeling overly full or guilty. They satisfy that craving for something sweet without the heavy feeling you get from a butter-laden cookie. I love that I can offer these at a party and know that they are a more mindful option for guests who are watching their sugar or fat intake. They are proof that you can have a beautiful, delicious dessert that isn’t a nutritional nightmare.
Conclusion
These fluffy pastel ghost meringue cookies are more than just a pretty face. They are a testament to the fact that the simplest ingredients, treated with a little care and patience, can create something truly special. They are the kind of treat that sparks joy the moment you see them on the table. Whether you are making them for a Halloween party, a spring brunch, or just because you need a little whimsy in your week, I promise they will not disappoint. They are a joy to make and an absolute delight to eat. I love how they bring a smile to everyone’s face, and I hope they do the same for you. If you try this recipe, please leave a comment below and let me know how your little ghosts turned out. I would love to hear about your pastel creations and any fun variations you come up with. Happy baking, friend!
Frequently Asked Questions
Can I use liquid food coloring instead of gel?
I really recommend using gel food coloring for this recipe. Liquid food coloring adds extra moisture to the meringue, which can make it unstable and cause it to deflate or become sticky. Gel colors are more concentrated and won’t affect the texture of your meringue.
Why are my meringues flat?
Flat meringues usually mean the egg whites were not whipped enough to stiff peaks, or the sugar was added too quickly. Make sure you whip until the mixture is glossy and stands up straight on the whisk. Also, be sure your bowl is completely free of any grease or egg yolk.
Can I make these on a humid day?
It is possible, but it is much harder. Sugar is hygroscopic, which means it attracts moisture from the air. On a humid day, your meringues might become sticky or chewy. If you have to bake on a humid day, try adding an extra 1/2 teaspoon of cream of tartar for stability, and be sure to let them cool completely in the turned-off oven.
How do I get the pastel colors so soft?
The key is to use a very small amount of gel food coloring. A little goes a long way. When you paint the stripes inside the piping bag, use a light hand. You can always add more color to the bag for the next batch if you want a more intense shade, but it is very hard to lighten a color once it is in the meringue.
Can I freeze the unbaked meringue mixture?
No, you cannot freeze the unbaked meringue. The structure is too delicate, and it will collapse as it thaws. You must pipe and bake the meringues immediately after whipping. The good news is that the baked cookies store beautifully for up to two weeks in an airtight container at room temperature.
Pin This Recipe!
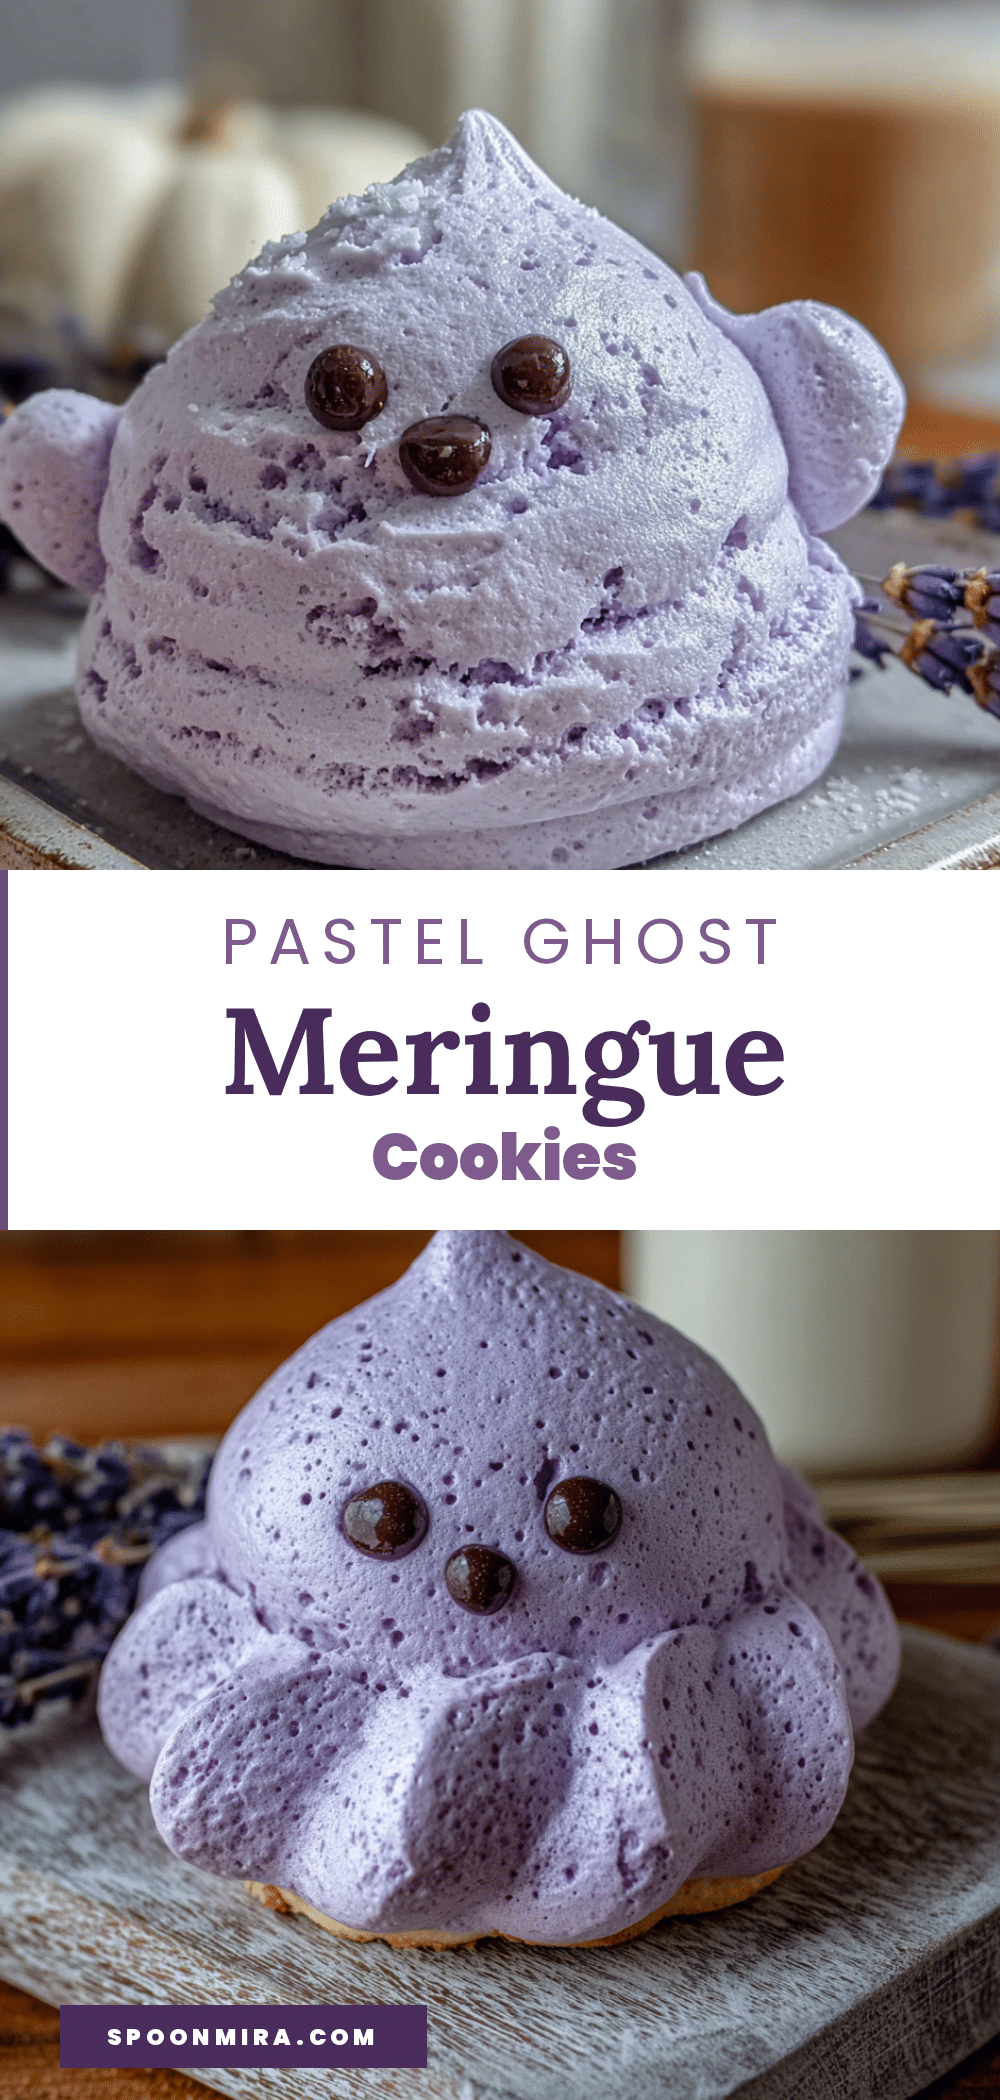
Fluffy Pastel Ghost Meringue Cookies: Easy 3-Ingredient Recipe
These fluffy pastel ghost meringue cookies are light, airy, and perfect for Halloween or any pastel-themed party. Made with just 3 main ingredients, they are naturally gluten-free and low in fat, with a crisp exterior and soft, marshmallowy center.
- Prep Time: 15 minutes
- Cook Time: 1 hour 30 minutes to 1 hour 45 minutes
- Total Time: 2 hours 45 minutes to 3 hours
- Yield: 24 servings 1x
- Category: Dessert
- Cuisine: American
Ingredients
- 3 large egg whites (room temperature)
- ¾ cup (150g) granulated sugar (ultra-fine baker’s sugar preferred)
- ¼ teaspoon cream of tartar
- Gel food coloring in pastel pink, lavender, and mint green (e.g., Americolor brand)
- ½ teaspoon vanilla extract (optional)
Instructions
- Preheat oven to 200°F (93°C). Line two large baking sheets with parchment paper.
- Using a small paintbrush or toothpick, paint vertical stripes of pastel gel food coloring on the inside of a piping bag. Fit the bag with a large star tip (e.g., Wilton 1M or 2D) and set aside.
- Place room-temperature egg whites and cream of tartar in a clean, dry bowl of a stand mixer. Whisk on medium speed until foamy and frothy, about 1-2 minutes.
- With the mixer running on medium-high speed, add granulated sugar one tablespoon at a time, taking 2-3 minutes to incorporate fully.
- Increase speed to high and whip for 5-7 minutes until stiff, glossy peaks form. The meringue should stand straight up on the whisk and feel smooth when rubbed between fingers.
- Gently fold in vanilla extract with a rubber spatula, being careful not to deflate the meringue.
- Spoon meringue into the prepared piping bag. Hold the bag straight up over the baking sheet and pipe ghosts by squeezing a generous base, then stopping and pulling straight up to create a peak.
- Bake for 1 hour 30 minutes to 1 hour 45 minutes, until meringues are firm to the touch and easily peel off parchment. They should not brown.
- Turn off the oven and leave meringues inside to cool completely for at least 1 hour.
Notes
Ensure bowl and utensils are completely clean and grease-free. Use room temperature egg whites for best volume. Avoid making on humid days. For storage, keep in an airtight container at room temperature for up to 2 weeks. Do not refrigerate or freeze.
Nutrition
- Serving Size: 1 ghost meringue
- Calories: 2530
- Sugar: 7
- Sodium: 10
- Carbohydrates: 7
- Protein: 1
Keywords: meringue cookies, ghost cookies, Halloween cookies, pastel cookies, gluten-free dessert, easy meringue, 3-ingredient recipe