The last slice disappeared before I could even grab my phone for a picture. My sister, who had been eyeing it all afternoon, just looked at me and said, “So, when are you making this again?” That was the third time in two weeks someone had asked for the recipe by name. Not “that pink cake you made” — the Neapolitan Layer Cake with Strawberry Buttercream.
Honestly, I stumbled into this one by accident. I had leftover strawberry buttercream from a batch of cupcakes that didn’t turn out quite right (I overbaked them, let’s be real), and I couldn’t stand the thought of wasting all that creamy, fruity frosting. So I did what any reasonable person would do — I built a cake around it. Three layers. Three flavors. One very happy kitchen.
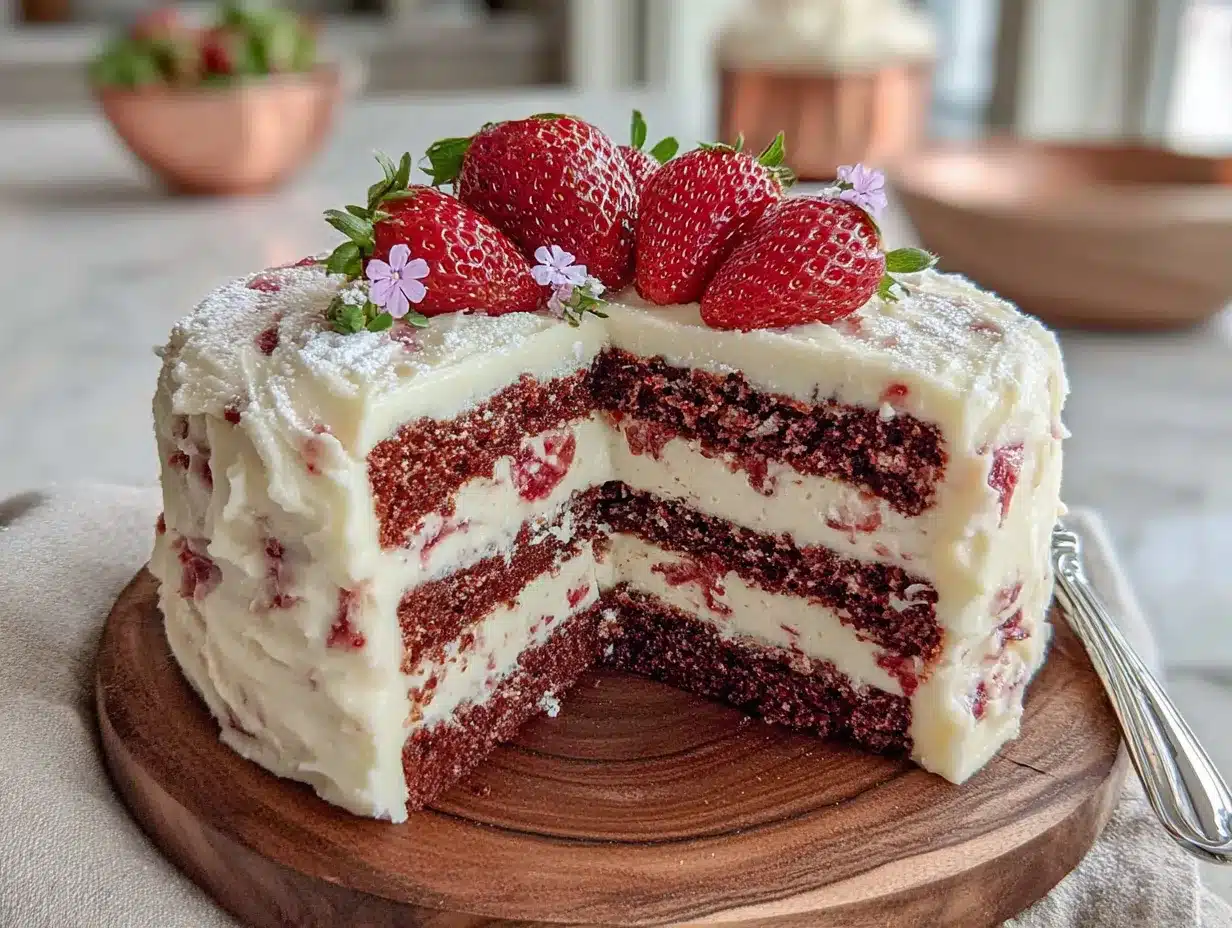
There’s something about this cake that makes people stop mid-conversation. Maybe it’s the way the chocolate, vanilla, and strawberry stripes look when you cut into it. Or maybe it’s the buttercream that tastes exactly like the strawberry milk you begged for as a kid. I’m not sure. But I do know this — I’ve never seen a slice of this cake come back to the kitchen. Not once.
This isn’t a fussy, bakery-style project that takes all weekend. It’s the kind of cake you make when you want to impress people without losing your mind. And trust me, when you pull those three layers out of the pan, stacked high with that pink buttercream, you’ll feel like you just won baking.
Why You’ll Love This Recipe
I’ve tested this Neapolitan Layer Cake more times than I care to admit. The first version was dry. The second one sank in the middle. The third? Well, the third one got eaten before I could even take notes. That’s the one I’m sharing with you today.
Here’s what makes this recipe stand out from every other layer cake you’ve tried:
- Three Flavors, One Batter : You don’t have to make three separate cake batters. Just one vanilla base, divided and flavored with cocoa and strawberry puree. Less mess, less stress, same stunning result.
- Real Strawberry Flavor : No artificial extracts or jello here. We’re using real strawberry puree in the buttercream, which gives it that authentic, slightly tangy sweetness you can’t fake.
- Perfect for Celebrations : Birthdays, anniversaries, or just a Tuesday that needs a little color — this cake shows up and steals the show. Pair it with something savory like my creamy crockpot crack chicken with bacon for a dinner-to-dessert combo that’ll have everyone talking.
- Beginner-Friendly : If you can mix a batter and frost a cake, you can make this. No fancy piping skills required. A simple offset spatula and some patience is all you need.
- Crowd-Pleasing Colors : The pink, white, and chocolate stripes are a guaranteed conversation starter. Kids love it. Adults love it. Even your picky aunt who “doesn’t do chocolate” will be reaching for a slice.
This isn’t just another pretty cake. It’s the cake that makes you close your eyes after the first bite. It’s comfort food dressed up in its Sunday best — familiar flavors, but stacked in a way that feels new and exciting. And honestly? It’s the kind of dessert that makes you look like a hero in the kitchen without breaking a sweat.
What Ingredients You Will Need
This Neapolitan Layer Cake uses simple, everyday ingredients to create something that tastes anything but ordinary. Most of these are pantry staples, so you probably already have everything on hand except maybe the fresh strawberries.
For the Vanilla Cake Base
- 2 ½ cups all-purpose flour (spooned and leveled — don’t scoop straight from the bag or you’ll end up with a dry cake)
- 2 ½ teaspoons baking powder (make sure it’s fresh; stale baking powder is the #1 reason cakes don’t rise)
- ½ teaspoon salt (fine sea salt works best here)
- ¾ cup unsalted butter, softened to room temperature (I prefer Kerrygold for the richness it brings)
- 1 ½ cups granulated sugar
- 3 large eggs, room temperature (cold eggs will seize the butter and ruin the emulsion)
- 1 tablespoon vanilla extract (use pure, not imitation — you’ll taste the difference)
- 1 cup whole milk, room temperature (whole milk gives the best texture, but 2% works in a pinch)
For the Chocolate Layer
- 3 tablespoons unsweetened cocoa powder (I use Dutch-processed for a deeper, more mellow chocolate flavor)
- 2 tablespoons hot water (this helps the cocoa bloom and releases its full flavor)
For the Strawberry Layer
- ⅓ cup strawberry puree (made from about 6-8 fresh or frozen strawberries, blended and strained to remove seeds)
- 2-3 drops pink food coloring (optional, but it really makes the strawberry layer pop visually)
For the Strawberry Buttercream
- 1 cup unsalted butter, softened (let it sit out for at least an hour — cold butter will give you lumpy frosting)
- 4 cups powdered sugar, sifted (sifting prevents those annoying little clumps)
- ¼ cup strawberry puree (reduced on the stovetop to concentrate the flavor)
- 1 teaspoon vanilla extract
- Pinch of salt (balances the sweetness perfectly)
- 1-2 tablespoons heavy cream (only if needed to adjust consistency)
For the Strawberry Puree (Make This First)
- 1 cup fresh or frozen strawberries (thawed if frozen)
- 1 tablespoon sugar (helps draw out the natural juices)
Ingredient Tip: When making the strawberry puree, cook it down in a small saucepan over medium heat until it reduces by about half. This concentrates the flavor and removes excess water that would make your buttercream runny. Let it cool completely before adding it to the frosting. I learned this the hard way after my first batch of buttercream turned into soup.
For the cocoa powder, I’ve tested this with both natural and Dutch-processed. Dutch-processed gives a smoother, more sophisticated chocolate flavor that doesn’t overpower the other two layers. If you only have natural cocoa, add ¼ teaspoon of baking soda to the chocolate portion of the batter to balance the acidity.
Equipment Needed
You don’t need a professional bakery setup for this cake, but having the right tools makes the process so much smoother. Here’s what I use:
- Three 8-inch round cake pans (if you only have two, you can bake in batches — just let the batter sit at room temperature while the first batch bakes)
- Stand mixer or hand mixer (I’ve made this with both; a stand mixer is easier for the buttercream, but a hand mixer works just fine)
- Offset spatula (for smooth frosting — this is my most-used tool for layer cakes)
- Parchment paper rounds (cut to fit your pans; they prevent sticking and make cleanup a breeze)
- Small saucepan (for reducing the strawberry puree)
- Fine-mesh strainer (to remove seeds from the strawberry puree — trust me on this one)
- Cooling rack (essential for even cooling; don’t skip this or your cake will get soggy on the bottom)
- Cake turntable (optional but highly recommended for smooth frosting)
- Bench scraper (for those clean, professional-looking edges)
Budget-Friendly Tip: If you don’t have a cake turntable, place your cake plate on an upside-down bowl. It’s not perfect, but it gives you enough rotation to get decent results. I used this trick for years before I finally invested in a turntable.
Preparation Method
Take your time with this one. The actual hands-on work isn’t hard, but each step builds on the last. Rushing leads to sinking layers and lumpy frosting — I’ve been there, and it’s not fun.
Step 1: Make the Strawberry Puree (Do This First)
In a small saucepan, combine 1 cup of chopped strawberries with 1 tablespoon of sugar. Cook over medium heat for about 8-10 minutes, stirring occasionally, until the strawberries break down and the mixture thickens slightly. Strain through a fine-mesh sieve to remove the seeds. You should have about ⅓ cup of puree. Set aside ¼ cup for the buttercream and reserve the rest for the cake batter. Let it cool completely before using.
Step 2: Prep Your Pans and Oven
Preheat your oven to 350°F (175°C). Grease three 8-inch round cake pans with butter or non-stick spray, then line the bottoms with parchment paper rounds. Lightly dust the sides with flour and tap out the excess. This extra step guarantees your layers will release cleanly — no torn cakes, no tears.
Step 3: Make the Vanilla Cake Batter
In a medium bowl, whisk together the flour, baking powder, and salt. Set aside. In the bowl of your stand mixer (or a large bowl if using a hand mixer), beat the softened butter and sugar together on medium-high speed for 3-4 minutes, until light and fluffy. Scrape down the sides of the bowl halfway through.
Add the eggs one at a time, beating well after each addition. Stir in the vanilla extract. The mixture should look smooth and slightly glossy at this point.
With the mixer on low speed, add the flour mixture in three additions, alternating with the milk. Start and end with the flour. Mix just until combined — overmixing will make your cake tough. Divide the batter evenly into three bowls (about 1 ⅓ cups each).
Step 4: Flavor the Layers
For the chocolate layer: In a small bowl, whisk the cocoa powder with 2 tablespoons of hot water until smooth. Fold this into one portion of the batter until fully combined. The batter will be slightly thicker than the others — that’s normal.
For the strawberry layer: Stir in the remaining strawberry puree (about 2-3 tablespoons) and a drop or two of pink food coloring if using. Fold gently until the color is even.
For the vanilla layer: Leave it as is. This will be your middle layer, providing that classic creamy vanilla flavor between the chocolate and strawberry.
Step 5: Bake the Layers
Pour each batter into its prepared pan. Spread evenly with a spatula. Bake for 22-25 minutes, or until a toothpick inserted into the center comes out clean or with a few moist crumbs. The chocolate layer might take a minute or two longer — check it separately.
Let the cakes cool in the pans for 10 minutes, then turn them out onto a cooling rack. Remove the parchment paper and let them cool completely. This is crucial — warm cake will melt your buttercream into a sad, slippery mess.
Step 6: Make the Strawberry Buttercream
While the cakes are cooling, make the frosting. In the bowl of your stand mixer, beat the softened butter on medium-high speed for 5-7 minutes, until it’s pale, light, and fluffy. This step is non-negotiable — properly creamed butter is what gives you that silky, spreadable frosting.
Reduce the speed to low and gradually add the sifted powdered sugar, about ½ cup at a time. Scrape down the sides as needed. Add the reduced strawberry puree, vanilla extract, and a pinch of salt. Beat on medium-high for another 2-3 minutes until the frosting is smooth and spreadable. If it’s too thick, add heavy cream one tablespoon at a time. If it’s too thin, add more powdered sugar.
Step 7: Assemble the Cake
Place one cake layer on your serving plate or cake stand. If your layers have domed tops, use a serrated knife to level them — a flat surface makes stacking so much easier. I start with the chocolate layer on the bottom, but you can arrange them in any order you like.
Spread about ¾ cup of buttercream evenly over the first layer. Top with the vanilla layer, then another ¾ cup of buttercream. Finish with the strawberry layer on top. Apply a thin crumb coat (a thin layer of frosting that traps any loose crumbs) and refrigerate for 20 minutes. Once set, apply the final layer of frosting, smoothing the sides and top with your offset spatula.
Step 8: Decorate (Optional)
If you’re feeling fancy, pipe a few rosettes on top using a star tip. Add fresh strawberry slices or chocolate shavings for garnish. For a simpler look, just swirl the top with your spatula and call it a day. This cake is beautiful even without elaborate decoration.
Cooking Tips & Techniques
After making this cake more times than I can count, I’ve collected a few hard-earned lessons that’ll save you from my early mistakes.
Room Temperature Ingredients Are Not Optional. I know it’s tempting to use cold eggs straight from the fridge, but cold ingredients won’t emulsify properly. Your batter will look curdled, and your cake will be dense. Set your butter, eggs, and milk out at least an hour before you start baking. If you’re in a hurry, place the eggs in a bowl of warm water for 5 minutes and microwave the milk for 15 seconds.
Don’t Overmix the Batter. Once you add the flour, mix just until you can’t see any more streaks. Overmixing develops the gluten, which gives you a tough, rubbery cake instead of a tender, fluffy one. I ruined my first two attempts this way — the cake looked fine but had the texture of a tire.
Weigh Your Pans. If you have a kitchen scale, weigh the batter in each pan to make sure they’re even. Uneven layers mean uneven baking, and nobody wants a lopsided cake. If you don’t have a scale, use a measuring cup and count the scoops for each pan.
Chill Between Layers. That 20-minute chill after the crumb coat isn’t just for show. It sets the frosting so your final layer goes on smooth and clean. Skip this step, and you’ll be chasing crumbs around the cake like they’re running away from you.
Use a Serrated Knife for Leveling. A straight-edged knife will tear your cake. A serrated knife gives you clean, even cuts. Use a gentle sawing motion and let the knife do the work.
For another crowd-pleasing dessert that uses similar techniques, try my perfect fall pumpkin spice sheet cake with cream cheese frosting — it’s just as forgiving and even easier to serve.
Variations & Adaptations
One of the best things about this Neapolitan Layer Cake is how easy it is to adapt. Here are some of my favorite variations:
Gluten-Free Version
Substitute the all-purpose flour with a 1:1 gluten-free baking blend that contains xanthan gum. I’ve tested this with Bob’s Red Mill 1:1 Baking Flour and it works beautifully. Add an extra tablespoon of milk to the batter since gluten-free flours tend to absorb more liquid.
Dairy-Free Version
Use plant-based butter sticks (not the spreadable kind in a tub) and unsweetened oat milk or almond milk. For the buttercream, vegan butter works surprisingly well — just make sure it’s softened properly. The texture will be slightly softer than traditional buttercream, so you might need to chill the frosted cake a bit longer before serving.
Berry Swap
Don’t have strawberries? Use raspberries, blueberries, or even blackberries instead. Each berry gives the cake a slightly different personality — raspberry is tangier, blueberry is milder, and blackberry adds a lovely deep purple hue. Adjust the sugar in the puree based on the sweetness of your berries.
Mini Layer Cakes
Bake the batter in three 6-inch pans instead of 8-inch for a taller, more dramatic cake. Reduce the baking time to 18-20 minutes. This version is perfect for smaller gatherings or when you want to practice your piping skills without committing to a full-sized cake.
Chocolate Lover’s Twist
Add ½ cup of mini chocolate chips to the chocolate layer for extra texture. You can also swap the vanilla layer for a white chocolate version by adding 2 ounces of melted white chocolate to that portion of the batter.
If you’re looking for a simpler dessert that still delivers on flavor, my moist chocolate zucchini cake with espresso cream cheese frosting is a fantastic option that uses similar cake-making principles.
Serving & Storage Suggestions
This cake tastes best at room temperature. Pull it out of the fridge about 30-45 minutes before you plan to serve it. The buttercream softens slightly, the cake layers become more tender, and the flavors really come through.
Serving Suggestions: Slice with a sharp, thin-bladed knife dipped in hot water and wiped dry between cuts. This gives you clean, bakery-style slices without dragging the frosting. Serve with a dollop of whipped cream or a scoop of vanilla bean ice cream for extra indulgence. A cup of black coffee or a glass of cold milk balances the sweetness perfectly.
Storage: Store any leftover cake in an airtight container in the refrigerator for up to 5 days. The cake actually gets better on day two as the flavors meld together. Just make sure the container is sealed well — the strawberry buttercream can pick up fridge odors if left exposed.
Freezing: This cake freezes beautifully. Wrap the fully assembled and frosted cake (or individual slices) in plastic wrap, then a layer of aluminum foil. Freeze for up to 3 months. To thaw, transfer to the refrigerator overnight. Bring to room temperature before serving. I’ve pulled slices out of the freezer for unexpected guests and they never guessed it wasn’t freshly made.
Flavor Development: The strawberry flavor in the buttercream actually deepens after a day in the fridge. If you can resist eating it right away, make the cake a day ahead and let it rest overnight. The layers absorb some moisture from the frosting, and everything becomes wonderfully cohesive.
Nutritional Information & Benefits
Let’s be real — this is a celebration cake, not a health food. But that doesn’t mean it can’t have some redeeming qualities. Here’s a rough estimate per slice (based on 12 servings):
- Calories: 480-520
- Fat: 24g
- Carbohydrates: 68g
- Protein: 5g
- Sugar: 48g
- Fiber: 1g
Health Highlights: Strawberries are packed with vitamin C and antioxidants. The butter provides a small amount of vitamin A. And honestly? Sometimes the best thing you can do for your mental health is enjoy a slice of cake without guilt. Life’s too short to skip dessert.
Dietary Considerations: This recipe contains dairy, eggs, and gluten. For allergen-friendly versions, see the Variations section above. It can be made nut-free by ensuring your baking powder and other ingredients are processed in nut-free facilities.
My Take: I believe in balance. I eat vegetables most of the time so I can enjoy cake like this without a second thought. One slice of this cake isn’t going to derail your health goals — it’s going to make your day a little sweeter. And that matters.
Conclusion
This Neapolitan Layer Cake with Strawberry Buttercream is more than just a pretty dessert. It’s the cake that brings people together. It’s the one that gets requested for birthdays, shared on social media, and talked about long after the last crumb is gone. I’ve made it for casual family dinners and fancy celebrations, and it never fails to get the same reaction — wide eyes, big smiles, and empty plates.
What I love most about this recipe is how forgiving it is. You don’t need to be a professional baker to pull it off. You just need good ingredients, a little patience, and the willingness to enjoy the process. The first time I made it, my layers were a little uneven and my frosting was a little messy. But you know what? It still tasted incredible. And that’s the thing about homemade cake — it doesn’t have to be perfect to be perfect.
I’d love to see your version of this cake. Tag me in your photos, leave a comment below, or tell me about your own kitchen adventures with this recipe. Did you try a variation? Did your family fight over the last slice? Share it all — I read every comment and I’m always inspired by what you all create.
Now go preheat that oven. Your new favorite cake is waiting.
Frequently Asked Questions
Can I use a boxed cake mix for this recipe?
Technically yes, but the texture won’t be the same. A doctored box mix (using butter instead of oil, milk instead of water, and adding an extra egg) will give you a better result than straight out of the box. But honestly, the homemade version is so simple that I’d encourage you to give it a try. The flavor difference is night and day.
Why did my buttercream turn out runny?
This usually happens when the strawberry puree isn’t reduced enough or when it’s added while still warm. Make sure your puree is thick (like a loose jam) and completely cooled before adding it to the buttercream. If your frosting is already runny, try chilling it for 20 minutes and then re-whipping it.
Can I make this cake in advance?
Absolutely. You can bake the cake layers up to 2 days in advance and store them wrapped tightly in plastic wrap at room temperature. The buttercream can be made 3 days ahead and refrigerated in an airtight container. Let it come to room temperature and re-whip before using. The fully assembled cake can be made 1 day ahead and refrigerated.
How do I get clean slices without the frosting smearing?
Use a long, sharp knife and dip it in hot water between each cut. Wipe the blade dry with a clean towel before making the next cut. This technique gives you those beautiful, clean slices you see in bakery windows. For the best results, chill the cake for 30 minutes before slicing.
Can I use frozen strawberries for the puree?
Yes, frozen strawberries work perfectly. Thaw them first, then proceed with the recipe as written. Frozen berries are often sweeter than fresh ones since they’re picked at peak ripeness, so you might need slightly less sugar. Just make sure to drain any excess liquid before cooking them down.
Pin This Recipe!
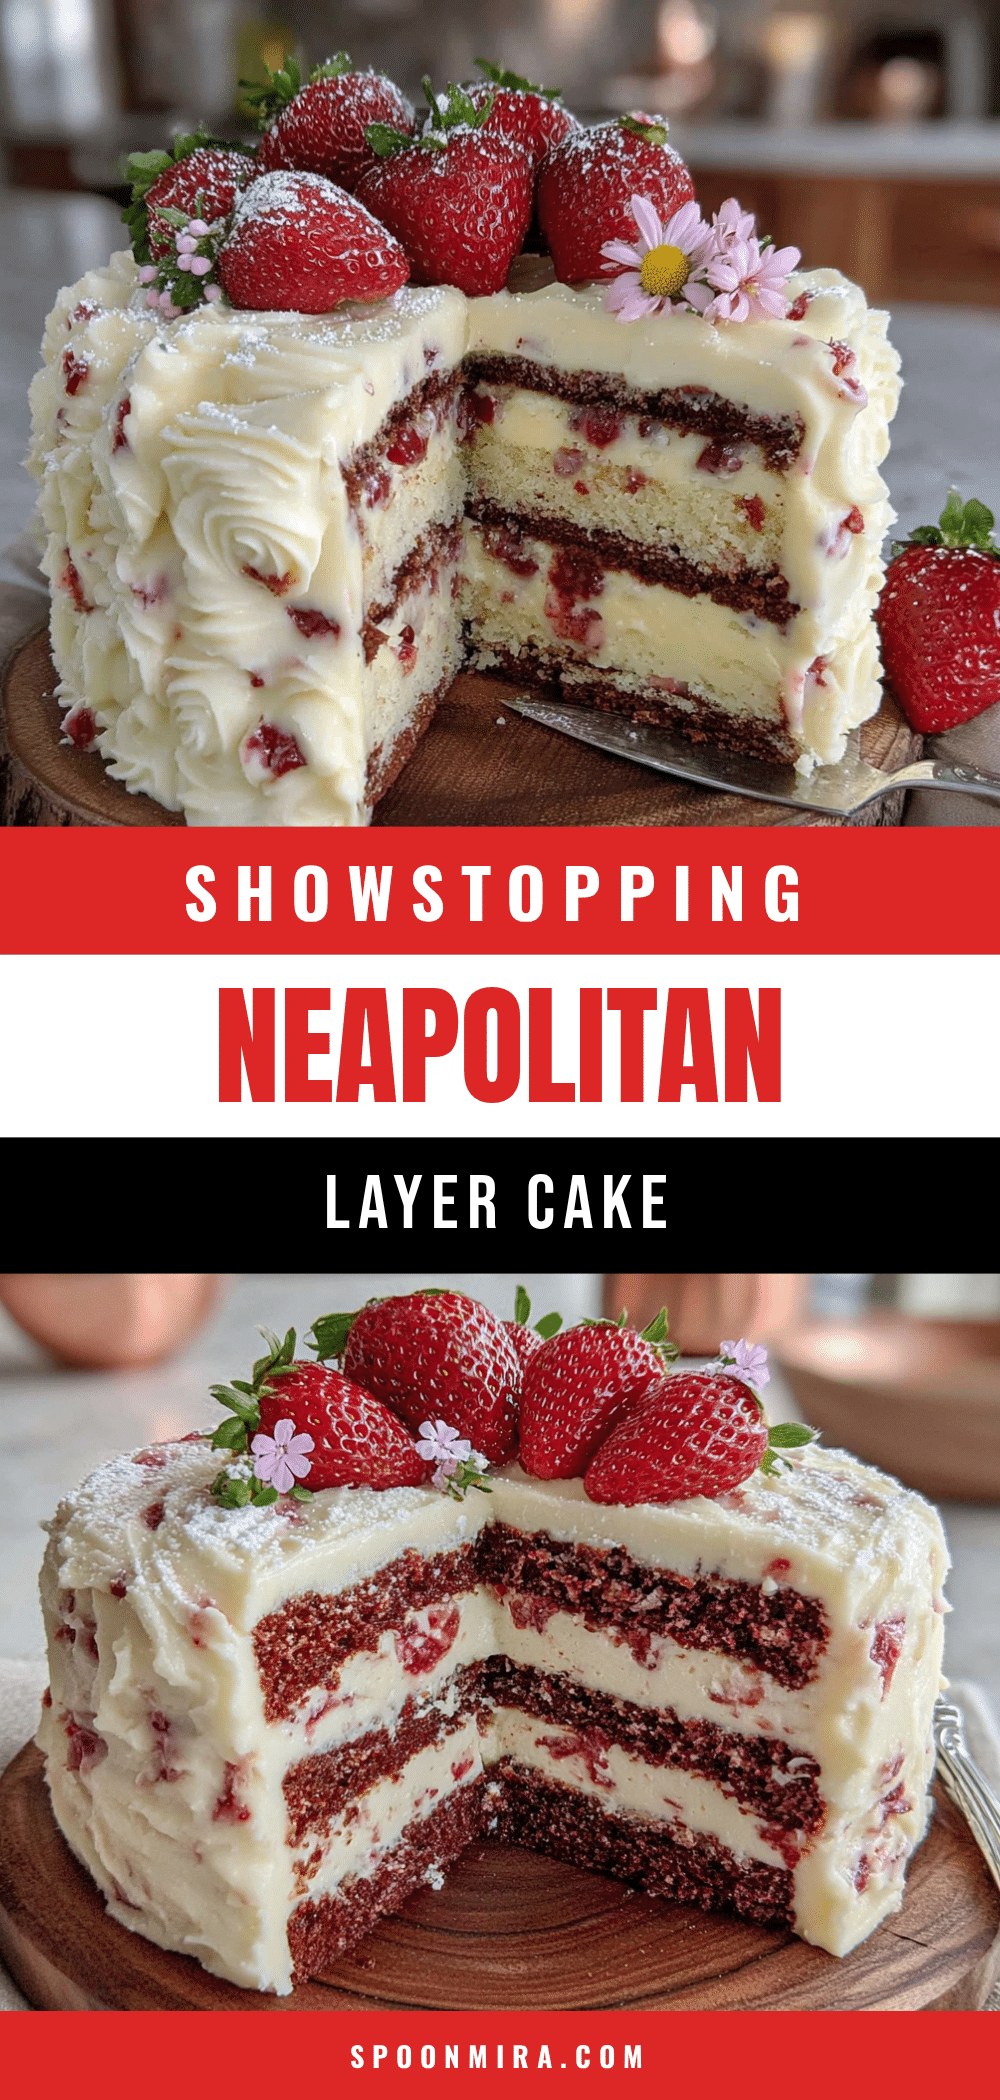
Perfect Neapolitan Layer Cake with Strawberry Buttercream
A stunning three-layer cake featuring chocolate, vanilla, and strawberry flavors with a real strawberry buttercream. This beginner-friendly recipe uses one batter divided into three flavors for a show-stopping dessert that’s perfect for celebrations.
- Prep Time: 30 minutes
- Cook Time: 25 minutes
- Total Time: 1 hour 55 minutes (includes cooling and chilling)
- Yield: 12 servings 1x
- Category: Dessert
- Cuisine: American
Ingredients
- 2 ½ cups all-purpose flour (spooned and leveled)
- 2 ½ teaspoons baking powder
- ½ teaspoon fine sea salt
- ¾ cup unsalted butter, softened to room temperature
- 1 ½ cups granulated sugar
- 3 large eggs, room temperature
- 1 tablespoon pure vanilla extract
- 1 cup whole milk, room temperature
- 3 tablespoons unsweetened cocoa powder (Dutch-processed preferred)
- 2 tablespoons hot water
- ⅓ cup strawberry puree (from about 6–8 strawberries, blended and strained)
- 2–3 drops pink food coloring (optional)
- 1 cup unsalted butter, softened (for buttercream)
- 4 cups powdered sugar, sifted
- ¼ cup strawberry puree, reduced on stovetop
- 1 teaspoon vanilla extract
- Pinch of salt
- 1–2 tablespoons heavy cream (if needed)
- 1 cup fresh or frozen strawberries (for puree)
- 1 tablespoon sugar (for puree)
Instructions
- Make the strawberry puree: In a small saucepan, combine 1 cup chopped strawberries with 1 tablespoon sugar. Cook over medium heat for 8-10 minutes, stirring occasionally, until strawberries break down and mixture thickens. Strain through a fine-mesh sieve to remove seeds. Set aside ¼ cup for buttercream and reserve the rest for cake batter. Cool completely.
- Preheat oven to 350°F (175°C). Grease three 8-inch round cake pans, line bottoms with parchment paper rounds, dust sides with flour, and tap out excess.
- In a medium bowl, whisk together flour, baking powder, and salt. Set aside.
- In a stand mixer bowl, beat softened butter and sugar on medium-high speed for 3-4 minutes until light and fluffy. Scrape down sides halfway through.
- Add eggs one at a time, beating well after each addition. Stir in vanilla extract until smooth and glossy.
- With mixer on low speed, add flour mixture in three additions, alternating with milk. Start and end with flour. Mix just until combined. Divide batter evenly into three bowls (about 1 ⅓ cups each).
- For chocolate layer: In a small bowl, whisk cocoa powder with 2 tablespoons hot water until smooth. Fold into one portion of batter until fully combined.
- For strawberry layer: Stir remaining strawberry puree (about 2-3 tablespoons) and pink food coloring (if using) into another portion of batter. Fold gently until color is even.
- Leave the third portion as is for the vanilla layer.
- Pour each batter into prepared pans. Spread evenly. Bake for 22-25 minutes, or until a toothpick inserted into center comes out clean or with a few moist crumbs. Chocolate layer may take 1-2 minutes longer.
- Let cakes cool in pans for 10 minutes, then turn out onto a cooling rack. Remove parchment paper and cool completely.
- Make strawberry buttercream: In stand mixer bowl, beat softened butter on medium-high speed for 5-7 minutes until pale, light, and fluffy.
- Reduce speed to low and gradually add sifted powdered sugar, about ½ cup at a time. Scrape down sides as needed.
- Add reduced strawberry puree, vanilla extract, and pinch of salt. Beat on medium-high for 2-3 minutes until smooth and spreadable. If too thick, add heavy cream one tablespoon at a time. If too thin, add more powdered sugar.
- Assemble cake: Place one cake layer on serving plate. Level domed tops with a serrated knife if needed. Start with chocolate layer on bottom.
- Spread about ¾ cup buttercream evenly over first layer. Top with vanilla layer, then another ¾ cup buttercream. Finish with strawberry layer on top.
- Apply a thin crumb coat (thin layer of frosting to trap crumbs) and refrigerate for 20 minutes.
- Once set, apply final layer of frosting, smoothing sides and top with an offset spatula.
- Decorate optionally with piped rosettes, fresh strawberry slices, or chocolate shavings.
Notes
Room temperature ingredients are essential for proper emulsion. Don’t overmix the batter. Chill the cake after crumb coat for clean frosting. Use a serrated knife for leveling layers. For clean slices, dip a sharp knife in hot water and wipe dry between cuts. The cake tastes even better on day two as flavors meld.
Nutrition
- Serving Size: 1 slice
- Calories: 500
- Sugar: 48
- Sodium: 280
- Fat: 24
- Saturated Fat: 15
- Carbohydrates: 68
- Fiber: 1
- Protein: 5
Keywords: Neapolitan cake, layer cake, strawberry buttercream, chocolate vanilla strawberry cake, celebration cake, birthday cake