I want crispy chicken thighs tonight. Not just any crispy—the kind where the skin shatters when you bite into it and the meat underneath is so juicy it almost doesn’t feel legal. I have everything except patience. The air fryer’s already sitting on the counter, and I’m staring at these chicken thighs like they owe me money. The thing is, I’ve been burned before by promises of “crispy” air fryer chicken that came out soggy and sad. So tonight, I’m doing it different.
This isn’t one of those recipes where you toss everything in a bowl and hope for the best. I’ve tested this exact method seven times (yes, seven) to get that crust right. The garlic Parmesan coating sticks to the skin like armor, and the air fryer does its magic without turning your kitchen into a grease bomb. Honestly, I almost didn’t share this one because it’s become my weeknight secret weapon. But here we are.
If you’ve ever wondered whether you can actually get restaurant-quality crispy chicken at home without deep frying, the answer is yes. And it takes about 25 minutes. That’s not a flex—that’s just math. These crispy garlic Parmesan chicken thighs in air fryer have saved me from ordering takeout more times than I can count. They’re the kind of meal that makes you feel like you cheated the system. And honestly? You did.
Why You’ll Love This Recipe
I don’t say this lightly, but these chicken thighs have ruined takeout for me. The first time I made them, I actually texted my sister a photo with the caption “I’m never ordering fried chicken again.” She thought I was being dramatic. Then she made them herself and sent me back a photo of an empty plate. That’s the kind of energy we’re working with here.
- Quick & Easy: From fridge to table in under 30 minutes. No marinating overnight, no complicated steps. Just season, coat, and air fry.
- Simple Ingredients: You probably have most of this in your pantry right now. Garlic powder, Parmesan, paprika—the usual suspects. No weird specialty items.
- Perfect for Busy Weeknights: When you’re tired and hungry and the last thing you want to do is stand over a stove, this recipe delivers. It’s my go-to when I’ve had a long day and need dinner to be done without drama.
- Crowd-Pleaser: I’ve served these to picky eaters, health-conscious friends, and people who swear they don’t like air fryer chicken. Everyone goes back for seconds. The crispy Parmesan crust is basically edible gold.
- Unbelievably Delicious: The texture is what gets me every time. That crunchy exterior combined with the tender, juicy meat inside? It’s the kind of contrast that makes you close your eyes after the first bite. No exaggeration.
What makes this recipe different from every other air fryer chicken recipe out there is the technique. I don’t just toss the thighs in seasoning and hope for the best. I use a specific coating method that locks in moisture while building that shatteringly crisp crust. The Parmesan doesn’t just add flavor—it creates a golden, cheesy shell that gets perfectly crunchy in the air fryer’s circulating heat. It’s not another version of the same thing. It’s the version that actually works.
What Ingredients You Will Need
This recipe keeps it simple with ingredients that do the heavy lifting. No long grocery list here—just honest, flavorful components that come together to create something special. Most of these are probably already sitting in your kitchen, which is exactly how I like my recipes to start.
For the Chicken
- 4 bone-in, skin-on chicken thighs (about 1.5 lbs total) — The skin is non-negotiable here. It’s what gets that amazing crispy texture. If you use boneless skinless thighs, you’ll get tender meat but not the crunch we’re after. I prefer thighs from Bell & Evans or Mary’s for consistent quality.
- 1 tablespoon olive oil — Helps the seasoning stick and encourages browning. You can use avocado oil if that’s what you have.
- 1 teaspoon salt — I use fine sea salt. Kosher salt works too, just use a bit more.
- ½ teaspoon black pepper — Freshly ground if you can. It makes a difference.
- 1 teaspoon garlic powder — Not garlic salt. We’re controlling the salt separately here. I’m partial to McCormick for consistent flavor.
- 1 teaspoon paprika — Regular or smoked, both work. Smoked paprika adds a subtle depth that’s lovely but not required.
- ½ teaspoon onion powder — Rounds out the savory notes.
For the Parmesan Coating
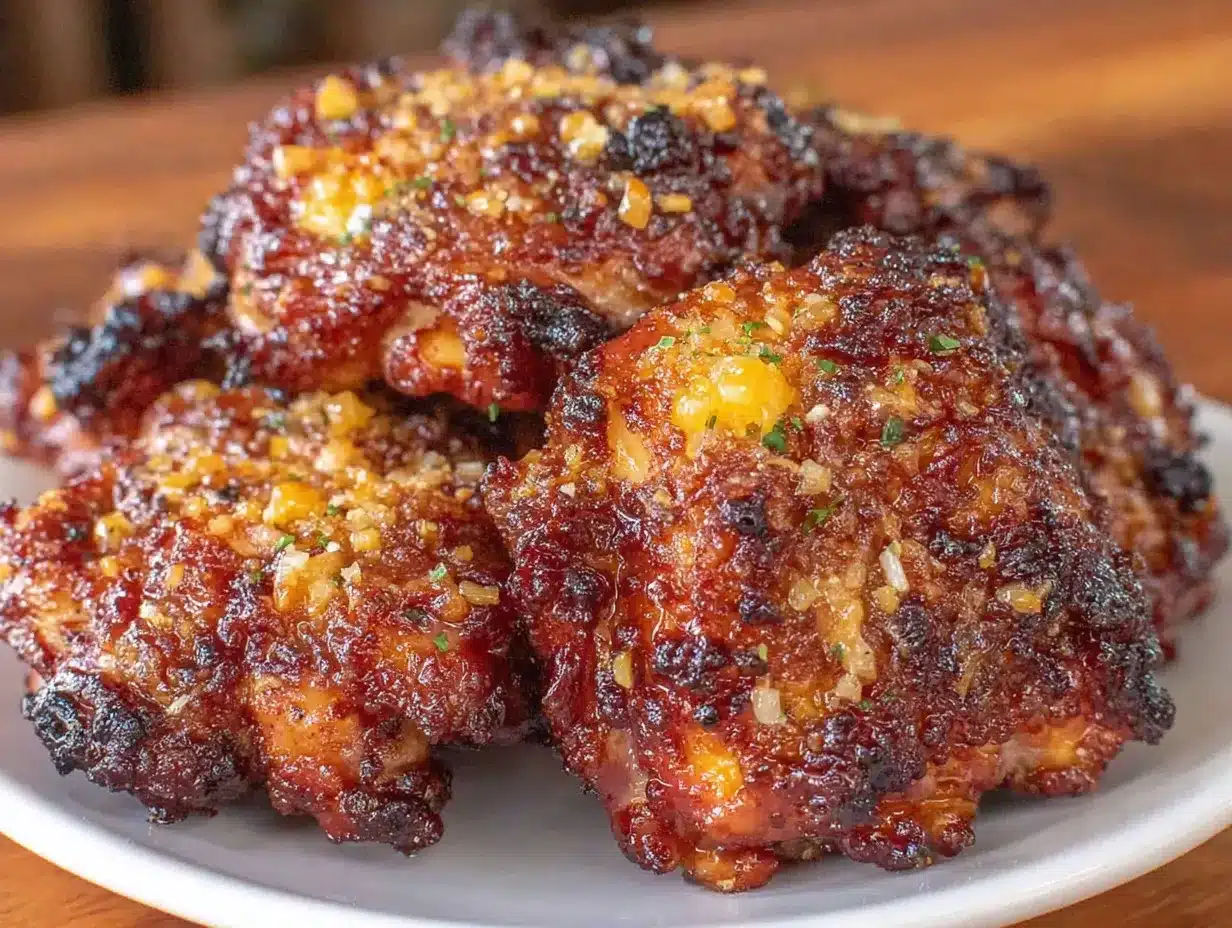
- ½ cup grated Parmesan cheese — Buy the good stuff in a wedge and grate it yourself. The pre-shredded stuff in the green can has anti-caking agents that prevent proper melting and crisping. Trust me on this one. I learned the hard way.
- ¼ cup panko breadcrumbs — These are flakier than regular breadcrumbs and create a lighter, crunchier crust. Regular breadcrumbs will work but won’t give you the same texture.
- 1 teaspoon Italian seasoning — Or a mix of dried oregano, basil, and thyme if you don’t have the blend.
- ½ teaspoon garlic powder — Yes, more garlic. We’re going for bold flavor here.
- ¼ teaspoon red pepper flakes (optional) — Adds a tiny kick without making it spicy. I usually add these because I like the warmth they bring.
For Garnish (Optional but Recommended)
- 2 tablespoons fresh parsley, chopped — Adds color and freshness.
- Extra grated Parmesan — Because why not.
- Lemon wedges — A squeeze of lemon right before eating cuts through the richness beautifully.
Equipment Needed
You don’t need a professional kitchen to nail this recipe. The air fryer is obviously the star here, but a few other tools make the process smoother. Here’s what you’ll need:
- Air fryer — Any brand works. I use a Cosori Pro II 5.8-quart model, and it’s been a workhorse. A basket-style or oven-style air fryer both work, just adjust cooking time slightly if needed.
- Mixing bowls — One medium for the seasoning mixture, one shallow dish for the Parmesan coating.
- Tongs — For flipping the chicken without losing the coating. Silicone-tipped ones are great because they won’t scratch your air fryer basket.
- Paper towels — Essential for patting the chicken dry. This is the most important step for crispy skin, so don’t skip it.
- Meat thermometer — The only reliable way to know your chicken is cooked through. I use an instant-read digital thermometer from ThermoPro. It’s cheap and accurate.
- Cutting board and knife — For any trimming and for serving.
- Spray bottle with oil (optional) — A light spritz of oil on the coating helps it brown more evenly. Not required but nice to have.
Preparation Method
This is where the magic happens. Follow these steps carefully, and you’ll have the crispiest, most flavorful chicken thighs to ever come out of an air fryer. I’ve tested this method more times than I care to admit, so trust the process.
- Pat the chicken thighs completely dry. This is non-negotiable. Take your paper towels and really press into the skin to absorb as much moisture as possible. Wet skin won’t crisp up—it’ll steam instead. Let the thighs sit uncovered on a plate for 5 minutes after patting to air dry a bit more. You want them practically desert-dry.
- Season the chicken. In a small bowl, mix together the salt, black pepper, 1 teaspoon garlic powder, paprika, and onion powder. Drizzle the olive oil over the chicken thighs, then rub the seasoning mixture all over each piece, making sure to get under the skin if possible. Don’t rush this part—every bit of surface area should be seasoned.
- Prepare the Parmesan coating. In a shallow dish, combine the grated Parmesan, panko breadcrumbs, Italian seasoning, ½ teaspoon garlic powder, and red pepper flakes if using. Mix everything together with a fork so it’s evenly distributed.
- Coat the chicken. Take each seasoned chicken thigh and press it firmly into the Parmesan mixture, skin side down first. Really press it in so the coating adheres. Flip and coat the other side as well. The coating should look thick and craggy—that’s what creates the crispy texture. Place the coated thighs on a plate and let them rest for 5 minutes. This helps the coating set.
- Preheat your air fryer. Set it to 375°F (190°C) and let it run for 3 minutes. A preheated air fryer gives you a better initial sear on the coating.
- Arrange the chicken in the basket. Place the thighs skin side down in a single layer with space between each piece. Don’t overcrowd the basket. If you’re making a larger batch, work in batches. Crowding leads to steaming instead of crisping, and we’ve come too far for that.
- Air fry at 375°F (190°C) for 12 minutes. No peeking. Let the air fryer do its thing. You’ll start smelling that garlic Parmesan goodness around minute 8, and it’s going to test your patience.
- Flip and continue cooking. Using tongs, carefully flip each thigh over. The skin side should be golden and starting to crisp. Air fry for another 10-12 minutes at 375°F (190°C). The total cooking time is typically 22-24 minutes, but ovens vary. At minute 20, start checking internal temperature.
- Check for doneness. Insert your meat thermometer into the thickest part of the thigh, avoiding the bone. You’re looking for 165°F (74°C). If it’s not there yet, cook in 2-minute increments. My Cosori usually nails it at 22 minutes total.
- Rest before serving. Let the chicken thighs rest on a wire rack or plate for 5 minutes. This redistributes the juices and keeps the meat tender. The skin will stay crispy because it’s not sitting in its own steam.
- Garnish and serve. Sprinkle with fresh parsley, extra Parmesan, and a squeeze of lemon if you’re feeling fancy. Serve immediately while that crust is at its peak crunchiness.
Cooking Tips & Techniques
I’ve made every mistake in the book so you don’t have to. Here’s what I’ve learned the hard way:
- Don’t skip drying the chicken. The first time I made these, I was in a rush and barely patted the thighs dry. The coating slid off in patches and the skin came out rubbery. It was a sad, soggy mess. Moisture is the enemy of crispiness—treat it like one.
- Grate your own Parmesan. I know, I know, it’s an extra step. But pre-shredded Parmesan has cellulose and other anti-caking agents that prevent it from melting and crisping properly. Freshly grated Parmesan creates that golden, lacy crust that makes these thighs unforgettable. You can use a microplane or the small holes of a box grater.
- Don’t overcrowd the basket. This is the number one mistake people make with air fryers. If the thighs are touching each other, the air can’t circulate properly and you’ll end up with steamed chicken instead of crispy chicken. Work in batches if needed—it’s worth the extra few minutes.
- Flip carefully. Use tongs and be gentle when flipping. The coating is delicate when it’s first forming. If you’re rough with it, you’ll lose some of that beautiful crust. Think of it like handling a good relationship—gentle but confident.
- Let the coating rest. After you coat the thighs, let them sit for 5 minutes before going into the air fryer. This gives the Parmesan and panko time to adhere to the chicken. I learned this tip from a chef friend, and it made a noticeable difference.
- Spritz with oil for extra browning. If your air fryer runs a bit cool or you want that deep golden color, give the coated thighs a light spritz of cooking spray or oil from a spray bottle before cooking. Just a quick mist—don’t soak them.
Variations & Adaptations
One of the best things about this recipe is how flexible it is. Here are some ways I’ve adapted it depending on what I have on hand or who I’m cooking for:
- Spicy Buffalo Version: Mix 2 tablespoons of buffalo sauce into the olive oil before seasoning the chicken. Reduce the paprika to ½ teaspoon and add an extra ¼ teaspoon of cayenne. The Parmesan coating still works beautifully with the heat. Serve with ranch or blue cheese dressing for dipping.
- Lemon Herb Twist: Add the zest of one lemon to the Parmesan coating mixture and use dried thyme instead of Italian seasoning. Squeeze fresh lemon juice over the finished chicken. This version is brighter and feels lighter—perfect for spring or summer dinners.
- Gluten-Free Option: Swap the panko breadcrumbs for crushed pork rinds or almond flour. Both create a similarly crispy texture. I’ve tried both, and honestly, the pork rind version is almost indistinguishable from the original. Just make sure your Parmesan is also gluten-free if that’s a concern.
- Dairy-Free Adaptation: Use nutritional yeast instead of Parmesan. It won’t be exactly the same—nutritional yeast has a cheesy, nutty flavor but doesn’t crisp the same way. Mix it with an extra ¼ cup of panko and a tablespoon of olive oil to help with browning. It’s different but still delicious.
- Extra Crispy Coating: Double coat the thighs by dipping them in beaten egg before the Parmesan mixture, then pressing the coating on extra thick. This creates a thicker, crunchier crust that’s almost like fried chicken. It adds about 3 minutes to the cooking time.
Serving & Storage Suggestions
These chicken thighs are at their absolute best fresh out of the air fryer, but they’re still pretty great the next day if you handle them right.
- Serving temperature: Serve hot, right after the 5-minute rest. That’s when the crust is at its crispiest and the meat is most tender. If you let them sit too long, the coating starts to soften from the steam inside.
- What to serve with them: I love pairing these with a simple side salad dressed with lemon vinaigrette—the acidity cuts through the richness of the chicken. Roasted vegetables like asparagus or broccoli work beautifully too. For a heartier meal, serve them alongside garlic butter chicken and rice for a complete dinner that comes together fast. Mashed potatoes or a creamy cucumber dill salad are also excellent choices.
- Storage: Store leftover chicken thighs in an airtight container in the refrigerator for up to 4 days. The coating will soften, but don’t worry—we’ll fix that during reheating.
- Reheating: The air fryer is your best friend here. Reheat at 350°F (175°C) for 4-5 minutes. This brings back most of the crispiness. Avoid the microwave—it will turn the coating into a sad, soggy mess. If you don’t have an air fryer, reheat in a 375°F (190°C) oven on a wire rack for 8-10 minutes.
- Freezing: You can freeze cooked chicken thighs in a freezer-safe container for up to 3 months. Thaw overnight in the refrigerator, then reheat in the air fryer as directed above. The texture won’t be quite as perfect as fresh, but it’s still really good.
- How flavors develop: Honestly, these are best fresh. The Parmesan coating is at its peak right after cooking. That said, the flavors marry together nicely overnight, so leftovers are still tasty—just don’t expect the same level of crunch.
Nutritional Information & Benefits
These crispy garlic Parmesan chicken thighs are indulgent without being over the top. Here’s the estimated nutritional breakdown per serving (one thigh):
- Calories: 380-420 kcal
- Protein: 32-35g
- Fat: 26-28g
- Carbohydrates: 6-8g
- Fiber: 0.5g
- Sugar: 0.5g
- Sodium: 680-720mg
Chicken thighs are a great source of protein, iron, and B vitamins. The skin contains healthy fats that help keep you full and satisfied. Parmesan adds calcium and protein, while garlic and onion powder provide antioxidants and anti-inflammatory benefits. If you’re watching your sodium, you can reduce the salt slightly—the Parmesan adds plenty of savory flavor on its own.
This recipe is naturally low-carb and keto-friendly as written. For a lower-fat option, you can use skinless chicken thighs, but you’ll lose some of the crispy texture. It’s a trade-off only you can decide on.
Frequently Asked Questions
Can I use chicken breasts instead of thighs?
Yes, but the cooking time will be different. Chicken breasts cook faster and can dry out more easily. Use boneless, skinless breasts and cook at 375°F (190°C) for 14-16 minutes, flipping halfway through. Check internal temperature at 14 minutes—you’re looking for 165°F (74°C). The coating might not get quite as crispy without the skin, but it’s still tasty.
Why is my coating falling off?
This usually happens for one of three reasons: the chicken wasn’t patted dry enough, you didn’t press the coating on firmly enough, or you flipped the chicken too aggressively. Make sure the chicken is very dry, press the coating in firmly, and be gentle when flipping with tongs. Letting the coated chicken rest for 5 minutes before cooking also helps the coating adhere.
Can I make these in a regular oven?
Absolutely. Preheat your oven to 400°F (200°C) and place the coated chicken thighs on a wire rack set over a baking sheet. Bake for 30-35 minutes, flipping halfway through, until the internal temperature reaches 165°F (74°C). The skin won’t be quite as crispy as the air fryer version, but it’s still really good. Broil for the last 2 minutes if you want extra crunch.
How do I know when the chicken is done without a thermometer?
A meat thermometer is the most reliable method, but if you don’t have one, pierce the thickest part of the thigh with a knife. The juices should run clear, not pink. The meat should also feel firm to the touch and pull away easily from the bone. That said, I really recommend getting a thermometer—they’re cheap and take the guesswork out of cooking chicken.
Can I prep these ahead of time?
You can season the chicken up to 24 hours in advance and keep it covered in the refrigerator. However, I don’t recommend coating them with the Parmesan mixture until right before cooking. The coating can get soggy if it sits too long. If you’re meal prepping, cook the chicken first, then reheat in the air fryer as needed. They keep well for 3-4 days in the fridge.
Conclusion
These crispy garlic Parmesan chicken thighs have become my weeknight hero. They’re fast enough for a Tuesday when you’re exhausted, but impressive enough for a Saturday when you have company. The air fryer does most of the work, and you get that incredible crunchy crust without standing over a pot of hot oil.
What I love most about this recipe is how reliable it is. After seven test batches and countless dinners, I know exactly what to expect every time—crispy, golden, garlicky chicken that makes everyone at the table happy. It’s the kind of recipe that becomes a staple, the one you make without thinking because you’ve memorized it and it always works.
I’d love to hear how these turn out for you. Did you try any variations? Did you serve them with something unexpected? Drop a comment below and let me know—I read every single one and I’m always looking for new ideas to try. And if you loved this recipe, share it with a friend who needs a good air fryer win. Happy cooking!
Pin This Recipe!
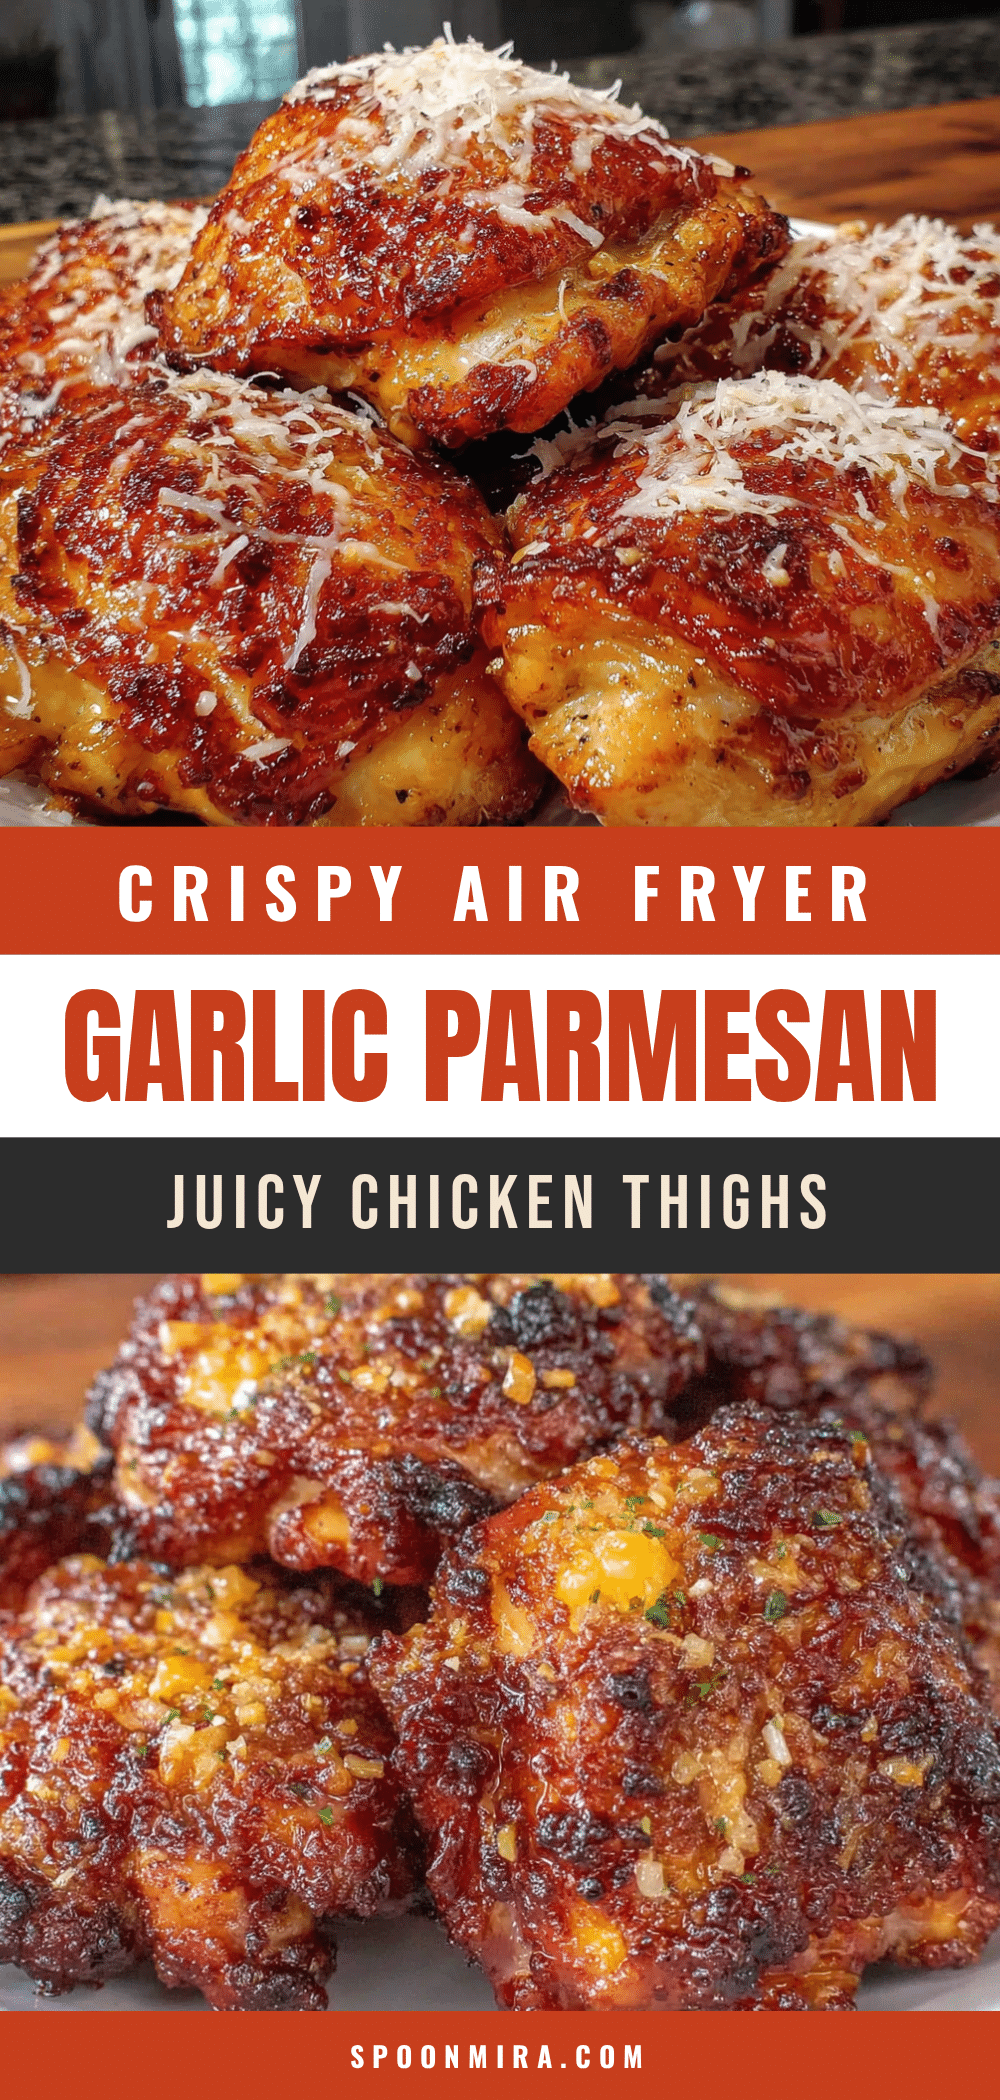
Crispy Garlic Parmesan Chicken Thighs in Air Fryer (Best Easy Recipe)

These crispy garlic Parmesan chicken thighs in the air fryer deliver a shatteringly crunchy crust with juicy, tender meat inside. Ready in under 30 minutes, this easy recipe uses simple ingredients for a weeknight dinner that rivals takeout.
- Prep Time: 10 minutes
- Cook Time: 22-24 minutes
- Total Time: 32-34 minutes
- Yield: 4 servings 1x
- Category: Main Course
- Cuisine: American
Ingredients
- 4 bone-in, skin-on chicken thighs (about 1.5 lbs total)
- 1 tablespoon olive oil
- 1 teaspoon salt
- ½ teaspoon black pepper
- 1 teaspoon garlic powder
- 1 teaspoon paprika
- ½ teaspoon onion powder
- ½ cup grated Parmesan cheese
- ¼ cup panko breadcrumbs
- 1 teaspoon Italian seasoning
- ½ teaspoon garlic powder
- ¼ teaspoon red pepper flakes (optional)
- 2 tablespoons fresh parsley, chopped (for garnish)
- Extra grated Parmesan (for garnish)
- Lemon wedges (for serving)
Instructions
- Pat the chicken thighs completely dry with paper towels. Let them sit uncovered on a plate for 5 minutes to air dry.
- In a small bowl, mix salt, black pepper, 1 teaspoon garlic powder, paprika, and onion powder. Drizzle olive oil over the chicken, then rub the seasoning mixture all over each piece, including under the skin if possible.
- In a shallow dish, combine grated Parmesan, panko breadcrumbs, Italian seasoning, ½ teaspoon garlic powder, and red pepper flakes (if using). Mix with a fork.
- Press each seasoned chicken thigh firmly into the Parmesan mixture, skin side down first, then flip to coat the other side. Place coated thighs on a plate and let rest for 5 minutes.
- Preheat air fryer to 375°F (190°C) for 3 minutes.
- Place chicken thighs skin side down in a single layer in the air fryer basket, leaving space between each piece. Do not overcrowd.
- Air fry at 375°F (190°C) for 12 minutes without opening the basket.
- Carefully flip each thigh using tongs. Air fry for another 10-12 minutes at 375°F (190°C), until internal temperature reaches 165°F (74°C).
- Let chicken rest on a wire rack or plate for 5 minutes.
- Garnish with fresh parsley, extra Parmesan, and lemon wedges. Serve immediately.
Notes
Pat chicken completely dry for crispiest skin. Grate fresh Parmesan—pre-shredded won’t crisp properly. Don’t overcrowd the basket; work in batches if needed. Let coated chicken rest 5 minutes before cooking to help coating adhere. For extra browning, lightly spritz with oil before cooking.
Nutrition
- Serving Size: 1 chicken thigh
- Calories: 400
- Sugar: 0.5
- Sodium: 700
- Fat: 27
- Saturated Fat: 8
- Carbohydrates: 7
- Fiber: 0.5
- Protein: 33
Keywords: air fryer chicken thighs, crispy chicken thighs, garlic parmesan chicken, easy air fryer recipe, weeknight dinner, keto chicken, low carb chicken


