This was supposed to be a dumpling soup. I had the broth simmering on the stove—a fragrant mix of ginger, star anise, and chicken stock that filled my tiny apartment with the kind of warmth you want on a rainy Tuesday. I was feeling ambitious, maybe overly so. The plan was to make delicate little pork and chive dumplings, drop them into that steaming broth, and serve myself a bowl of pure comfort. Then I grabbed the wrong bag from the freezer.
Let me set the scene. I was rushing, honestly, because I had about forty-five minutes before a friend was supposed to come over. The wonton wrappers I’d bought were in the fridge, but I grabbed a package of gyoza wrappers instead—thicker, chewier, absolutely wrong for the delicate soup I had in mind. I didn’t realize my mistake until I had already mixed the filling. My heart sank. The broth was bubbling away, the filling was seasoned, and I was staring at wrappers that would turn my elegant soup into a gloopy mess. I almost scrapped the whole thing. Maybe you’ve been there—that moment when you’re one wrong ingredient away from ordering takeout.
But I’m stubborn. I figured, well, if I can’t drop them in soup, I’ll pan-fry them. And that’s when something clicked. I decided to make a lighter version—less oil, more veggies mixed into the pork, a quick steam instead of a deep fry. I grabbed a non-stick skillet, a splash of oil, and went for it. What came out of that pan was nothing like the soup I’d planned. The bottoms were golden and crispy, the tops were tender and steamed, and the filling was juicy without being greasy. My friend walked in as I was pulling them off the heat, and we ate the entire batch standing over the counter. I never did make that dumpling soup. Honestly, I don’t think I’ll ever need to.
Why You’ll Love This Recipe
I’ve tested a lot of potsticker recipes over the years—some that were too greasy, others that fell apart in the pan, and a few that just tasted flat. This one is different. It’s the version I make when I want all the satisfaction of a restaurant-quality potsticker without the heavy feeling afterward. Let me break down why this recipe works so well.
- Quick & Easy: From start to finish, you’re looking at about 30 minutes. That includes mixing the filling, folding the dumplings, and getting them golden brown. Perfect for a weeknight when you want something special without spending hours in the kitchen.
- Simple Ingredients: You don’t need any specialty ingredients here. Ground pork, fresh chives, a few pantry staples, and store-bought wrappers. No trips to a special Asian market—though if you have one nearby, by all means go. The ingredients are straightforward and accessible.
- Perfect for Meal Prep: These freeze beautifully. I’ll make a double batch on Sunday, freeze half on a baking sheet, then toss them into a bag for quick dinners. They cook straight from frozen, which feels like magic on a busy night.
- Crowd-Pleaser: I’ve served these at parties, family dinners, and casual get-togethers. They disappear every single time. Kids love them, adults love them, and they somehow feel both fancy and comforting at the same time.
- Lighter Without Sacrifice: The secret is using less pork and bulking up the filling with finely chopped cabbage and extra chives. You get all the savory, juicy goodness with less fat. Plus, we’re pan-frying with minimal oil and steaming to finish, so you skip the deep-fryer entirely.
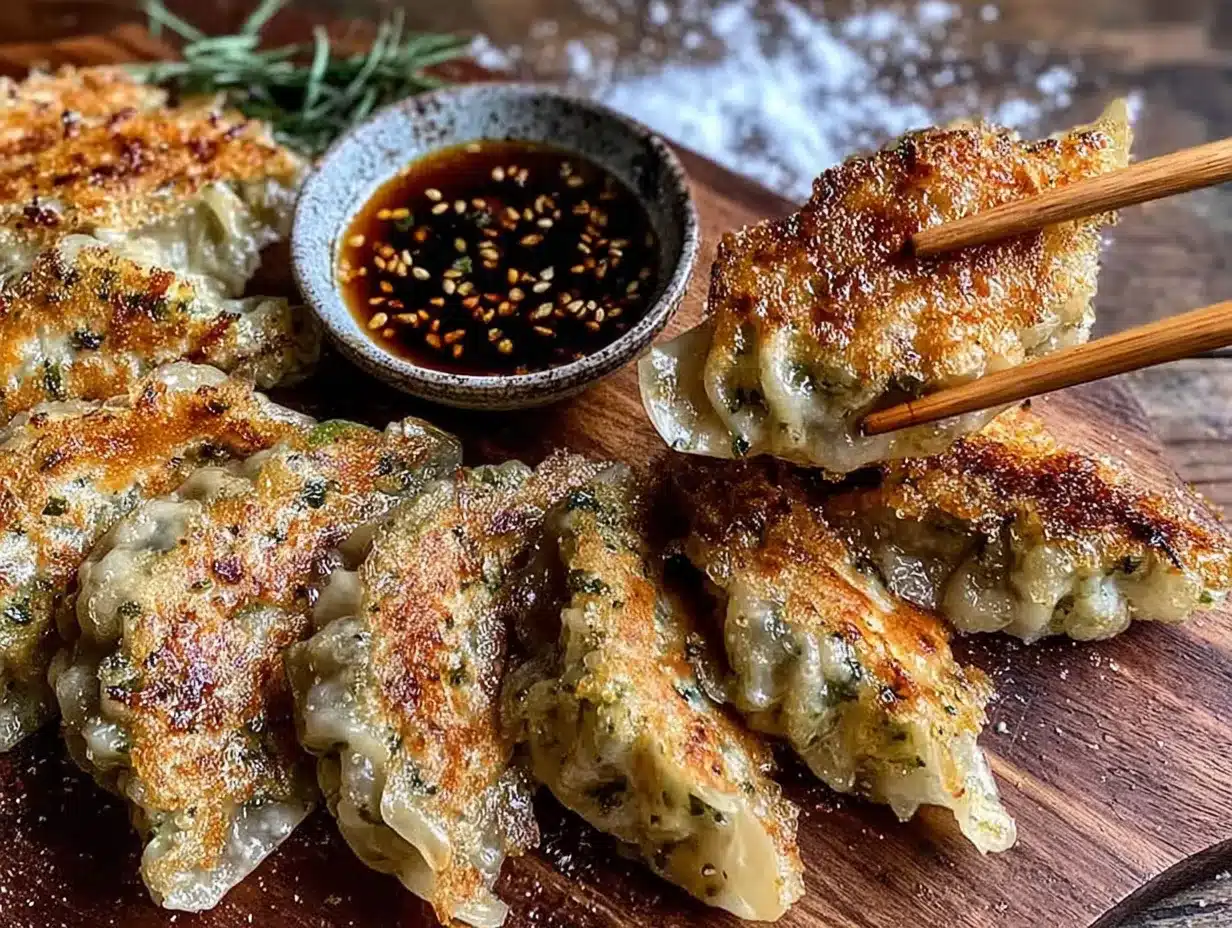
What makes this recipe stand out is the texture. The bottoms get that perfect crispy lace—almost like a thin sheet of golden brown that holds the dumpling together. The top stays tender and chewy. And the filling? It’s seasoned just right, with a hint of ginger and garlic that hits you after the first bite. This isn’t just another potsticker recipe. It’s the one I keep coming back to, and I think you will too.
What Ingredients You Will Need
This recipe uses simple, wholesome ingredients to deliver bold flavor and satisfying texture without the fuss. Most of these are pantry staples, and the ones that aren’t are easy to find at any grocery store. Here’s what you’ll need:
For the Filling
- Ground pork (8 ounces / 225 grams): I prefer using lean ground pork (85/15) for a lighter result. You can also use ground chicken or turkey if you want to go even lighter.
- Fresh chives (1/2 cup, finely chopped): These add a mild oniony flavor that’s essential. If you can’t find fresh chives, you can substitute with finely chopped green onions, but use the green parts only.
- Finely shredded cabbage (1/2 cup): This is my secret for lightening the filling. It adds moisture and bulk without extra fat. I recommend using napa cabbage or green cabbage—just make sure to squeeze out any excess water after shredding.
- Fresh ginger (1 teaspoon, grated): Use a microplane for this. Fresh ginger makes a huge difference compared to the powdered stuff.
- Garlic (2 cloves, minced): Fresh garlic is non-negotiable here. It adds a punch that pre-minced jarred garlic just can’t match.
- Soy sauce (1 tablespoon): I use low-sodium soy sauce to control the salt level. Tamari works great for a gluten-free option.
- Sesame oil (1 teaspoon): A little goes a long way. This adds that classic nutty flavor that makes potstickers taste authentic.
- Rice vinegar (1 teaspoon): This brightens up the filling and balances the richness of the pork.
- Cornstarch (1 tablespoon): This helps bind the filling and keeps it moist. It’s a small addition that makes a big difference in texture.
For the Wrappers
- Round gyoza or potsticker wrappers (1 package, about 24-30 wrappers): Look for these in the refrigerated section of your grocery store. They’re usually near the tofu or produce section. I recommend the Nasoya brand for consistent quality.
- Water (for sealing): Just a small bowl of water to moisten the edges of the wrappers.
For Cooking
- Neutral oil (2 tablespoons): I use avocado oil or grapeseed oil because they have a high smoke point. Vegetable oil works too. Avoid olive oil—it burns too easily.
- Water (1/3 cup): This is for the steaming step. It creates steam that cooks the top of the dumplings while the bottoms get crispy.
For the Dipping Sauce
- Soy sauce (3 tablespoons): Low-sodium is best here too.
- Rice vinegar (2 tablespoons): This adds acidity that cuts through the richness.
- Chili oil or sriracha (1 teaspoon, optional): Add this if you like heat. I usually serve it on the side so everyone can adjust to their preference.
- Toasted sesame seeds (1 teaspoon, optional): For garnish and a little extra texture.
One quick note on wrappers: if you can’t find round wrappers, you can use square wonton wrappers and cut them into rounds with a cookie cutter. It’s a little extra work, but it works in a pinch. Also, if you’re feeling ambitious, you can make your own dough from flour and water, but honestly, store-bought wrappers save so much time and they work perfectly.
Equipment Needed
You don’t need any fancy gadgets for this recipe. Here’s what I use every time I make these potstickers:
- Large non-stick skillet with a lid: This is crucial. A non-stick surface ensures the potstickers release easily without sticking or tearing. The lid is necessary for the steaming step. I use a 12-inch skillet, which fits about 12 potstickers at a time.
- Mixing bowl: Any medium-sized bowl will work for combining the filling ingredients.
- Cutting board and sharp knife: For chopping the chives and cabbage. A sharp knife makes a big difference—dull knives will bruise the herbs.
- Microplane or fine grater: For grating the ginger. You can mince it finely with a knife, but a microplane is faster and gives you a more consistent texture.
- Small bowl of water: For moistening the wrapper edges when sealing.
- Spatula: A thin, flexible spatula works best for getting under the potstickers without breaking them.
- Baking sheet lined with parchment paper: If you’re freezing some, this is essential. You can also use it to hold the assembled potstickers while you work.
- Pastry brush (optional): Some people prefer using a brush to apply water to the wrappers. I just use my fingers—it’s simpler and works just as well.
If you don’t have a non-stick skillet, a well-seasoned cast iron pan can work, but you’ll need to be extra careful about sticking. I’ve also used a stainless steel pan in a pinch, but I had to use a bit more oil and watch them like a hawk. Honestly, the non-stick skillet is worth it for this recipe. It takes the stress out of cooking.
Preparation Method
Let’s get cooking. I’ll walk you through each step, including what to look for and what to avoid. Trust me, after the first batch, you’ll feel like a pro.
- Prepare the filling (5 minutes): In a medium mixing bowl, combine the ground pork, finely chopped chives, shredded cabbage, grated ginger, minced garlic, soy sauce, sesame oil, rice vinegar, and cornstarch. Use your hands to mix everything together—I find this works better than a spoon because you can really incorporate everything evenly. Mix until the filling looks uniform and slightly sticky. Don’t overmix, or the pork can become tough. You want it just combined.
- Set up your assembly station (2 minutes): Lay out your wrappers on a clean surface. Place a small bowl of water nearby. Line a baking sheet with parchment paper to hold the assembled potstickers. This keeps everything organized and prevents sticking.
- Fill and fold the potstickers (15-20 minutes): Take one wrapper and place it in the palm of your non-dominant hand. Spoon about 1 heaping teaspoon of filling into the center of the wrapper. Don’t overfill—less is more here. Overfilled wrappers are hard to seal and will burst open during cooking. Dip your finger in the water and moisten the edge of the wrapper. Fold the wrapper in half, pressing the edges together to seal. Here’s where you can get fancy: make small pleats along the sealed edge for that classic potsticker look. If you’re short on time, just press the edges firmly with your fingers. A tight seal is more important than pretty pleats. Place the finished potsticker on the parchment-lined baking sheet. Repeat with the remaining wrappers and filling.
- Pan-fry the potstickers (10 minutes): Heat your non-stick skillet over medium-high heat. Add 1 tablespoon of neutral oil and swirl to coat the bottom. Place the potstickers in the skillet, flat side down, in a single layer. Don’t overcrowd—leave a little space between each one. Cook for 2-3 minutes, until the bottoms are golden brown. You’ll see the edges start to turn opaque, and you should hear a gentle sizzle. If the sizzle stops, your pan isn’t hot enough.
- Steam the potstickers (5 minutes): Carefully pour 1/3 cup of water into the skillet. It will splatter and steam immediately, so stand back a bit. Cover the skillet immediately with the lid. Reduce the heat to medium and let them steam for 4-5 minutes. The steam cooks the tops and the filling through. You’ll know they’re done when the wrappers look translucent and slightly puffy.
- Finish and serve (2 minutes): Remove the lid. The water should have mostly evaporated by now. Let the potstickers cook for another 30-60 seconds to re-crisp the bottoms. Use your spatula to gently loosen them from the pan. Transfer to a serving plate, crispy side up. Serve immediately with the dipping sauce.
A few notes from experience: if your potstickers stick to the pan, it usually means the pan wasn’t hot enough when you added them, or you didn’t use enough oil. Don’t try to force them off—let them cook a little longer and they’ll release naturally. Also, if you’re making a large batch, keep the cooked potstickers warm in a 200°F oven while you cook the rest. They’ll stay crispy for about 20 minutes.
Cooking Tips & Techniques
I’ve made a lot of mistakes with potstickers over the years. Burnt bottoms, soggy tops, filling that fell out mid-cook. Here’s what I’ve learned so you don’t have to repeat my failures.
Don’t skip the squeeze. After you shred the cabbage, sprinkle it with a pinch of salt and let it sit for 5 minutes. Then squeeze it firmly over the sink to remove excess water. Wet cabbage will make your filling soggy and cause the wrappers to tear. I learned this the hard way after a particularly sad batch that turned into a pork and cabbage soup in the pan.
Temperature control is everything. Start with medium-high heat to get that golden crust, then reduce to medium when you add the water for steaming. If the heat is too high, the bottoms will burn before the tops are cooked through. Too low, and you’ll end up with pale, soft potstickers. Listen for the sizzle—it should be steady but not aggressive.
Use the right amount of oil. You don’t need a deep fryer’s worth of oil here. One tablespoon is enough for a batch of 12. If you use too little, they’ll stick. Too much, and they’ll be greasy. I once used three tablespoons thinking more oil would mean crispier bottoms. It just meant oily potstickers that left a slick on my plate. Not ideal.
Let them rest before cooking. After you assemble the potstickers, let them sit at room temperature for 5-10 minutes before cooking. This allows the wrappers to dry slightly, which helps them crisp up better. If you’re cooking straight from the fridge, they might need an extra minute in the pan.
Work in batches. Don’t try to cook all the potstickers at once. Overcrowding the pan lowers the temperature and leads to steaming instead of frying. I cook 12 at a time in my 12-inch skillet. It takes a little longer, but the results are worth it.
The water test for doneness. If you’re unsure whether the filling is cooked through, cut one open. The pork should be opaque and the juices should run clear. If there’s any pinkness, cover and steam for another minute. Better safe than sorry with ground pork.
Variations & Adaptations
One of the best things about this recipe is how flexible it is. I’ve tried quite a few variations over the years, and some of them have become staples in my kitchen. Here are a few ways to make these potstickers your own:
Make them vegetarian: Swap the ground pork for finely chopped mushrooms (shiitake or cremini work great), crumbled firm tofu, or a mix of both. Add an extra tablespoon of soy sauce and a splash of mushroom broth to boost the umami. I made a mushroom version for a vegetarian friend last year, and she asked for the recipe before she even finished her plate.
Go gluten-free: Use gluten-free dumpling wrappers (I’ve found them at specialty grocery stores) or make your own with a blend of rice flour and tapioca starch. The texture is slightly different—chewier, less delicate—but still delicious. Just be gentle when folding, as gluten-free wrappers are more fragile.
Change up the protein: Ground chicken, turkey, or even shrimp work wonderfully. If using shrimp, pulse it in a food processor until coarsely chopped—don’t puree it. You want some texture. For a leaner option, ground turkey breast is great, but add an extra teaspoon of oil to the filling to keep it moist.
Add more veggies: Finely chopped carrots, water chestnuts, or even grated zucchini (squeezed dry) add crunch and nutrition. I sometimes add a handful of chopped spinach or bok choy when I have it on hand. Just make sure any watery vegetables are squeezed dry before mixing.
Spice it up: Add a teaspoon of sambal oelek or gochujang to the filling for a spicy kick. Or serve with a spicy dipping sauce made with extra chili oil. I once made a batch with gochujang mixed into the pork, and the result was a sweet-spicy potsticker that was absolutely addictive.
Bake instead of pan-fry: For an even lighter version, arrange the potstickers on a parchment-lined baking sheet, brush lightly with oil, and bake at 400°F for 12-15 minutes, flipping halfway through. They won’t have the same crispy bottom, but they’re still tasty and even lower in fat.
Serving & Storage Suggestions
These potstickers are best served hot, fresh from the pan. The contrast between the crispy bottom and the tender top is at its peak within the first few minutes. But I understand that life happens, and sometimes you need to make them ahead or deal with leftovers.
Serving: Arrange the potstickers on a platter with the crispy side facing up. Serve with the dipping sauce in a small bowl on the side. I like to garnish with a sprinkle of toasted sesame seeds and some thinly sliced green onions. For a complete meal, serve them alongside a simple cucumber salad or a bowl of steamed rice. They also pair beautifully with a light miso soup or a side of stir-fried bok choy.
Storage: Cooked potstickers will keep in an airtight container in the refrigerator for up to 3 days. The texture will soften over time, so they’re best reheated in a skillet rather than a microwave. To reheat, add a splash of oil to a non-stick pan, place the potstickers in a single layer, and cook over medium heat for 2-3 minutes per side until heated through and crispy again.
Freezing: This is where these potstickers really shine. To freeze uncooked potstickers, arrange them in a single layer on a parchment-lined baking sheet (make sure they’re not touching). Freeze for 1-2 hours until solid, then transfer to a freezer-safe bag or container. They’ll keep for up to 3 months. To cook from frozen, follow the same pan-fry and steam method, but add an extra 2 minutes to the steaming time. No need to thaw first.
Flavor development: Interestingly, the flavors in the filling meld together even more after a day in the fridge. I’ve found that day-old potstickers (reheated properly) taste even better than fresh ones. The ginger and garlic settle in, and the pork absorbs all those seasonings. It’s a happy accident I discovered when I made too many for a party and ate them for lunch the next day.
Nutritional Information & Benefits
These lighter potstickers are a more balanced option compared to traditional fried dumplings. Here’s a rough estimate per serving (6 potstickers):
- Calories: Approximately 280-320
- Protein: 18-20 grams
- Fat: 12-14 grams (mostly from the pork and a small amount of oil)
- Carbohydrates: 28-32 grams
- Fiber: 2-3 grams
- Sodium: 500-600 mg (can be reduced with low-sodium soy sauce)
The health benefits here come from the ingredients themselves. The cabbage and chives add fiber, vitamins C and K, and antioxidants. Ginger and garlic are known for their anti-inflammatory properties and digestive benefits. By using lean pork and minimal oil, you’re getting a protein-packed meal without the heavy fat content of traditional fried dumplings.
This recipe is also relatively low in sugar and can be adapted for gluten-free or dairy-free diets easily. The only potential allergen is soy (from the soy sauce), which can be swapped with coconut aminos or tamari for a soy-free version.
I love that these potstickers let me enjoy something that feels indulgent without the guilt. They’re the kind of meal that makes you feel good while you’re eating them and even better afterward. No heavy feeling, no regret—just satisfaction.
Conclusion
I still think about that rainy Tuesday when I grabbed the wrong wrappers. It could have been a disaster, but instead it became one of my favorite recipes. These lighter pork and chive potstickers are proof that mistakes in the kitchen can lead to something wonderful. They’re quick enough for a weeknight, special enough for company, and light enough that you don’t feel weighed down afterward.
What I love most about this recipe is how adaptable it is. You can make it your own—swap the protein, add more veggies, spice it up or keep it mild. The basic technique stays the same, and it works every time. I’ve made these for birthday parties, lazy Sundays, and busy weeknights when I needed something fast but satisfying. They’ve never let me down.
I’d love to hear how yours turn out. Did you try a variation? Did you make a mess folding them? (I still do sometimes.) Drop a comment below and let me know. And if you share them on social media, tag me—I want to see your golden, crispy bottoms. Happy cooking, and remember: sometimes the best recipes come from the happiest accidents.
Frequently Asked Questions
Can I make these potstickers ahead of time?
Absolutely. You can assemble them up to 24 hours in advance and store them in the refrigerator on a parchment-lined baking sheet, covered with plastic wrap. Cook them directly from the fridge—just add an extra minute to the steaming time.
Why did my potstickers stick to the pan?
This usually happens when the pan isn’t hot enough when you add the potstickers, or when you use too little oil. Make sure your pan is preheated over medium-high heat until a drop of water sizzles on contact. Also, give the potstickers enough time to develop a crust before you try to move them—they’ll release naturally when they’re ready.
Can I use ground chicken instead of pork?
Yes, ground chicken or turkey works great. Since these are leaner meats, add an extra teaspoon of sesame oil to the filling to keep it moist. You might also want to add a tablespoon of finely chopped water chestnuts for extra texture.
How do I prevent the potstickers from bursting open while cooking?
Make sure you’re not overfilling them—about 1 heaping teaspoon per wrapper is perfect. Also, seal the edges firmly by pressing out any air pockets before folding. A tight seal is more important than pretty pleats. If you’re worried, you can double-seal by pressing the edges with a fork.
What’s the best way to reheat leftover potstickers?
The skillet method works best. Add a teaspoon of oil to a non-stick pan over medium heat, place the potstickers in a single layer, and cook for 2-3 minutes per side until heated through and crispy. Avoid the microwave—it will make them soggy and sad.
Pin This Recipe!
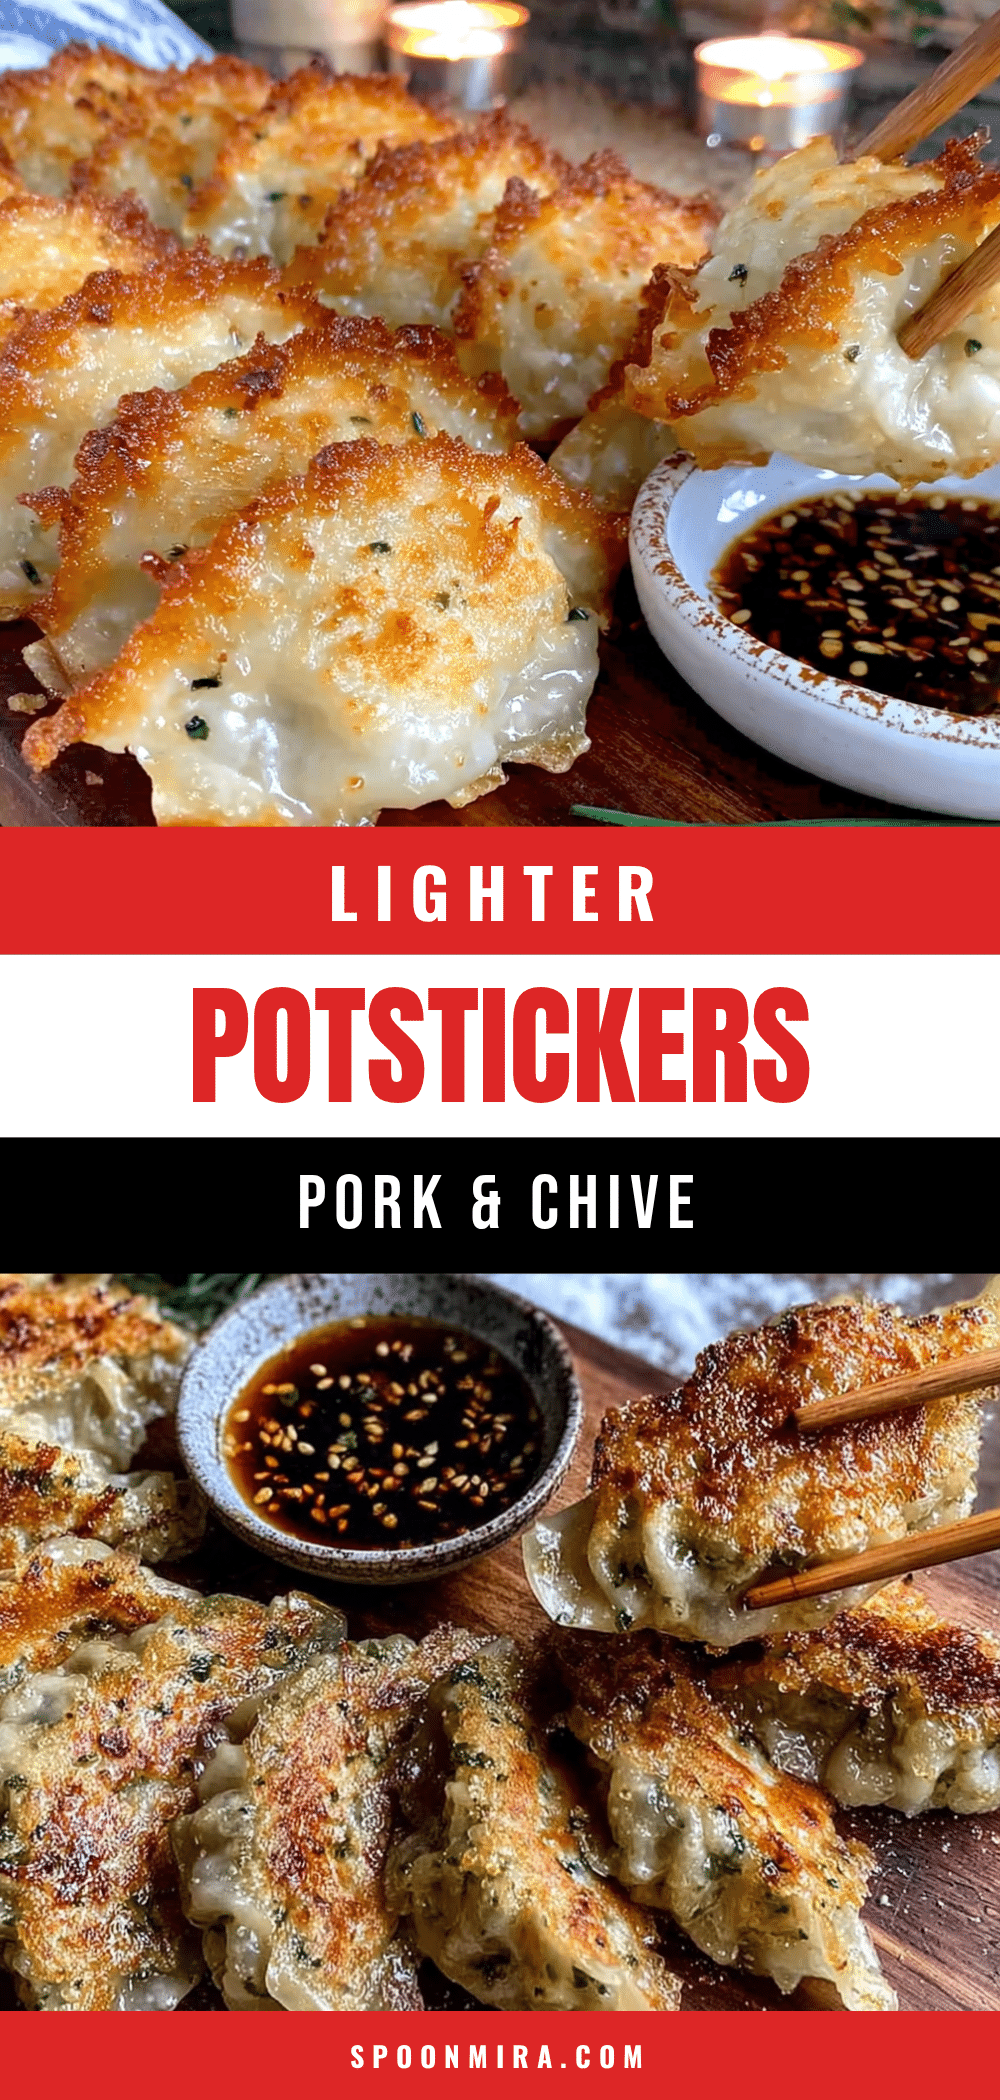
Lighter Homemade Pork and Chive Potstickers in 30 Minutes

These lighter pork and chive potstickers are pan-fried and steamed to perfection, offering a crispy bottom and tender top with a juicy, veggie-packed filling. Ready in just 30 minutes, they’re perfect for a quick weeknight dinner or crowd-pleasing appetizer.
- Prep Time: 20 minutes
- Cook Time: 10 minutes
- Total Time: 30 minutes
- Yield: 4 servings 1x
- Category: Appetizer
- Cuisine: Asian
Ingredients
- 8 ounces (225 grams) ground pork (85/15 lean)
- 1/2 cup fresh chives, finely chopped
- 1/2 cup finely shredded cabbage (napa or green), squeezed dry
- 1 teaspoon fresh ginger, grated
- 2 cloves garlic, minced
- 1 tablespoon low-sodium soy sauce
- 1 teaspoon sesame oil
- 1 teaspoon rice vinegar
- 1 tablespoon cornstarch
- 1 package (24-30) round gyoza or potsticker wrappers
- Water for sealing
- 2 tablespoons neutral oil (avocado, grapeseed, or vegetable)
- 1/3 cup water for steaming
- 3 tablespoons low-sodium soy sauce (for dipping)
- 2 tablespoons rice vinegar (for dipping)
- 1 teaspoon chili oil or sriracha (optional, for dipping)
- 1 teaspoon toasted sesame seeds (optional, for garnish)
Instructions
- Prepare the filling: In a medium mixing bowl, combine ground pork, chopped chives, shredded cabbage, grated ginger, minced garlic, 1 tablespoon soy sauce, sesame oil, rice vinegar, and cornstarch. Mix with your hands until uniform and slightly sticky. Do not overmix.
- Set up assembly station: Lay out wrappers on a clean surface. Place a small bowl of water nearby. Line a baking sheet with parchment paper.
- Fill and fold potstickers: Place one wrapper in your palm. Spoon about 1 heaping teaspoon of filling into the center. Dip your finger in water and moisten the edge of the wrapper. Fold in half and press edges to seal, making small pleats if desired. Place on parchment-lined baking sheet. Repeat with remaining wrappers and filling.
- Pan-fry potstickers: Heat a large non-stick skillet over medium-high heat. Add 1 tablespoon neutral oil and swirl to coat. Place potstickers flat side down in a single layer, leaving space between them. Cook for 2-3 minutes until bottoms are golden brown.
- Steam potstickers: Carefully pour 1/3 cup water into the skillet (it will splatter). Immediately cover with a lid. Reduce heat to medium and steam for 4-5 minutes until wrappers are translucent and filling is cooked through.
- Finish and serve: Remove lid. Let cook for 30-60 seconds to re-crisp bottoms. Use a spatula to loosen potstickers. Transfer to a serving plate, crispy side up. Serve immediately with dipping sauce (mix 3 tablespoons soy sauce, 2 tablespoons rice vinegar, and optional chili oil). Garnish with sesame seeds if desired.
Notes
For best results, squeeze excess water from shredded cabbage after salting. Let assembled potstickers rest 5-10 minutes before cooking for crispier bottoms. Cook in batches to avoid overcrowding. To freeze, arrange uncooked potstickers on a baking sheet, freeze until solid, then transfer to a freezer bag. Cook from frozen, adding 2 minutes to steaming time.
Nutrition
- Serving Size: 6 potstickers
- Calories: 300
- Sugar: 1
- Sodium: 550
- Fat: 13
- Saturated Fat: 3.5
- Carbohydrates: 30
- Fiber: 2.5
- Protein: 19
Keywords: potstickers, pork and chive, dumplings, pan-fried, steamed, lighter, 30-minute meal, weeknight dinner, appetizer