Sticky dough on my fingers, flour dusted across the counter, and the timer beeping from across the kitchen when I realized I’d forgotten to set the oven rack to the middle position. That was the scene the first time I made this no-knead sourdough focaccia. I was rushing—trying to get bread on the table before a friend came over for lunch, and I’d completely underestimated how much of a mess this wet dough would make. But here’s the thing about focaccia: it forgives you. It doesn’t care if you’re a little chaotic. In fact, it kind of thrives on it.
I’d been baking sourdough for a while by then, but I was tired of the whole process—the shaping, the scoring, the anxiety of the ear. I just wanted something crispy, golden, and salty that didn’t require a whole production. So I let the dough do the work. I walked away from it for hours at a time, came back, drizzled it with olive oil, and poked it full of dimples. The rosemary went on last, and the sea salt cracked over the top like little crystals of promise. When it came out of the oven, the bottom was shatter-crisp, the top was blistered and golden, and the whole kitchen smelled like an Italian bakery.
This crispy no-knead sourdough focaccia with rosemary and sea salt isn’t just a bread recipe. It’s proof that you don’t need to be a perfect baker to make something beautiful. You just need a little patience, a good glug of olive oil, and the willingness to get your hands dirty. Honestly, it’s the kind of bread that makes you feel like you know what you’re doing—even when you’re absolutely winging it.
Why You’ll Love This Recipe
I’ve tested this focaccia more times than I can count, and every single time, it delivers that perfect combination of a crackling crust and an airy, chewy interior. There’s no kneading involved, which means less mess and more of that hands-off time we all need. Let’s be real—who has the energy for a 15-minute arm workout just to make bread?
- Quick & Easy: The active work is maybe 10 minutes. The rest is just waiting. Perfect for a busy week when you want fresh bread but don’t have time to babysit a dough.
- Simple Ingredients: Flour, water, salt, olive oil, sourdough starter, rosemary, and sea salt. That’s it. No weird additives or hard-to-find specialty flours.
- Perfect for Entertaining: This focaccia is a showstopper on any table. Serve it alongside soups, salads, or pasta, or just tear it apart with friends over a glass of wine.
- Crowd-Pleaser: Kids love the crispy edges, adults love the salty-herby flavor, and everyone loves that it’s homemade.
- Unbelievably Delicious: The contrast between the crunchy bottom and the soft, pillowy crumb is next-level comfort food. You’ll find yourself sneaking pieces long before dinner.
What sets this recipe apart from other focaccia recipes is the technique. Instead of a traditional knead, we rely on a high-hydration dough and a long, slow fermentation. This develops the gluten naturally and creates those big, beautiful air pockets without any heavy lifting. It’s the kind of bread that makes you look like a pro, even if you’re just a home cook who loves good food.
This bread is the kind that makes you close your eyes after the first bite. It’s comfort food reimagined—simpler, more forgiving, but with the same soul-soothing satisfaction. Perfect for impressing guests without the stress, or turning a simple Tuesday dinner into something memorable.
Ingredients You Will Need
This recipe uses a handful of simple, wholesome ingredients to deliver that signature crispy crust and tender crumb. Most of these are pantry staples, especially if you maintain a sourdough starter. Here’s what you’ll need and why each one matters.
- Bread Flour (400g / about 3 cups): Bread flour has a higher protein content than all-purpose flour, which gives the focaccia its chewy structure and helps create those beautiful air pockets. I prefer King Arthur Bread Flour for consistent results, but any good brand works.
- Water (320g / about 1 1/3 cups), lukewarm: The hydration level here is high—about 80%—which is key for that open crumb. Using lukewarm water helps the fermentation process kick off smoothly.
- Sourdough Starter (100g / about 1/2 cup), active and bubbly: This is your leavening agent. Make sure your starter is at its peak—doubled in size and full of bubbles—before you start. A hungry, sluggish starter won’t give you the same rise.
- Olive Oil (60g / about 1/4 cup, plus more for drizzling): Olive oil is non-negotiable here. It adds richness, helps create that crispy bottom, and keeps the dough from sticking. Use a good-quality extra virgin olive oil for the best flavor. I love using California Olive Ranch for everyday baking.
- Fine Sea Salt (8g / about 1 1/4 teaspoons): Salt is crucial for flavor and for controlling fermentation. Don’t skip it or reduce it too much, or the dough might taste flat.
- Fresh Rosemary (2-3 sprigs, leaves stripped and roughly chopped): Fresh rosemary gives a fragrant, piney aroma that pairs perfectly with the olive oil. Dried rosemary works in a pinch, but fresh is really superior here.
- Flaky Sea Salt (for finishing, like Maldon): This is the finishing touch. The large, delicate crystals add a burst of salty flavor and a satisfying crunch with every bite.
- Optional: Garlic (2-3 cloves, thinly sliced): If you want to take it up a notch, tuck a few thin slices of garlic into the dimples before baking. It roasts into sweet, mellow pockets of flavor.
Substitution Guidance: If you don’t have bread flour, you can use all-purpose flour, but the crumb will be slightly less chewy. For a gluten-free option, this recipe isn’t ideal as written, but you can try a 1:1 gluten-free flour blend with added xanthan gum. And if you’re out of fresh rosemary, dried rosemary works—just use about half the amount, as dried herbs are more concentrated.
Equipment Needed
You don’t need a fancy bread-making setup for this. Most of these tools are probably already in your kitchen. Here’s what you’ll need:
- Large Mixing Bowl: A big bowl gives the dough room to expand during bulk fermentation. Glass or ceramic works best.
- Digital Kitchen Scale: I cannot recommend this enough. Measuring ingredients by weight is far more accurate than using cups, and it makes a real difference in the final texture.
- Bench Scraper or Flexible Spatula: This sticky dough is much easier to handle with a scraper. It helps you fold the dough without making a mess.
- 9×13-inch Baking Pan or Cast Iron Skillet: A metal baking pan gives you the crispiest bottom. A cast iron skillet works beautifully too and holds heat well. If you use a glass dish, reduce the oven temperature by 25°F to avoid burning the bottom.
- Plastic Wrap or a Clean Kitchen Towel: To cover the dough during its long rise.
- Cooling Rack: Essential for letting the focaccia cool properly so the bottom stays crispy instead of getting soggy.
Honestly, the most important tool is patience. I’ve made this in a cheap metal pan and a fancy cast iron skillet, and both worked great. Don’t overthink the equipment.
Preparation Method
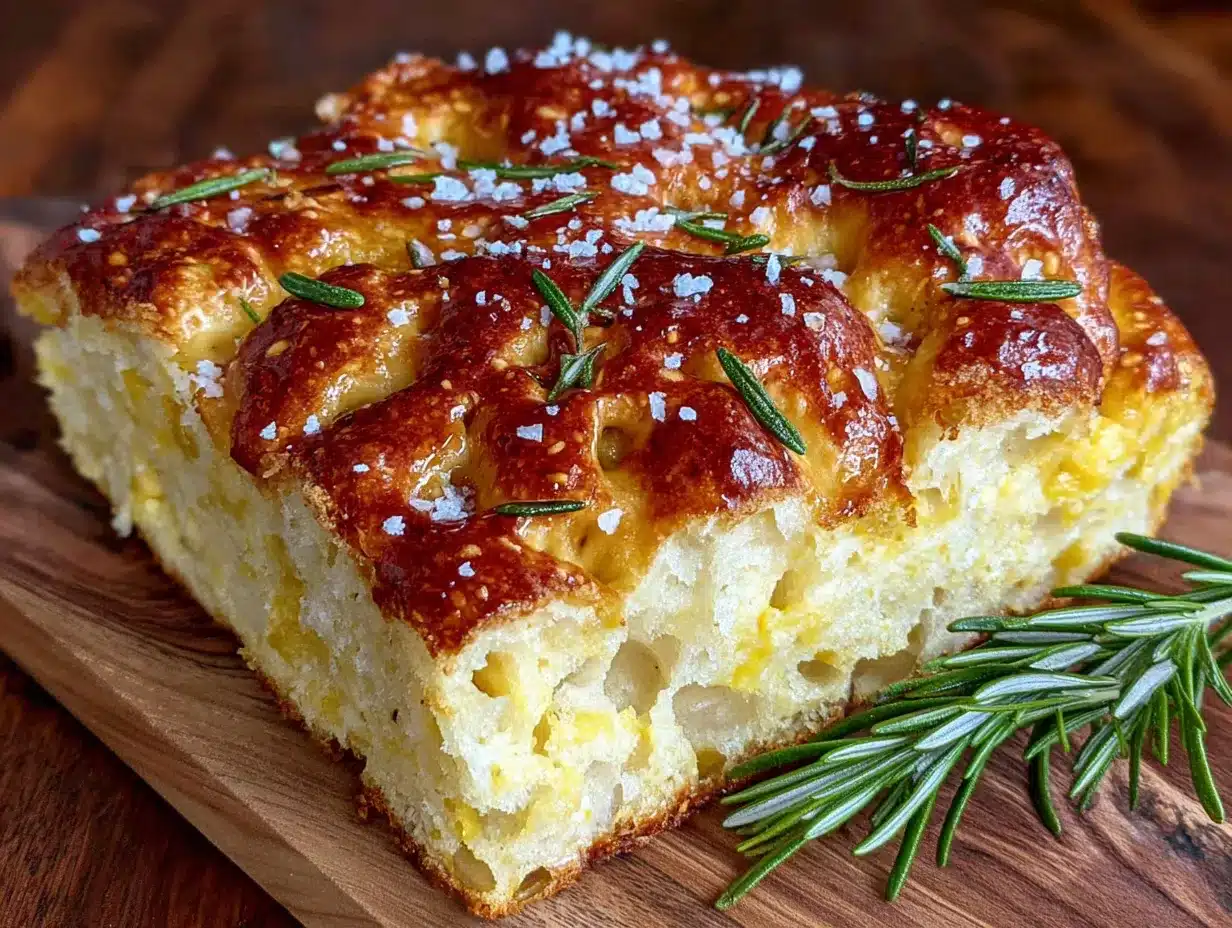
This is the fun part. The process is hands-off, but there are a few key moments where your attention matters. Follow these steps, and you’ll have a focaccia that rivals any bakery.
- Mix the Dough (5 minutes): In a large mixing bowl, combine the bread flour and fine sea salt. In a separate bowl (or liquid measuring cup), whisk together the lukewarm water and active sourdough starter until the starter is mostly dissolved. Pour the wet ingredients into the dry ingredients, add the 60g of olive oil, and mix with a flexible spatula or your hand until no dry flour remains. The dough will be very sticky and shaggy—that’s exactly what you want. Cover the bowl with plastic wrap or a damp towel.
- Bulk Fermentation (8-12 hours at room temperature): This is the long, lazy part. Let the dough sit at room temperature for 8 to 12 hours. During the first 2 hours, perform a set of “stretch and folds” every 30 minutes. To do this, wet your hand slightly to prevent sticking, grab one side of the dough, stretch it up and fold it over the center. Rotate the bowl and repeat 3-4 times. This strengthens the dough without kneading. After the folds, just let it rest. The dough should double in size, become bubbly, and smell slightly tangy and yeasty.
- Prepare the Pan (5 minutes): Generously coat your 9×13-inch baking pan with olive oil—don’t be shy here. Pour the dough into the pan. It will look loose and shaggy. Let it rest for 30 minutes.
- Stretch and Dimple (5 minutes): After 30 minutes, gently stretch the dough to the edges of the pan. If it resists, let it rest another 15 minutes and try again. Once it’s evenly spread, oil your fingertips and press deep dimples all over the surface of the dough. Go all the way to the bottom of the pan. This is what creates those iconic focaccia pockets.
- Second Rise (2-3 hours): Cover the pan loosely with plastic wrap and let the dough rise again until it’s puffy and jiggly. This usually takes 2-3 hours, depending on the temperature of your kitchen. The dough should look like a soft, pillowy cloud.
- Preheat the Oven (30 minutes before baking): Place your oven rack in the middle position and preheat to 425°F (220°C). A hot oven is crucial for that initial burst of steam that creates the crispy crust.
- Top and Bake (25-30 minutes): Just before baking, drizzle the top of the focaccia with another generous glug of olive oil. Sprinkle the chopped fresh rosemary evenly over the surface, and finish with a generous pinch of flaky sea salt. If you’re using garlic slices, tuck them into the dimples now. Bake for 25-30 minutes, until the top is deeply golden brown and the bottom sounds hollow when you tap it. If the top is browning too quickly, tent it loosely with foil for the last 5-10 minutes.
- Cool (at least 20 minutes): Let the focaccia cool in the pan for 5 minutes, then transfer it to a cooling rack. This is critical—if you leave it in the pan, the steam will make the bottom soggy. Let it cool for at least 20 minutes before slicing. I know it’s hard to wait, but trust me.
Cooking Tips & Techniques
Over the years, I’ve made a lot of focaccia, and I’ve learned a few things the hard way. Here are my best tips to help you nail this recipe every time.
- Don’t skip the folds. Even though this is a no-knead recipe, those early stretch and folds are essential for building strength in the dough. They help develop the gluten network that traps gas and creates those beautiful air pockets. I once skipped them because I was in a hurry, and the focaccia came out flat and dense. Never again.
- Use a wet scraper or oiled hands. This dough is very sticky. Trying to handle it with dry hands is a recipe for frustration. Keep a bowl of water nearby to wet your hands or your bench scraper, and the dough will cooperate much better.
- Be patient with the dimpling. When you press the dimples into the dough, don’t be gentle. Push your fingers all the way to the bottom of the pan. Those deep wells fill with olive oil and create the most incredible crispy, oily pockets. It’s the signature of a great focaccia.
- Watch the bottom crust. The bottom of the focaccia should be golden and shatter-crisp. If you’re using a dark or non-stick pan, it might brown faster, so check it a few minutes early. If the top is done but the bottom is pale, you can place the pan directly on the bottom oven rack for the last 2-3 minutes.
- Let it cool completely. I know the smell is intoxicating, but cutting into hot focaccia will crush the airy crumb and make it gummy. Patience pays off here.
I once forgot to add the salt to the dough entirely. The focaccia looked perfect, but it tasted flat and lifeless. Salt isn’t just for flavor—it controls fermentation and strengthens the gluten. Don’t skip it.
Variations & Adaptations
This recipe is a fantastic base, and it’s incredibly versatile. Here are some of my favorite ways to change it up.
- Herb & Garlic Focaccia: Swap the rosemary for a mix of fresh thyme, oregano, and basil. Add a few cloves of thinly sliced garlic tucked into the dimples. It’s a classic combination that works with almost any meal.
- Everything Bagel Focaccia: After dimpling and oiling, sprinkle the top generously with everything bagel seasoning (sesame seeds, poppy seeds, dried garlic, dried onion, and salt). The seeds toast beautifully in the oven and add an amazing crunch. This version is dangerous—I can’t stop eating it.
- Caramelized Onion & Feta Focaccia: While the dough is doing its second rise, slowly caramelize 2 large onions in a pan with a bit of olive oil until they’re deep golden and sweet. After dimpling, scatter the onions and some crumbled feta cheese over the top before baking. The salty feta and sweet onions are a match made in heaven.
- Gluten-Free Adaptation: This is tricky with sourdough, but you can try using a high-quality gluten-free all-purpose flour blend and adding 1 teaspoon of xanthan gum. The texture will be different—more cakey than chewy—but it’s still delicious. You might also need to adjust the hydration slightly.
- Flavor Variation: For a sun-dried tomato version, chop up a few oil-packed sun-dried tomatoes and scatter them over the dough before baking. The concentrated tomato flavor is incredible. It reminds me of a fig and goat cheese flatbread I made last summer—both are perfect for a fancy appetizer spread.
My personal favorite variation is the everything bagel version. I made it for a brunch gathering, and it disappeared in minutes. People were fighting over the crispy edges.
Serving & Storage Suggestions
This focaccia is best served warm, but it’s still fantastic at room temperature. The texture is at its peak within the first 6 hours of baking, when the crust is still crisp and the interior is soft.
- Serving Temperature: Serve it warm from the oven, or let it cool completely and reheat it in a 350°F oven for 5-7 minutes to revive the crust. Avoid the microwave—it will make the bread rubbery.
- Presentation: Tear it into rustic pieces and serve it in a bread basket lined with a clean kitchen towel. Drizzle a little extra olive oil and a pinch of flaky salt over the top just before serving for an extra touch.
- Complementary Dishes: This focaccia is incredible alongside a big bowl of creamy Hatch green chile corn chowder or a simple tomato soup. It’s also perfect for dipping into a roasted cherry tomato sauce. For a lighter meal, serve it with a fresh green salad and some balsamic vinegar.
- Storage: Store leftover focaccia in an airtight container or wrapped tightly in foil at room temperature for up to 2 days. Do not refrigerate—it will dry out the bread and make it stale faster.
- Freezing: Focaccia freezes beautifully. Let it cool completely, then wrap it tightly in plastic wrap, followed by a layer of foil. Freeze for up to 3 months. To reheat, unwrap and place directly in a 350°F oven for 10-12 minutes, or until warmed through and crispy again. I often bake a double batch and freeze one—it’s a lifesaver for busy weeknights.
- Flavor Development: The flavors actually meld and deepen after a day. The rosemary and olive oil become more pronounced. If you can resist eating it all on day one, day two is a real treat.
Nutritional Information & Benefits
While focaccia isn’t health food, it does have some redeeming qualities, especially when made with a sourdough starter. The long fermentation process breaks down some of the gluten and phytic acid, making the nutrients more bioavailable and easier to digest. Some people with mild gluten sensitivities find sourdough bread easier to handle than commercial yeast bread.
Here’s an approximate nutritional breakdown for one serving (1/8 of the recipe):
- Calories: 280
- Total Fat: 12g (mostly from heart-healthy olive oil)
- Carbohydrates: 36g
- Fiber: 1g
- Protein: 6g
- Sodium: 450mg (varies based on finishing salt)
Dietary Considerations: This recipe is vegetarian and vegan. It contains gluten and is not suitable for celiac disease without modification. The main allergens are wheat and gluten.
I personally love that this bread uses simple, whole ingredients. There’s no added sugar, no preservatives, and no weird chemicals. It’s just flour, water, salt, oil, and a living culture. That feels good, honestly.
Conclusion
This crispy no-knead sourdough focaccia with rosemary and sea salt is the kind of recipe that makes you feel like a real baker, even if you’re just starting out. It’s forgiving, it’s delicious, and it fills your home with the most incredible aroma. The combination of a shatter-crisp bottom, a soft and airy crumb, and the fragrant pop of rosemary and salt is just unbeatable.
I hope you give it a try and make it your own. Maybe you’ll add caramelized onions, or everything bagel seasoning, or just keep it simple with the classic rosemary and salt. Whatever you choose, this bread is meant to be shared. Tear it apart with friends, dip it in good olive oil, and enjoy every single bite.
I’d love to hear how it turns out for you! Leave a comment below and let me know what variations you tried, or tag me in your photos on social media. Happy baking, friend.
Frequently Asked Questions
Why is my focaccia dough so sticky?
That’s completely normal! This is a high-hydration dough (about 80% water), which is what creates that open, airy crumb. Don’t be tempted to add more flour. Use wet hands or a wet bench scraper to handle it, and it will be much easier to work with.
Can I use active dry yeast instead of sourdough starter?
Yes, you can! If you don’t have a sourdough starter, you can use 1 teaspoon of active dry yeast. Dissolve it in the lukewarm water with a pinch of sugar and let it sit for 5-10 minutes until foamy, then proceed with the recipe. The flavor will be different—less tangy—but it will still be delicious.
How do I know when my sourdough starter is ready to use?
Your starter is ready when it has doubled in size, is full of bubbles (both large and small), and has a pleasant, tangy, yeasty smell. It should pass the “float test”—a small spoonful dropped into a glass of water should float. If it sinks, it needs more time to ferment.
My focaccia didn’t get those big air bubbles. What went wrong?
Several things could be the culprit. Your starter might not have been active enough, or the dough might have been under-fermented. Make sure your starter is at its peak before starting, and don’t rush the bulk fermentation. Give it the full 8-12 hours, especially if your kitchen is cool. Also, be gentle when handling the dough—you don’t want to deflate all those precious bubbles.
Can I make this recipe in a cast iron skillet?
Absolutely! A 10-inch or 12-inch cast iron skillet works beautifully. The sides are higher, so the focaccia might be a little thicker. Just make sure to preheat the skillet with a generous amount of olive oil in the oven for 10 minutes before adding the dough. This creates an incredibly crispy, almost fried bottom crust.
Pin This Recipe!
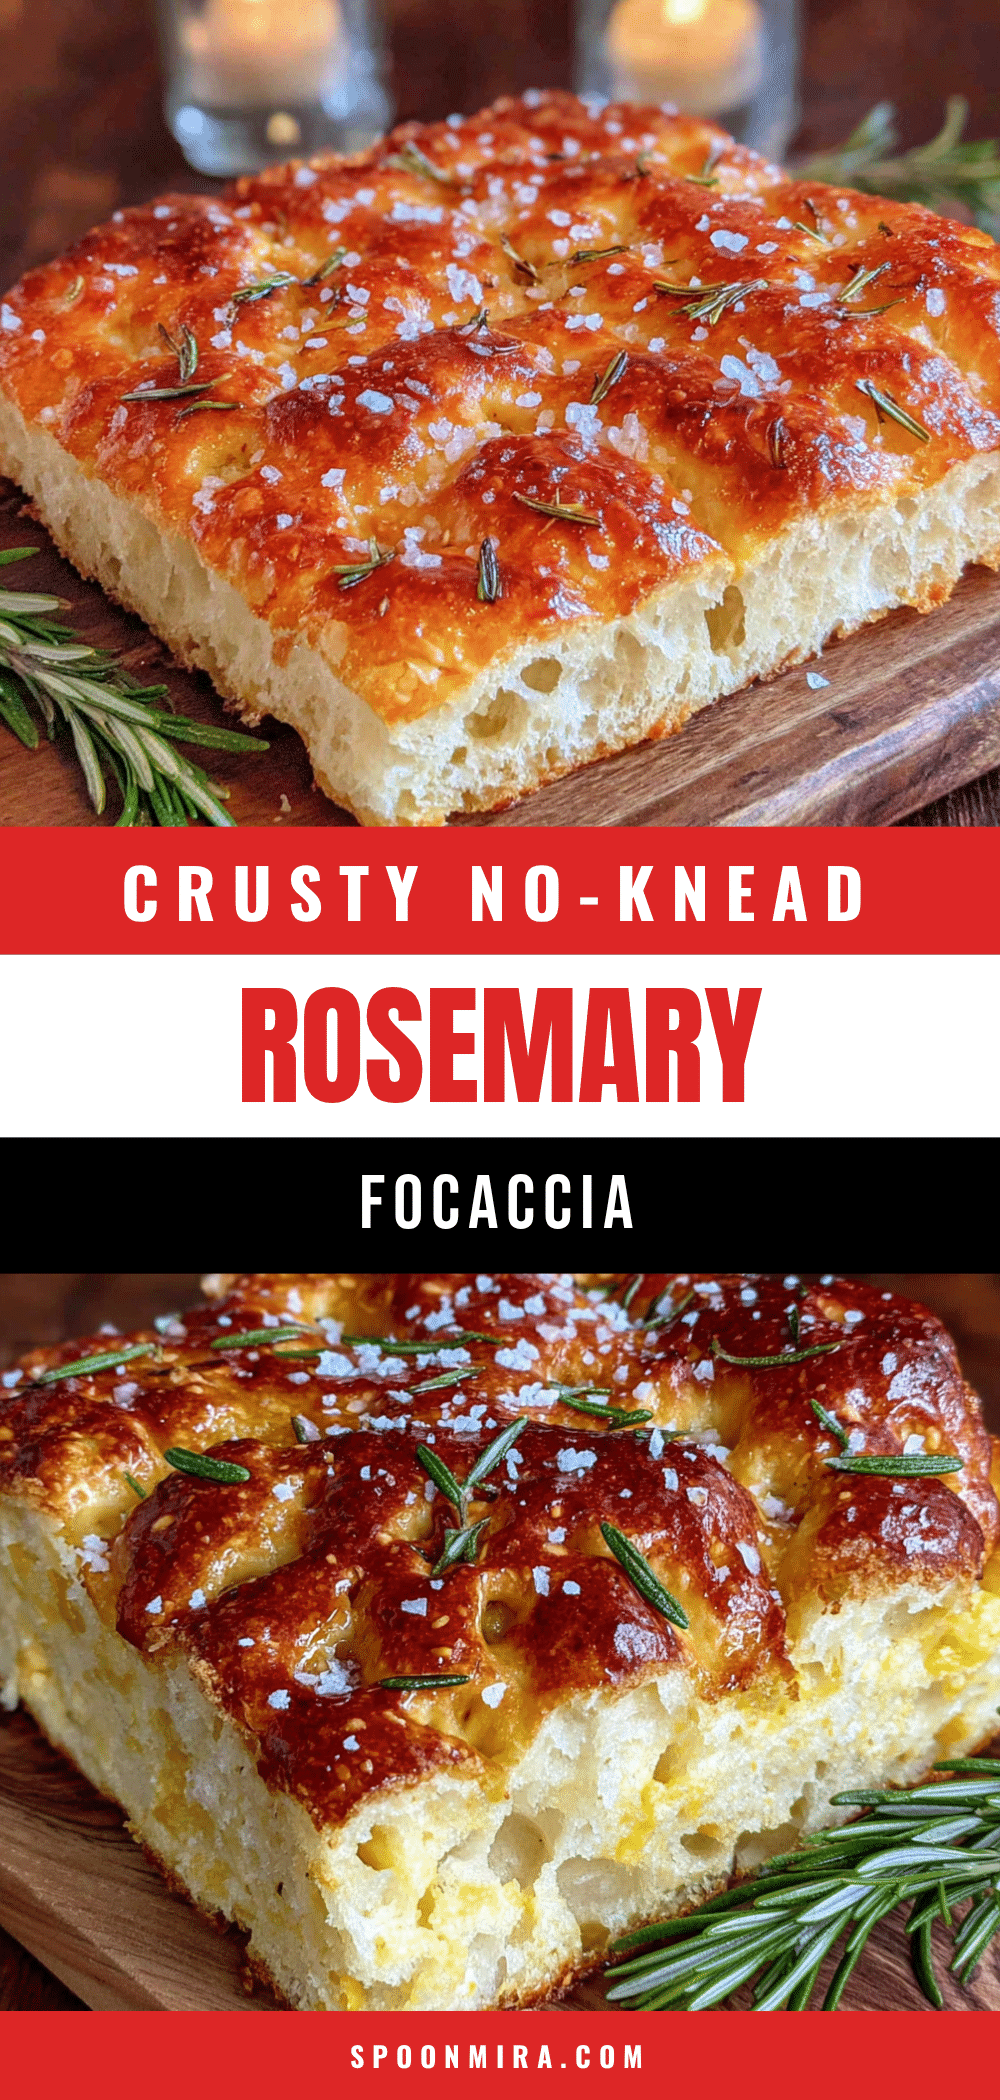
Easy No-Knead Sourdough Focaccia with Rosemary & Sea Salt
This crispy no-knead sourdough focaccia with rosemary and sea salt is proof that you don’t need to be a perfect baker to make something beautiful. With a crackling crust and an airy, chewy interior, it’s perfect for entertaining or turning a simple Tuesday dinner into something memorable.
- Prep Time: 10 minutes
- Cook Time: 25-30 minutes
- Total Time: 8 hours 35 minutes to 12 hours 40 minutes (includes rising time)
- Yield: 8 servings 1x
- Category: Bread
- Cuisine: Italian
Ingredients
- 400g bread flour (about 3 cups)
- 320g lukewarm water (about 1 1/3 cups)
- 100g active sourdough starter (about 1/2 cup)
- 60g olive oil (about 1/4 cup), plus more for drizzling
- 8g fine sea salt (about 1 1/4 teaspoons)
- 2–3 sprigs fresh rosemary, leaves stripped and roughly chopped
- Flaky sea salt (for finishing, like Maldon)
- Optional: 2-3 cloves garlic, thinly sliced
Instructions
- Mix the Dough (5 minutes): In a large mixing bowl, combine the bread flour and fine sea salt. In a separate bowl, whisk together the lukewarm water and active sourdough starter until the starter is mostly dissolved. Pour the wet ingredients into the dry ingredients, add the 60g of olive oil, and mix with a flexible spatula or your hand until no dry flour remains. The dough will be very sticky and shaggy. Cover the bowl with plastic wrap or a damp towel.
- Bulk Fermentation (8-12 hours at room temperature): Let the dough sit at room temperature for 8 to 12 hours. During the first 2 hours, perform a set of ‘stretch and folds’ every 30 minutes. To do this, wet your hand slightly, grab one side of the dough, stretch it up and fold it over the center. Rotate the bowl and repeat 3-4 times. After the folds, let it rest. The dough should double in size, become bubbly, and smell slightly tangy and yeasty.
- Prepare the Pan (5 minutes): Generously coat your 9×13-inch baking pan with olive oil. Pour the dough into the pan. It will look loose and shaggy. Let it rest for 30 minutes.
- Stretch and Dimple (5 minutes): After 30 minutes, gently stretch the dough to the edges of the pan. If it resists, let it rest another 15 minutes and try again. Once evenly spread, oil your fingertips and press deep dimples all over the surface of the dough, going all the way to the bottom of the pan.
- Second Rise (2-3 hours): Cover the pan loosely with plastic wrap and let the dough rise again until puffy and jiggly, about 2-3 hours.
- Preheat the Oven (30 minutes before baking): Place oven rack in the middle position and preheat to 425°F (220°C).
- Top and Bake (25-30 minutes): Just before baking, drizzle the top with another generous glug of olive oil. Sprinkle chopped fresh rosemary evenly over the surface, and finish with a generous pinch of flaky sea salt. If using garlic slices, tuck them into the dimples now. Bake for 25-30 minutes, until the top is deeply golden brown and the bottom sounds hollow when tapped. If browning too quickly, tent loosely with foil for the last 5-10 minutes.
- Cool (at least 20 minutes): Let the focaccia cool in the pan for 5 minutes, then transfer to a cooling rack. Let cool for at least 20 minutes before slicing.
Notes
Don’t skip the stretch and folds; they build strength in the dough. Use a wet scraper or oiled hands to handle the sticky dough. Be patient with dimpling—push fingers all the way to the bottom of the pan. Let the focaccia cool completely to maintain a crispy crust. For a gluten-free version, use a 1:1 gluten-free flour blend with added xanthan gum, but note the texture will be different.
Nutrition
- Serving Size: 1/8 of recipe
- Calories: 280
- Sodium: 450
- Fat: 12
- Saturated Fat: 2
- Carbohydrates: 36
- Fiber: 1
- Protein: 6
Keywords: sourdough focaccia, no-knead bread, rosemary focaccia, easy bread recipe, homemade focaccia


