My six-year-old looked up from the kitchen table, a smear of royal icing on her nose and a look of pure, unadulterated triumph on her face. “Mom,” she announced, holding up a sugar cookie that stared back at me with a single, bloodshot eye, “we made MONSTERS.” And she was right. We had. The bag of candy eyes I’d bought on a whim was now half-empty, and the kitchen looked like a crime scene of powdered sugar and red food coloring. But the giggles? Worth every single second of the mess.
That’s the thing about Halloween baking, isn’t it? It’s not really about perfect, bakery-worthy cookies. It’s about the process—the sticky fingers, the debates over whether the monster needs three eyes or four, the sheer joy of creating something a little bit creepy and a whole lot of fun. I’d been searching for a way to make this holiday special without spending a fortune on pre-made kits, and honestly, a simple sugar cookie recipe was the answer. I just added a little imagination and a lot of candy eyes.
These Spooky Monster Eyeball Sugar Cookies are exactly that—a classic, buttery sugar cookie base that you can whip up in minutes, transformed into adorable (and just a little bit creepy) Halloween treats. They are the perfect project for little hands, a guaranteed hit at any Halloween party, and they make for the best lunchbox surprise. I’ve tweaked the dough to be sturdy enough for decorating but soft enough to melt in your mouth, and the decorating possibilities? Endless. Trust me on this one—if my daughter can make a cookie that looks like a three-eyed alien with a crooked grin, you can absolutely nail this.
Why You’ll Love This Recipe
I’ve tested this recipe more times than I care to admit, tweaking the butter-to-sugar ratio and the chilling time until it was just right. The result? A cookie that holds its shape perfectly during baking and tastes incredible. Here’s why this has become our go-to Halloween tradition.
- Quick & Easy: The dough comes together in about 15 minutes. The real fun is in the decorating, which you can do at your own pace.
- Simple Ingredients: You probably have everything in your pantry right now. No fancy extracts or hard-to-find flours here.
- Perfect for Halloween Parties: These cookies are the star of any spooky spread. They’re adorable, fun, and completely customizable.
- Crowd-Pleaser: Kids and adults alike go crazy for them. There’s something universally appealing about a cookie that looks you right in the eye.
- Unbelievably Delicious: This isn’t just a pretty face. The sugar cookie is soft, buttery, and has just the right amount of sweetness.
What makes this recipe different from the rest? It’s the texture. I use a touch of cream cheese in the dough, which gives it a slight tang and an incredibly tender crumb. It’s a little trick I picked up from my grandmother, and it makes all the difference. You get a cookie that’s sturdy enough to hold a heavy layer of icing but soft enough to be truly satisfying. This isn’t just another sugar cookie—it’s your new secret weapon for Halloween baking.
Honestly, the first time I bit into one of these, I closed my eyes. It was the perfect combination of buttery cookie and sweet, glossy icing. It’s comfort food with a spooky twist—faster than a full-on cake project, but with the same soul-soothing satisfaction. Perfect for impressing the neighborhood ghouls without any stress.
What Ingredients You Will Need
This recipe uses simple, wholesome ingredients to deliver a cookie that’s as delicious as it is fun to decorate. Most of these are pantry staples, which makes this a perfect last-minute Halloween project.
For the Sugar Cookies
- Unsalted butter, softened: 1 cup (226g). I always use unsalted so I can control the salt level. Let it sit out for about 30 minutes to soften properly.
- Cream cheese, softened: 2 ounces (56g). This is my secret ingredient for the softest cookies. It adds a subtle tang and a beautiful texture.
- Granulated sugar: 1 cup (200g). Standard white sugar for sweetness and structure.
- Large egg: 1, at room temperature. This helps bind the dough.
- Vanilla extract: 1 teaspoon. Pure vanilla makes a difference, but imitation works in a pinch.
- All-purpose flour: 2 ½ cups (312g). Spoon and level for the most accurate measurement.
- Baking powder: ½ teaspoon. For a little lift.
- Salt: ¼ teaspoon. Balances the sweetness.
For the Royal Icing
- Powdered sugar: 2 cups (240g), sifted to avoid lumps.
- Meringue powder: 2 tablespoons. This is key for a glossy, hard-drying icing. You can find it in the baking aisle.
- Water: 3-4 tablespoons. Add slowly until you reach the desired consistency.
- Red gel food coloring: For the bloodshot veins. Gel is much better than liquid as it doesn’t thin the icing.
- Black gel food coloring: For the pupils.
For Decorating
- Candy eyeballs: 1 bag (about 100 pieces). You can find these at any craft store or grocery store during Halloween. I prefer the ones with the flat backs.
Ingredient Tips: For the best texture, make sure your butter and cream cheese are truly softened, not melted. If you’re in a rush, cut them into small cubes and let them sit for 10 minutes. I always recommend using a good quality vanilla, like Nielsen-Massey, for the purest flavor. For the icing, Meringue powder is non-negotiable if you want it to harden properly—it turns the icing into a smooth, glossy canvas.
Substitutions: You can use a store-bought sugar cookie dough in a pinch, but the texture won’t be as good. For a dairy-free version, use vegan butter and a dairy-free cream cheese alternative. If you can’t find meringue powder, you can make a simple glaze with powdered sugar and milk, but it won’t be as sturdy for detailed decorating.
Equipment Needed
You don’t need a professional bakery setup for these cookies. Here’s what you’ll need to get started.
- Electric mixer: A stand mixer with a paddle attachment or a hand mixer works perfectly. Creaming the butter and sugar by hand is possible but takes some elbow grease.
- Mixing bowls: A large one for the dough and a medium one for the icing.
- Baking sheets: Two large, rimmed baking sheets. I love my Nordic Ware sheets for even baking.
- Parchment paper or silicone baking mat: Absolutely essential for preventing sticking and easy cleanup.
- Rolling pin: A standard rolling pin works, but I prefer a French-style pin for better control.
- Cookie cutters: Round cutters in various sizes (2-inch, 2.5-inch, and 3-inch). You can also use a small round cutter for the monster’s mouth.
- Piping bags and small round tips: For the royal icing. You can also use a zip-top bag with a tiny corner snipped off.
- Cooling rack: A wire rack is crucial for letting the cookies cool completely before decorating.
If you don’t have piping bags, don’t worry. A small squeeze bottle works wonderfully for flooding the cookies with icing. I’ve even used a toothpick to spread the icing in a pinch. The key is to have fun, not to stress about the equipment.
Preparation Method
Let’s get to the good part. Follow these steps, and you’ll have a batch of spooky cookies that are as fun to make as they are to eat.
- Make the cookie dough. In a large bowl, beat the softened butter and cream cheese together until smooth and creamy, about 2 minutes. Add the granulated sugar and beat until light and fluffy, another 2-3 minutes. Scrape down the sides of the bowl. Beat in the egg and vanilla extract until just combined.
- Mix the dry ingredients. In a separate bowl, whisk together the all-purpose flour, baking powder, and salt. Gradually add the dry ingredients to the wet ingredients, mixing on low speed until a soft dough forms. Be careful not to overmix—stop as soon as the flour disappears.
- Chill the dough. Divide the dough in half, flatten each half into a disc, and wrap tightly in plastic wrap. Refrigerate for at least 1 hour, or up to 3 days. This step is non-negotiable. Chilling the dough prevents the cookies from spreading in the oven, keeping those perfect round shapes intact.
- Preheat and prep. When you’re ready to bake, preheat your oven to 375°F (190°C). Line your baking sheets with parchment paper or silicone mats.
- Roll and cut. On a lightly floured surface, roll out one disc of dough to about ¼-inch thickness. Use your round cookie cutters to cut out as many circles as possible. For the monster mouths, use a small round cutter or a paring knife to cut a crescent shape out of the center of half of the cookies. This will create the open-mouthed monsters.
- Bake. Place the cookies about 1 inch apart on the prepared baking sheets. Bake for 8-10 minutes, or until the edges are just barely golden. The centers should look set but not browned. Let them cool on the baking sheet for 5 minutes before transferring to a wire rack to cool completely.
- Prepare the royal icing. In a medium bowl, combine the sifted powdered sugar and meringue powder. Add 3 tablespoons of water and whisk until smooth. The icing should be thick but flowable—think the consistency of honey. Add the remaining tablespoon of water if needed. Cover the bowl with a damp paper towel to prevent the icing from drying out.
- Divide and color. Divide the icing into two bowls. Color one bowl with the red gel food coloring to make a deep, bloody red. Leave the other bowl white. Transfer each color to separate piping bags fitted with a small round tip.
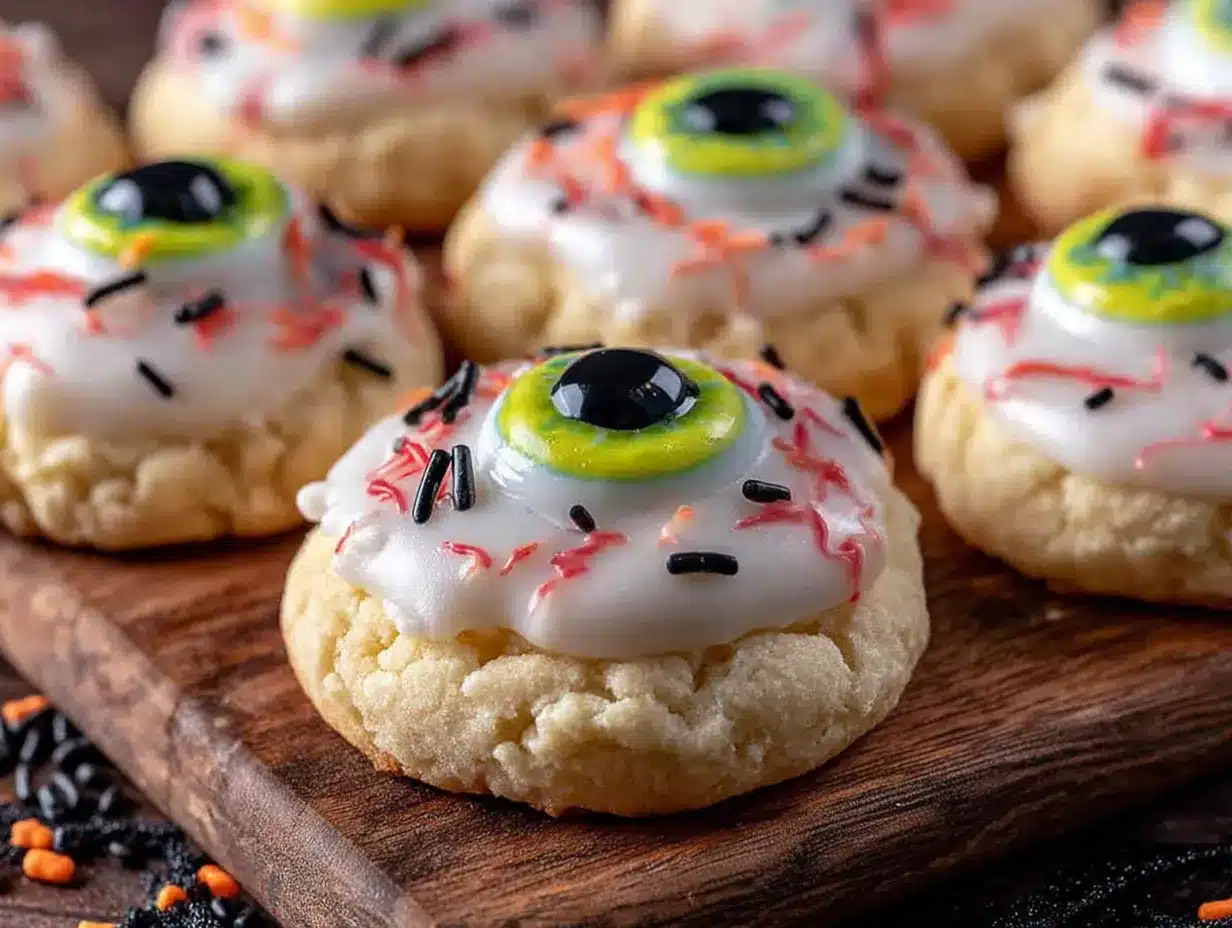
- Decorate the monsters. Using the white icing, pipe a thin outline around the edge of each cookie. Then, flood the inside of the outline with more white icing, using a toothpick to spread it into the corners. While the white icing is still wet, pipe a few red veins radiating out from the center of the cookie. Use a toothpick to gently swirl the red into the white for a bloody effect. Immediately press a candy eyeball into the center of the red veins.
- Add the mouths. For the cookies with the cut-out mouths, use the red icing to pipe a tongue inside the mouth. You can also add a few red drips coming out of the mouth for an extra spooky effect.
- Let the icing set. Allow the decorated cookies to sit at room temperature for at least 2 hours, or overnight, until the icing is completely hard and dry.
Pro Tip: If you want to make the eyes look extra bloodshot, pipe a few tiny dots of red icing around the candy eyeball before it sets. This gives a truly monstrous, veiny look that kids find hilarious.
Cooking Tips & Techniques
I’ve made these cookies enough times to know exactly where things can go wrong. Here are my hard-earned tips to make sure your monsters come out perfect.
Don’t skip the chill. I know it’s tempting to skip the chilling step, but I learned this the hard way. The first time I made these, I was in a rush and baked the dough immediately. My cookies turned into flat, sad puddles. The chill solidifies the butter, which means the cookies hold their shape. Trust the process.
Flour your rolling pin. This dough is soft and can be sticky. Lightly dust your work surface and your rolling pin with flour. If the dough starts to stick, pop it back in the fridge for 10 minutes to firm up.
Work in batches. Only take one disc of dough out of the fridge at a time. Roll, cut, and bake before moving on to the second disc. This keeps the dough cold and easy to work with.
The toothpick is your best friend. When flooding the cookies with icing, a toothpick is the most precise tool for spreading the icing into tight corners and creating the bloodshot veins. Don’t skip it.
Consistency is key for icing. If your royal icing is too thick, it won’t spread easily. If it’s too thin, it will run off the edges of the cookie. The perfect consistency is when you lift the piping bag and the ribbon of icing slowly sinks back into the bowl after about 10 seconds. Add water or powdered sugar a teaspoon at a time to adjust.
Let them dry completely. I once stacked these cookies too early, and the eyeballs slid right off. It was a massacre. Give the icing a solid 2-3 hours to dry before you even think about stacking them. Overnight is even better.
Variations & Adaptations
One of the best things about this recipe is how easy it is to adapt. Here are a few of my favorite twists.
Gluten-Free Monster Cookies: Swap the all-purpose flour with a 1:1 gluten-free baking flour blend. I’ve used Bob’s Red Mill with great success. The texture will be slightly more crumbly, but the taste is still fantastic.
Chocolate Eyeballs: Instead of candy eyeballs, use white chocolate chips or mini marshmallows. Pipe a dot of dark chocolate in the center for the pupil. It gives a totally different, marshmallow-creepy vibe.
Different Monster Shapes: Don’t feel limited to circles. Use a bat, ghost, or pumpkin cookie cutter. The same decorating technique works on any shape. Just imagine a ghost with a single, bloodshot eye!
Spooky Color Schemes: Instead of red and white, try a neon green and black color scheme for a radioactive monster look. Or use purple and orange for a classic Halloween palette. The possibilities are endless.
No-Ice Version: For a super simple version, just bake the cookies and press a candy eyeball into the center of each one while they’re still warm from the oven. The residual heat will melt the chocolate backing slightly, making it stick. It’s not as fancy, but it’s just as delicious.
Serving & Storage Suggestions
These cookies are best served at room temperature. The icing should be completely hard and glossy, and the cookie underneath should be soft and buttery.
For a Halloween party, arrange them on a large platter with a few extra candy eyeballs scattered around for effect. They pair perfectly with a glass of cold milk, a warm mug of apple cider, or even a scoop of vanilla ice cream. If you are looking for other fun treats to serve alongside, you might also enjoy these cozy brown butter snickerdoodle crinkle cookies for a non-spooky option.
To store, place the cookies in a single layer in an airtight container, separating layers with parchment paper. They will stay fresh for up to 5 days at room temperature. Do not refrigerate them, as the moisture can cause the icing to become sticky.
You can also freeze the undecorated cookies. Bake and cool them completely, then freeze in a single layer on a baking sheet. Once frozen, transfer to a freezer-safe bag. They will keep for up to 3 months. When you’re ready to decorate, just thaw them at room temperature and ice as directed.
The flavors actually improve over the first day or two. The cookie softens slightly, and the icing sets into a perfect, snappy shell. They’re even better the next day, if you can wait that long.
Nutritional Information & Benefits
Let’s be real—these are a treat, not a health food. But here’s a rough estimate per cookie (based on a 2.5-inch round cookie with icing and one candy eye).
| Nutrient | Amount |
|---|---|
| Calories | 180 |
| Fat | 8g |
| Carbohydrates | 26g |
| Sugar | 18g |
| Protein | 2g |
Health Benefits: While not a superfood, these cookies do offer a small dose of calcium from the butter and cream cheese. The egg provides a bit of protein. The main benefit, honestly, is the joy they bring. Baking with kids is a fantastic way to teach them about measuring, following instructions, and creativity. It’s a memory in the making.
Dietary Considerations: This recipe contains gluten, dairy, and eggs. For a gluten-free option, use the flour substitution mentioned above. For a dairy-free option, use vegan butter and cream cheese. The cookies are nut-free, making them a safe option for school Halloween parties.
I always tell my friends, “Everything in moderation.” A couple of these cookies after a healthy dinner is a perfectly balanced approach to Halloween. They’re meant to be enjoyed, not feared.
Conclusion
These Spooky Monster Eyeball Sugar Cookies are more than just a recipe—they’re a Halloween tradition waiting to happen. They are the perfect blend of delicious, buttery cookie and creative, customizable decorating. Whether you are hosting a party, packing a school lunch, or just looking for a fun afternoon project with the kids, this recipe delivers.
I love these cookies because they remind me of that first messy afternoon with my daughter. The laughter, the sticky fingers, the sheer pride in her eyes when she held up her creation. That’s what Halloween is all about. So go ahead, get a little messy, and make some monsters. Customize them until they look exactly like your imagination dreamed up. Add extra eyes, make them purple, give them fangs—the sky is the limit.
I would love to see your creations! Drop a comment below and tell me how your monsters turned out. Did your kids have a favorite design? Did you try a wild color combination? Share your photos and tag me on social media. Happy Halloween, and happy baking!
Frequently Asked Questions
Can I use a different type of icing?
Absolutely! While royal icing gives the best glossy, hard finish, you can use a simple powdered sugar glaze (powdered sugar and milk) or even store-bought frosting. Just be aware that a simple glaze won’t harden as firmly, so the cookies may be stickier to stack.
How far in advance can I make these cookies?
You can make the dough up to 3 days ahead and keep it in the fridge. The baked, undecorated cookies can be frozen for up to 3 months. The decorated cookies are best eaten within 5 days of decorating.
My cookies spread in the oven. What went wrong?
This usually happens if the dough wasn’t chilled long enough. Make sure you chill the dough for at least 1 hour. Also, make sure your butter wasn’t too soft when you started. If the dough feels sticky, pop it back in the fridge for 15 minutes before rolling.
Can I make these cookies vegan?
Yes, you can! Use a vegan butter substitute and a dairy-free cream cheese. For the egg, use a flax egg (1 tablespoon ground flaxseed mixed with 3 tablespoons water). For the royal icing, you can use aquafaba (the liquid from a can of chickpeas) instead of meringue powder.
Where can I find candy eyeballs?
You can find them at most grocery stores in the baking aisle during the Halloween season. Craft stores like Michaels or Joann Fabrics also carry them year-round. If you can’t find them, you can make your own by piping white royal icing dots and adding a tiny black dot in the center.
Pin This Recipe!
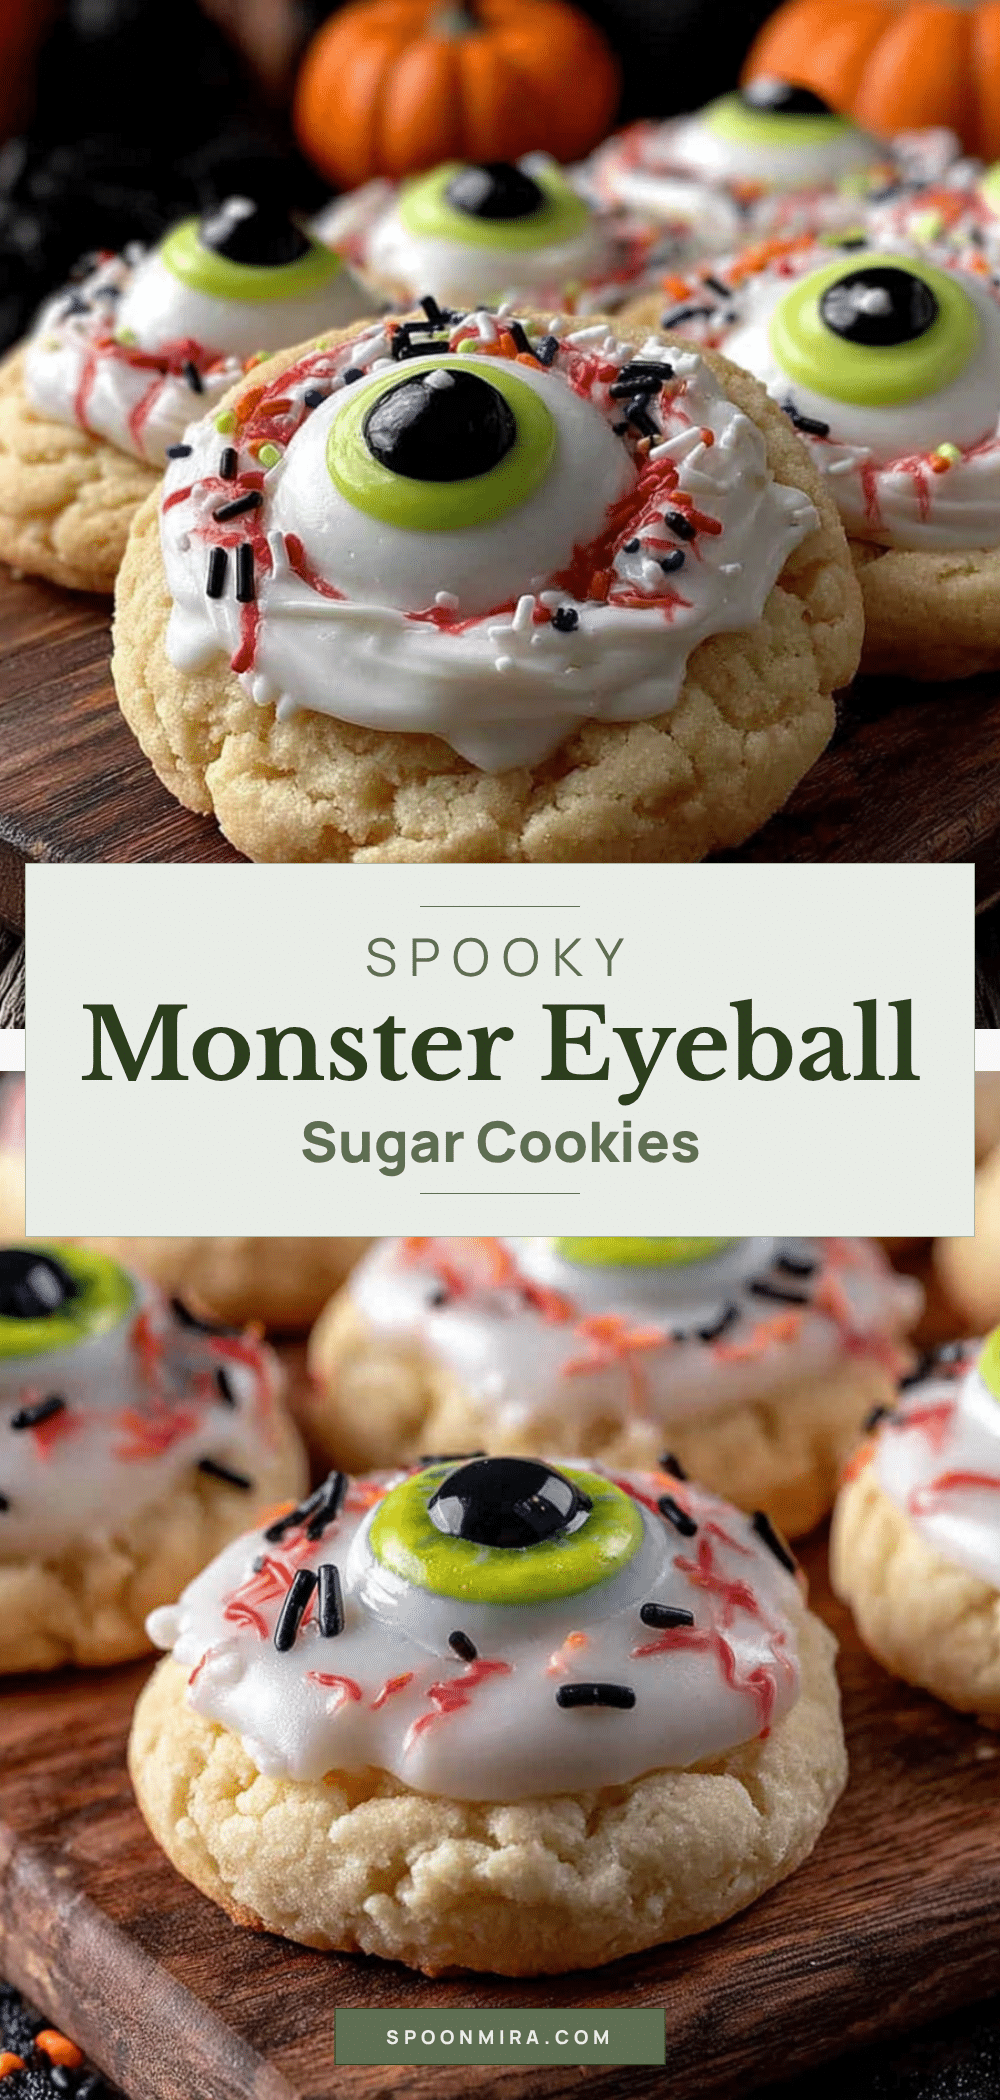
Spooky Monster Eyeball Sugar Cookies: Best Easy Halloween Recipe
These Spooky Monster Eyeball Sugar Cookies are a classic, buttery sugar cookie base transformed into adorable (and just a little bit creepy) Halloween treats. They are the perfect project for little hands, a guaranteed hit at any Halloween party, and they make for the best lunchbox surprise.
- Prep Time: 15 minutes
- Cook Time: 10 minutes
- Total Time: 1 hour 25 minutes (including chilling and decorating time)
- Yield: 24 servings 1x
- Category: Dessert
- Cuisine: American
Ingredients
- 1 cup (226g) unsalted butter, softened
- 2 ounces (56g) cream cheese, softened
- 1 cup (200g) granulated sugar
- 1 large egg, at room temperature
- 1 teaspoon vanilla extract
- 2 ½ cups (312g) all-purpose flour
- ½ teaspoon baking powder
- ¼ teaspoon salt
- 2 cups (240g) powdered sugar, sifted
- 2 tablespoons meringue powder
- 3–4 tablespoons water
- Red gel food coloring
- Black gel food coloring
- 1 bag (about 100 pieces) candy eyeballs
Instructions
- Make the cookie dough. In a large bowl, beat the softened butter and cream cheese together until smooth and creamy, about 2 minutes. Add the granulated sugar and beat until light and fluffy, another 2-3 minutes. Scrape down the sides of the bowl. Beat in the egg and vanilla extract until just combined.
- Mix the dry ingredients. In a separate bowl, whisk together the all-purpose flour, baking powder, and salt. Gradually add the dry ingredients to the wet ingredients, mixing on low speed until a soft dough forms. Be careful not to overmix—stop as soon as the flour disappears.
- Chill the dough. Divide the dough in half, flatten each half into a disc, and wrap tightly in plastic wrap. Refrigerate for at least 1 hour, or up to 3 days.
- Preheat and prep. When you’re ready to bake, preheat your oven to 375°F (190°C). Line your baking sheets with parchment paper or silicone mats.
- Roll and cut. On a lightly floured surface, roll out one disc of dough to about ¼-inch thickness. Use your round cookie cutters to cut out as many circles as possible. For the monster mouths, use a small round cutter or a paring knife to cut a crescent shape out of the center of half of the cookies.
- Bake. Place the cookies about 1 inch apart on the prepared baking sheets. Bake for 8-10 minutes, or until the edges are just barely golden. Let them cool on the baking sheet for 5 minutes before transferring to a wire rack to cool completely.
- Prepare the royal icing. In a medium bowl, combine the sifted powdered sugar and meringue powder. Add 3 tablespoons of water and whisk until smooth. The icing should be thick but flowable—think the consistency of honey. Add the remaining tablespoon of water if needed. Cover the bowl with a damp paper towel to prevent the icing from drying out.
- Divide and color. Divide the icing into two bowls. Color one bowl with the red gel food coloring to make a deep, bloody red. Leave the other bowl white. Transfer each color to separate piping bags fitted with a small round tip.
- Decorate the monsters. Using the white icing, pipe a thin outline around the edge of each cookie. Then, flood the inside of the outline with more white icing, using a toothpick to spread it into the corners. While the white icing is still wet, pipe a few red veins radiating out from the center of the cookie. Use a toothpick to gently swirl the red into the white for a bloody effect. Immediately press a candy eyeball into the center of the red veins.
- Add the mouths. For the cookies with the cut-out mouths, use the red icing to pipe a tongue inside the mouth. You can also add a few red drips coming out of the mouth for an extra spooky effect.
- Let the icing set. Allow the decorated cookies to sit at room temperature for at least 2 hours, or overnight, until the icing is completely hard and dry.
Notes
Don’t skip chilling the dough—it prevents spreading. For extra bloodshot eyes, pipe tiny red dots around the candy eyeball before it sets. Let icing dry completely (2-3 hours or overnight) before stacking.
Nutrition
- Serving Size: 1 cookie
- Calories: 180
- Sugar: 18
- Sodium: 75
- Fat: 8
- Saturated Fat: 5
- Carbohydrates: 26
- Protein: 2
Keywords: Halloween cookies, monster cookies, sugar cookies, eyeball cookies, easy Halloween recipe, spooky cookies, kid-friendly baking