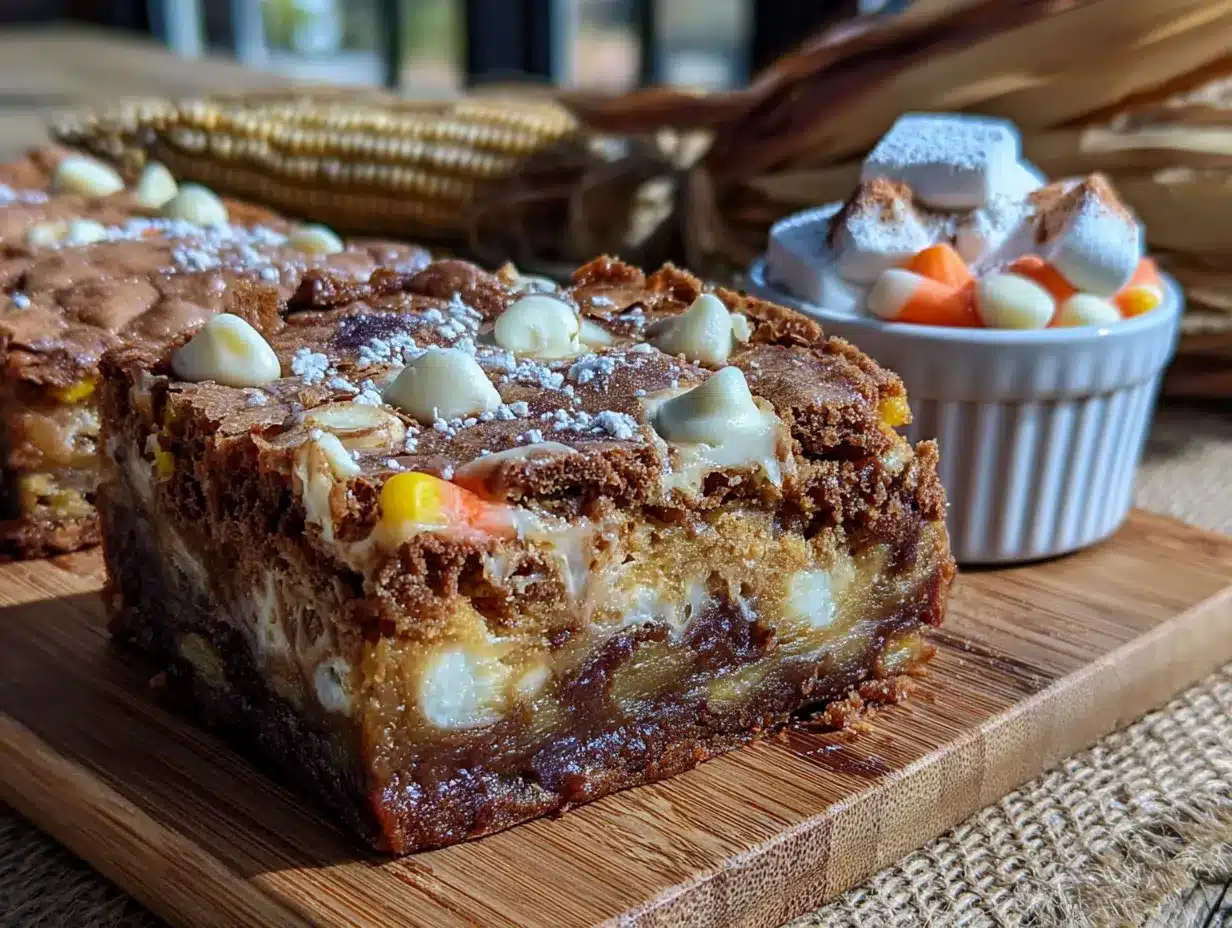
I figured candy corn was strictly for sorting into piles by color or for using as a Halloween decoration you could eat if you were desperate. It took about one batch of these chewy candy corn blondies with white chocolate chips for that opinion to get tossed out the window. I wasn’t trying to make a statement or create some viral holiday dessert. I just had a half-empty bag of candy corn sitting on my counter after a party, staring at me with those little orange, yellow, and white stripes. Throwing it away felt wasteful, and eating it plain felt like a punishment. So I dumped it into a blondie batter, figuring the sugar content alone would either be a disaster or a miracle.
Turns out, it was the miracle. The candy corn melts down into these little pockets of chewy, almost honey-like sweetness that stud the dense, buttery blondie base. It doesn’t taste artificial in the way you’d expect. It just tastes like buttery, salted caramel with a white chocolate finish. My kids came running from the other room asking what smelled like a carnival. I told them it was just a science experiment that went right. They didn’t care about the name. They just wanted another square. And honestly, that’s the kind of recipe that sticks with you. The one you didn’t plan for but can’t stop thinking about.
These blondies aren’t trying to be fancy. They’re chewy, they’re loaded with white chocolate chips, and they have that perfect crackly top that makes you feel like you actually know what you’re doing in the kitchen. They’re the kind of thing you make when you want something sweet but don’t want to pull out the mixer and dirty every bowl you own. One bowl, a spatula, and a little patience. That’s all it takes.
Why You’ll Love This Recipe
I have made a lot of blondies in my day. Some were too cakey, some were too greasy, and some just disappeared into the void of mediocre desserts. These are different. These are the ones I actually wrote down and made again on purpose.
- Quick & Easy : From start to finish, you’re looking at about 30 minutes. No chilling the dough, no complicated steps. Just mix, spread, and bake.
- Simple Ingredients : You probably have most of this already. Butter, sugar, eggs, flour. The candy corn and white chocolate chips are the only “special” things, and you can find those at any grocery store.
- Perfect for Halloween Parties : These are a total crowd-pleaser. Kids love the candy corn bits, and adults love that they don’t taste like a sugar bomb. They’re great for school bake sales, too.
- Crowd-Pleaser : I brought a tray to a potluck last week, and they were gone before the main course. People kept asking for the recipe, and I kept saying, “It has candy corn in it.” The looks on their faces were priceless.
- Unbelievably Delicious : The texture is what gets you. Chewy edges, soft center, and those little bursts of white chocolate. It’s comfort food with a side of nostalgia.
What makes this recipe different from the rest is the way the candy corn bakes. It doesn’t just sit there like a chunk of sugar. It melts into the batter and creates these little caramelized pockets that are so much better than plain caramel chips. I tried this with a few different candy corn brands, and the trick is to use the classic Brach’s kind. The generic stuff doesn’t melt the same way.
This recipe is the kind that makes you close your eyes after the first bite. It’s not trying to be healthy or trendy. It’s just good. The kind of good that makes you want to save the last square for yourself and hide it in the back of the fridge.
What Ingredients You Will Need
This recipe uses simple, pantry-friendly ingredients to deliver that perfect chewy texture and sweet, buttery flavor. Nothing fancy here, just good stuff you already know how to use.
- Unsalted butter, melted (1 cup / 2 sticks / 226g) — I use salted butter in a pinch, but then I cut the added salt in half. Let the butter cool for a minute before mixing so you don’t scramble the eggs.
- Light brown sugar, packed (1 ½ cups / 300g) — This is what gives the blondies that deep, almost molasses flavor. Dark brown sugar works too, but the blondies will be a little darker and richer.
- Granulated sugar (½ cup / 100g) — Adds a little extra sweetness and helps with that crackly top. Don’t skip it.
- Large eggs (2, room temperature) — If you forget to take them out of the fridge, just put them in a bowl of warm water for 5 minutes. It makes a difference in how the batter comes together.
- Vanilla extract (2 teaspoons) — Pure vanilla is better, but imitation works fine here. The candy corn is the star anyway.
- All-purpose flour (2 cups / 240g) — Spoon and level it. Scooping directly from the bag packs the flour and makes the blondies dry. I learned that the hard way.
- Baking powder (1 teaspoon) — Helps them rise just a little. Not too much, just enough to keep them from being flat bricks.
- Salt (½ teaspoon) — Don’t skip this. Salt balances the sweetness and makes the candy corn pop.
- Candy corn (1 cup / about 6 oz) — I recommend Brach’s for the best melt. The store-brand stuff tends to stay hard and chewy even after baking.
- White chocolate chips (1 cup / about 6 oz) — Ghirardelli or Guittard are my go-to brands. They hold their shape better and don’t get that weird waxy texture.
Ingredient Substitutions
- If you’re out of brown sugar, use all granulated sugar. The flavor will be lighter, but it still works.
- Use dairy-free butter and white chocolate for a vegan version. The texture will be slightly different, but still delicious.
- Swap the candy corn for candy pumpkins or even chopped-up caramels. The bake time might shift by a minute or two.
Equipment Needed
You don’t need a lot of fancy tools for this one. Here’s what I use every time.
- 9×13-inch baking pan — Glass or metal works. If you use glass, reduce the oven temperature by 25°F. Metal gives a better crust, honestly.
- Parchment paper — This is non-negotiable. It makes lifting the blondies out so much easier. I cut two strips and crisscross them in the pan.
- Large mixing bowl — Any big bowl works. I use a glass one because it’s easy to see if the butter is fully mixed in.
- Whisk — For the wet ingredients. A fork works in a pinch, but a whisk is faster.
- Spatula — A silicone one is best for scraping every last bit of batter.
- Measuring cups and spoons — Standard set. Nothing fancy.
- Cooling rack — Helps the blondies cool evenly so they don’t get soggy on the bottom.
If you don’t have a 9×13 pan, you can use a 9×9 square pan. Just increase the bake time by about 5 to 8 minutes and check with a toothpick. The blondies will be thicker, but still delicious.
Preparation Method
Here’s the step-by-step. It looks like a lot, but it’s really just mix, pour, bake. I promise.
- Preheat your oven to 350°F (175°C). Line your 9×13-inch baking pan with parchment paper, leaving a little overhang on the long sides. This makes lifting the blondies out a breeze. Lightly spray the parchment with non-stick spray if you’re nervous about sticking.
- Melt the butter. In a large microwave-safe bowl, melt the butter in 30-second bursts until fully liquid. Let it sit for about 2 minutes to cool slightly. You don’t want it hot enough to cook the eggs.
- Whisk in the sugars. Add the brown sugar and granulated sugar to the melted butter. Whisk until the mixture looks smooth and kind of shiny, about 1 minute. It should smell like caramel at this point. That’s a good sign.
- Add the eggs and vanilla. Crack the eggs into the bowl, add the vanilla, and whisk vigorously for about 30 seconds. The batter should look thick and glossy. If it looks separated, keep whisking. It’ll come together.
- Mix the dry ingredients. In a separate small bowl, whisk together the flour, baking powder, and salt. This step is important because it distributes the baking powder evenly. If you skip it, you might get a pocket of baking powder in one bite. Trust me, you don’t want that.
- Combine wet and dry. Pour the dry ingredients into the wet mixture. Use a spatula to fold everything together gently. Mix just until you don’t see any more streaks of flour. Overmixing makes the blondies tough. Stop as soon as it comes together.
- Fold in the candy corn and white chocolate chips. Reserve about ¼ cup of each for the top. Gently fold the rest into the batter. The batter will be thick and a little stiff. That’s normal.
- Spread the batter into the prepared pan. Use your spatula to spread it evenly. It will be thick, so take your time. Press the reserved candy corn and white chocolate chips into the top of the batter. This makes the blondies look prettier and gives you little pockets of melty goodness.
- Bake for 22 to 26 minutes. The edges should be golden brown and the center should look set but still slightly soft. A toothpick inserted into the center should come out with a few moist crumbs, not wet batter. If it comes out clean, you’ve overbaked them. Don’t do that.
- Cool completely in the pan on a wire rack. This is the hardest part. I know you want to cut into them immediately. But if you do, they’ll fall apart. Let them cool for at least 1 hour. I usually wait 2 hours. The texture gets so much better.
- Lift the blondies out using the parchment overhang. Place them on a cutting board. Use a sharp knife to cut into squares. Wipe the knife clean between cuts for neat edges.
Cooking Tips & Techniques
I have messed up blondies more times than I care to admit. Here’s what I learned so you don’t have to learn the hard way.
Don’t overbake. This is the number one mistake. Blondies continue to bake in the pan after you pull them out of the oven. If the center looks fully set and dry, they’re already overdone. Pull them when the center still has a slight jiggle. They’ll set up perfectly as they cool.
Use room temperature eggs. Cold eggs seize up the melted butter and make the batter lumpy. I forgot once and ended up with streaks of butter in my batter. They still tasted fine, but the texture was uneven. Just take the eggs out 20 minutes before you start.
Press the candy corn down. Candy corn tends to float to the top while baking. If you don’t press some into the batter before baking, you’ll end up with a layer of candy corn on top and none in the middle. Press them in gently with your fingers.
Let them cool. I know I said this already, but it’s worth repeating. Warm blondies are tempting, but they’re also fragile. The candy corn needs time to reset. If you cut too soon, you’ll get a gooey mess. Patience pays off here.
Use a metal pan for crispier edges. Glass pans trap moisture, which makes the edges soft. Metal pans conduct heat better and give you that perfect chewy edge. If you use glass, add a few minutes to the bake time.
Variations & Adaptations
This recipe is a great base for all kinds of tweaks. Here are a few I’ve tried and loved.
Halloween Sprinkle Blondies
Fold in ½ cup of Halloween-themed sprinkles along with the candy corn. The sprinkles add a little crunch and make the blondies look extra festive. My kids loved this version.
Chocolate Candy Corn Blondies
Swap the white chocolate chips for semi-sweet or milk chocolate chips. The dark chocolate balances the sweetness of the candy corn beautifully. I actually prefer this version when I want something less sweet.
Gluten-Free Option
Use a 1:1 gluten-free flour blend like King Arthur’s Measure for Measure. The texture will be slightly more tender, but still chewy and delicious. I tested this with my gluten-sensitive friend, and she couldn’t tell the difference.
Nutty Blondies
Add ½ cup of chopped pecans or walnuts along with the candy corn. The nuts add a nice crunch and a savory element that cuts through the sweetness. Toast the nuts first for extra flavor.
Peanut Butter Swirl
Drop spoonfuls of peanut butter on top of the batter before baking and swirl it in with a knife. The peanut butter and candy corn combination is surprisingly good. It tastes like a candy bar.
Serving & Storage Suggestions
These blondies are best served at room temperature. I like to cut them into squares and arrange them on a pretty plate. They’re perfect for Halloween parties, bake sales, or just a random Tuesday when you need something sweet.
For a fun presentation, dust the blondies with a little powdered sugar before serving. It makes them look fancy without any extra effort. You can also drizzle melted white chocolate on top for a more decadent look.
Storage: Keep the blondies in an airtight container at room temperature for up to 5 days. They stay chewy and soft. If you stack them, put a piece of parchment paper between layers to prevent sticking.
Freezer: These freeze beautifully. Wrap individual squares tightly in plastic wrap, then place them in a freezer-safe bag. They’ll keep for up to 3 months. To thaw, just leave them on the counter for about 30 minutes. They taste just as fresh as the day you baked them.
Reheating: Pop a blondie in the microwave for about 10 seconds if you want that just-baked warmth. The white chocolate chips get melty again, and it’s pure comfort.
Nutritional Information & Benefits
Let’s be real. These are a treat. They’re not health food, and that’s okay. But here’s the estimated breakdown per blondie (assuming 24 squares).
| Nutrient | Amount per Blondie |
|---|---|
| Calories | 210 |
| Total Fat | 9g |
| Saturated Fat | 5g |
| Cholesterol | 35mg |
| Sodium | 110mg |
| Total Carbohydrates | 31g |
| Sugars | 22g |
| Protein | 2g |
The butter provides a small amount of vitamin A, and the eggs add a little protein. The candy corn is mostly sugar, so if you’re watching your intake, cut the blondies into smaller squares. I sometimes make a batch and freeze half so I don’t eat the whole pan in one sitting. Moderation is key, but so is enjoying life.
Conclusion
These chewy candy corn blondies with white chocolate chips are the kind of recipe that surprises you. They take something you thought you knew—candy corn—and turn it into something you actually crave. The texture is spot on. The flavor is balanced. And the whole thing comes together with minimal effort and maximum payoff.
I love this recipe because it’s not trying to be anything other than what it is. It’s a fun, nostalgic treat that makes people smile. Whether you’re making them for a Halloween party, a school event, or just because you have a bag of candy corn that needs using up, they deliver every single time.
So go ahead and give them a try. Customize them however you like. Add nuts, swap the chocolate, or keep it simple. And when you do, come back and let me know how they turned out. Drop a comment below, share your photos, or tag me on social media. I love seeing your creations. Happy baking!
Frequently Asked Questions
Can I use leftover Halloween candy instead of candy corn?
You can, but the texture will be different. Hard candies like Jolly Ranchers won’t melt well. Chocolate-based candies work better. I’d stick with candy corn for the best results, honestly.
Why are my blondies dry?
You probably overbaked them. Next time, pull them out when the center still looks slightly underdone. They’ll continue to bake in the pan. Also, make sure you’re measuring your flour correctly. Scooping from the bag packs the flour and dries out the batter.
Can I make these ahead of time?
Absolutely. Bake them up to 2 days in advance and store them in an airtight container at room temperature. They actually get better after a day. The flavors meld together and the texture softens up nicely.
Do I have to use white chocolate chips?
Not at all. Semi-sweet, milk chocolate, or even butterscotch chips work great. I’ve also used peanut butter chips for a different flavor profile. Use what you have on hand.
Can I double this recipe?
Yes. Double all the ingredients and bake in a half-sheet pan (18×13 inches). The bake time will be similar, but start checking at 25 minutes. You might need an extra 2 to 3 minutes.
Pin This Recipe!
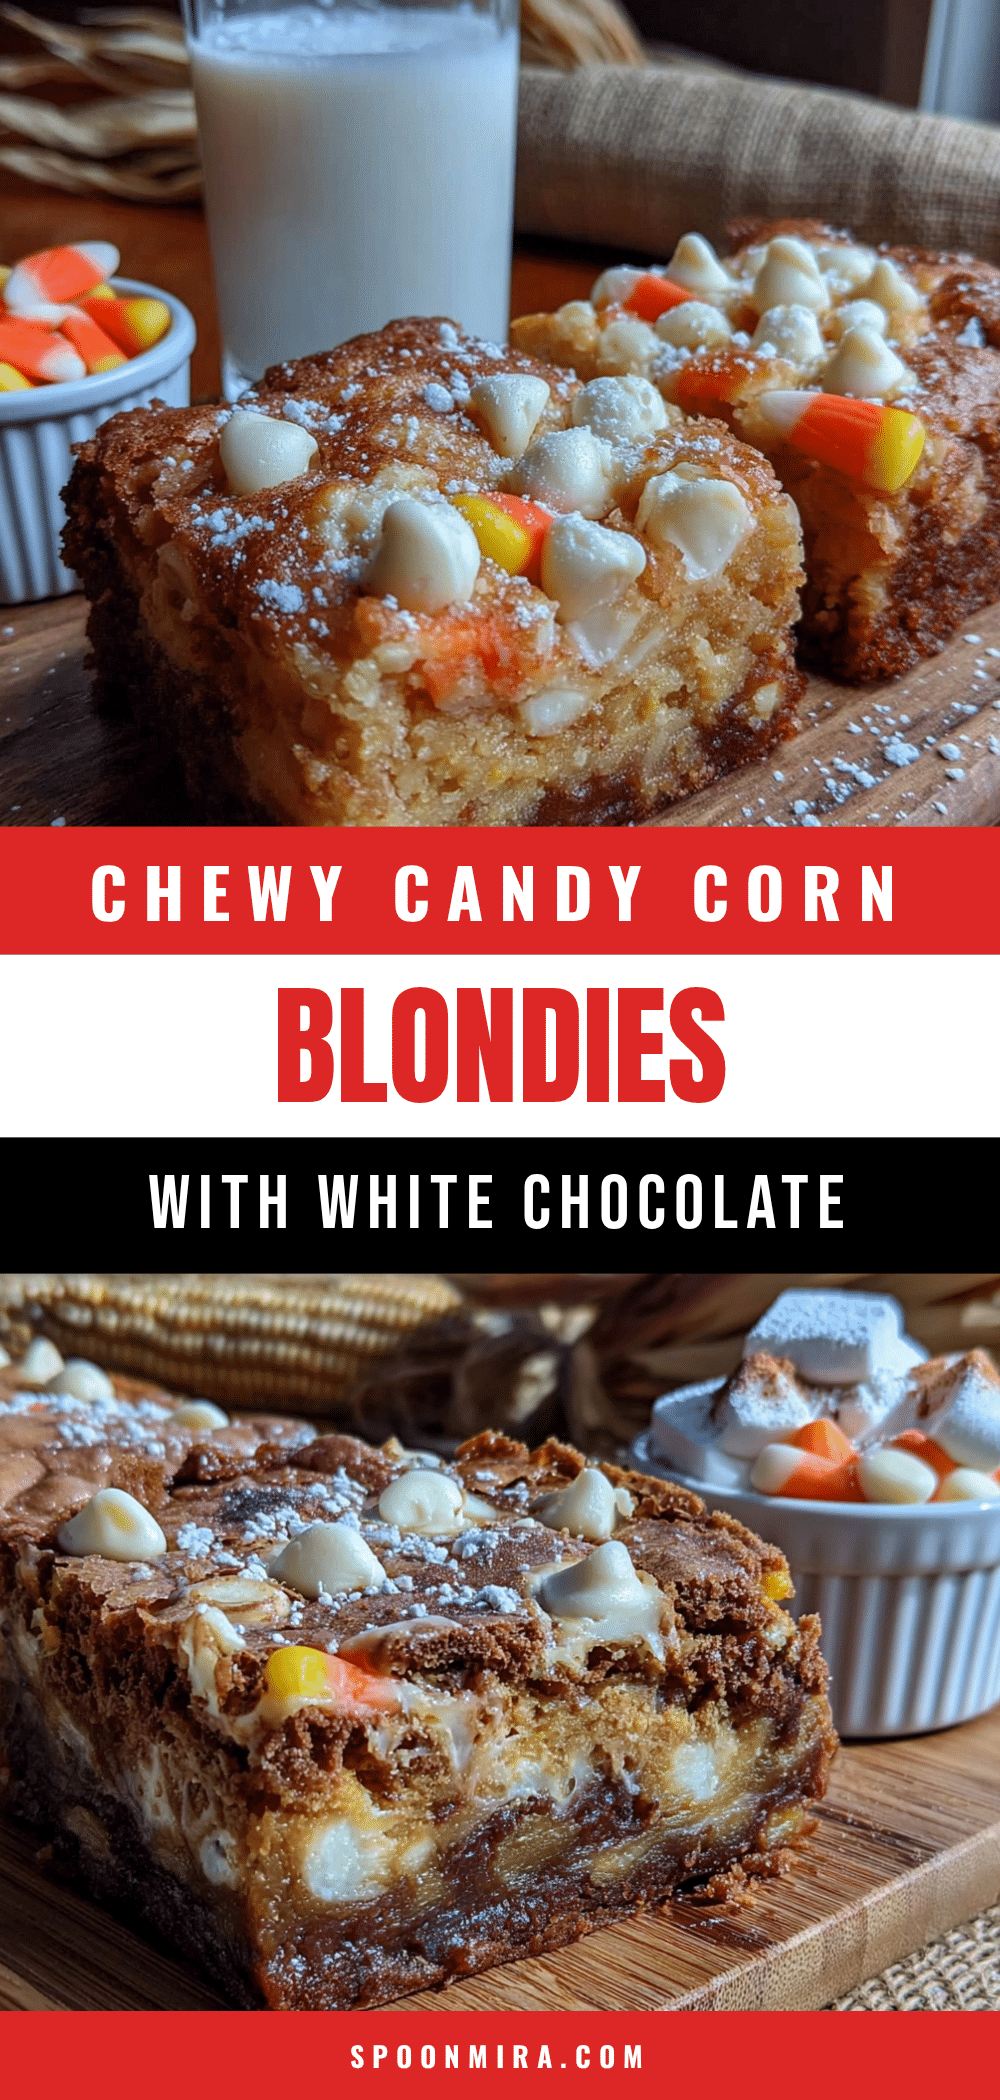
Chewy Candy Corn Blondies with White Chocolate Chips
These chewy candy corn blondies with white chocolate chips turn leftover candy corn into pockets of honey-like sweetness in a buttery, dense blondie base. They’re quick, easy, and perfect for Halloween parties or any time you crave a nostalgic treat.
- Prep Time: 15 minutes
- Cook Time: 25 minutes
- Total Time: 40 minutes
- Yield: 24 servings 1x
- Category: Dessert
- Cuisine: American
Ingredients
- 1 cup (2 sticks / 226g) unsalted butter, melted
- 1 ½ cups (300g) light brown sugar, packed
- ½ cup (100g) granulated sugar
- 2 large eggs, room temperature
- 2 teaspoons vanilla extract
- 2 cups (240g) all-purpose flour
- 1 teaspoon baking powder
- ½ teaspoon salt
- 1 cup (about 6 oz) candy corn (preferably Brach’s)
- 1 cup (about 6 oz) white chocolate chips (preferably Ghirardelli or Guittard)
Instructions
- Preheat your oven to 350°F (175°C). Line a 9×13-inch baking pan with parchment paper, leaving overhang on the long sides. Lightly spray with non-stick spray if desired.
- Melt the butter in a large microwave-safe bowl in 30-second bursts. Let it cool for about 2 minutes.
- Whisk in the brown sugar and granulated sugar until smooth and shiny, about 1 minute.
- Add the eggs and vanilla, whisk vigorously for about 30 seconds until thick and glossy.
- In a separate small bowl, whisk together the flour, baking powder, and salt.
- Pour the dry ingredients into the wet mixture. Fold gently with a spatula until just combined. Do not overmix.
- Reserve about ¼ cup each of candy corn and white chocolate chips. Fold the remaining candy corn and white chocolate chips into the batter.
- Spread the batter evenly into the prepared pan. Press the reserved candy corn and white chocolate chips into the top.
- Bake for 22 to 26 minutes, until edges are golden brown and center is set but still slightly soft. A toothpick inserted should come out with moist crumbs.
- Cool completely in the pan on a wire rack for at least 1 hour (preferably 2 hours).
- Lift the blondies out using the parchment overhang. Cut into squares with a sharp knife, wiping the knife clean between cuts.
Notes
Don’t overbake; blondies continue to bake in the pan. Use room temperature eggs for best texture. Press candy corn into the batter to prevent floating. Let cool completely before cutting. For crispier edges, use a metal pan. Store in an airtight container at room temperature for up to 5 days or freeze for up to 3 months.
Nutrition
- Serving Size: 1 blondie
- Calories: 210
- Sugar: 22
- Sodium: 110
- Fat: 9
- Saturated Fat: 5
- Carbohydrates: 31
- Protein: 2
Keywords: candy corn blondies, white chocolate blondies, Halloween dessert, chewy blondies, easy blondie recipe


