My neighbor, a retired firefighter named Chuck who grows his own habaneros and judges barbecue competitions on weekends, took one look at the pork shoulder I was prepping and said, “You’re not gonna put that apple cider in a slow cooker, are you?” He wasn’t asking. He was warning me. And honestly, I almost did. I had this vision of dumping everything in, walking away, and coming back eight hours later to shredded perfection. But Chuck had a point—one I didn’t want to hear. “That meat needs a sear,” he said, crossing his arms. “And that cider needs to reduce, or you’re just boiling pork in sweet water.”
He was right. The first time I made a version of this dish, years ago, it came out tasting like wet apple pie with meat floating in it. Not my finest moment. The pork was tender, sure, but the flavor was muddled, the fat never rendered properly, and the sauce was thin and sad. I wanted something deeper. Something that tasted like fall in a way that made you close your eyes and forget about whatever was stressing you out that day. So I went back to the stove, took Chuck’s advice, and figured out the right way to do it. This cozy apple cider braised pork shoulder is the result of that stubbornness—and a few burned batches of cider along the way.
The trick, I learned, is patience in stages. You sear the pork until it’s properly brown, not just lightly colored. You let the cider reduce with aromatics until it smells like someone bottled a crisp October afternoon. And then you let the oven do the rest of the work, low and slow, until the meat is so tender it practically falls apart when you look at it. This is not a dump-and-forget recipe. But it is a mostly-hands-off recipe that rewards you with deeply savory, subtly sweet pork that works for Sunday dinner, meal prep, or feeding a crowd without breaking a sweat. It’s the kind of dish that makes your whole kitchen smell like comfort. And honestly, that’s the whole point.
Why You’ll Love This Recipe
This isn’t just another braised pork recipe. After testing this method about six times—and ruining a perfectly good Dutch oven liner in the process—I can tell you exactly why this version works and why it’s worth every bit of effort.
- Deep, Layered Flavor : The apple cider reduces during the braise, concentrating into a sauce that’s tangy, slightly sweet, and rich. You don’t get that thin, watery sauce here. You get something that coats the back of a spoon.
- Fork-Tender Meat Every Time : Braising at a low temperature (300°F) for several hours breaks down the collagen in the pork shoulder, transforming a tough cut into something that pulls apart with zero resistance.
- Simple Pantry Ingredients : No fancy shopping trips required. Pork shoulder, apple cider, onions, garlic, a few herbs, and some cider vinegar—that’s it. You probably have most of this already.
- Perfect for Meal Prep : This recipe makes a generous amount, and the leftovers are even better the next day. Shred it, reheat it, and serve it over mashed potatoes, rice, or even on a sandwich bun.
- Impresses Without Stress : This looks and tastes like a special occasion meal, but the active prep time is only about 20 minutes. The oven does the heavy lifting. It’s the kind of dish that makes you look like a hero with minimal hands-on work.
I’ve made this for a casual Sunday dinner with my family and for a small dinner party with friends. Both times, people went back for seconds. One friend asked for the recipe before she finished her first plate. That’s the kind of recipe this is—humble, unpretentious, and genuinely delicious. If you’ve ever been intimidated by braising a large cut of meat, this is the recipe that will change your mind.
What Ingredients You Will Need
This recipe relies on a short list of ingredients that work together to create something greater than the sum of their parts. Here’s what you’ll need and why each one matters.
For the Pork:
- 3 to 4 pounds boneless pork shoulder (also called pork butt) — Look for a piece with good marbling. The fat is what keeps the meat moist during the long braise. I prefer getting it from a local butcher when I can, but a well-marbled grocery store cut works fine too.
- 2 teaspoons kosher salt — Don’t skimp here. Salt helps the meat retain moisture and seasons it all the way through.
- 1 teaspoon black pepper, freshly ground
- 2 tablespoons olive oil or avocado oil — For searing. Use an oil with a high smoke point.
For the Braising Liquid:
- 2 cups apple cider (unfiltered, if you can find it) — This is the star of the show. Unfiltered cider has more depth and a slightly tangier flavor. Avoid apple juice, which is too sweet and lacks complexity.
- 1 cup low-sodium chicken broth — Adds savory balance to the sweet cider.
- 1 large yellow onion, thinly sliced — Sweetens as it cooks and forms the base of the braise.
- 4 cloves garlic, smashed — Adds aromatic warmth without being overpowering.
- 2 tablespoons apple cider vinegar — Brightens the sauce and cuts through the richness.
- 2 sprigs fresh rosemary — Earthy and piney, it pairs beautifully with apple.
- 3 sprigs fresh thyme — Adds a subtle, peppery herbaceousness.
- 2 bay leaves — For that background depth you can’t quite name but would miss if it were gone.
Optional but Recommended:
- 1 tablespoon Dijon mustard — Stirred in at the end, it adds a gentle tang that lifts the whole sauce.
- 1 to 2 teaspoons brown sugar — Only if your cider is very tart. Taste the braising liquid after it reduces and decide.
I’ve made this with both fresh and dried herbs, and fresh really does make a difference here. The rosemary and thyme infuse the braising liquid while it cooks, and you pull them out before serving. If you only have dried, use about one teaspoon of each, but add them earlier so they have time to rehydrate and release their flavor.
One note on the pork shoulder: don’t trim all the fat off. Leave a thin layer on top. It renders during cooking and bastes the meat from the inside out. Trimmed pork shoulder can end up dry, and nobody wants that.
Equipment Needed
You don’t need a lot of fancy gear for this recipe, but having the right tools makes the process smoother. Here’s what I use and what you can substitute if needed.
- Dutch oven (5 to 6 quarts) — This is ideal. A heavy-bottomed pot with a tight-fitting lid retains heat evenly and goes from stovetop to oven without any fuss. I use a Lodge enameled cast iron one, and it’s never let me down.
- Chef’s knife — A sharp 8-inch knife makes quick work of slicing the onion and smashing the garlic.
- Cutting board
- Tongs — For flipping the pork during searing. Metal tongs with a good grip are best.
- Measuring cups and spoons
- Wooden spoon or spatula — For scraping up the browned bits from the bottom of the pot after searing. Those bits are flavor gold.
If you don’t have a Dutch oven, you can use a heavy-bottomed oven-safe pot with a lid, like a stainless steel stockpot or a ceramic baking dish covered tightly with foil. You can also transfer everything to a slow cooker after searing and cook on low for 8 hours, but you’ll miss some of the sauce reduction. If you go that route, reduce the cider on the stovetop first before adding it to the slow cooker.
I’ve also made this in a cast iron skillet for the searing step and then transferred everything to a roasting pan covered with foil for the oven. It works. The key is to keep the lid or foil tight so steam doesn’t escape too quickly.
Preparation Method
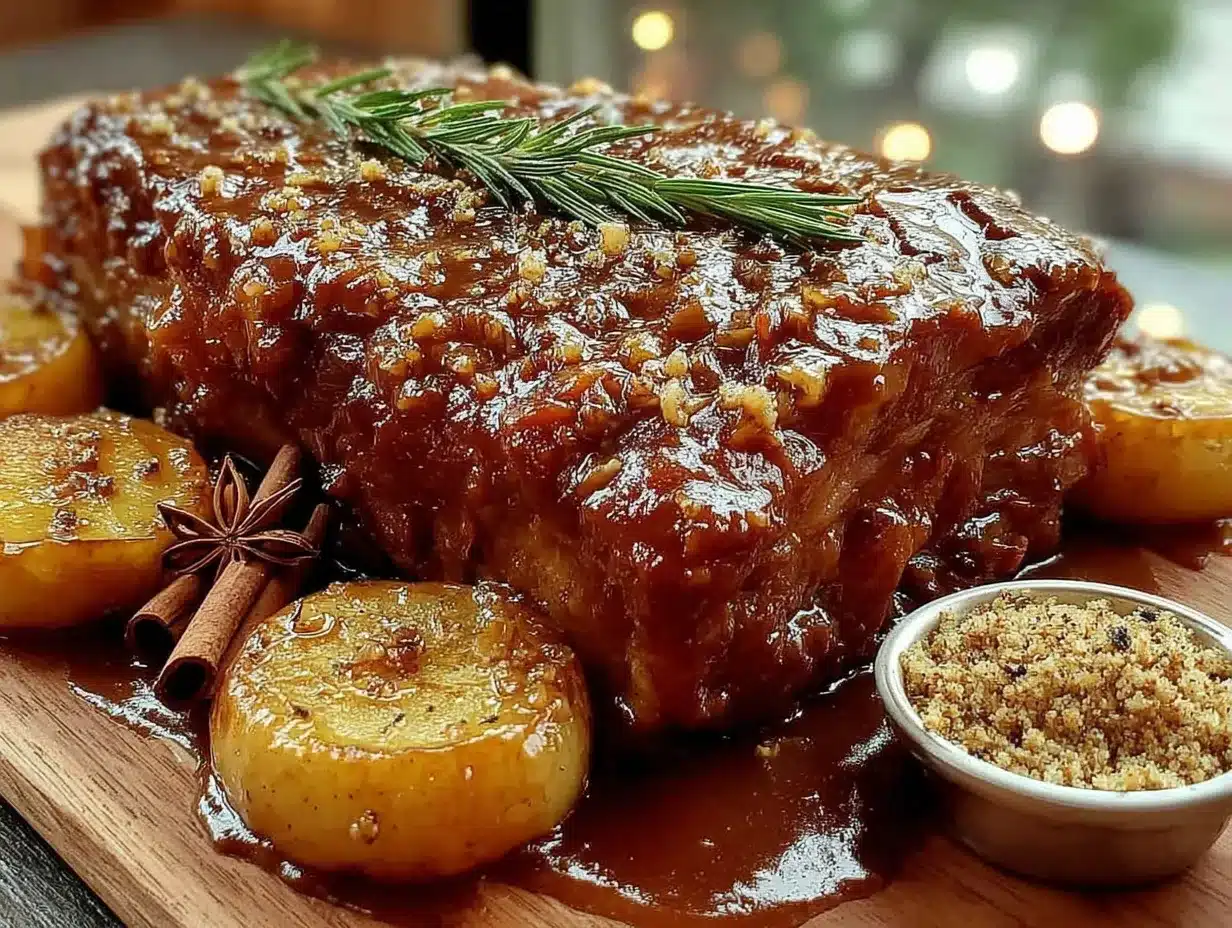
This method is broken into clear steps. Read through them once before you start so you know what’s coming. The active time is short, but the oven time is long—plan accordingly.
- Preheat your oven to 300°F. Position the rack in the lower third of the oven. This is important because you want the pot to sit in the even heat, not too close to the top.
- Pat the pork shoulder dry with paper towels. This is not optional. Moisture on the surface of the meat will steam instead of sear, and you’ll miss out on that beautiful brown crust. Season generously on all sides with the kosher salt and black pepper. Let it sit at room temperature for about 20 minutes while you prep the other ingredients.
- Heat the olive oil in your Dutch oven over medium-high heat. Wait until the oil shimmers—about 2 minutes. Carefully place the pork shoulder in the pot, fat side down first. Let it sear without moving it for 4 to 5 minutes. You want a deep golden-brown crust. Use tongs to flip it and sear all sides, including the ends. This takes about 4 to 5 minutes per side, so roughly 15 to 18 minutes total. Don’t rush this step. That browned surface is where a huge amount of flavor lives.
- Remove the pork to a plate. It’s okay if it’s not cooked through—that’s what the oven is for. Set it aside.
- Reduce the heat to medium. Add the sliced onion to the pot and cook, stirring occasionally, for 5 to 6 minutes, until softened and starting to brown around the edges. Scrape up any browned bits from the bottom of the pot as the onion releases its moisture. This is called deglazing, and it’s where all that seared flavor gets incorporated into the sauce.
- Add the smashed garlic cloves and cook for 1 minute more, until fragrant.
- Pour in the apple cider and chicken broth. Use your wooden spoon to scrape up any remaining browned bits. Add the apple cider vinegar, rosemary sprigs, thyme sprigs, and bay leaves. Stir everything together.
- Return the pork shoulder to the pot, nestling it into the liquid. The liquid should come about halfway up the sides of the meat. If it doesn’t, add a little more broth or water.
- Bring the liquid to a gentle simmer on the stovetop. You should see small bubbles breaking the surface, not a rolling boil. This takes about 3 to 4 minutes.
- Cover the pot with the lid and transfer it to the preheated oven. Braise for 3 to 3.5 hours. At the 2-hour mark, carefully remove the lid and check the liquid level. If it looks low, add a splash of broth or water. Flip the pork over so the top gets submerged in the braising liquid. Replace the lid and continue cooking.
- Test for doneness at the 3-hour mark. Insert a fork into the thickest part of the meat. It should twist easily and the meat should start to pull apart. If it resists, cook for another 30 minutes and check again. My pork shoulder usually takes about 3 hours and 15 minutes.
- Remove the pot from the oven. Carefully transfer the pork to a cutting board. Let it rest for 10 to 15 minutes before shredding or slicing. This resting period lets the juices redistribute so the meat stays moist.
- While the pork rests, make the sauce. Set the pot over medium-high heat on the stovetop. Remove and discard the rosemary sprigs, thyme sprigs, and bay leaves. Bring the braising liquid to a simmer and let it reduce for 8 to 10 minutes, until it thickens slightly and the flavors concentrate. Taste it. If it needs a little brightness, stir in the Dijon mustard or a splash more apple cider vinegar. If it’s too tart, add a pinch of brown sugar.
- Shred or slice the pork. For shredded pork, use two forks to pull the meat apart, discarding any large pieces of fat. For slices, use a sharp knife to cut against the grain. Return the meat to the pot and toss it with the reduced sauce, or serve the sauce on the side.
A note on timing: This is a weekend recipe for me. I usually start it around 2 PM so it’s ready by 5:30 or 6 PM. The smell that fills your house during the last hour of braising is absolutely intoxicating—like a cozy fall candle, but edible.
Cooking Tips & Techniques
I’ve made enough mistakes with braised pork to fill a small notebook. Here are the things I wish someone had told me the first time around.
Don’t skip the sear. I know it’s tempting to save time, especially when you’re hungry. But searing creates the Maillard reaction—that browning that produces deep, savory flavor compounds. Without it, your pork will taste boiled, not braised. The difference is night and day.
Watch your heat during searing. If the oil starts smoking, your heat is too high. Lower it slightly. You want a vigorous sizzle, not a smoke alarm. Also, don’t crowd the pot. If you’re cooking a larger piece of meat, make sure it has enough room to make contact with the bottom of the pot. If it’s too snug, the steam will prevent browning.
Use a thermometer for the oven. Ovens can run hot or cold. I keep an oven thermometer inside mine to make sure it’s actually at 300°F. A difference of even 25 degrees can affect cooking time and tenderness.
Let the meat rest before shredding. This is a step I used to skip, and my pork was always a little drier than I wanted. Resting allows the muscle fibers to relax and reabsorb some of the juices that were pushed out during cooking. Ten minutes makes a real difference.
Skim the fat if you want a cleaner sauce. After braising, the surface of the liquid will have a layer of rendered fat. If you want a lighter sauce, use a spoon to skim off as much as you can before reducing. If you want a richer sauce, leave it. I usually skim about half of it. Personal preference.
Don’t rush the sauce reduction. The braising liquid is flavorful, but it needs to concentrate. Let it simmer uncovered until it’s reduced by about a third. You want a sauce that coats the back of a spoon, not one that runs off like water. This usually takes 8 to 10 minutes, but keep an eye on it.
One more thing—if you’re planning to make this for a dinner party, you can braise the pork a day ahead. Cool it completely, refrigerate it in the braising liquid, and then reheat it gently on the stovetop or in a low oven before serving. The flavors actually get better overnight. I’ve done this multiple times and it’s a lifesaver for entertaining.
Variations & Adaptations
This recipe is flexible. Here are a few ways I’ve adapted it depending on what I have on hand or who I’m cooking for.
Slow Cooker Version: Sear the pork and sauté the onions as directed. Transfer everything to a slow cooker. Add the cider, broth, vinegar, and herbs. Cook on low for 8 hours or on high for 5 hours. The sauce won’t reduce as much, so after shredding, transfer the liquid to a saucepan and simmer on the stovetop until thickened. It’s not quite the same as oven-braising, but it works for busy days.
Herb Swaps: I’ve used fresh sage instead of rosemary, and it was lovely—earthier and a little peppery. Thyme and bay are hard to beat, but you could add a sprig of oregano or marjoram if that’s what you have. Just avoid dried herb blends; they can muddy the flavor.
Spiced Cider Variation: In late fall, I sometimes add a cinnamon stick, two star anise, and a few cloves to the braising liquid. It gives the pork a warm, spiced undertone that pairs beautifully with roasted root vegetables. Just remember to fish out the star anise and cloves before serving—biting into a clove is not a pleasant surprise.
Gluten-Free and Dairy-Free: This recipe is naturally both. Just make sure your chicken broth is certified gluten-free if that’s a concern. No other adjustments needed.
Keto/Low-Carb Adaptation: Replace the apple cider with an equal amount of unsweetened apple cider vinegar mixed with water or broth, and add a low-carb sweetener like allulose or monk fruit to taste. The flavor profile will be tangier and less sweet, but still delicious. I’ve tested this once and it worked surprisingly well.
Pork Shoulder vs. Pork Butt: These two cuts are actually the same thing—both come from the shoulder area. Don’t overthink it. Just get a bone-in or boneless piece with good marbling. Bone-in takes slightly longer to cook but adds a little more flavor to the braising liquid.
I also want to mention that this recipe works beautifully with a smothered pork chops recipe approach if you’re looking for a quicker weeknight option. The flavor principles are similar, but the cooking time is much shorter.
Serving & Storage Suggestions
This pork is versatile enough to serve in several ways. Here’s how I usually do it.
Serving Temperature: Serve the pork hot, straight from the pot. The sauce should be warm and slightly thickened. If it’s cooled down too much, reheat it gently on the stovetop with a splash of broth.
What to Serve With It: Mashed potatoes are my go-to. The creamy texture soaks up the sauce perfectly. Buttered egg noodles, creamy polenta, or crusty bread for dipping are also excellent. On the vegetable side, roasted Brussels sprouts, sautéed kale, or a simple green salad with a tangy vinaigrette balance the richness. I’ve also served this over a bed of Greek chicken and rice bowls for a fun twist, and it was a hit.
Presentation: Shred the pork and pile it on a platter. Spoon some of the reduced sauce over the top. Garnish with fresh thyme leaves or a sprinkle of flaky sea salt. It looks rustic and beautiful without any fuss.
Storage: Store leftover pork in an airtight container in the refrigerator for up to 4 days. Keep it submerged in some of the braising liquid to prevent it from drying out. The flavors continue to meld, and leftovers are often better than the first meal.
Freezing: This freezes beautifully. Let the pork cool completely, then transfer it to a freezer-safe container or zip-top bag with some of the sauce. Freeze for up to 3 months. To thaw, place it in the refrigerator overnight. Reheat gently on the stovetop or in a 300°F oven until warmed through.
Reheating: The best way to reheat is in a covered pot over low heat with a splash of broth or water to loosen the sauce. Stir occasionally until hot. You can also microwave individual portions in 30-second bursts, but the texture won’t be as good. Avoid high heat, which can toughen the meat.
One thing I’ve noticed: the sauce thickens more as it sits in the fridge. When reheating, you might need to add a little extra liquid to get it back to the right consistency. Don’t skip this step. Nobody wants gluey sauce.
Nutritional Information & Benefits
This is a hearty dish, but it’s not as heavy as you might think. Here’s a rough breakdown per serving (based on 8 servings, without sides).
| Nutrient | Amount per Serving |
|---|---|
| Calories | 410 |
| Protein | 32g |
| Fat | 26g |
| Saturated Fat | 9g |
| Carbohydrates | 12g |
| Fiber | 1g |
| Sugar | 8g |
| Sodium | 620mg |
Pork shoulder is a good source of protein, B vitamins (especially B12 and niacin), and minerals like zinc and selenium. The apple cider provides a small amount of vitamin C and antioxidants, though most of the sugars are from natural fruit sources. If you’re watching your sodium, use low-sodium broth and go easy on the added salt.
This recipe is naturally gluten-free and dairy-free. It’s also relatively low in carbohydrates for a comfort food dish, especially if you skip the sweetener. The fat content is moderate, and much of it comes from the marbling in the pork, which adds flavor and helps keep the meat tender.
I’m not a nutritionist, but I do pay attention to how food makes me feel. This dish is satisfying without being heavy. It sticks to your ribs in a good way, and the protein keeps you full for hours. Pair it with a vegetable side and you’ve got a balanced meal that feels like a hug.
Conclusion
This cozy apple cider braised pork shoulder is the kind of recipe that earns a permanent spot in your fall rotation. It’s forgiving enough for a beginner but impressive enough for a dinner party. The process is straightforward, the ingredients are simple, and the result is deeply satisfying in a way that’s hard to describe until you taste it.
I love that this recipe doesn’t demand perfection. If your sear isn’t perfectly even, it’s fine. If you forget to flip the pork at the 2-hour mark, it’s fine. The long, slow braise smooths over most mistakes and rewards you with tender, flavorful meat every time. That’s the kind of cooking I can get behind.
If you make this, let me know how it turns out. Leave a comment below or tag me in your photos. I genuinely love hearing about your kitchen wins—and your near-misses too. We all have them. And if you’re looking for another cozy fall dish to round out your menu, try this creamy hatch green chile corn chowder as a starter. It’s the perfect warm-up for this pork.
Now go preheat that oven. You’ve got a pot of something wonderful waiting to happen.
Frequently Asked Questions
Can I use apple juice instead of apple cider?
You can, but the flavor will be sweeter and less complex. Apple cider has a tangy, fermented edge that apple juice lacks. If you’re in a pinch, use apple juice and add a tablespoon of lemon juice or extra cider vinegar to balance the sweetness.
How do I know when the pork is done?
The most reliable test is the fork test. Insert a fork into the thickest part of the meat and twist. If it slides in easily and the meat starts to pull apart, it’s done. The internal temperature should be around 200°F to 205°F for shredding. Don’t rely solely on temperature, though—tenderness is the real indicator.
Can I make this in a slow cooker?
Yes. Sear the pork and sauté the onions on the stovetop first, then transfer everything to a slow cooker. Cook on low for 8 hours or on high for 5 hours. The sauce won’t reduce as much, so you’ll need to simmer it on the stovetop after shredding. It’s a great option for busy days.
What’s the best way to reheat leftovers without drying them out?
Reheat gently in a covered pot over low heat with a splash of broth or water. Stir occasionally until hot. You can also reheat in a 300°F oven for 15 to 20 minutes. Avoid the microwave if you can—it tends to make the meat tough.
Can I freeze this dish?
Absolutely. Let the pork cool completely, then transfer it to a freezer-safe container with some of the sauce. Freeze for up to 3 months. Thaw overnight in the refrigerator and reheat gently. The flavor actually improves after freezing and thawing.
Pin This Recipe!
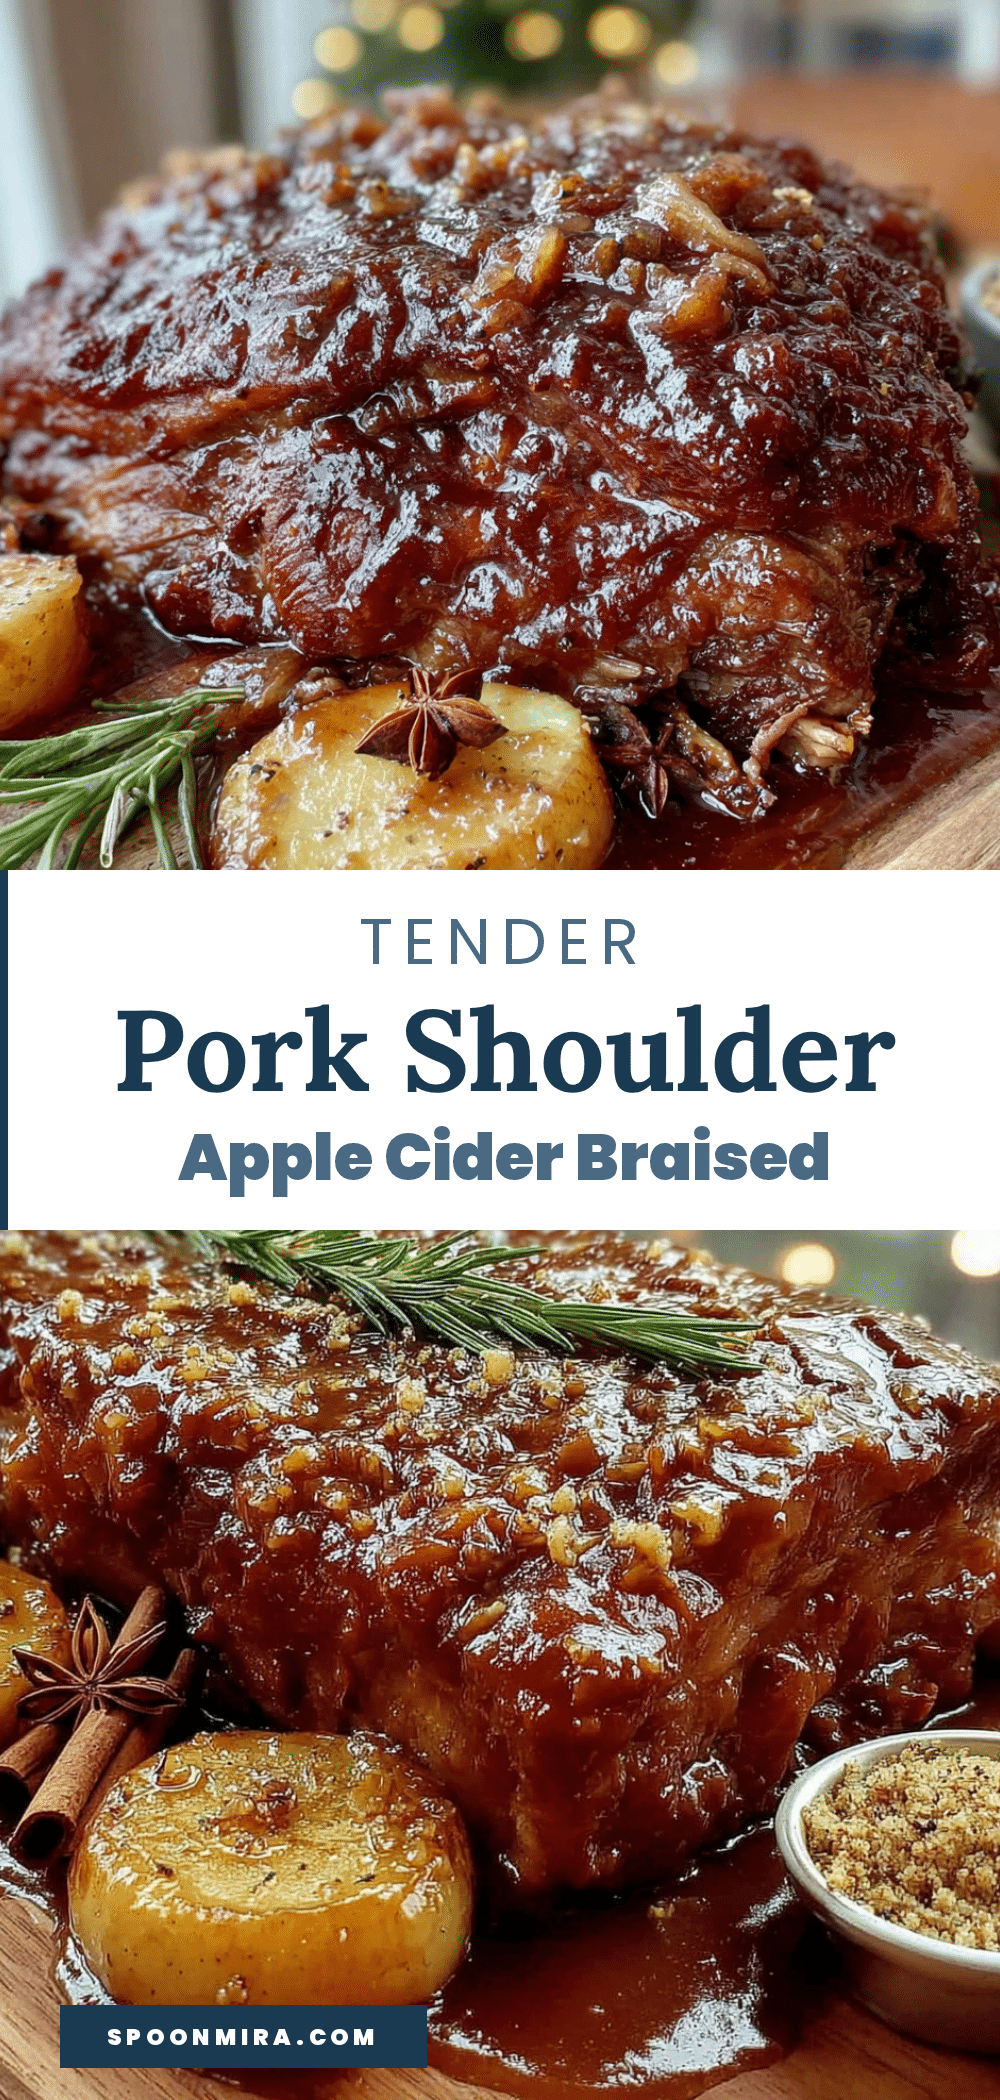
Cozy Apple Cider Braised Pork Shoulder: Easy Fall Dinner

This cozy apple cider braised pork shoulder is deeply savory, subtly sweet, and fork-tender. It’s the perfect fall dinner that impresses without stress, with only 20 minutes of active prep time.
- Prep Time: 20 minutes
- Cook Time: 3 hours 15 minutes
- Total Time: 3 hours 35 minutes
- Yield: 8 servings 1x
- Category: Main Course
- Cuisine: American
Ingredients
- 3 to 4 pounds boneless pork shoulder (pork butt)
- 2 teaspoons kosher salt
- 1 teaspoon black pepper, freshly ground
- 2 tablespoons olive oil or avocado oil
- 2 cups apple cider (unfiltered preferred)
- 1 cup low-sodium chicken broth
- 1 large yellow onion, thinly sliced
- 4 cloves garlic, smashed
- 2 tablespoons apple cider vinegar
- 2 sprigs fresh rosemary
- 3 sprigs fresh thyme
- 2 bay leaves
- 1 tablespoon Dijon mustard (optional)
- 1 to 2 teaspoons brown sugar (optional)
Instructions
- Preheat your oven to 300°F. Position the rack in the lower third of the oven.
- Pat the pork shoulder dry with paper towels. Season generously on all sides with kosher salt and black pepper. Let it sit at room temperature for about 20 minutes.
- Heat the olive oil in a Dutch oven over medium-high heat until shimmering. Carefully place the pork shoulder in the pot, fat side down first. Sear without moving for 4 to 5 minutes per side, until deep golden-brown on all sides (about 15 to 18 minutes total).
- Remove the pork to a plate and set aside.
- Reduce the heat to medium. Add the sliced onion to the pot and cook, stirring occasionally, for 5 to 6 minutes until softened and starting to brown. Scrape up any browned bits from the bottom of the pot.
- Add the smashed garlic cloves and cook for 1 minute more until fragrant.
- Pour in the apple cider and chicken broth. Use a wooden spoon to scrape up any remaining browned bits. Add the apple cider vinegar, rosemary sprigs, thyme sprigs, and bay leaves. Stir together.
- Return the pork shoulder to the pot, nestling it into the liquid. The liquid should come about halfway up the sides of the meat. Add more broth or water if needed.
- Bring the liquid to a gentle simmer on the stovetop (small bubbles breaking the surface, not a rolling boil). This takes about 3 to 4 minutes.
- Cover the pot with the lid and transfer to the preheated oven. Braise for 3 to 3.5 hours. At the 2-hour mark, check the liquid level and add a splash of broth or water if low. Flip the pork over, replace the lid, and continue cooking.
- Test for doneness at the 3-hour mark: insert a fork into the thickest part of the meat. It should twist easily and the meat should start to pull apart. If it resists, cook for another 30 minutes and check again.
- Remove the pot from the oven. Carefully transfer the pork to a cutting board and let it rest for 10 to 15 minutes before shredding or slicing.
- While the pork rests, make the sauce: set the pot over medium-high heat on the stovetop. Remove and discard the rosemary sprigs, thyme sprigs, and bay leaves. Bring the braising liquid to a simmer and let it reduce for 8 to 10 minutes until slightly thickened. Taste and stir in Dijon mustard or a splash more apple cider vinegar if needed, or a pinch of brown sugar if too tart.
- Shred or slice the pork. For shredded pork, use two forks to pull the meat apart, discarding any large pieces of fat. For slices, cut against the grain. Return the meat to the pot and toss with the reduced sauce, or serve the sauce on the side.
Notes
Don’t skip the sear; it creates deep flavor. Let the meat rest before shredding to keep it moist. For a cleaner sauce, skim off some of the rendered fat before reducing. The sauce should coat the back of a spoon. This dish can be made a day ahead and reheated; flavors improve overnight.
Nutrition
- Serving Size: 1 serving (without s
- Calories: 410
- Sugar: 8
- Sodium: 620
- Fat: 26
- Saturated Fat: 9
- Carbohydrates: 12
- Fiber: 1
- Protein: 32
Keywords: apple cider braised pork shoulder, fall dinner, braised pork, pork shoulder recipe, easy dinner, comfort food


