I need dinner on the table in thirty minutes and I am not washing more than one pan. That is the thought running through my head at 5:15 PM on a Tuesday, staring into the fridge like it owes me money. The chicken thighs are thawed. The butter is sitting on the counter. And there is a half-used head of garlic that I bought with big dreams last weekend. This one-pan garlic butter chicken and rice is basically me admitting that I want something deeply satisfying without the cleanup drama.
The thing about weeknight cooking is that you have to be honest with yourself. You are not making a three-hour braise. You are not pulling out the food processor. You are looking for maximum flavor with minimum friction, and that is exactly where this recipe lives. The rice cooks right in the same pan as the chicken, soaking up all those buttery, garlicky juices until every grain tastes like it has something to say. Honestly, it is the kind of meal that makes you forget you are eating a Tuesday dinner.
I have made versions of this dish more times than I can count, tweaking the liquid ratio and fiddling with the heat until the rice comes out fluffy instead of mushy. This is the one that stuck. The one that my family actually requests. And the best part? You can be sitting down to eat before you would even finish scrolling through takeout options. Let me show you how it works.
Why You Will Love This Recipe
This is not just another chicken and rice recipe. This is the one you will make on the nights when you are tired, hungry, and out of patience. Here is why it earns a permanent spot in your dinner rotation:
- One Pan, Zero Drama : Everything cooks in a single skillet. No boiling rice separately, no extra pots, no sink full of dishes. You cook, you eat, you wash one pan. That is the dream.
- Ready in Under 40 Minutes : From the moment you start heating the butter to the moment you lift that lid, you are looking at about 35 minutes. That is faster than delivery and way more satisfying.
- Pantry-Friendly Ingredients : Chicken thighs, rice, garlic, butter, broth, and a few seasonings. Chances are you have most of this already. No fancy grocery runs required.
- Bold Garlic Butter Flavor : This is not shy garlic. We are using a full head of garlic here, cooked low and slow in butter until it turns sweet and nutty. It infuses every single grain of rice and every bite of chicken.
- Perfect for Busy Families : Kids love it because it is buttery and savory. Adults love it because it feels like comfort food without the heavy feeling afterward. It is a crowd-pleaser in the truest sense.
I have tested this recipe about seven times to get the rice-to-liquid ratio exactly right. The first attempt was a little sticky. The second was too dry. But this version? It is gold. The rice comes out tender, the chicken stays juicy, and the garlic butter sauce coats everything like a warm blanket. If you have had bad luck with one-pan rice dishes before, trust me, I have been there. This one works.
What Ingredients You Will Need
This recipe uses simple ingredients that work together to create something greater than the sum of their parts. Here is what you need and why each one matters:
- 4 bone-in, skin-on chicken thighs (about 1.5 pounds total) – The skin crisps up beautifully in the butter, and the bone keeps the meat moist during cooking. You can use boneless thighs, but reduce the cooking time by about 5 minutes.
- 3 tablespoons unsalted butter – We are using butter as the main cooking fat here. It adds richness that oil just cannot replicate. I prefer Kerrygold or any European-style butter for deeper flavor.
- 1 whole head of garlic, cloves separated and peeled – Do not skimp on this. A full head might sound like a lot, but garlic mellows and sweetens as it cooks in butter. You want every clove in there.
- 1 cup long-grain white rice – Basmati or jasmine works beautifully. Avoid short-grain rice here because it gets too sticky. Rinse the rice under cold water until the water runs clear to remove excess starch.
- 1.5 cups low-sodium chicken broth – The broth adds depth that water simply cannot provide. Low-sodium is important so you can control the salt level yourself.
- 0.5 cup water – Helps balance the liquid ratio without making the dish too salty. If you prefer a richer flavor, use all broth instead.
- 1 teaspoon dried thyme – Earthy and slightly floral, thyme pairs beautifully with garlic and butter. Fresh thyme works too, just use about 1 tablespoon of leaves.
- 0.5 teaspoon paprika – Adds a subtle warmth and a nice color to the chicken skin. Smoked paprika works great here for a deeper flavor.
- Salt and black pepper to taste – Season generously. The rice needs salt too, so do not be shy.
- Fresh parsley for garnish – Optional but recommended. A sprinkle of green brightens the whole dish and adds a fresh counterpoint to the rich butter.
That is it. Seven main ingredients plus salt, pepper, and parsley. Nothing complicated, nothing hard to find. The magic happens in how they come together in that single pan.
Equipment Needed
You do not need a fancy kitchen to make this recipe. Here is what you will use:
- A large, deep skillet with a lid – A 12-inch skillet with high sides is ideal. You need enough surface area to sear the chicken and enough depth to cook the rice without boiling over. A Dutch oven works perfectly too.
- Tongs – For flipping the chicken without piercing the skin. Trust me, tongs are better than forks here.
- A sharp knife and cutting board – For prepping the garlic and parsley. Nothing fancy needed.
- A measuring cup – For the broth and water. Accuracy matters with rice cooking.
- A fine-mesh strainer – For rinsing the rice. If you do not have one, a regular colander works, just shake it well.
I have made this recipe in a cast iron skillet, a nonstick pan, and even a stainless steel pot. They all work, but cast iron gives you the best sear on the chicken skin. Just make sure whatever you use has a tight-fitting lid. That lid is what traps the steam and cooks the rice perfectly.
Preparation Method
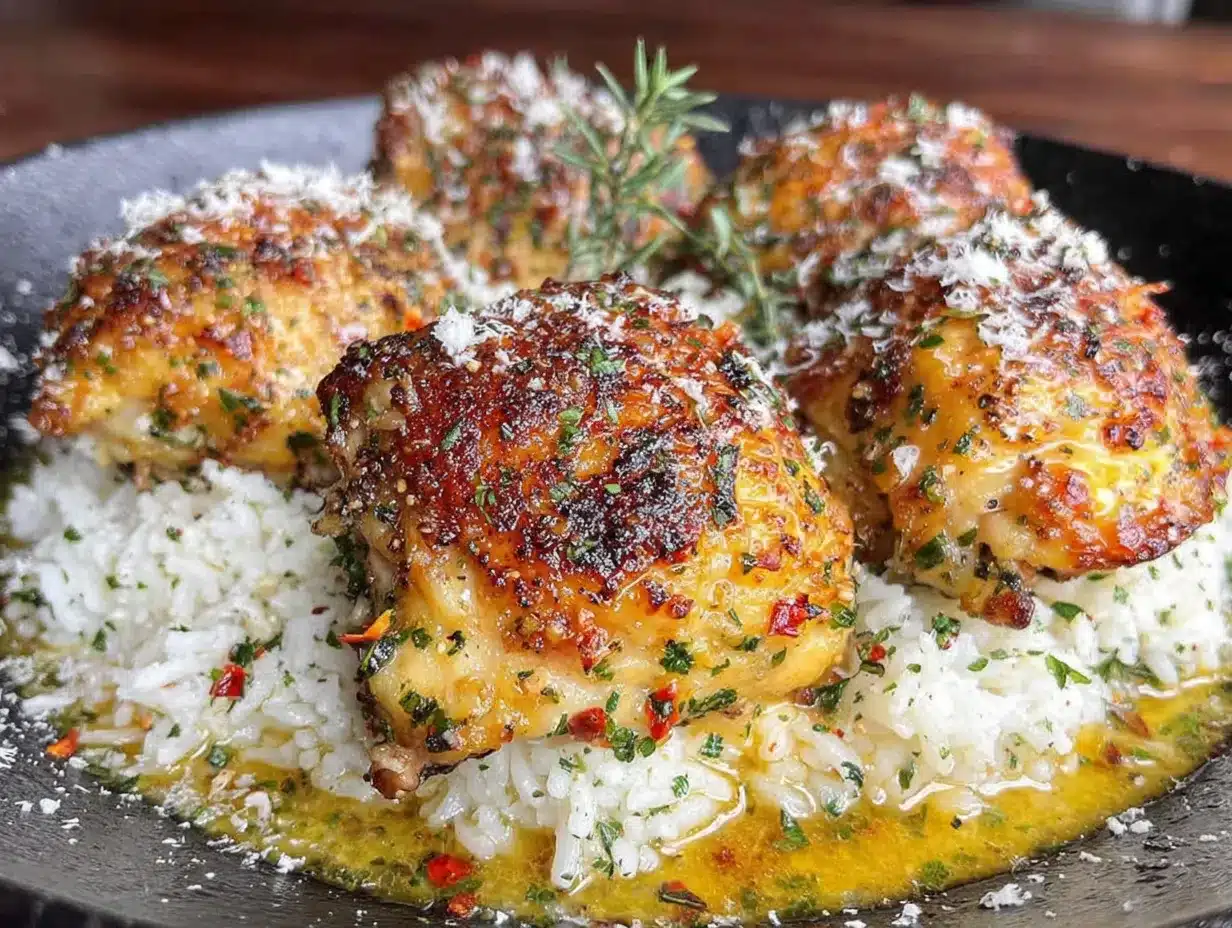
Let me walk you through this step by step. Follow along, and you will have dinner ready before you know it.
- Rinse the rice – Place 1 cup of long-grain white rice in a fine-mesh strainer and rinse under cold running water for about 30 seconds. Swirl it around with your fingers until the water runs mostly clear. This removes excess starch and prevents the rice from turning gummy. Let it drain while you work on the chicken.
- Pat the chicken dry – Use paper towels to pat the chicken thighs dry on both sides. This is not optional. Dry skin equals crispy skin. Season generously with salt, pepper, and 0.5 teaspoon of paprika on both sides.
- Melt the butter – Place your skillet over medium heat and add 3 tablespoons of unsalted butter. Let it melt and foam slightly, but do not let it brown. You want it hot but not smoking.
- Sear the chicken – Place the chicken thighs skin-side down in the hot butter. Let them cook undisturbed for 5 to 6 minutes. The skin should turn deep golden brown and crispy. Flip using tongs and cook for another 3 minutes on the other side. The chicken will not be fully cooked yet, and that is fine. Transfer the chicken to a plate and set aside.
- Cook the garlic – Reduce the heat to medium-low. Add the peeled garlic cloves to the pan. Stir them around in the remaining butter for 1 to 2 minutes until they are fragrant and lightly golden. Do not let them burn, or they will turn bitter. If the butter starts browning too fast, remove the pan from the heat for a moment.
- Toast the rice – Add the rinsed and drained rice to the pan. Stir it into the garlic butter for about 1 minute. You want every grain coated and slightly translucent at the edges. This toasting step adds nuttiness and helps the rice stay separate.
- Add the liquid – Pour in 1.5 cups of chicken broth and 0.5 cup of water. Add 1 teaspoon of dried thyme and a pinch of salt. Stir everything together gently, scraping up any browned bits from the bottom of the pan. Those bits are flavor gold.
- Return the chicken – Nestle the seared chicken thighs back into the pan, skin-side up. They should sit on top of the rice, not buried in it. The rice will cook underneath and around them.
- Bring to a simmer – Increase the heat to medium-high and bring the liquid to a gentle simmer. You should see small bubbles breaking the surface, not a rolling boil.
- Cover and cook – Reduce the heat to low, cover the pan with a tight-fitting lid, and let it cook undisturbed for 18 to 20 minutes. Do not lift the lid during this time. The steam needs to stay trapped to cook the rice properly.
- Rest before serving – After 18 minutes, turn off the heat. Let the pan sit covered for another 5 minutes. This resting period allows the rice to absorb any remaining liquid and fluff up perfectly.
- Fluff and serve – Remove the lid carefully. The rice should be tender and fluffy, and the chicken should be cooked through. Fluff the rice with a fork, garnish with fresh parsley, and serve directly from the pan.
That is it. Twelve steps, one pan, and a dinner that tastes like you spent hours in the kitchen. The smell alone will have everyone wandering into the kitchen asking when it is ready.
Cooking Tips and Techniques
I have made this recipe enough times to know where things can go wrong. Here is what I have learned the hard way so you do not have to:
Do not skip rinsing the rice. I know it is an extra step, but that starch will turn your beautiful garlic butter rice into sticky glue. Rinse until the water runs clear, and you will thank me later.
Watch your heat during the garlic stage. Garlic burns fast. If your pan is too hot, those cloves will turn dark brown and bitter in seconds. Keep the heat at medium-low and stir constantly. If they start browning too fast, pull the pan off the burner for a few seconds.
Resist the urge to peek. I know it is tempting to lift that lid and check on the rice. Do not do it. Every time you lift the lid, steam escapes, and that steam is what cooks the rice. Trust the process and keep that lid on for the full 18 minutes.
Let the pan rest. That 5-minute rest at the end is not optional. It allows the rice to finish absorbing liquid and the steam to redistribute evenly. If you dig in right away, the rice might be slightly wet on top and dry on the bottom.
Use a heavy-bottomed pan. Thin pans create hot spots that burn the rice on the bottom while leaving the top undercooked. A heavy skillet or Dutch oven distributes heat evenly and prevents that dreaded burnt bottom layer.
I once tried to rush this recipe by using high heat the whole time. The chicken was burnt on the outside and raw near the bone, and the rice was crunchy. It was a disaster. Slow and steady wins this race. Low heat, covered pan, patience. That is the secret.
Variations and Adaptations
This recipe is a fantastic base for experimentation. Here are some ways to make it your own:
Add vegetables. Throw in a cup of frozen peas and diced carrots during the last 5 minutes of cooking. They will steam right along with the rice and add color and nutrition. You can also add sliced mushrooms along with the garlic for an earthy twist.
Make it spicy. Add 0.5 teaspoon of red pepper flakes along with the thyme, or stir in a diced jalapeño with the garlic. The heat cuts through the richness of the butter beautifully.
Swap the protein. Boneless chicken thighs work well, just reduce the initial searing time by a minute or two. You can also use chicken breasts, but they dry out more easily, so keep an eye on them. For a vegetarian version, use vegetable broth and add a can of drained chickpeas along with the rice.
Try different herbs. Rosemary and garlic are a classic combination. Add a sprig of fresh rosemary along with the broth and remove it before serving. Oregano, marjoram, or even a bay leaf work wonderfully too.
Go creamy. Stir in 2 tablespoons of cream cheese or heavy cream at the very end, after the rice is cooked. It transforms the dish into something almost risotto-like, rich and velvety. I tried this once on a whim, and it was incredible.
If you love one-pan meals as much as I do, you should also try my creamy one-pan garlic parmesan chicken for another quick and satisfying dinner idea. And if you are in the mood for something with a little spice, these crispy air fryer stuffed banana peppers make a fantastic side dish or appetizer.
Serving and Storage Suggestions
This dish is best served hot, straight from the pan. The rice is at its fluffiest right after the resting period, and the chicken skin is still crispy. Here are some serving ideas:
Pair it with a simple side salad dressed with lemon vinaigrette. The acidity cuts through the richness of the butter and garlic. Steamed green beans or roasted asparagus also work beautifully alongside this dish. For a heartier meal, serve it with a side of crusty bread to soak up any remaining garlic butter sauce in the pan.
Leftovers store well in an airtight container in the refrigerator for up to 4 days. The rice will absorb more liquid as it sits, so it will be slightly softer the next day, but the flavor actually deepens overnight. To reheat, add a splash of chicken broth or water to the rice and microwave in 30-second bursts, stirring between each, until hot. You can also reheat it in a covered skillet over low heat with a tablespoon of water.
This recipe freezes surprisingly well. Let it cool completely, then transfer to a freezer-safe container. It will keep for up to 3 months. Thaw overnight in the refrigerator and reheat as directed above. The chicken skin will lose its crispiness after freezing, so I recommend removing the skin before freezing if that bothers you.
Honestly, I think this dish tastes even better the next day. The garlic flavor mellows and melds with the rice in a way that is deeply comforting. I have been known to make a double batch just so I have leftovers for lunch.
Nutritional Information and Benefits
Here is an estimated nutritional breakdown per serving, based on four servings:
| Nutrient | Amount Per Serving |
|---|---|
| Calories | 520 |
| Protein | 32g |
| Fat | 22g |
| Saturated Fat | 9g |
| Carbohydrates | 45g |
| Fiber | 1g |
| Sugar | 1g |
| Sodium | 580mg |
This meal provides a good balance of protein, carbohydrates, and healthy fats. Chicken thighs are rich in B vitamins, particularly niacin and B6, which support energy metabolism. Garlic is known for its immune-supporting properties and contains compounds that may help reduce inflammation. The butter provides fat-soluble vitamins A, D, E, and K, though it is best enjoyed in moderation.
For those watching their sodium intake, using low-sodium broth and controlling the added salt makes this dish more manageable than many restaurant versions. If you need a gluten-free meal, this recipe is naturally gluten-free as written. Dairy-sensitive cooks can substitute the butter with a high-quality olive oil or vegan butter, though the flavor profile will shift slightly.
This is not a diet food, but it is real food made with real ingredients. That counts for something in my book.
Conclusion
This one-pan garlic butter chicken and rice is the kind of recipe that saves your weeknights. It is simple enough for a beginner cook, satisfying enough for a family dinner, and impressive enough to serve to guests who do not need to know it only took 35 minutes. The crispy chicken skin, the tender rice infused with garlic butter, the way it all comes together in a single pan, it is comfort food at its most practical.
I love this recipe because it reminds me that cooking does not have to be complicated to be good. Sometimes the best meals come from the simplest combinations, made with care and patience. That is what weeknight cooking should feel like, not a chore, but a small act of kindness for yourself and the people you feed.
I would love to hear how this turns out for you. Did you add any twists? Did your family ask for seconds? Drop a comment below and let me know. And if you try it, tag me in your photos, I love seeing these dishes come to life in other kitchens. Now go make that one-pan magic happen.
Frequently Asked Questions
Can I use brown rice instead of white rice?
You can, but you will need to adjust the liquid and cooking time significantly. Brown rice typically requires about 2.5 cups of liquid per cup of rice and takes 40 to 45 minutes to cook. You will also need to add more broth and extend the covered cooking time. I recommend sticking with white rice for this specific recipe to keep the timing and texture reliable.
Why is my rice still crunchy after 18 minutes?
Crunchy rice usually means one of three things: the heat was too low, the lid did not seal properly, or you lifted the lid during cooking. Make sure your lid fits tightly. If it does not, cover the pan with aluminum foil before putting the lid on. Also, ensure the liquid was at a gentle simmer before you reduced the heat and covered the pan.
Can I make this recipe with chicken breasts?
Yes, but chicken breasts cook faster and dry out more easily. Use boneless, skinless breasts and reduce the initial searing time to 3 minutes per side. You may also need to check the internal temperature earlier. Chicken is safe at 165°F, so remove it from the pan as soon as it reaches that temperature to prevent overcooking.
How do I prevent the rice from burning on the bottom?
Burned rice on the bottom is usually caused by heat that is too high or a pan that is too thin. Use a heavy-bottomed skillet or Dutch oven, keep the heat on low after covering, and do not skip the resting period. If you notice a slight crust forming, that is actually delicious, just do not scrape it into the rice.
Can I add cheese to this dish?
Absolutely. Stir in 0.5 cup of grated Parmesan cheese at the very end, after the rice is cooked and the pan is off the heat. The residual heat will melt it into the rice beautifully. You can also sprinkle mozzarella or provolone over the chicken during the last 5 minutes of cooking for a cheesy topping. It is not traditional, but it is delicious.
Pin This Recipe!
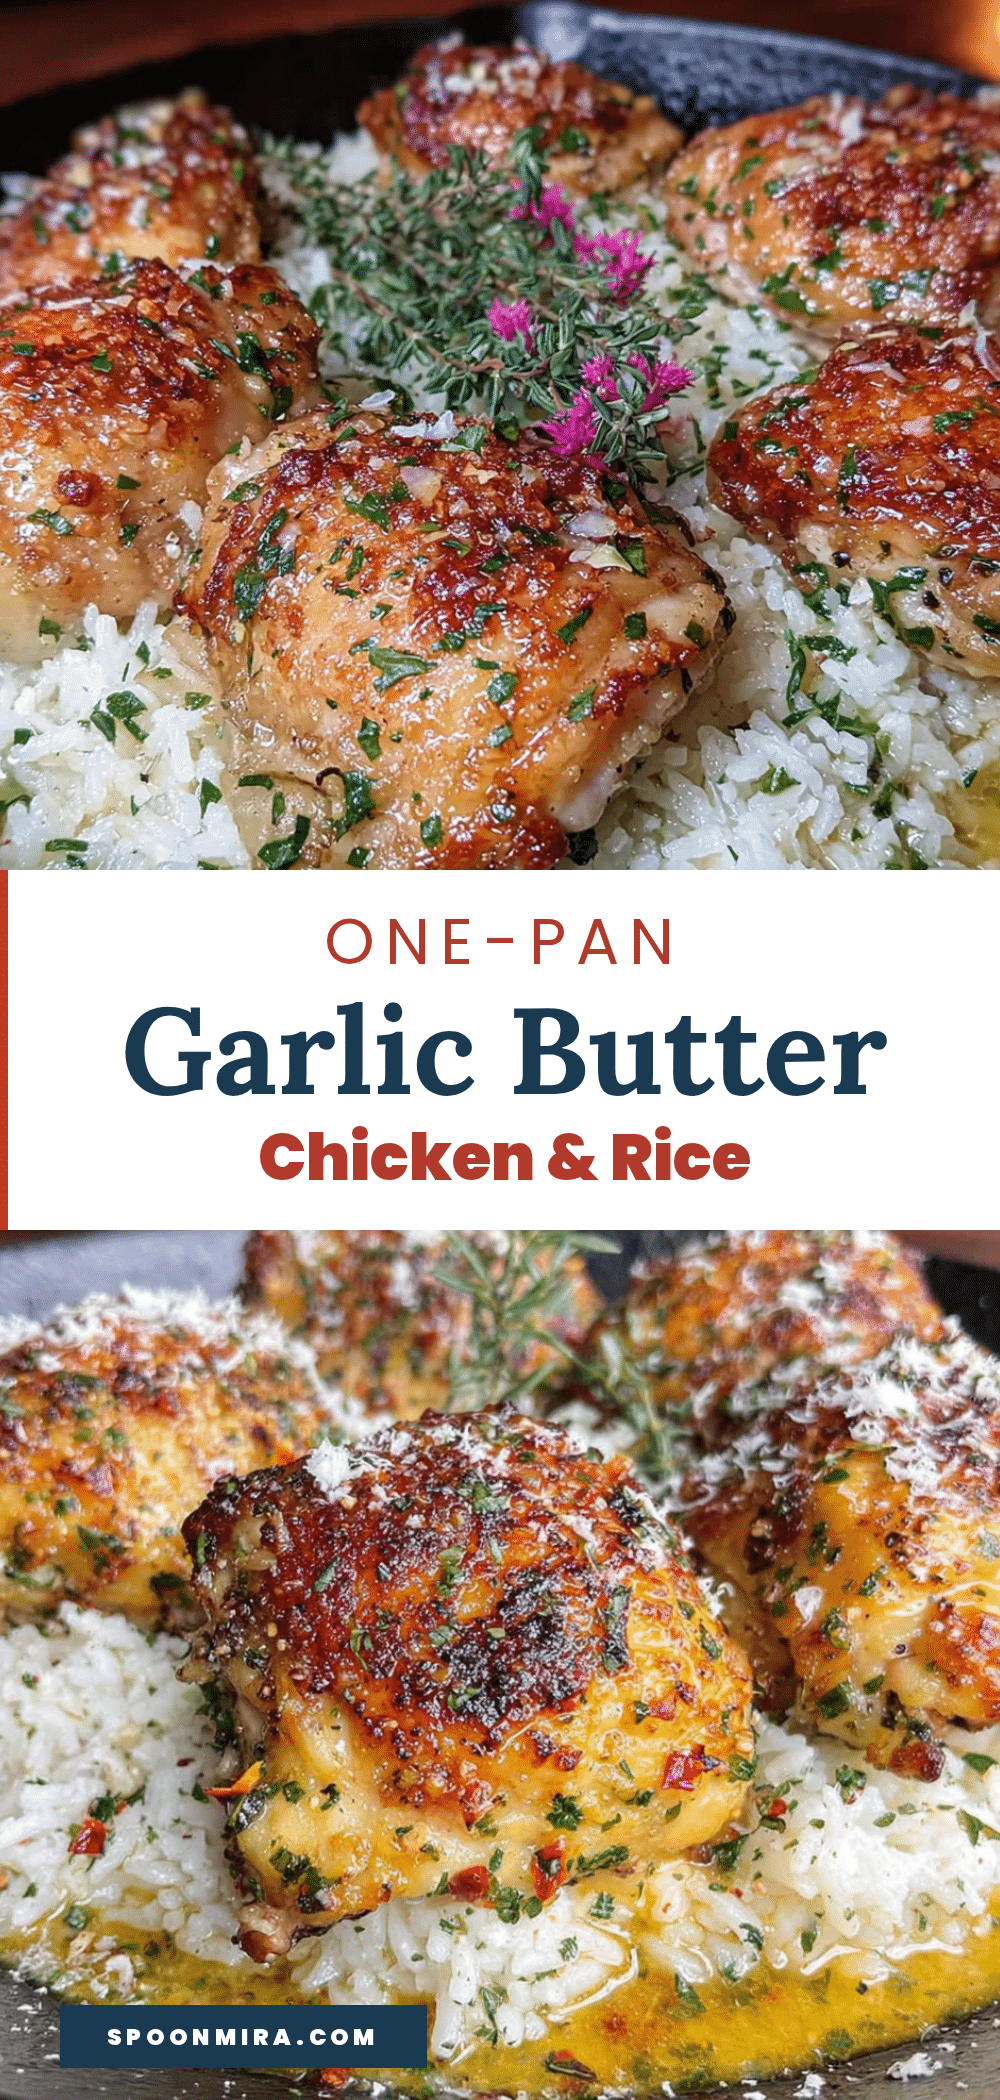
One-Pan Garlic Butter Chicken and Rice – Easy Weeknight Dinner

A quick and satisfying one-pan meal featuring crispy chicken thighs and fluffy rice infused with garlic butter. Ready in under 40 minutes with minimal cleanup, this recipe is perfect for busy weeknights.
- Prep Time: 10 minutes
- Cook Time: 25 minutes
- Total Time: 35 minutes
- Yield: 4 servings 1x
- Category: Main Course
- Cuisine: American
Ingredients
- 4 bone-in, skin-on chicken thighs (about 1.5 pounds total)
- 3 tablespoons unsalted butter
- 1 whole head of garlic, cloves separated and peeled
- 1 cup long-grain white rice (basmati or jasmine), rinsed
- 1.5 cups low-sodium chicken broth
- 0.5 cup water
- 1 teaspoon dried thyme
- 0.5 teaspoon paprika
- Salt and black pepper to taste
- Fresh parsley for garnish (optional)
Instructions
- Rinse the rice under cold water until the water runs clear. Drain well.
- Pat the chicken thighs dry with paper towels. Season generously with salt, pepper, and paprika on both sides.
- Melt butter in a large deep skillet over medium heat until foamy but not browned.
- Place chicken skin-side down in the skillet. Cook undisturbed for 5-6 minutes until skin is golden and crispy. Flip and cook 3 more minutes. Transfer chicken to a plate.
- Reduce heat to medium-low. Add garlic cloves to the pan and cook 1-2 minutes until fragrant and lightly golden, stirring constantly.
- Add rinsed rice to the pan. Stir for 1 minute until grains are coated and slightly translucent.
- Pour in chicken broth and water. Add thyme and a pinch of salt. Stir gently, scraping up any browned bits from the bottom.
- Nestle the chicken back into the pan, skin-side up, on top of the rice.
- Increase heat to medium-high and bring liquid to a gentle simmer.
- Reduce heat to low, cover with a tight-fitting lid, and cook undisturbed for 18-20 minutes.
- Turn off heat and let the pan rest covered for 5 minutes.
- Remove lid carefully. Fluff rice with a fork, garnish with parsley, and serve directly from the pan.
Notes
Do not lift the lid during cooking to ensure proper rice texture. For best results, use a heavy-bottomed pan to prevent burning. Let the pan rest for 5 minutes after cooking for fluffier rice. Leftovers can be stored in an airtight container in the refrigerator for up to 4 days.
Nutrition
- Serving Size: 1 serving (approxima
- Calories: 520
- Sugar: 1
- Sodium: 580
- Fat: 22
- Saturated Fat: 9
- Carbohydrates: 45
- Fiber: 1
- Protein: 32
Keywords: one-pan chicken and rice, garlic butter chicken, easy weeknight dinner, skillet chicken recipe, one pot meal


