My oldest kid walked through the door, dropped his backpack with that signature thud, and said, “Mom, I’m starving. Like, actually starving.” Not a question, not a request — a statement of fact. I opened the fridge and saw the usual mid-week chaos: half a block of cheddar, some deli ham that was still good, and a package of sweet Hawaiian rolls I’d grabbed on a whim. Honestly, I thought about just handing him the cheese stick and calling it a day. But something made me stop. I pulled out those rolls, sliced them all in one go, layered the ham and cheese, and brushed the tops with butter and mustard. Ten minutes later, he took a bite, stopped chewing, and just looked at me. That look. The one that says, “Okay, this is actually good.” And that’s how these easy ham and cheese sliders became our thing. Not because I planned it, but because it worked when nothing else did.
Why You’ll Love This Recipe
Let me be honest with you — I’ve made a lot of after-school snacks over the years. Some were hits, some were… edible. These sliders are different. They’re the kind of recipe that makes you look like a hero without actually working like one.
- Ready in Under 20 Minutes : From fridge to table in about 15 minutes. That’s faster than most kids can finish their homework.
- Simple Ingredients : You probably have everything already. No fancy cheese, no obscure spices — just real food.
- Perfect for After-School Chaos : When kids are hungry and cranky, this is the snack that saves the day.
- Crowd-Pleaser : I’ve yet to meet a kid (or adult) who turns these down. They disappear fast.
- Unbelievably Delicious : That buttery, slightly sweet top with the salty ham and melty cheese? It’s comfort food at its finest.
What makes these different from just a ham and cheese sandwich? It’s the way the rolls get soft and slightly caramelized on top, the way the cheese gets all stretchy, and the fact that you can make a whole tray at once. No assembly line, no crying over soggy bread. Just warm, satisfying goodness that hits the spot every single time.
What Ingredients You Will Need
This recipe is beautifully simple. The ingredients are straightforward, but each one plays a role in creating that perfect bite. Here’s what you’ll need:
- 12-count package of sweet Hawaiian rolls — These are non-negotiable for me. The slight sweetness balances the salty ham perfectly. King’s Hawaiian is my go-to brand.
- 1/2 pound deli ham, thinly sliced — Go for good quality ham here. Honey ham or black forest ham both work great. Ask for it shaved if you can.
- 6 slices of Swiss cheese — I prefer Swiss for its mild, nutty flavor, but provolone or cheddar are also excellent choices.
- 4 tablespoons unsalted butter, melted — This is the magic that makes the tops golden and irresistible.
- 1 tablespoon Dijon mustard — Adds a little tang that cuts through the richness. You can use yellow mustard in a pinch.
- 1 tablespoon poppy seeds — Optional, but they add a lovely crunch and visual appeal.
- 1 teaspoon Worcestershire sauce — This deepens the savory flavor without being obvious.
- 1/2 teaspoon garlic powder — Just a hint of garlic in the butter mixture.
- 1/2 teaspoon onion powder — Rounds out the savory notes.
For the butter topping, I’ve tried different combinations over the years. Sometimes I add a pinch of smoked paprika for warmth, or a dash of hot sauce for a little kick. But the classic version above is what my kids request most often. If you’re out of Swiss, provolone works beautifully — it melts just as well and has a slightly creamier texture.
Equipment Needed
You don’t need a fancy kitchen for these sliders. Here’s what I use:
- 9×13-inch baking dish — A standard size works perfectly. Glass or ceramic both work fine.
- Sharp knife — For slicing the rolls in one go. A serrated knife works best to avoid squishing them.
- Small bowl — For mixing the butter topping.
- Pastry brush — For spreading the butter mixture evenly. A spoon works too, but a brush gives better coverage.
- Aluminum foil — For covering the sliders while they bake, keeping them soft on the inside.
If you don’t have a pastry brush, don’t worry. I’ve used a paper towel dipped in butter before — not fancy, but it works. And if your baking dish is slightly smaller, just arrange the rolls snugly. They’ll hold together fine.
Preparation Method
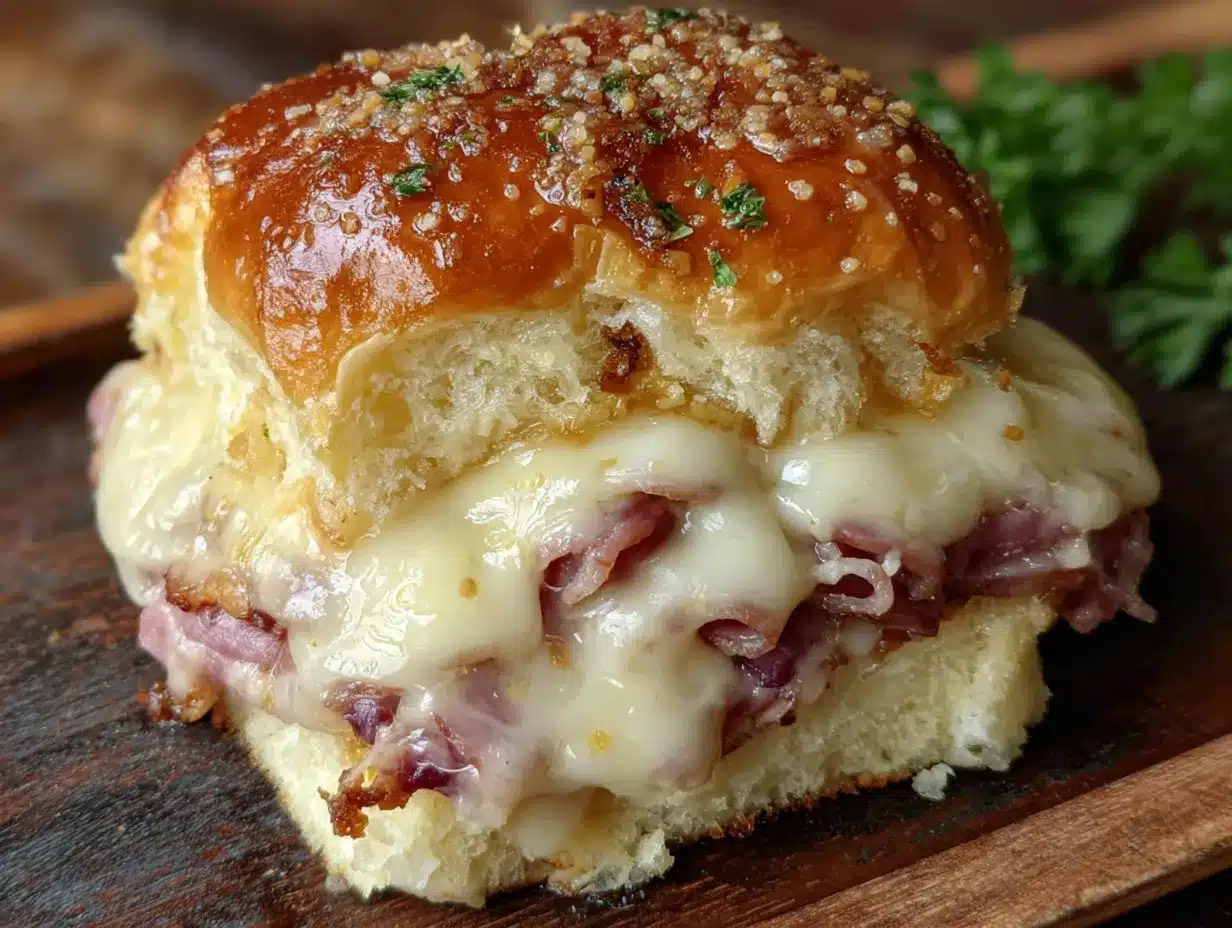
Alright, let’s get to it. This is where the magic happens.
- Preheat your oven to 350°F (175°C). While it’s heating, grab your baking dish. You don’t need to grease it, but a light spray of non-stick cooking spray never hurts.
- Slice the entire pack of rolls in half horizontally. Keep them all connected — this is the trick. Use a serrated knife and saw gently through the middle. Place the bottom half in the baking dish, cut side up.
- Layer the ham evenly over the bottom rolls. Don’t skimp here. I use about 6-8 thin slices, slightly overlapping. You want every bite to have ham in it.
- Layer the Swiss cheese over the ham. Tear the slices if needed to cover the surface. I place them so there’s cheese in every corner.
- Place the top half of the rolls over the cheese. Press down gently so everything stays together.
- Make the butter mixture. In your small bowl, combine the melted butter, Dijon mustard, Worcestershire sauce, garlic powder, and onion powder. Whisk until smooth.
- Brush the butter mixture generously over the tops of the rolls. Make sure you get into the crevices — that’s where the flavor hides. Sprinkle poppy seeds on top if you’re using them.
- Cover the dish with aluminum foil. This traps steam and keeps the rolls soft while the cheese melts.
- Bake for 10 minutes covered. Then remove the foil and bake for another 5-7 minutes, until the tops are golden brown and the cheese is bubbly.
- Let them rest for 2-3 minutes. I know it’s hard, but this lets the cheese set slightly so it doesn’t all slide off when you cut them.
- Slice into individual sliders. Use a sharp knife to cut between the rolls. Serve warm.
The smell that fills your kitchen during those last few minutes is unreal. Buttery, savory, slightly sweet — it’s the kind of aroma that brings everyone running.
Cooking Tips & Techniques
I’ve made these sliders more times than I can count, and I’ve learned a few things along the way. Here’s what I wish someone had told me:
- Don’t skip the foil. The first time I made these, I left the foil off the whole time. The tops got too dark and the rolls were a little dry. The foil helps everything cook evenly and keeps the texture soft.
- Let the butter mixture sit. After you mix it, let it sit for a minute or two. The flavors meld together better, and it gives the mustard a chance to mellow out.
- Use room temperature butter. If your butter is too hot when you mix it, it can separate. Let it cool slightly after melting.
- Don’t overbake. Watch them closely after you remove the foil. You want golden brown, not dark brown. Every oven is different, so check at 5 minutes.
- Cut with confidence. Use a sharp knife and cut straight down. A sawing motion can mess up the layers.
One time I forgot to add the Worcestershire sauce, and honestly? They were still good. But that little splash makes a difference — it adds depth without being obvious. Don’t skip it if you can help it.
Variations & Adaptations
These sliders are incredibly forgiving. Here are some ways I’ve changed them up:
- Turkey and Cheddar : Swap the ham for sliced turkey and use sharp cheddar instead of Swiss. It’s a completely different vibe, but just as good.
- Spicy Version : Add a layer of pickled jalapeños or a drizzle of sriracha to the butter mixture. My husband loves this version, though the kids aren’t fans.
- Veggie Option : Layer roasted red peppers, spinach, and provolone. It’s not traditional, but it’s delicious and works well for meatless days.
- Breakfast Sliders : Use the same technique but fill with scrambled eggs, bacon, and cheddar. Brush with maple syrup butter instead of mustard butter.
- Gluten-Free : Use gluten-free Hawaiian rolls if you can find them. The texture is slightly different, but the flavor is still great.
I once tried adding a thin layer of cream cheese to the bottom rolls before the ham. It was an experiment that turned out surprisingly well — added a creamy tang that paired beautifully with the ham. Just a thought if you’re feeling adventurous.
Serving & Storage Suggestions
These sliders are best served warm, right out of the oven. The cheese is stretchy, the tops are buttery, and everything is perfectly soft. I like to serve them with a simple side of carrot sticks or apple slices to balance out the richness. For drinks, apple juice or milk are classic choices — or a thermos of warm soup for dipping.
If you have leftovers (which is rare in my house), here’s what to do:
- Refrigerate : Store in an airtight container for up to 3 days. The rolls will soften a bit, but they’re still tasty.
- Reheat : Pop them in a 350°F oven for 5-7 minutes, or microwave for 20-30 seconds. The oven gives you a crisper top, but the microwave is faster.
- Freeze : Assemble the sliders but don’t bake them. Wrap tightly in foil and freeze for up to 2 months. Bake from frozen, adding 5-10 minutes to the covered baking time.
The flavors actually get better after a day in the fridge — the mustard and butter soak into the rolls, making them even more flavorful. I’ve been known to make a double batch just for leftovers.
Nutritional Information & Benefits
Per slider (based on 12 servings):
- Calories: 210
- Fat: 10g
- Carbohydrates: 22g
- Protein: 9g
- Fiber: 1g
- Sugar: 6g
These sliders are a good source of protein from the ham and cheese, which helps keep kids full until dinner. The calcium from the Swiss cheese supports bone health, and the ham provides iron and B vitamins. While they’re not exactly health food, they’re a balanced snack that won’t send anyone crashing from a sugar high. If you’re looking for something lighter, try our easy after-school protein energy balls for a no-bake alternative.
For those watching sodium, you can use low-sodium ham or reduce the amount. The butter mixture can also be made with a butter substitute, though the flavor won’t be quite the same.
Conclusion
These easy ham and cheese sliders have become a staple in our house for a reason. They’re quick, satisfying, and somehow feel special even though they’re made from the simplest ingredients. Whether you’re feeding hungry kids after school, putting together a quick dinner, or bringing something to a potluck, these sliders deliver every time.
I’d love to hear how they turn out for you. Did you add your own twist? Did your kids devour them in record time? Drop a comment below and let me know. And if you’re looking for more easy snack ideas, check out our easy mini bagel pizzas with hidden veggie sauce — another after-school winner that’s been tested on picky eaters. Happy cooking!
Frequently Asked Questions
Can I make these sliders ahead of time?
Yes! You can assemble them completely, cover with foil, and refrigerate for up to 24 hours before baking. Just add 5 minutes to the covered baking time since they’ll be cold.
Can I use a different type of cheese?
Absolutely. Provolone, cheddar, mozzarella, or even gouda all work well. Just make sure it’s a good melting cheese for the best texture.
Can I freeze the baked sliders?
Yes, but they’re best fresh. If you must freeze them, let them cool completely, wrap individually in plastic wrap, then place in a freezer bag. Reheat in the oven at 350°F for 10 minutes.
What can I serve with these sliders?
They pair well with fresh fruit, raw veggies, potato chips, or a simple side salad. For a heartier meal, serve with tomato soup or a warm bowl of creamy hatch green chile corn chowder.
Can I make these sliders dairy-free?
Yes, with some adjustments. Use dairy-free cheese (look for one that melts well) and substitute the butter with a plant-based alternative. The flavor will be slightly different, but they’ll still be delicious.
Pin This Recipe!
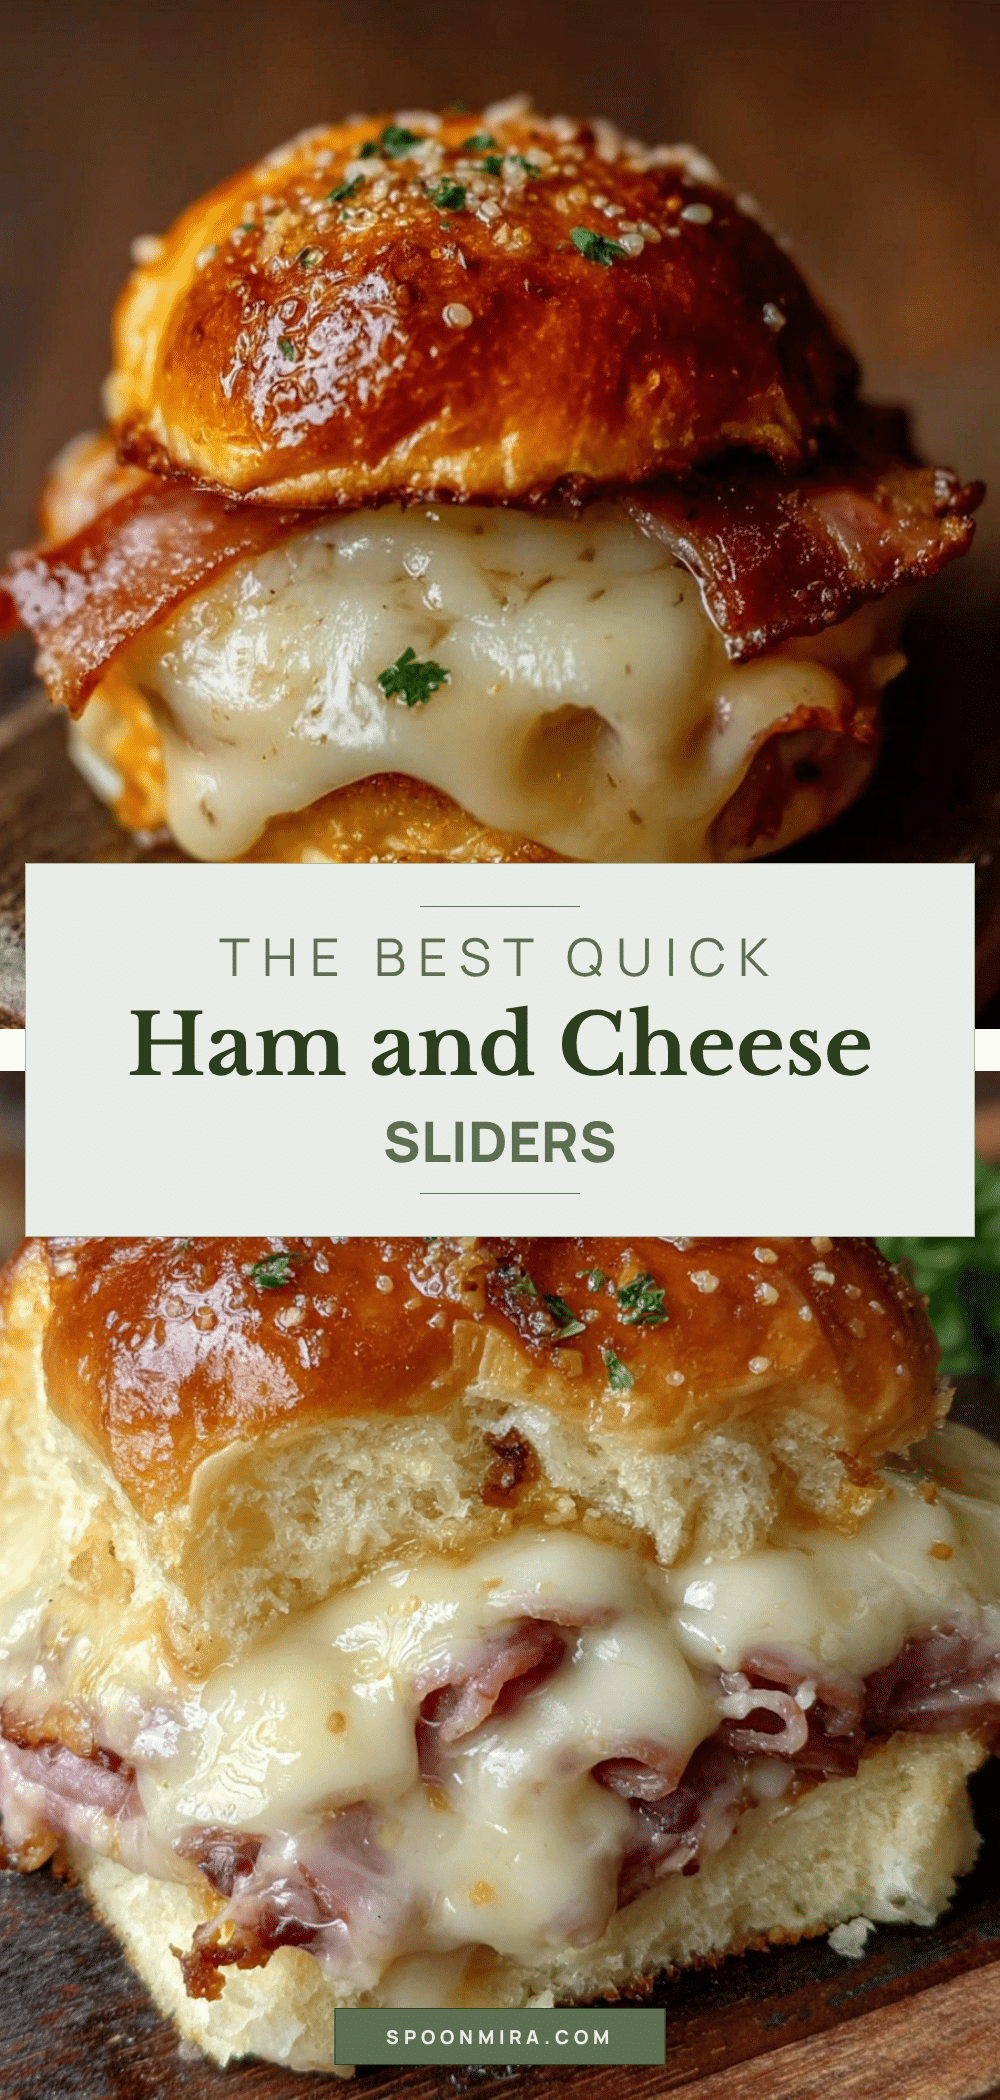
Easy Ham and Cheese Sliders: Best After-School Snack

These easy ham and cheese sliders are the perfect after-school snack, ready in under 20 minutes. Made with sweet Hawaiian rolls, deli ham, Swiss cheese, and a buttery mustard topping, they’re a crowd-pleaser that kids and adults love.
- Prep Time: 5 minutes
- Cook Time: 15 minutes
- Total Time: 20 minutes
- Yield: 12 servings 1x
- Category: Snack
- Cuisine: American
Ingredients
- 12-count package of sweet Hawaiian rolls
- 1/2 pound deli ham, thinly sliced
- 6 slices of Swiss cheese
- 4 tablespoons unsalted butter, melted
- 1 tablespoon Dijon mustard
- 1 tablespoon poppy seeds (optional)
- 1 teaspoon Worcestershire sauce
- 1/2 teaspoon garlic powder
- 1/2 teaspoon onion powder
Instructions
- Preheat your oven to 350°F (175°C). Lightly spray a 9×13-inch baking dish with non-stick cooking spray.
- Slice the entire pack of rolls in half horizontally, keeping them all connected. Place the bottom half in the baking dish, cut side up.
- Layer the ham evenly over the bottom rolls, using about 6-8 thin slices slightly overlapping.
- Layer the Swiss cheese over the ham, tearing slices if needed to cover the surface.
- Place the top half of the rolls over the cheese and press down gently.
- In a small bowl, combine the melted butter, Dijon mustard, Worcestershire sauce, garlic powder, and onion powder. Whisk until smooth.
- Brush the butter mixture generously over the tops of the rolls, getting into the crevices. Sprinkle poppy seeds on top if using.
- Cover the dish with aluminum foil.
- Bake for 10 minutes covered, then remove the foil and bake for another 5-7 minutes, until the tops are golden brown and the cheese is bubbly.
- Let the sliders rest for 2-3 minutes before slicing into individual sliders. Serve warm.
Notes
Don’t skip the foil covering to keep rolls soft. Let the butter mixture sit for a minute to meld flavors. Use room temperature butter to prevent separation. Watch closely after removing foil to avoid overbaking. Cut with a sharp knife straight down.
Nutrition
- Serving Size: 1 slider
- Calories: 210
- Sugar: 6
- Sodium: 480
- Fat: 10
- Saturated Fat: 5
- Carbohydrates: 22
- Fiber: 1
- Protein: 9
Keywords: ham and cheese sliders, easy sliders, after-school snack, Hawaiian roll sliders, quick snack


