Three grocery stores in one afternoon and I still couldn’t find a single dessert that felt right for the Fourth. Everything was either too fussy, too expensive, or drowning in artificial blue coloring that looked more science experiment than celebration. So I stood in my kitchen at 5 PM on July 3rd with a cart full of berries, a tub of cream, and absolutely zero patience for complicated recipes. That’s when this easy red white and blue berry trifle happened — not because I planned it, but because I refused to show up to the block party empty-handed.
The beauty of this thing is how unapologetically simple it is. No baking, no fancy piping, no stress. Just layers of fresh berries, creamy vanilla pudding, and soft pound cake cubes that soak up all that goodness overnight. I stacked it in my grandmother’s old glass bowl and honestly, it looked like something from a magazine cover by the time I was done. The neighbors thought I spent hours on it. I let them think that.
What I love most about this easy red white and blue berry trifle is that it actually tastes as good as it looks. The berries stay bright and juicy, the cream stays light, and every spoonful gives you that perfect mix of sweet and tart. It’s the kind of dessert that makes people close their eyes while they chew. And when you’re feeding a crowd on a holiday, that’s exactly the reaction you want.
Why You’ll Love This Recipe
I’ve tested this trifle at three different summer gatherings now and it never fails. Here’s why this easy red white and blue berry trifle deserves a permanent spot on your holiday menu:
- Ready in 20 minutes : No oven required, no complicated techniques. Just layer and chill.
- Simple ingredients : You can find everything at any grocery store, even on July 3rd when shelves are picked over.
- Perfect for crowds : This recipe doubles easily and feeds a dozen people without breaking a sweat.
- Make-ahead friendly : It actually tastes better after sitting overnight, so you can prep it the day before.
- Customizable for dietary needs : Swap in gluten-free cake, dairy-free pudding, or sugar-free alternatives without losing the magic.
- Naturally gorgeous : Those red, white, and blue layers do all the decorating work for you.
What sets this trifle apart is the texture. Most berry trifles turn into a soggy mess by the second day, but this one stays perfectly balanced. The key is toasting the pound cake cubes just slightly before layering — it creates a barrier that keeps them from disintegrating while still absorbing just enough creaminess. I learned that trick after my first trifle turned into blueberry soup, and trust me, it makes all the difference.
This is the kind of dessert that brings people together. Kids love digging through the layers to find their favorite berries, adults appreciate that it’s not too sweet, and everyone goes back for seconds. It’s comfort food dressed up in its holiday best.
What Ingredients You Will Need
This easy red white and blue berry trifle uses straightforward ingredients that let the fresh flavors shine. Here’s everything you need and why each one matters:
For the Cream Layer
- 2 cups heavy whipping cream (cold) — the foundation of that luscious, cloud-like texture. Don’t substitute with half-and-half; it won’t hold its shape.
- 1/2 cup powdered sugar — dissolves instantly into the cream without any graininess. Sift it if you’re feeling fancy, but I rarely bother.
- 1 teaspoon vanilla extract — pure vanilla makes a noticeable difference here. I use Nielsen-Massey because it’s worth the splurge for holiday desserts.
- 8 ounces cream cheese (softened) — this is my secret weapon. It stabilizes the cream layer and adds a subtle tang that balances the sweet berries.
For the Fruit Layer
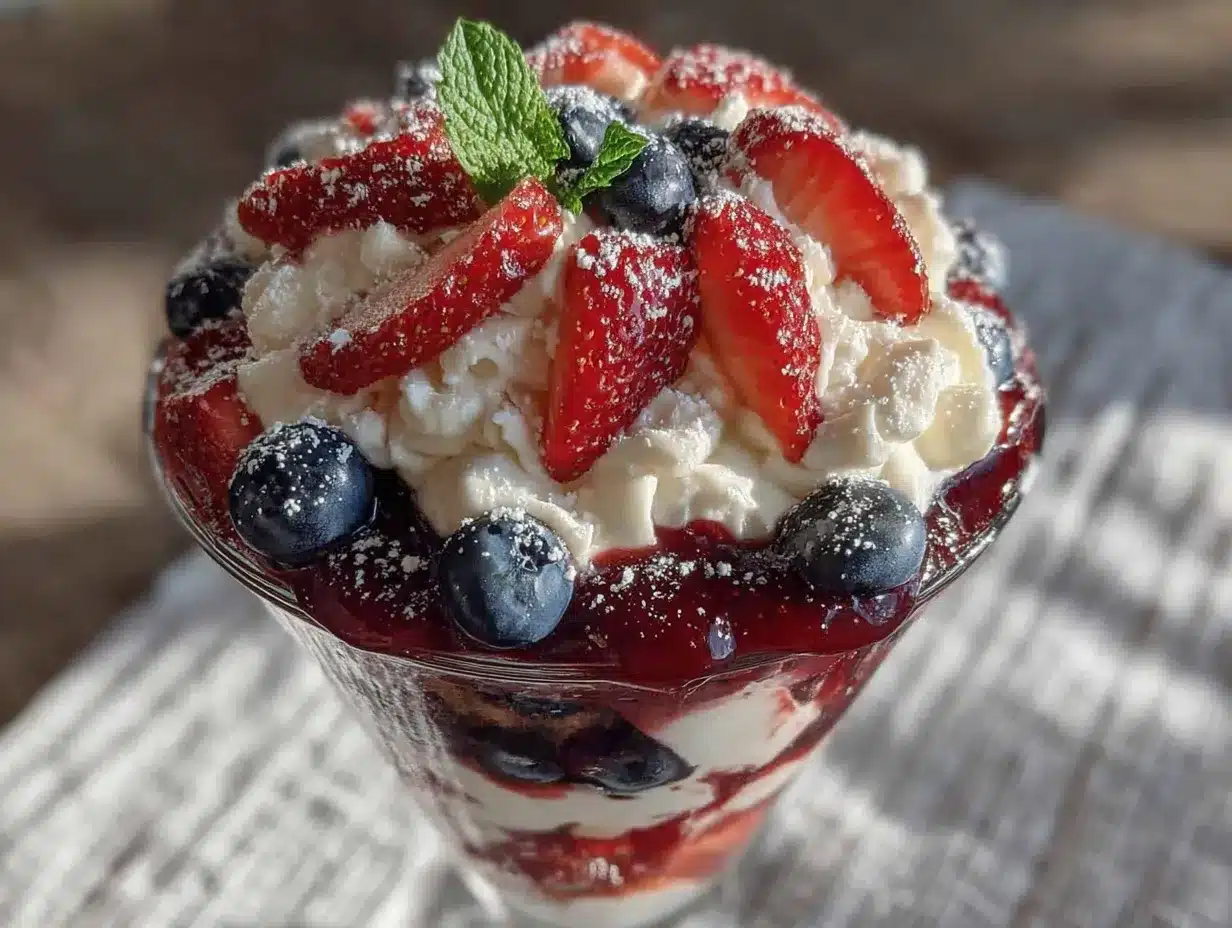
- 2 cups fresh strawberries (hulled and sliced) — look for deep red berries that smell fragrant. Pale strawberries mean bland flavor.
- 2 cups fresh blueberries — smaller wild blueberries work beautifully here because they distribute more evenly.
- 1 cup fresh raspberries — optional but highly recommended for that extra pop of tartness and color.
- 2 tablespoons granulated sugar — toss with the berries to draw out their natural juices and create a light syrup.
- 1 tablespoon fresh lemon juice — brightens the berries and prevents them from tasting flat.
For the Cake Layer
- 1 store-bought pound cake (about 10-12 ounces) — Sara Lee or your bakery’s version both work great. Day-old cake is actually better because it’s firmer.
- 1 tablespoon unsalted butter (melted) — for toasting the cake cubes. This step is non-negotiable if you want that perfect texture.
For the Pudding Layer
- 1 box (3.4 ounces) instant vanilla pudding mix — Jell-O brand gives consistent results. Don’t use cook-and-serve; it won’t set properly in the fridge.
- 2 cups cold whole milk — whole milk creates a richer pudding, but 2% works in a pinch. Avoid skim milk unless you want a watery layer.
For a dairy-free version, swap the heavy cream for full-fat coconut cream and use dairy-free cream cheese. The texture changes slightly but the flavor is still incredible.
Equipment Needed
You don’t need any special gadgets for this easy red white and blue berry trifle. Here’s what you’ll want to have on hand:
- Large glass trifle bowl or clear serving dish — the whole point is showing off those gorgeous layers. A 3-quart bowl works perfectly. I found mine at a thrift store for five bucks.
- Electric hand mixer or stand mixer — whipping cream by hand is possible but your arm will hate you. Use the whisk attachment for best results.
- Large baking sheet — for toasting the pound cake cubes. Line it with parchment paper for easy cleanup.
- Sharp chef’s knife and cutting board — for hulling strawberries and cubing the cake. A dull knife will smash your berries.
- Measuring cups and spoons — accuracy matters for the pudding mix, but everything else is flexible.
- Rubber spatula — for folding the cream cheese into the whipped cream without deflating it.
- Medium mixing bowls — you’ll need at least two: one for the cream mixture and one for the berries.
If you don’t have a trifle dish, use a large glass mixing bowl or even a wide-mouth mason jar for individual servings. The visual effect is slightly different but just as impressive.
Preparation Method
Follow these steps carefully and you’ll have a stunning easy red white and blue berry trifle that looks like it took hours. It didn’t.
- Preheat your oven to 350°F (175°C). While it heats, cut the pound cake into 1-inch cubes. You should get about 4 cups of cubes. Spread them on a parchment-lined baking sheet and brush with melted butter. Toast for 8-10 minutes until the edges are golden and the cubes feel slightly firm. Let them cool completely — about 15 minutes. Warm cake will melt your cream layers and turn everything into a mess.
- Make the berry mixture. In a medium bowl, combine the sliced strawberries, blueberries, raspberries, 2 tablespoons sugar, and lemon juice. Stir gently with a rubber spatula. Let this sit for 10-15 minutes while you prepare the other components. The berries will release their juices and create a beautiful natural syrup. Don’t skip this step — it’s what gives the trifle that incredible juicy texture.
- Prepare the vanilla pudding. In a separate bowl, whisk the instant pudding mix with 2 cups cold milk for about 2 minutes until it thickens. It should look glossy and hold soft peaks. Set it aside to firm up while you make the cream layer. If you’re in a hurry, pop it in the fridge for 5 minutes.
- Whip the cream layer. In a large mixing bowl (chill the bowl first if you remember), beat the heavy cream, powdered sugar, and vanilla extract on medium-high speed until soft peaks form. This takes about 3-4 minutes with an electric mixer. Be careful not to over-whip — you want it pillowy, not buttery.
- Fold in the cream cheese. In a separate small bowl, beat the softened cream cheese until smooth and creamy. Gently fold it into the whipped cream using a rubber spatula. Work slowly and use a cutting motion rather than stirring — this keeps the mixture light and airy. The cream cheese adds stability so your layers stay defined.
- Start layering. Place a single layer of toasted pound cake cubes at the bottom of your trifle dish. Use about one-third of the cubes. Spoon half of the berry mixture over the cake, including some of that beautiful syrup. Spread one-third of the vanilla pudding on top, then one-third of the cream cheese mixture. Repeat the layers: cake, berries, pudding, cream. Finish with a final layer of cake, remaining berries, and the last of the cream mixture on top.
- Chill for at least 4 hours, preferably overnight. This is the hardest part. Cover the dish with plastic wrap and refrigerate. The flavors need time to meld together, and the cake needs to absorb the creamy goodness. I’ve made the mistake of serving it too early and the layers just don’t come together the same way.
- Garnish before serving. Right before you bring it to the table, add a few fresh berries on top and a sprig of mint if you’re feeling fancy. The contrast of fresh fruit against the creamy top layer makes for a stunning presentation.
A quick note: if your trifle looks a little messy after layering, don’t stress. The magic happens in the fridge. After a few hours, everything settles into perfect stripes.
Cooking Tips & Techniques
After making this easy red white and blue berry trifle about eight times in the last month, I’ve collected some hard-won wisdom. Here’s what I wish someone had told me:
Toast the cake, always. I skipped this step once because I was in a hurry. The result was a sad, soggy mess that collapsed under its own weight. Toasting creates a crust that holds up against the moisture from the berries and cream. Think of it like building a house — you need a strong foundation.
Pat your berries dry. If you wash your berries right before assembling, they’ll release extra water and thin out your cream layers. Wash them a few hours ahead and let them dry completely on a paper towel-lined tray. Your layers will thank you.
Don’t overmix the cream cheese. I learned this the hard way when my cream layer turned into a grainy, lumpy disaster. Beat the cream cheese just until it’s smooth, then fold it gently into the whipped cream. Overmixing breaks down the structure and you’ll end up with a dense, heavy layer instead of a light, fluffy one.
Chill between layers if you have time. For the cleanest, most Instagram-worthy layers, chill the trifle for 15 minutes after adding each cream layer. This firms everything up and prevents the layers from bleeding into each other. Is it necessary? No. Does it make a difference? Absolutely.
Use a piping bag for the cream layers. If you want those perfect, even stripes, transfer the cream mixture to a piping bag and pipe it in a spiral over each layer. It takes an extra 60 seconds and the results are stunning. No piping bag? Use a zip-top bag with the corner snipped off.
One more thing — if your trifle looks a little tilted or uneven, don’t panic. Use a long skewer or chopstick to gently nudge the layers into place before the final chill. Nobody will ever know.
Variations & Adaptations
This easy red white and blue berry trifle is endlessly adaptable. Here are some variations I’ve tried and loved:
Gluten-Free Version
Swap the pound cake for your favorite gluten-free vanilla cake or gluten-free ladyfingers. I’ve used Schar’s gluten-free vanilla cake with excellent results. Toast it the same way and nobody will notice the difference. This version is perfect for anyone with celiac disease or gluten sensitivity.
Dairy-Free Version
Use full-fat coconut cream instead of heavy cream (chill the can overnight and scoop off the solid part), dairy-free cream cheese like Kite Hill, and almond milk for the pudding. The texture is slightly less rich but still incredibly satisfying. I served this at a BBQ last month and two guests asked for the recipe before I even mentioned it was dairy-free.
Low-Sugar Version
Use sugar-free vanilla pudding mix, swap the powdered sugar for monk fruit sweetener in the cream layer, and skip the sugar on the berries. The natural sweetness of the fruit carries the dessert beautifully. This version clocks in at about half the sugar of the original.
Summer Berry Medley
Mix in blackberries, sliced nectarines, or even diced mango for a tropical twist. I made a version last August with peaches and blackberries that was absolutely divine. Just keep the color contrast in mind — you still want those red, white, and blue vibes for the Fourth of July.
Individual Mason Jar Trifles
Layer everything in 8-ounce mason jars for a portable, single-serve option. These are perfect for picnics, potlucks, or backyard parties where you don’t want to deal with serving spoons. They also make adorable party favors if you seal them with a lid and tie a ribbon around the jar.
If you’re feeling adventurous, try swapping the vanilla pudding for lemon pudding. The citrus note cuts through the richness beautifully and adds a bright, summery flavor that pairs perfectly with the berries. I tested this version for a friend’s baby shower and it was the first thing to disappear.
Serving & Storage Suggestions
This easy red white and blue berry trifle is best served cold, straight from the fridge. The contrast between the chilled cream and the juicy berries is what makes every bite so satisfying. Here’s how to serve and store it like a pro:
Serving temperature: Pull the trifle out of the fridge about 10 minutes before serving. This takes the chill off slightly and allows the flavors to open up. Don’t leave it out longer than 30 minutes, especially on a hot summer day — the cream will start to soften and the layers will lose their definition.
Presentation tips: Use a large serving spoon that can reach the bottom of the dish. You want each serving to include all the layers. For a beautiful presentation, wipe the rim of the trifle dish with a damp paper towel before bringing it to the table. Those little smudges show up in photos.
What to serve with it: This trifle is rich enough to stand alone, but a scoop of vanilla bean ice cream on the side never hurts. For a lighter option, serve it with fresh mint leaves and a drizzle of honey. If you’re hosting a full BBQ spread, pair it with easy bourbon peach cobbler bars for a dessert table that covers all the bases.
Storage instructions: Cover the trifle dish tightly with plastic wrap or a lid and refrigerate for up to 3 days. The flavors actually improve on day two as everything melds together. After day three, the cake starts to break down and the berries may release too much liquid.
Reheating: Don’t. This is a cold dessert through and through. If you want a warm element, serve it alongside a giant skillet chocolate chip cookie cake that you can scoop warm onto plates.
Freezer tips: You can freeze individual portions in airtight containers for up to one month. Thaw overnight in the fridge and enjoy within 24 hours of thawing. The texture won’t be quite as perfect as fresh, but it’s still delicious. I’ve stashed a few mason jar versions in the freezer for random summer cravings.
Nutritional Information & Benefits
This easy red white and blue berry trifle is a dessert, so let’s keep things in perspective. But it does have some redeeming qualities worth mentioning:
| Nutrient | Per Serving (1/8 of recipe) |
|---|---|
| Calories | 385 |
| Total Fat | 24g |
| Saturated Fat | 14g |
| Carbohydrates | 38g |
| Fiber | 3g |
| Sugar | 26g |
| Protein | 5g |
| Vitamin C | 35% DV |
| Calcium | 10% DV |
The berries are the real stars here nutritionally. Blueberries are packed with antioxidants that support brain health and immune function. Strawberries provide a solid dose of vitamin C — about 35% of your daily needs per serving. Raspberries add fiber and manganese. Even the cream cheese offers a small amount of protein and calcium.
For a lighter version, swap the heavy cream for Greek yogurt mixed with a little honey. You’ll cut the calories by about half and add probiotics. I’ve made this healthier version for weekday desserts and it’s surprisingly satisfying, though it doesn’t have quite the same indulgent texture as the original.
If you’re watching your sugar intake, this dessert is best enjoyed in moderation as a special treat. The natural sugars from the berries account for about half the total sugar, so it’s not all empty calories.
Conclusion
This easy red white and blue berry trifle has become my go-to summer dessert for a reason. It’s beautiful enough for a holiday table, simple enough for a Tuesday night, and forgiving enough for beginners. The layers of creamy, fruity, cakey goodness come together in under 30 minutes of actual work, then the fridge does the rest.
What I love most is how it brings people together. There’s something about digging into a big glass bowl of layered dessert that makes everyone feel like a kid again. The berries burst, the cream melts on your tongue, and for a few minutes, nothing else matters.
I’d love to hear how your trifle turns out. Did you try a fun variation? Add a secret ingredient? Drop a comment below and share your version — I read every single one and I’m always looking for new ideas to test in my kitchen.
And hey, if you’re looking for more easy summer desserts to fill out your holiday menu, don’t miss my perfect charred corn and zucchini summer salad for a savory side that balances out all that sweetness. Happy Fourth of July, friends. Go make something delicious.
Frequently Asked Questions
Can I make this trifle a day ahead?
Absolutely. In fact, I recommend it. The flavors meld together beautifully overnight and the texture improves significantly. Just wait to add any fresh garnishes until right before serving so they stay bright and crisp.
Can I use frozen berries instead of fresh?
You can, but be careful. Frozen berries release a lot of liquid as they thaw, which can make your trifle watery. If you’re using frozen berries, thaw them first, drain off the excess liquid, and pat them dry before adding them to the layers. The texture won’t be quite as firm, but the flavor will still be great.
How do I get clean, defined layers?
Chill the trifle for 15-20 minutes after adding each cream layer. This firms everything up and prevents the layers from bleeding into each other. Using a piping bag for the cream also helps create those perfect stripes. And make sure your cake cubes are completely cool before layering.
Can I use homemade pound cake instead of store-bought?
Yes, and it’s even better. A denser, buttery pound cake holds up beautifully in this trifle. Just make sure it’s completely cooled and at least a day old before cubing and toasting. Fresh cake is too soft and will disintegrate in the layers.
What’s the best way to transport this trifle to a party?
Assemble the trifle in a dish with a tight-fitting lid. If your dish doesn’t have a lid, cover it tightly with plastic wrap and place it in a large, sturdy box or cooler for transport. Keep it refrigerated until you’re ready to leave, and if it’s a hot day, pack it in a cooler with ice packs for the drive. Add garnishes once you arrive.
Pin This Recipe!
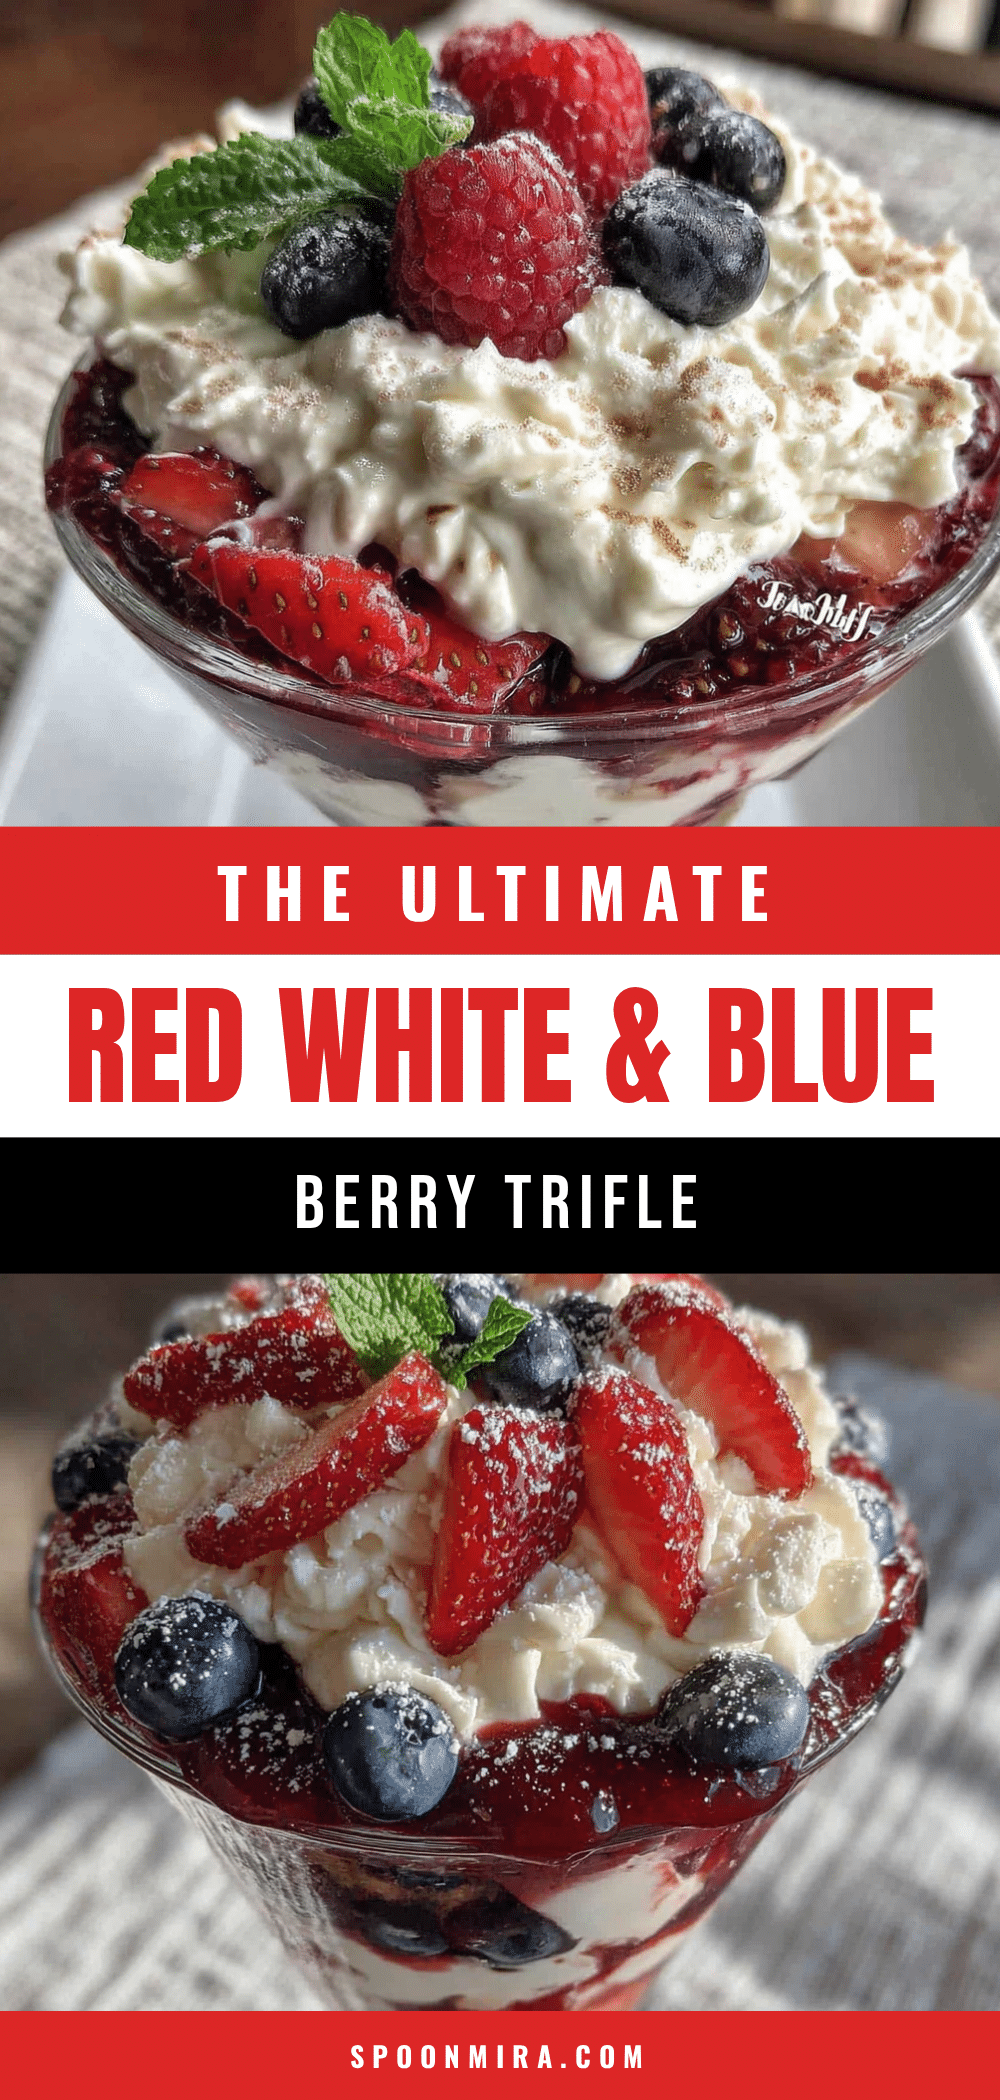
Easy Red White and Blue Berry Trifle: Best 4th of July Dessert

This easy red white and blue berry trifle is a no-bake, stress-free dessert perfect for Fourth of July celebrations. Layers of fresh berries, creamy vanilla pudding, and toasted pound cake create a stunning and delicious treat that tastes as good as it looks.
- Prep Time: 20 minutes
- Cook Time: 10 minutes
- Total Time: 4 hours 30 minutes (includes chilling)
- Yield: 8 servings 1x
- Category: Dessert
- Cuisine: American
Ingredients
- 2 cups heavy whipping cream (cold)
- 1/2 cup powdered sugar
- 1 teaspoon vanilla extract
- 8 ounces cream cheese (softened)
- 2 cups fresh strawberries (hulled and sliced)
- 2 cups fresh blueberries
- 1 cup fresh raspberries (optional)
- 2 tablespoons granulated sugar
- 1 tablespoon fresh lemon juice
- 1 store-bought pound cake (about 10–12 ounces)
- 1 tablespoon unsalted butter (melted)
- 1 box (3.4 ounces) instant vanilla pudding mix
- 2 cups cold whole milk
Instructions
- Preheat your oven to 350°F (175°C). Cut the pound cake into 1-inch cubes (about 4 cups). Spread on a parchment-lined baking sheet, brush with melted butter, and toast for 8-10 minutes until edges are golden. Let cool completely (about 15 minutes).
- In a medium bowl, combine sliced strawberries, blueberries, raspberries, 2 tablespoons sugar, and lemon juice. Stir gently and let sit for 10-15 minutes to release juices.
- In a separate bowl, whisk instant pudding mix with 2 cups cold milk for about 2 minutes until thickened. Set aside to firm up.
- In a large mixing bowl (chilled if possible), beat heavy cream, powdered sugar, and vanilla extract on medium-high speed until soft peaks form (about 3-4 minutes).
- In a small bowl, beat softened cream cheese until smooth. Gently fold into whipped cream using a rubber spatula until combined.
- Layer in a trifle dish: one-third of the toasted pound cake cubes, half of the berry mixture (with syrup), one-third of the vanilla pudding, one-third of the cream cheese mixture. Repeat layers: cake, berries, pudding, cream. Finish with final layer of cake, remaining berries, and remaining cream mixture on top.
- Cover with plastic wrap and chill for at least 4 hours, preferably overnight.
- Garnish with fresh berries and mint sprigs just before serving.
Notes
Toast the cake cubes to prevent sogginess. Pat berries dry after washing to avoid thinning the cream layers. For clean layers, chill for 15 minutes after adding each cream layer. Use a piping bag for even cream distribution. The trifle tastes better after sitting overnight.
Nutrition
- Serving Size: 1/8 of recipe
- Calories: 385
- Sugar: 26
- Fat: 24
- Saturated Fat: 14
- Carbohydrates: 38
- Fiber: 3
- Protein: 5
Keywords: berry trifle, 4th of July dessert, red white and blue dessert, no-bake dessert, summer dessert, easy trifle


