Fourth time in eight days and I finally stopped overmixing. That was the problem all along — not the pumpkin, not the flour, not even the chocolate chips. I was just being too aggressive with my whisk, treating the batter like it owed me something. The first loaf came out dense, almost rubbery. The second was better but had this weird tunnel of air running through the middle. The third? I forgot the baking soda entirely. (That one went straight to the compost bin, and let me tell you, even the worms looked disappointed.)
But this fourth loaf. Oh, this one. The top cracked perfectly in that rustic way pumpkin bread is supposed to. The inside was tender and moist, each bite studded with melted chocolate that had softened into little pockets of sweetness against the spiced crumb. I actually stood at the counter eating slice after slice, telling myself I was “quality testing” when really I was just being greedy. And honestly? It was worth every single warm, chocolate-smeared bite.
That’s the thing about this Easy One Bowl Pumpkin Chocolate Chip Bread — it doesn’t need fancy techniques or a laundry list of equipment. It just needs a gentle hand and a little patience. The pumpkin keeps it ridiculously moist, the chocolate chips add that hit of sweetness, and the whole thing comes together in one bowl with a whisk and a spatula. No stand mixer required. No sifting. No stress.
I’ve made enough bad loaves to know exactly what makes a good one. And this recipe? It’s the one I’ll keep coming back to all season long. Not because it’s fancy, but because it actually works.
Why You’ll Love This Recipe
Let me tell you why this bread has earned a permanent spot in my fall baking rotation. I’ve tested this recipe more times than I care to admit, tweaking the flour ratio, adjusting the spice blend, and even experimenting with different types of chocolate chips. Here’s what I’ve learned:
- One Bowl Wonder : Mix everything in a single bowl. No transferring, no extra dishes, no complicated steps. Just dump, stir, and bake.
- Simple Pantry Ingredients : You probably already have most of these in your kitchen right now. Canned pumpkin, flour, sugar, eggs, oil, and chocolate chips. That’s it.
- Perfect for Fall Mornings : Slice this bread, toast it lightly, and slather on some butter for the coziest breakfast. It pairs beautifully with a pumpkin chai latte on a crisp autumn morning.
- Crowd-Pleasing Combo : Pumpkin and chocolate together is an underrated flavor pairing. The earthy, spiced pumpkin balances the rich, semi-sweet chocolate perfectly. Kids and adults both go crazy for it.
- Incredibly Moist Every Time : Pumpkin puree is a moisture powerhouse. This bread stays soft and tender for days — if it lasts that long.
I remember the first time I brought this bread to a friend’s fall gathering. I was nervous, honestly. Everyone had brought these elaborate desserts — a layered pumpkin cheesecake, hand-piped sugar cookies, a caramel apple tart that looked like it belonged in a bakery window. And there I was, setting down a humble loaf of pumpkin bread wrapped in foil. But you know what happened? That loaf was gone within twenty minutes. People kept coming back for “just one more slice.” One friend asked for the recipe before she even finished chewing.
That’s the power of a really good, really simple recipe. It doesn’t need to show off. It just needs to taste amazing.
What Ingredients You Will Need
This recipe uses simple, wholesome ingredients that work together to create a perfectly moist, flavorful loaf. No complicated shopping list here — just pantry staples you probably already have on hand.
- All-purpose flour — 1 ¾ cups (210g). Standard all-purpose flour gives this bread the perfect structure. Not too dense, not too airy. Spoon it into your measuring cup and level it off for accuracy.
- Granulated sugar — 1 cup (200g). Adds sweetness and helps create that tender crumb. You can reduce it to ¾ cup if you prefer a less sweet bread.
- Brown sugar — ½ cup (100g), packed. This is my secret weapon for extra moisture and a deeper, almost caramel-like flavor. Light or dark brown sugar both work here.
- Pumpkin puree — 1 cup (240g). Make sure you’re using 100% pure pumpkin puree, not pumpkin pie filling. The filling has added sugar and spices that will throw off the balance. I usually go with Libby’s, but any brand works.
- Vegetable oil — ½ cup (120ml). Oil keeps this bread incredibly moist. Canola or any neutral-flavored oil works perfectly. Melted coconut oil is a great substitute if you prefer.
- Eggs — 2 large, at room temperature. Room temperature eggs mix more evenly into the batter and create a smoother texture. If you forgot to take them out ahead of time, place them in a bowl of warm water for 5 minutes.
- Vanilla extract — 1 teaspoon. A little vanilla rounds out all the flavors and makes the chocolate taste even richer.
- Pumpkin pie spice — 1 ½ teaspoons. If you don’t have pumpkin pie spice, use 1 teaspoon cinnamon, ½ teaspoon nutmeg, and ¼ teaspoon ground ginger or cloves.
- Baking soda — 1 teaspoon. This is the leavening agent that helps the bread rise. Don’t skip it, and make sure your baking soda isn’t expired.
- Salt — ½ teaspoon. Salt isn’t just for savory food — it balances the sweetness and enhances all the other flavors.
- Chocolate chips — 1 cup (175g). Semi-sweet or dark chocolate chips are my preference because they balance the sweetness of the bread. Milk chocolate works too if you want it sweeter. I’ve also used chopped dark chocolate bars in a pinch, and the irregular chunks are lovely.
One thing I’ve learned from making this bread over and over: the quality of your pumpkin puree matters more than you’d think. Some brands are more watery than others, which can make your batter too loose. If your puree looks thin, let it drain in a fine-mesh strainer for about 15 minutes before using. Trust me on this one — it makes a difference.
Equipment Needed
The beauty of this recipe is that you don’t need much. Here’s what you’ll need:
- Large mixing bowl — Any big bowl will do. I use a standard ceramic mixing bowl, but glass or stainless steel works just as well.
- Whisk — For combining the wet and dry ingredients. A fork works in a pinch, but a whisk gives you a smoother batter.
- Rubber spatula — Essential for folding in the chocolate chips and scraping every last bit of batter into the pan.
- 9×5-inch loaf pan — This is the standard size for a loaf of bread. If you use an 8×4-inch pan, you’ll need to increase the baking time by 5-10 minutes.
- Parchment paper — Lining your pan makes cleanup effortless and ensures the bread releases cleanly. You can also grease the pan with butter or cooking spray.
- Cooling rack — Allows air to circulate around the loaf so it cools evenly and doesn’t get soggy on the bottom.
- Measuring cups and spoons — For accuracy. I cannot stress this enough — measuring by weight (using a kitchen scale) gives you the most consistent results.
If you don’t have a cooling rack, no worries. I’ve used the grates from my oven before (just make sure they’re clean). And if you don’t have parchment paper, simply grease your loaf pan well with butter and dust it lightly with flour.
Preparation Method
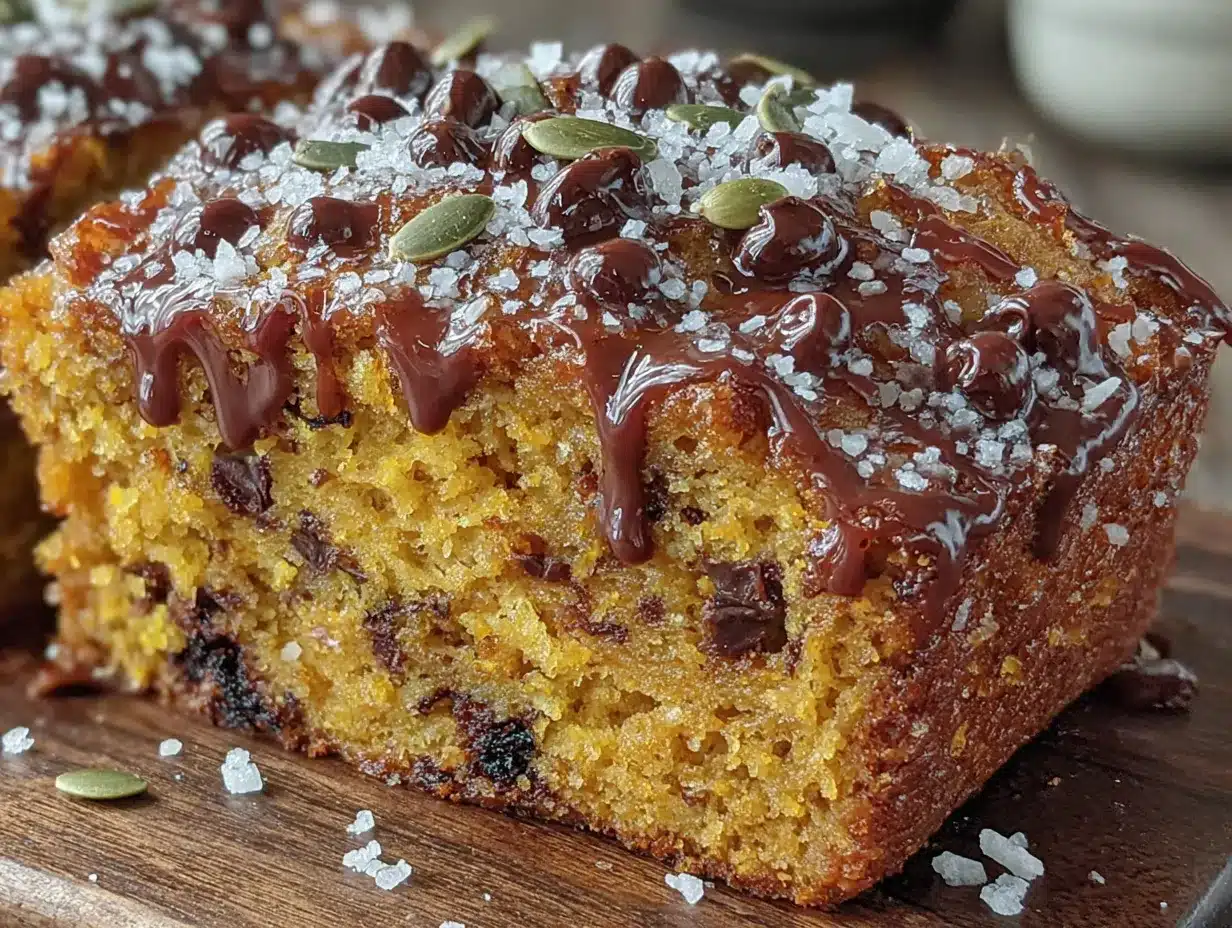
This is where the magic happens. Follow these steps, and you’ll have a beautiful loaf of pumpkin chocolate chip bread that tastes like you spent hours on it. (Spoiler: you didn’t.)
- Preheat your oven to 350°F (175°C). Position the rack in the center of the oven. Line your 9×5-inch loaf pan with parchment paper, leaving some overhang on the long sides. This creates handles that make lifting the bread out so much easier.
- Combine the wet ingredients. In your large mixing bowl, whisk together the pumpkin puree, vegetable oil, eggs, and vanilla extract until smooth. Don’t worry if it looks a little separated at first — that’s normal. Keep whisking until it comes together into a uniform, slightly glossy mixture.
- Add the sugars. Pour in the granulated sugar and packed brown sugar. Whisk vigorously for about 30 seconds until the sugars are fully incorporated and the mixture looks smooth. You shouldn’t feel any grittiness when you rub a bit between your fingers.
- Add the dry ingredients. Sprinkle the flour, pumpkin pie spice, baking soda, and salt over the wet mixture. Here’s the important part: stir gently with your spatula or whisk until just combined. A few streaks of flour are totally fine. Overmixing at this stage develops gluten, which makes your bread tough. We want tender, not tough.
- Fold in the chocolate chips. Pour in the chocolate chips and fold them in with your spatula using broad, gentle strokes. Scrape from the bottom of the bowl to make sure everything is evenly distributed. Reserve about 2 tablespoons of chocolate chips to sprinkle on top of the batter — this makes the bread look gorgeous once baked.
- Pour the batter into the prepared pan. Use your spatula to scrape every last bit of batter into the pan. Spread it evenly, then sprinkle the reserved chocolate chips on top. Give the pan a gentle tap on the counter to release any air bubbles.
- Bake for 50-60 minutes. Place the pan in the preheated oven and bake until a toothpick inserted into the center comes out clean or with just a few moist crumbs. If the top is browning too quickly (around the 40-minute mark), tent the pan loosely with aluminum foil.
- Cool in the pan for 10 minutes. Set the pan on a cooling rack and let it rest. This allows the bread to set and makes it easier to remove without falling apart.
- Transfer to the cooling rack. Using the parchment paper handles, lift the bread out of the pan and place it directly on the cooling rack. Let it cool completely before slicing — about 1 hour. I know it’s hard to wait, but slicing warm bread can make it crumble and fall apart.
One thing I learned the hard way: don’t skip the cooling step. The first time I made this bread, I sliced into it after about 20 minutes because I couldn’t wait. The middle was still slightly underdone, and the whole slice just collapsed in my hands. Still tasted good, but it was not pretty. Patience, my friend.
Cooking Tips & Techniques
After making this bread more times than I can count, I’ve picked up a few tricks that make a real difference. Here are my best tips:
Don’t overmix the batter. I say this with the authority of someone who has ruined multiple loaves by being too enthusiastic with a whisk. Mix until the flour disappears into the batter, then stop. A few lumps are fine. Overmixing develops gluten, and too much gluten means a dense, rubbery bread instead of a tender, moist one.
Use room temperature ingredients. Cold eggs can cause the batter to seize up and create an uneven texture. If you forgot to set them out, place the eggs in a bowl of warm water for 5-10 minutes. The pumpkin puree should also be at room temperature for best results.
Check for doneness properly. Insert a toothpick or skewer into the center of the bread. If it comes out clean or with just a few moist crumbs (not wet batter), it’s done. Every oven runs a little differently, so start checking at the 50-minute mark.
Let it cool completely for clean slices. I know the smell of freshly baked pumpkin bread is practically irresistible, but slicing too early is a recipe for disaster. The bread needs time to set. Use a serrated knife and gentle sawing motions for the cleanest cuts.
Toast leftover slices. Day-old pumpkin bread is actually amazing when lightly toasted. Pop a slice in the toaster or under the broiler for a minute or two, then spread on some salted butter. The contrast between the warm, crispy edges and the soft, moist center is next-level delicious.
I once made this bread for a brunch and forgot to add the chocolate chips entirely. It was still good — just plain pumpkin bread — but it felt incomplete. Now I always double-check my ingredient list before I start mixing. Learn from my mistakes!
Variations & Adaptations
One of my favorite things about this recipe is how adaptable it is. Here are some variations I’ve tried and loved:
- Gluten-Free Version : Substitute the all-purpose flour with a 1:1 gluten-free baking flour blend. I’ve used Bob’s Red Mill and King Arthur Measure for Measure with great results. Add an extra tablespoon of milk or water if the batter seems too thick.
- Dairy-Free Option : This recipe is already dairy-free if you use dairy-free chocolate chips. Enjoy Life and Hu Kitchen both make excellent options.
- Nutty Twist : Replace half the chocolate chips with ½ cup of chopped walnuts or pecans. The crunch adds a lovely texture contrast against the soft bread.
- Spice It Up : Add ¼ teaspoon of ground cardamom or a pinch of cayenne pepper to the dry ingredients for a warm, unexpected kick. The cayenne pairs surprisingly well with the chocolate.
- Mini Loaves or Muffins : Divide the batter among mini loaf pans or a muffin tin. Bake mini loaves for 25-30 minutes and muffins for 18-22 minutes. This is perfect for gift-giving or packing in lunchboxes alongside banana muffins for a fun fall treat.
- Streusel Topping : Mix ¼ cup flour, ¼ cup brown sugar, 2 tablespoons cold butter, and a pinch of cinnamon. Sprinkle over the batter before baking for a crunchy, buttery crust.
I personally love the streusel topping variation. It adds this wonderful crunch that contrasts with the soft, moist bread. The first time I made it, I ate the entire loaf in two days. No regrets.
Serving & Storage Suggestions
This bread is incredibly versatile when it comes to serving. Here’s how I like to enjoy it:
Serving Temperature: Serve at room temperature or slightly warm. To reheat individual slices, pop them in the toaster or microwave for 10-15 seconds. A pat of salted butter melting into a warm slice is pure comfort.
Presentation Ideas: Slice the bread and arrange on a wooden board or cake stand. Dust with powdered sugar for a pretty finish. You can also drizzle with a simple glaze made from ½ cup powdered sugar mixed with 1-2 tablespoons of milk or maple syrup.
Pairing Suggestions: This bread pairs beautifully with coffee, tea, or a tall glass of cold milk. For a cozy fall breakfast, serve it alongside a pumpkin spice latte or a warm mug of chai. It also makes a lovely dessert with a scoop of vanilla ice cream or a dollop of whipped cream.
Storage Instructions: Store the bread in an airtight container at room temperature for up to 4 days. Wrap it tightly in plastic wrap or aluminum foil to keep it from drying out. The flavors actually deepen and meld together after a day or two, so day-old bread is often even better.
Freezing Instructions: This bread freezes beautifully. Wrap the cooled loaf (or individual slices) tightly in plastic wrap, then in aluminum foil. Place in a freezer-safe bag and freeze for up to 3 months. To thaw, leave at room temperature for a few hours or microwave individual slices for 20-30 seconds.
I always make a double batch and freeze one loaf for later. It’s such a treat to pull out a slice of homemade pumpkin bread on a random Tuesday morning when you’re craving something cozy.
Nutritional Information & Benefits
Here’s the estimated nutritional breakdown for one slice (based on 10 slices per loaf):
- Calories: Approximately 320
- Total Fat: 14g
- Saturated Fat: 4g
- Carbohydrates: 48g
- Fiber: 2g
- Sugar: 30g
- Protein: 4g
While this is definitely a treat, it does have some redeeming qualities. Pumpkin is packed with vitamin A, which supports eye health and immune function. It’s also a good source of fiber and antioxidants. The dark chocolate chips add a dose of antioxidants and minerals like iron and magnesium.
If you’re looking to lighten it up, you can reduce the sugar to 1 cup total (using only brown sugar) or substitute half the oil with unsweetened applesauce. The texture will be slightly different — a bit more cake-like — but still delicious.
This recipe is naturally nut-free and can be made dairy-free and gluten-free with simple substitutions. Just be sure to check your chocolate chip labels for any potential allergens.
Conclusion
This Easy One Bowl Pumpkin Chocolate Chip Bread is everything I want in a fall recipe: simple, forgiving, and absolutely delicious. It comes together in one bowl with minimal effort, but the result tastes like you spent hours in the kitchen. The pumpkin keeps it moist, the spices make it cozy, and the chocolate chips add just the right amount of sweetness.
What I love most about this recipe is how adaptable it is. Make it your own — add nuts, swap the spices, turn it into muffins, or top it with streusel. There’s no wrong way to enjoy it. And honestly, that’s the kind of recipe that earns a permanent place in your rotation.
I’d love to hear how yours turns out. Did you try a variation? Did you manage to resist eating the whole loaf in one sitting? (I certainly didn’t.) Drop a comment below and let me know. And if you share it on social media, tag me — I love seeing your baking adventures.
Happy baking, friend. Fall is calling.
Frequently Asked Questions
Can I use fresh pumpkin instead of canned?
Absolutely! Just make sure to roast and puree the pumpkin until smooth, then drain off any excess liquid. Fresh pumpkin puree tends to be more watery than canned, so you may need to reduce the oil slightly or add an extra tablespoon of flour.
Why did my pumpkin bread sink in the middle?
This usually happens when the bread is underbaked or when the oven temperature is too low. Make sure your oven is properly preheated to 350°F and that you’re baking until a toothpick inserted in the center comes out clean. Opening the oven door too early can also cause the bread to collapse.
Can I make this recipe into muffins instead?
Yes! Divide the batter among a greased or lined muffin tin, filling each cup about ¾ full. Bake at 350°F for 18-22 minutes, or until a toothpick inserted into the center of a muffin comes out clean. This recipe makes about 12-14 muffins.
How do I know when the bread is fully baked?
Insert a toothpick or wooden skewer into the center of the loaf. If it comes out clean or with just a few moist crumbs (not wet batter), the bread is done. You can also check the internal temperature — it should read around 200-205°F on an instant-read thermometer.
Can I reduce the sugar in this recipe?
You can reduce the total sugar to 1 cup (using all brown sugar or a mix) without significantly affecting the texture. Reducing it further may result in a slightly denser, less sweet bread. If you’re looking for a lower-sugar option, try using a sugar substitute like monk fruit or coconut sugar, but note that the texture may vary.
Pin This Recipe!
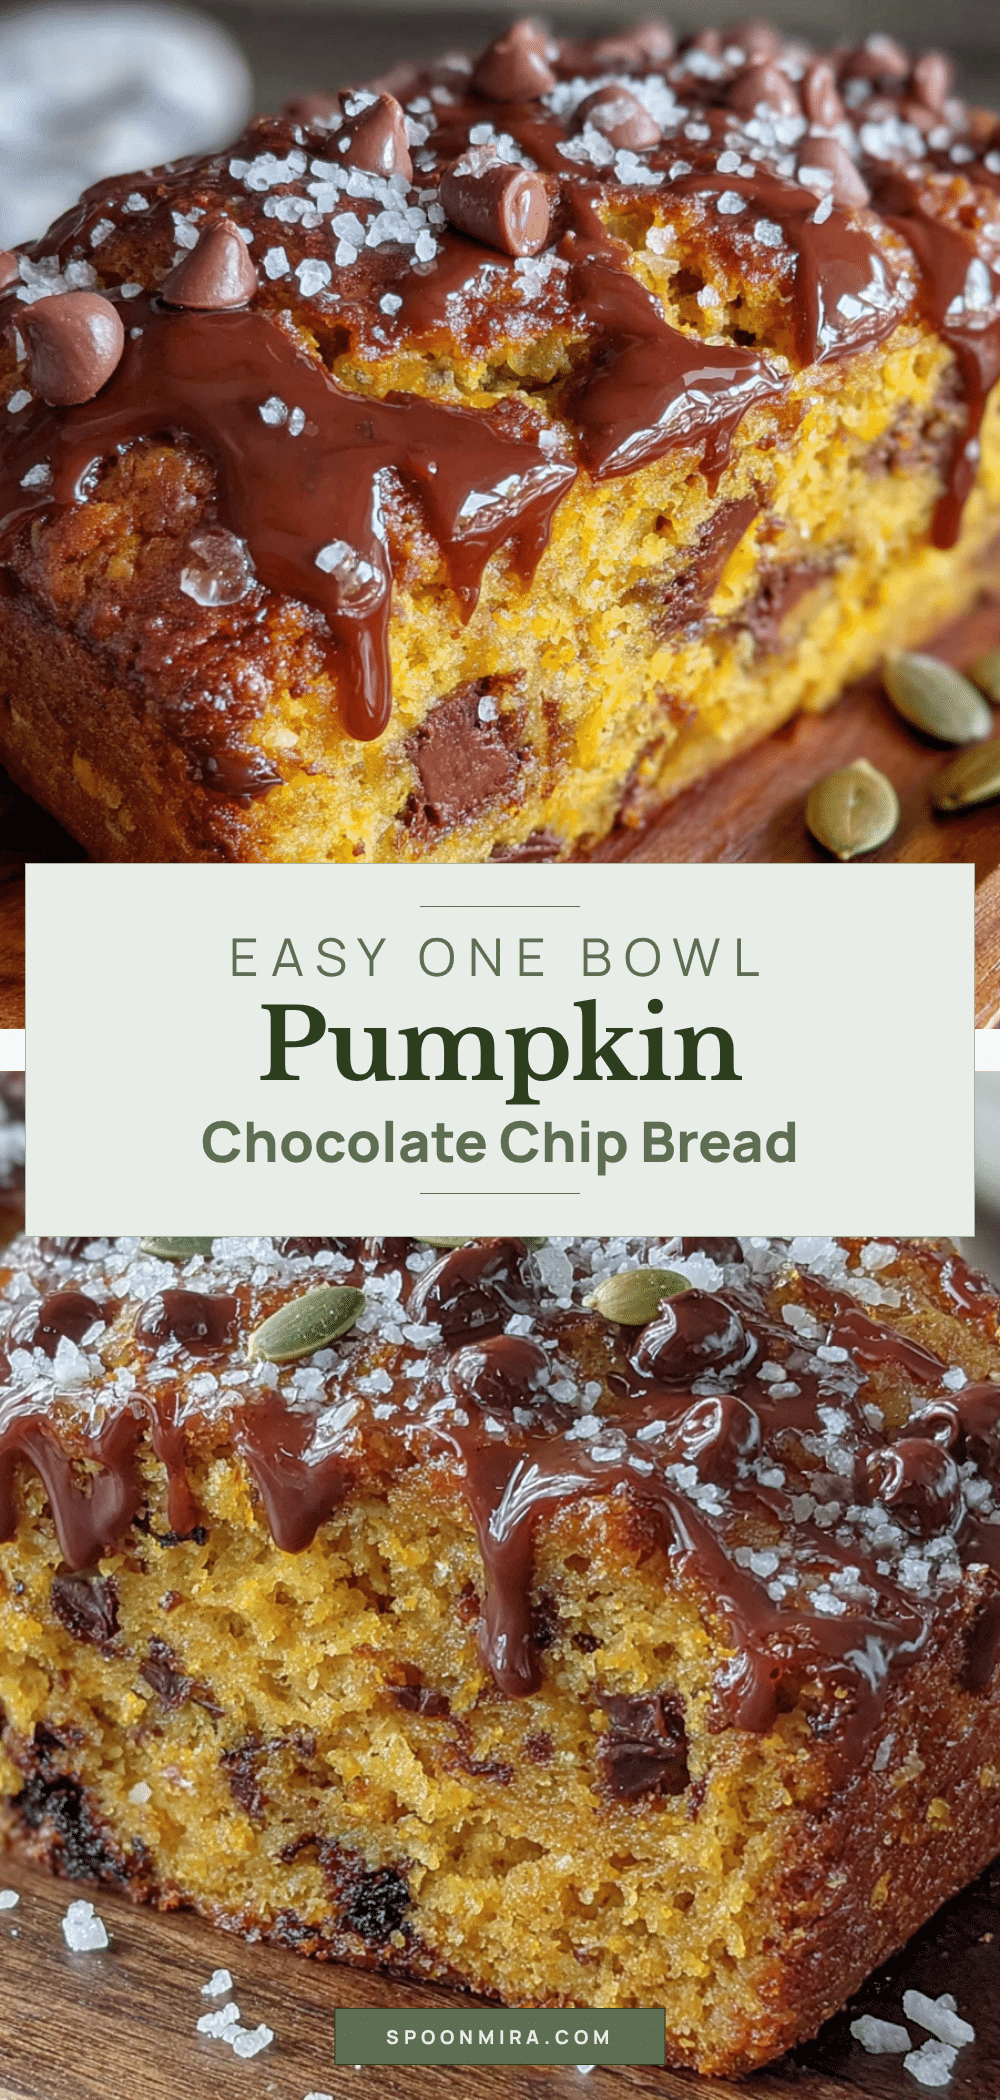
Easy One Bowl Pumpkin Chocolate Chip Bread
This Easy One Bowl Pumpkin Chocolate Chip Bread is a simple, forgiving, and absolutely delicious fall recipe. It comes together in one bowl with minimal effort, but the result tastes like you spent hours in the kitchen, with pumpkin keeping it moist, spices making it cozy, and chocolate chips adding the perfect sweetness.
- Prep Time: 15 minutes
- Cook Time: 55 minutes
- Total Time: 1 hour 10 minutes
- Yield: 10 servings 1x
- Category: Dessert
- Cuisine: American
Ingredients
- 1 ¾ cups (210g) all-purpose flour
- 1 cup (200g) granulated sugar
- ½ cup (100g) brown sugar, packed
- 1 cup (240g) pumpkin puree (100% pure, not pumpkin pie filling)
- ½ cup (120ml) vegetable oil (or canola, or melted coconut oil)
- 2 large eggs, at room temperature
- 1 teaspoon vanilla extract
- 1 ½ teaspoons pumpkin pie spice (or 1 tsp cinnamon, ½ tsp nutmeg, ¼ tsp ginger or cloves)
- 1 teaspoon baking soda
- ½ teaspoon salt
- 1 cup (175g) semi-sweet or dark chocolate chips (plus 2 tbsp for topping)
Instructions
- Preheat your oven to 350°F (175°C). Position the rack in the center of the oven. Line a 9×5-inch loaf pan with parchment paper, leaving some overhang on the long sides.
- In a large mixing bowl, whisk together the pumpkin puree, vegetable oil, eggs, and vanilla extract until smooth and slightly glossy.
- Add the granulated sugar and packed brown sugar. Whisk vigorously for about 30 seconds until fully incorporated and smooth.
- Sprinkle the flour, pumpkin pie spice, baking soda, and salt over the wet mixture. Stir gently with a spatula or whisk until just combined. A few streaks of flour are fine; do not overmix.
- Fold in the chocolate chips with a spatula using broad, gentle strokes. Reserve about 2 tablespoons of chocolate chips to sprinkle on top.
- Pour the batter into the prepared pan and spread evenly. Sprinkle the reserved chocolate chips on top. Gently tap the pan on the counter to release air bubbles.
- Bake for 50-60 minutes, until a toothpick inserted into the center comes out clean or with a few moist crumbs. If the top browns too quickly (around 40 minutes), tent loosely with aluminum foil.
- Cool in the pan on a cooling rack for 10 minutes.
- Using the parchment paper handles, lift the bread out of the pan and place directly on the cooling rack. Cool completely before slicing (about 1 hour).
Notes
Do not overmix the batter to avoid a dense, rubbery texture. Use room temperature ingredients for best results. Check for doneness at 50 minutes. Let cool completely before slicing for clean cuts. Toast leftover slices for extra flavor. For gluten-free, use a 1:1 gluten-free flour blend. For dairy-free, use dairy-free chocolate chips. Store in an airtight container at room temperature for up to 4 days, or freeze for up to 3 months.
Nutrition
- Serving Size: 1 slice
- Calories: 320
- Sugar: 30
- Sodium: 220
- Fat: 14
- Saturated Fat: 4
- Carbohydrates: 48
- Fiber: 2
- Protein: 4
Keywords: pumpkin bread, chocolate chip, one bowl, fall recipe, easy, moist, pumpkin chocolate chip bread


