The crackled top, domed and splitting just so, with a crumb that promises butter without a single smear. That’s what I was after the first time I made this banana bread, standing in my kitchen at 9 p.m. on a Tuesday with three sad, spotty bananas on the counter and absolutely zero patience for washing extra dishes. I wanted something that felt like a hug in loaf form, but I didn’t want to drag out the hand mixer, let alone the stand mixer. I just wanted to mash and stir and pour and bake. That’s the whole story, really.
I had tried other recipes before. You know the ones—they ask you to cream butter and sugar until light and fluffy, then add eggs one at a time, then alternate dry ingredients with sour cream. By the time you’re done, you’ve used every bowl in the cabinet and your arm hurts. This easy one-bowl banana bread (no mixer needed) was my rebellion against all that. It came together in about ten minutes of actual work, and when I pulled it from the oven, the whole apartment smelled like a bakery that only sells happiness.
Honestly, I didn’t think it would work. I mean, how good could banana bread be if you didn’t aerate the batter properly? But the first slice (still warm, obviously) had that perfect tender crumb, the kind that practically melts on your tongue. The banana flavor was concentrated and sweet, not watered down. And the top? That crackly, caramelized crust that shatters when you bite into it. I stood at the counter eating slice after slice, telling myself I was just quality-checking. This recipe stuck because it proved I didn’t need fancy equipment or complicated steps to make something genuinely delicious. Sometimes simple is the whole point.
Why You’ll Love This Recipe
Let me tell you why this particular banana bread has earned a permanent spot in my rotation. It’s not just because it’s easy (though it is). It’s because every single time I make it, someone asks for the recipe. That’s the kind of reliable you want in a kitchen staple.
- Quick & Easy: From start to oven in under 15 minutes. No mixer, no sifting, no fuss. Just one bowl, a fork, and a spatula. Perfect for those moments when you need banana bread now.
- Simple Ingredients: You probably have everything already. Butter, sugar, eggs, flour, baking soda, salt, and those bananas you were about to toss. No weird extracts or specialty flours required.
- Perfect for Any Occasion: Breakfast, snack, dessert, midnight craving—this loaf doesn’t discriminate. It’s humble enough for a Tuesday and impressive enough for a brunch table.
- Crowd-Pleaser: I’ve brought this to potlucks, book club, and even a casual dinner party. It disappears every single time. Kids love it, adults love it, and nobody guesses it came together in one bowl.
- Unbelievably Delicious: That crackly top, the moist center, the way the banana flavor shines without being cloying—it’s next-level comfort food disguised as a simple loaf.
What makes this version different from the hundreds of banana bread recipes out there? It’s the ratio. I spent months tweaking the butter-to-banana-to-sugar balance until I got that perfect texture—moist but not dense, tender but not crumbly. The melted butter technique gives you a softer crumb without any creaming, and the vinegar (yes, vinegar) reacts with the baking soda to give you lift without a mixer. It’s the kind of recipe that makes you feel like a genius with minimal effort.
This isn’t just good banana bread. It’s the kind that makes you close your eyes after the first bite. The kind that turns a regular morning into a cozy one. The kind you’ll make again and again, until the loaf pan has permanent banana bread residue baked into its corners. Trust me, that’s a good thing.
What Ingredients You Will Need
This recipe uses simple, honest ingredients that work together to create something greater than the sum of their parts. No fancy grocery trips, no hunting for obscure items. Just pantry staples and a couple of very ripe bananas.
- Ripe Bananas (3 large, about 1 ½ cups mashed): The darker and spottier, the better. Seriously, you want bananas that are practically begging to be baked. They should be soft, sweet, and smell strongly banana-y. If your bananas aren’t quite there yet, you can roast them in a 300°F oven for 15-20 minutes until the skins blacken. Let them cool before mashing.
- Unsalted Butter (½ cup, 1 stick, melted): I use unsalted so I can control the salt level. Melted butter gives this bread a tender, almost velvety crumb without any creaming. If you only have salted butter, just reduce the added salt to ¼ teaspoon.
- Granulated Sugar (¾ cup): Regular white sugar keeps the texture light and sweetens just enough. You could use coconut sugar for a deeper flavor, but the texture will be slightly denser.
- Large Egg (1, room temperature): One egg binds everything together. Room temperature is important—it emulsifies better into the melted butter. If you forget to take it out, place it in a bowl of warm water for 5 minutes.
- Vanilla Extract (1 teaspoon): Pure vanilla adds warmth and depth. Imitation works fine in a pinch, but pure is worth the splurge here.
- All-Purpose Flour (1 ½ cups): Regular AP flour gives the best structure. Spoon and level your flour—don’t scoop directly from the bag or you’ll end up with dry, dense bread.
- Baking Soda (1 teaspoon): This is your leavening agent. Make sure it’s fresh—test it by dropping a bit into vinegar; it should fizz vigorously.
- Salt (½ teaspoon): Salt balances sweetness and enhances flavor. I use fine sea salt.
- White Vinegar (1 teaspoon): I know this sounds weird, but trust me. The vinegar reacts with the baking soda to create bubbles, giving you lift and a tender crumb without any mixer. You won’t taste it, I promise.
Optional Add-Ins:
- Walnuts or Pecans (½ cup, chopped): Adds crunch and nutty flavor. Toast them first for extra depth.
- Chocolate Chips (½ cup): Semi-sweet or dark are my go-to. They melt into little pockets of richness.
- Cinnamon (1 teaspoon): A warm spice that pairs beautifully with banana.
For ingredient sourcing, I’ve found that generic store-brand flour and sugar work just fine here. But for the vanilla and chocolate chips, I do recommend spending a little more—it makes a noticeable difference. If you’re looking for a gluten-free option, a 1:1 gluten-free baking flour blend works well, though the texture will be slightly more delicate.
Equipment Needed
One of the best things about this recipe is how little equipment you need. No stand mixer, no hand mixer, no food processor. Just the basics.
- Large Mixing Bowl: Any medium-to-large bowl works. I use a ceramic one because it doesn’t slide around.
- Fork or Potato Masher: For mashing the bananas. A fork works perfectly, but a potato masher is faster and gives you a smoother mash.
- Wooden Spoon or Silicone Spatula: For stirring everything together. A spatula is great for scraping the sides.
- Measuring Cups and Spoons: Standard set. For accuracy, use dry measuring cups for dry ingredients and liquid measuring cups for wet.
- 9×5-inch Loaf Pan: The classic size. If you use an 8×4-inch pan, your bread will take longer to bake and have a higher dome. Grease it well or line with parchment paper.
- Cooling Rack: Essential for even cooling. If you don’t have one, you can use the inverted loaf pan, but a rack is better.
- Toothpick or Skewer: For testing doneness. A wooden skewer works best.
If you don’t have a loaf pan, you can bake this in an 8×8-inch square pan for about 25-30 minutes. It’ll be more like banana cake bars, which is honestly not a bad problem to have. I’ve also used a muffin tin for banana muffins (bake 18-20 minutes)—they’re perfect for lunchboxes. Speaking of which, if you love portable banana treats, you should try my easy mini banana muffins—they’re a hit with kids and adults alike.
Preparation Method
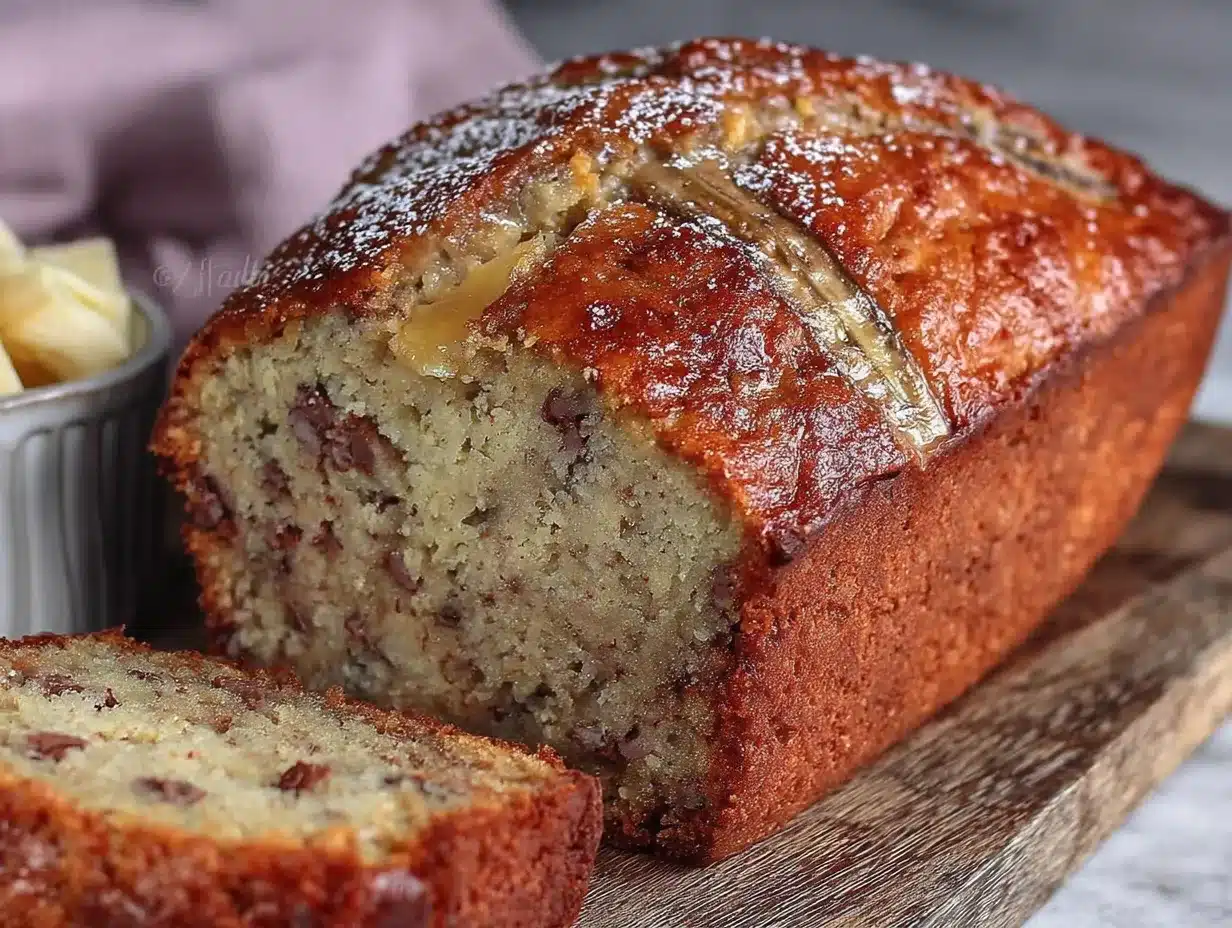
Here’s where the magic happens. Follow these steps, and you’ll have perfect banana bread every single time.
- Preheat your oven to 350°F (175°C). Position the rack in the center. Grease a 9×5-inch loaf pan with butter or non-stick spray, or line it with parchment paper, leaving overhang on the long sides for easy removal.
- Mash the bananas. In your large mixing bowl, add the three ripe bananas. Mash them with a fork or potato masher until smooth. You want some small lumps for texture, but no large chunks. It should look like baby food but with a little personality. Your mashed bananas should measure about 1 ½ cups.
- Add the wet ingredients. To the mashed bananas, add the melted butter (make sure it’s not hot—just warm), granulated sugar, the room-temperature egg, vanilla extract, and white vinegar. Stir with your wooden spoon or spatula until everything is well combined. The mixture will look a bit thin and slightly separated—that’s normal. Don’t overmix; just stir until it comes together.
- Add the dry ingredients. Sprinkle the flour, baking soda, and salt evenly over the wet mixture. Stir gently with a folding motion, just until you no longer see streaks of flour. A few small lumps are fine. If you’re adding walnuts, chocolate chips, or cinnamon, fold them in now. The batter should be thick but scoopable. Warning: Overmixing at this stage will develop the gluten and give you tough, dense bread. Stop as soon as the flour disappears.
- Pour and smooth. Scrape the batter into your prepared loaf pan. Use the spatula to spread it evenly, pushing it into the corners. The batter will be thick, so take a moment to level the top. For that signature crackly top, let the batter rest in the pan for 5-10 minutes before baking. This allows the baking soda to start working and creates a better rise.
- Bake. Place the pan in the preheated oven and bake for 55-65 minutes. The exact time depends on your oven and pan. At the 50-minute mark, start checking. The bread is done when a toothpick inserted into the center comes out clean or with just a few moist crumbs (not wet batter). The top should be deep golden brown and cracked beautifully. If the top is browning too quickly but the center isn’t done, tent the pan loosely with aluminum foil for the last 10-15 minutes.
- Cool. Remove the pan from the oven and place it on a cooling rack. Let it cool in the pan for 10 minutes. Then, carefully lift the bread out (using the parchment overhang if you used it) and transfer it directly to the rack. Let it cool completely before slicing—about 1 hour. I know it’s hard to wait, but slicing too early will make the bread crumble and gummy. Patience, friend.
Sensory Cues: At the 30-minute mark, your kitchen should smell like banana bread heaven. The top will be golden and starting to crack. At 50 minutes, the cracks will be deep and the edges will pull away slightly from the pan. When you insert a toothpick, it should come out clean. If it’s still wet, give it 5 more minutes and check again.
Cooking Tips & Techniques
Over the years, I’ve made this recipe more times than I can count. Here’s what I’ve learned the hard way so you don’t have to.
Don’t skip the vinegar. I know it seems weird. I almost skipped it the first time, thinking, “This can’t possibly matter.” But it does. The vinegar reacts with the baking soda to create carbon dioxide bubbles, which give your bread lift and tenderness without a mixer. Without it, your bread will be flat and dense. Trust the process.
Use very ripe bananas. This is non-negotiable. Green or yellow bananas won’t give you enough sweetness or moisture. You want bananas that are brown, spotty, and soft. If yours aren’t ripe enough, you can speed-ripen them in the oven at 300°F for 15-20 minutes. They’ll be sweeter and easier to mash.
Measure your flour correctly. The number one mistake people make with banana bread is using too much flour. Spoon the flour into your measuring cup, then level it off with a knife. Don’t scoop directly from the bag—that packs the flour and gives you up to 25% more than you need. Too much flour equals dry, crumbly bread.
Don’t overmix. I’ve said it before, but it bears repeating. Stir just until the flour disappears. Overmixing develops gluten, and gluten makes bread tough. A few lumps are your friends.
Let it cool completely. This is the hardest part, I know. But if you slice into warm banana bread, it will be gummy and fall apart. The bread continues to set as it cools. Give it a full hour on the rack. Your patience will be rewarded with clean, perfect slices.
One of my biggest failures: I once tried to double the recipe and bake it in a single loaf pan. Don’t do that. The center never cooked through, and the outside burned. If you need more, make two separate batches or use two pans. Trust me on this one.
Variations & Adaptations
This recipe is wonderfully flexible. Here are some of my favorite ways to change it up.
- Chocolate Chip Banana Bread: Fold in ½ cup semi-sweet chocolate chips after the flour is incorporated. The melted chocolate pockets are pure bliss. I’ve also used dark chocolate chunks for a more intense flavor.
- Nutty Banana Bread: Add ½ cup chopped walnuts or pecans. Toast them first in a dry skillet for 3-4 minutes for extra flavor. This is my husband’s favorite version.
- Vegan Banana Bread: Substitute the melted butter with ½ cup melted coconut oil or vegan butter. Use a flax egg (1 tablespoon ground flaxseed mixed with 3 tablespoons water, let sit for 5 minutes). The texture will be slightly denser but still delicious.
- Gluten-Free Banana Bread: Use 1 ½ cups of a good 1:1 gluten-free baking flour blend. I like Bob’s Red Mill or King Arthur. Add 1 teaspoon of xanthan gum if your blend doesn’t include it. The texture will be a bit more delicate, so handle gently.
- Spiced Banana Bread: Add 1 teaspoon cinnamon, ½ teaspoon nutmeg, and ¼ teaspoon ground ginger to the flour mixture. It gives the bread a cozy, fall-inspired warmth. This pairs beautifully with a cozy homemade pumpkin chai latte for the ultimate autumn treat.
- Banana Muffins: Divide the batter among a 12-cup muffin tin lined with paper cups. Bake at 350°F for 18-22 minutes. Perfect for grab-and-go breakfasts or lunchboxes.
- Banana Bread with Streusel Topping: Mix ¼ cup flour, ¼ cup brown sugar, 2 tablespoons cold butter, and ½ teaspoon cinnamon until crumbly. Sprinkle over the batter before baking. It adds a buttery, crunchy topping that’s absolutely irresistible.
I once made a batch with peanut butter chips and a swirl of strawberry jam. It was messy and slightly chaotic, but honestly, it was one of the best things I’ve ever baked. Don’t be afraid to experiment—banana bread is forgiving.
Serving & Storage Suggestions
This banana bread is best served warm, but it’s pretty spectacular at room temperature too. Here’s how to make the most of it.
Serving Temperature: I love it fresh from the oven, when the butter you spread melts instantly into the warm crumb. But it’s also wonderful at room temperature, especially the next day when the flavors have had time to meld. Toast a slice lightly for a crispy exterior and soft interior—it’s a game-changer.
Presentation Ideas: Slice it thick and serve on a wooden board with a pat of butter on the side. For brunch, arrange slices on a platter with fresh berries and a drizzle of honey. It’s also lovely crumbled over yogurt or ice cream for an easy dessert.
Complementary Dishes: This banana bread pairs perfectly with a hot cup of coffee or tea. For a full breakfast, serve it alongside scrambled eggs and fresh fruit. It also makes a great side for a creamy peanut butter banana protein overnight oats bowl for a banana-themed morning.
Storage Instructions: Store leftover banana bread in an airtight container at room temperature for up to 4 days. The moisture from the bananas keeps it tender. If you live in a humid climate, you can store it in the refrigerator, but it will dry out slightly faster.
Freezer Instructions: This bread freezes beautifully. Wrap the cooled loaf (or individual slices) tightly in plastic wrap, then in aluminum foil. Freeze for up to 3 months. To thaw, let it sit at room temperature for 2-3 hours, or warm individual slices in the microwave for 20-30 seconds. I like to keep a few slices in the freezer for emergency banana bread cravings.
Reheating: For that fresh-baked taste, warm slices in a 300°F oven for 5-7 minutes, or toast them in a toaster oven. The edges get slightly crispy while the center stays soft. It’s perfection.
Flavor Development: Honestly, this bread tastes even better on day two. The banana flavor deepens and the texture becomes more moist. If you can resist eating it all on day one, you’re in for a treat.
Nutritional Information & Benefits
While I wouldn’t call banana bread a health food, it does have some redeeming qualities. Here’s a rough estimate per slice (based on 10 slices, without add-ins).
- Calories: Approximately 220-250 per slice
- Fat: 10g (mostly from butter)
- Carbohydrates: 32g
- Fiber: 1.5g
- Sugar: 16g
- Protein: 3g
Health Benefits: Bananas are a good source of potassium, vitamin B6, and vitamin C. They also contain resistant starch, which is beneficial for gut health. The butter provides some vitamin A, and the egg adds protein. Is it a superfood? No. But it’s a comforting treat that uses real ingredients, and that counts for something.
Dietary Considerations: This recipe contains gluten, dairy, and eggs. For gluten-free or vegan options, see the variations section. It’s naturally nut-free if you skip the walnuts, but check your chocolate chips if you’re avoiding nuts.
Potential Allergens: Wheat (gluten), dairy, eggs. If you’re serving this at a gathering, it’s always good to label it so guests with allergies know what’s in it.
My Personal Perspective: I believe in balance. This banana bread isn’t health food, but it’s made with real ingredients and brings joy. That has value. I’d rather eat a slice of this than a packaged snack any day. It’s about nourishing your body and your soul, you know?
Conclusion
This easy one-bowl banana bread (no mixer needed) is the kind of recipe that becomes a household staple. It’s simple enough for a beginner baker, forgiving enough for a busy weeknight, and delicious enough to impress anyone who tries it. The crackly top, the tender crumb, the way it fills your kitchen with that unmistakable banana bread aroma—it’s comfort food at its finest.
I hope you give this recipe a try. Don’t be afraid to make it your own—throw in some chocolate chips, swap in walnuts, or double the cinnamon. The beauty of banana bread is that it welcomes experimentation. And if you mess up? That’s okay. I’ve made plenty of mistakes in the kitchen, and every single one taught me something.
If you make this, I’d love to hear about it. Leave a comment below and tell me how it turned out, what add-ins you used, or if you have any questions. Share a photo on social media and tag me—I love seeing your creations. And if you’re looking for more easy, comforting recipes, check out my best classic moist banana bread with walnuts for another take on this beloved classic.
Happy baking, friend. May your bananas always be spotty and your loaf always be perfect.
Frequently Asked Questions
Can I use frozen bananas for this recipe?
Absolutely! Frozen bananas are actually perfect for banana bread. Thaw them completely, then drain off any excess liquid before mashing. They’ll be very soft and sweet, which works beautifully.
Why did my banana bread sink in the middle?
This usually happens if the bread is underbaked or if you opened the oven door too often during baking. Make sure your oven is fully preheated, and resist the urge to peek until the 50-minute mark. A toothpick test will tell you if it’s done.
Can I reduce the sugar in this recipe?
You can reduce the sugar to ½ cup without major issues, but the bread will be less sweet and slightly less moist. If your bananas are very ripe and sweet, you can get away with less sugar. I wouldn’t go below ½ cup.
How do I make this recipe dairy-free?
Replace the melted butter with melted coconut oil or a dairy-free butter substitute. The texture will be slightly different—coconut oil gives a lighter crumb—but it works well. Make sure your chocolate chips are dairy-free if you’re adding them.
Can I make this in a different pan size?
Yes! You can use an 8×4-inch loaf pan (bake 60-70 minutes), a 9×9-inch square pan (bake 25-30 minutes), or muffin tins (bake 18-22 minutes). Just adjust the baking time and keep an eye on it. The toothpick test is your best friend.
Pin This Recipe!
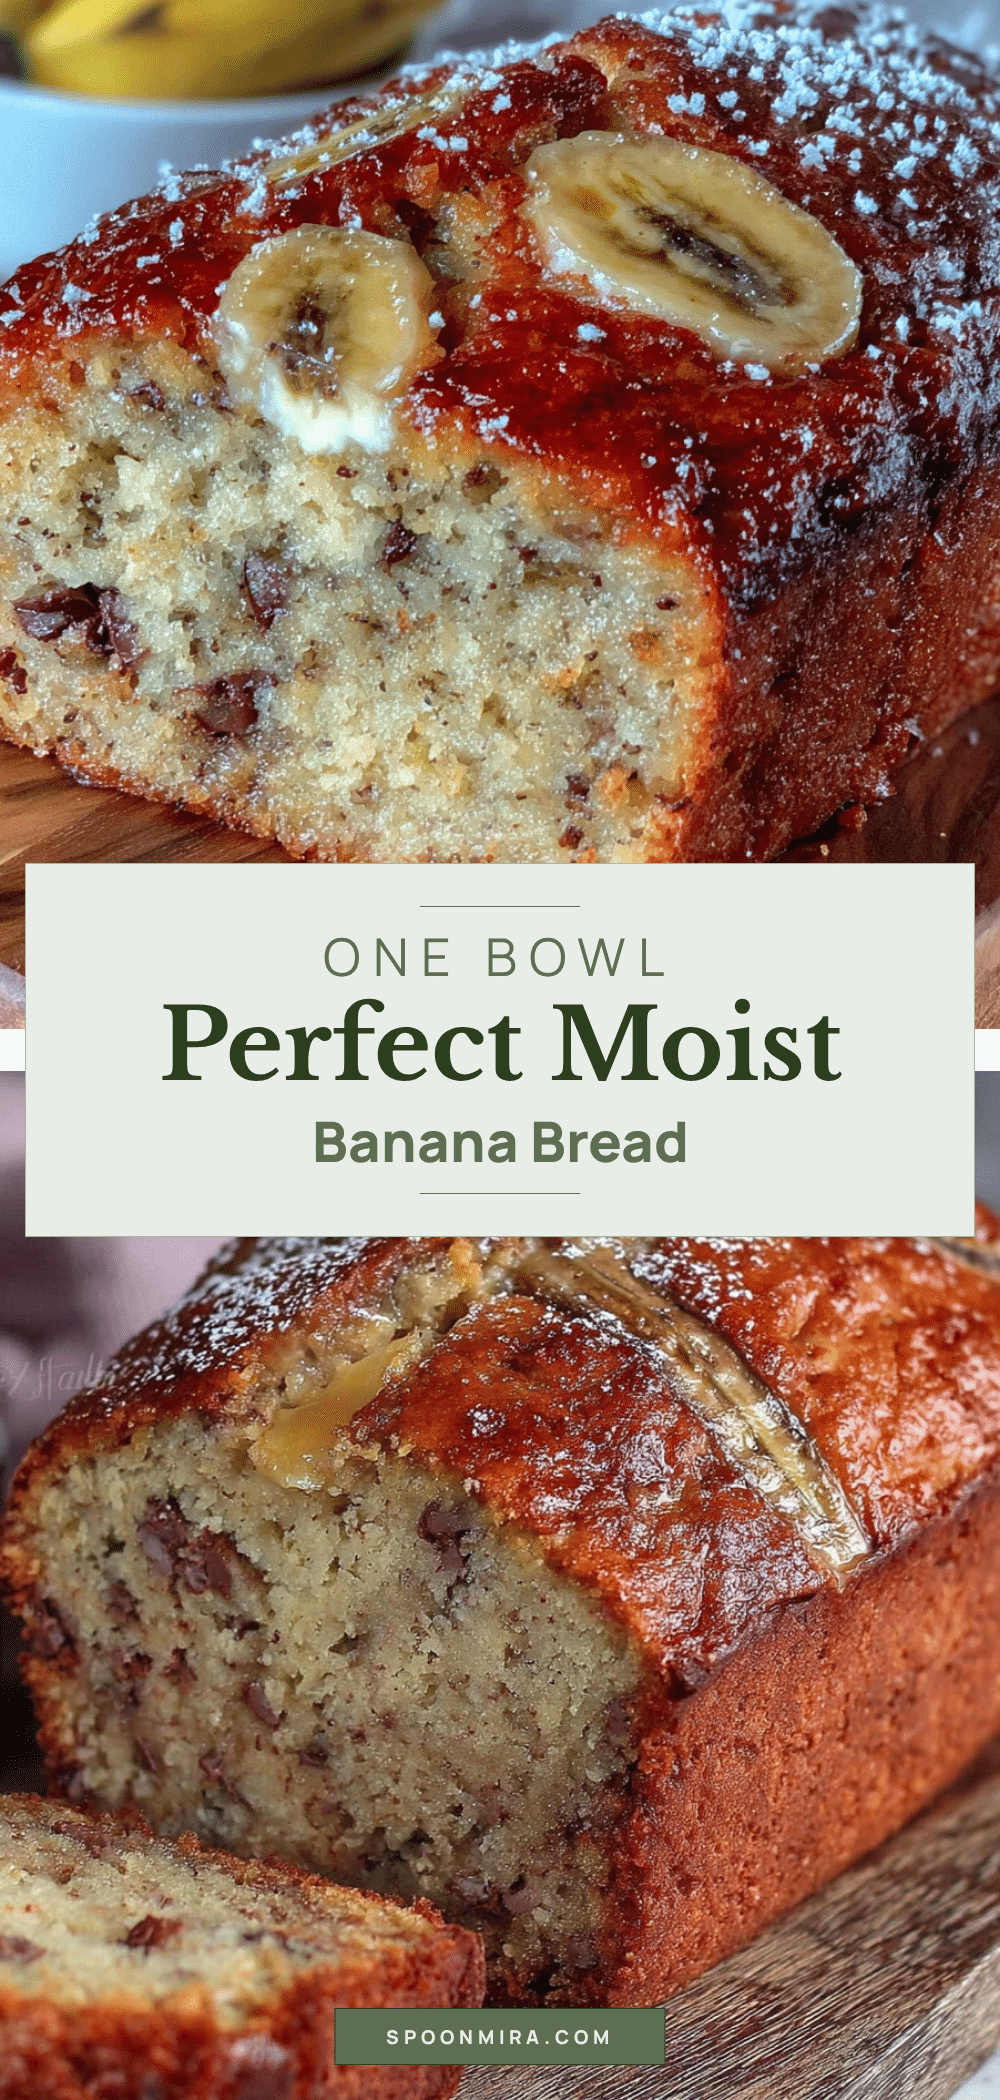
Easy One-Bowl Banana Bread: No Mixer Needed
This easy one-bowl banana bread requires no mixer and comes together in about ten minutes of actual work. It has a crackly top, tender crumb, and concentrated banana flavor, making it a comforting and delicious treat.
- Prep Time: 15 minutes
- Cook Time: 55-65 minutes
- Total Time: 1 hour 10 minutes to 1 hour 20 minutes
- Yield: 10 servings 1x
- Category: Dessert
- Cuisine: American
Ingredients
- 3 large ripe bananas (about 1 ½ cups mashed)
- ½ cup (1 stick) unsalted butter, melted
- ¾ cup granulated sugar
- 1 large egg, room temperature
- 1 teaspoon vanilla extract
- 1 ½ cups all-purpose flour
- 1 teaspoon baking soda
- ½ teaspoon salt
- 1 teaspoon white vinegar
- ½ cup chopped walnuts or pecans (optional)
- ½ cup chocolate chips (optional)
- 1 teaspoon cinnamon (optional)
Instructions
- Preheat your oven to 350°F (175°C). Position the rack in the center. Grease a 9×5-inch loaf pan with butter or non-stick spray, or line it with parchment paper, leaving overhang on the long sides for easy removal.
- In a large mixing bowl, mash the bananas with a fork or potato masher until smooth with some small lumps. The mashed bananas should measure about 1 ½ cups.
- Add the melted butter (not hot, just warm), granulated sugar, room-temperature egg, vanilla extract, and white vinegar to the mashed bananas. Stir with a wooden spoon or silicone spatula until well combined. The mixture will look a bit thin and slightly separated.
- Sprinkle the flour, baking soda, and salt evenly over the wet mixture. Stir gently with a folding motion just until no streaks of flour remain. A few small lumps are fine. If adding walnuts, chocolate chips, or cinnamon, fold them in now. Do not overmix.
- Scrape the batter into the prepared loaf pan and spread it evenly. Let the batter rest in the pan for 5-10 minutes before baking for a better rise.
- Bake for 55-65 minutes. At the 50-minute mark, start checking for doneness. The bread is done when a toothpick inserted into the center comes out clean or with a few moist crumbs. If the top is browning too quickly, tent loosely with aluminum foil for the last 10-15 minutes.
- Remove the pan from the oven and place it on a cooling rack. Let it cool in the pan for 10 minutes, then transfer the bread directly to the rack. Let it cool completely before slicing, about 1 hour.
Notes
Use very ripe, spotty bananas for best sweetness and moisture. Do not overmix the batter to avoid tough bread. Let the bread cool completely before slicing to prevent crumbling. The vinegar reacts with baking soda to create lift without a mixer.
Nutrition
- Serving Size: 1 slice
- Calories: 220250
- Sugar: 16
- Sodium: 200
- Fat: 10
- Saturated Fat: 6
- Carbohydrates: 32
- Fiber: 1.5
- Protein: 3
Keywords: banana bread, easy banana bread, one-bowl banana bread, no mixer banana bread, quick banana bread, moist banana bread


