Margie wasn’t trying to impress anyone. I’d stopped by to drop off a casserole dish she’d lent me months ago—honestly, I’d forgotten about it until I needed it for a potluck—and the smell hit me before I even made it past her screen door. It was October, but not in a crisp, leaves-crunching way. It was one of those damp, gray afternoons where the air feels heavy and you just want to burrow into something warm. And there it was: that unmistakable, cozy aroma of pumpkin and cinnamon, but with a sweet, almost tropical note I couldn’t place.
“What is that?” I asked, probably sounding a little desperate as I stood there holding her Pyrex dish.
She just shrugged from the kitchen, flour dusting her favorite worn-out sweater. “Oh, just some bread I threw together. Had a sad banana and half a can of pumpkin left over.” Just some bread. She sliced me a piece while it was still warm, and I swear, the thing practically melted in my mouth. It was the most tender, moist loaf I’d ever had, and it didn’t have a speck of regular flour in it. I asked for the recipe, and she scribbled it on the back of an old grocery list. The paper had a coffee ring on it.
That’s the thing about the best recipes, you know? They don’t come from fancy blogs or test kitchens. They come from someone’s real kitchen on a random Tuesday, born from the need to use up odds and ends. This cozy gluten-free pumpkin banana bread is exactly that—a happy accident that became a staple. It’s the bread I now make every time the weather turns chilly, or I need a little comfort. Maybe you’ve had that moment where a single bite just resets your whole day. That’s this loaf.
Why You’ll Love This Recipe
Let me tell you, I’ve tested a lot of gluten-free bread recipes in my day. Some turn out like bricks. Others are so crumbly you need a fork and a prayer. But this one? It’s different. It’s the kind of bread that makes people say, “Wait, this is gluten-free?” with genuine surprise. Here’s why it’s become my go-to:
- Quick & Easy: From mixing bowl to oven in about 15 minutes. No stand mixer needed, no complicated techniques. Just a bowl, a whisk, and a spatula.
- Simple Ingredients: You probably have most of this in your pantry right now. No hunting down obscure gluten-free flours or weird gums.
- Perfect for Cozy Days: This is the ultimate comfort food for a rainy afternoon, a chilly morning, or a Sunday that demands pajamas and a good book.
- Crowd-Pleaser: I’ve brought this to work potlucks and family gatherings, and it disappears every single time. Kids love it. Adults love it. Everyone loves it.
- Unbelievably Delicious: The texture is what gets you. It’s incredibly moist, almost pudding-like in the center, with a tender crumb that holds together perfectly. The pumpkin and banana create a flavor that’s more than the sum of its parts—earthy, sweet, and deeply satisfying.
This isn’t just another gluten-free recipe. The secret trick here is using a specific blend of oat flour and almond flour, which gives you that soft, tender texture without any grittiness. Plus, the banana adds natural sweetness and moisture, so you don’t need a ton of added sugar. It’s comfort food reimagined—healthier, faster, but with the same soul-soothing satisfaction that makes you close your eyes after the first bite.
What Ingredients You Will Need
This recipe uses simple, wholesome ingredients to deliver that cozy, comforting flavor without any fuss. Most of these are pantry staples, especially if you already keep a gluten-free kitchen. Let’s break down what you’ll need and why each one matters.
Dry Ingredients
- Gluten-Free Oat Flour (1 ½ cups / 180g): This is the backbone of our bread. I recommend using a certified gluten-free oat flour, like Bob’s Red Mill or one you grind yourself from certified oats. It gives a soft, tender crumb that’s hard to achieve with other GF flours. (Pro tip: If you can’t find oat flour, you can blitz rolled oats in a food processor until they resemble a fine powder.)
- Almond Flour (½ cup / 60g): This adds moisture and a subtle nutty flavor that pairs beautifully with the pumpkin and banana. It also helps keep the bread tender. I like using a super-fine blanched almond flour for the best texture.
- Baking Soda (1 teaspoon): This helps the bread rise and gives it a light, airy texture. Make sure it’s fresh—if it doesn’t fizz when you add it to vinegar, it’s time for a new box.
- Baking Powder (1 teaspoon): Works alongside the baking soda for a nice lift. Use an aluminum-free one if you’re sensitive to that metallic taste.
- Pumpkin Pie Spice (2 teaspoons): The heart of the cozy flavor. You can use store-bought or make your own with a mix of cinnamon, nutmeg, ginger, and cloves. I sometimes add an extra pinch of cinnamon because I’m a little obsessed.
- Cinnamon (1 teaspoon): Because you can never have too much cinnamon in a pumpkin bread. It adds warmth and depth.
- Salt (½ teaspoon): Don’t skip this! Salt enhances all the other flavors and balances the sweetness.
Wet Ingredients
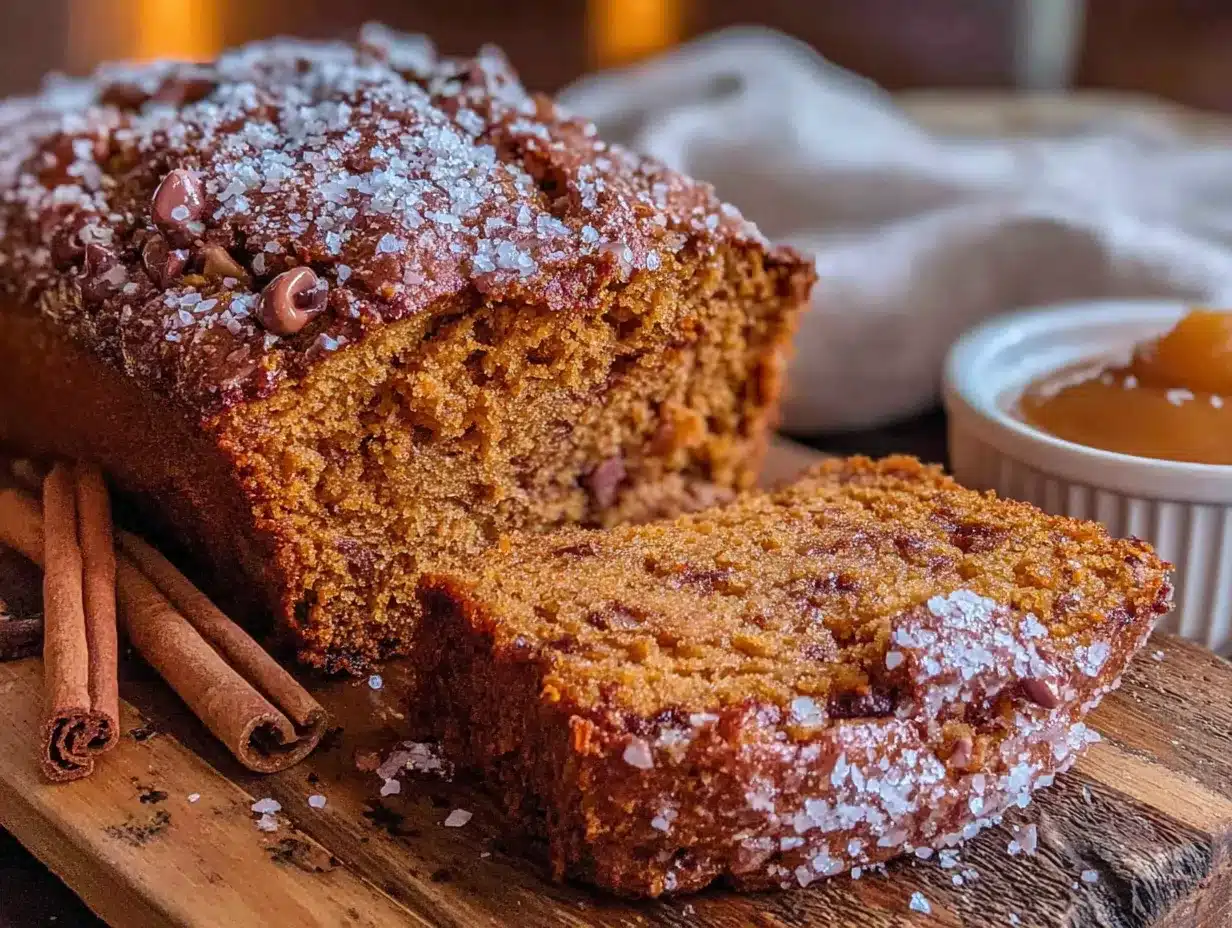
- Ripe Bananas (2 medium, about 1 cup / 240g mashed): The riper, the better. Look for bananas with plenty of brown spots—they’re sweeter and easier to mash. This is the perfect recipe for those sad, forgotten bananas on your counter.
- Pumpkin Purée (1 cup / 240g): Not pumpkin pie filling—just plain pumpkin purée. I prefer Libby’s for its consistent texture and flavor. It adds incredible moisture and a beautiful orange hue.
- Eggs (2 large, room temperature): They bind everything together and add structure. Room temperature eggs incorporate more easily into the batter, leading to a better rise.
- Coconut Oil (⅓ cup / 80ml, melted and cooled): This is my secret for that melt-in-your-mouth texture. It adds a subtle richness without a strong coconut flavor. You can also use melted butter or a neutral oil like avocado oil.
- Maple Syrup (⅓ cup / 80ml): For natural sweetness and a hint of caramel flavor. Honey or agave nectar work well as substitutes.
- Vanilla Extract (1 teaspoon): A splash of vanilla rounds out all the flavors and makes everything taste a little more special.
Optional Mix-Ins
- Chocolate Chips (½ cup / 90g): Dark chocolate chips add a lovely bitterness that contrasts with the sweet pumpkin and banana. Totally optional, but highly recommended.
- Chopped Pecans or Walnuts (½ cup / 60g): For a little crunch. Toast them first for extra flavor.
Equipment Needed
You don’t need a fancy kitchen to make this bread. Here’s what you’ll need:
- 9×5-inch Loaf Pan: This is the standard size. If you use a different size, you’ll need to adjust the baking time. I have a cheap non-stick one that’s served me well for years, but a glass or ceramic one works too.
- Parchment Paper: A lifesaver for easy removal. I always line my loaf pan with a sling of parchment paper that hangs over the long sides. No sticking, no fuss.
- Large Mixing Bowl: For combining your dry ingredients.
- Medium Mixing Bowl: For mashing bananas and mixing the wet ingredients.
- Whisk: For smoothing out the dry ingredients and getting rid of any lumps.
- Rubber Spatula: For folding everything together without overmixing.
- Fork or Potato Masher: For mashing those bananas. A fork works perfectly fine.
- Cooling Rack: Essential for letting the bread cool evenly so it doesn’t get soggy on the bottom.
If you don’t have a cooling rack, you can use the rack from your oven (just make sure it’s cool!) or even a couple of chopsticks laid across a baking sheet. I’ve done that in a pinch, and it works surprisingly well.
Preparation Method
Alright, let’s get baking! This recipe comes together quickly, so it’s a good idea to have everything measured and ready to go before you start. I like to call it “mise en place,” but really, it just saves you from frantically searching for the baking soda while your batter sits.
- Preheat and Prep: Preheat your oven to 350°F (175°C). Line your 9×5-inch loaf pan with parchment paper, leaving an overhang on the two long sides. This will act as handles to lift the bread out later. Lightly grease the parchment with a little coconut oil or non-stick spray.
- Mash the Bananas: In your medium bowl, mash the two ripe bananas with a fork until they’re mostly smooth with a few small lumps left for texture. You want about 1 cup of mashed banana. Don’t over-mash it into a liquid—a little chunkiness is nice.
- Mix the Wet Ingredients: To the mashed bananas, add the pumpkin purée, eggs, melted and cooled coconut oil, maple syrup, and vanilla extract. Whisk everything together until it’s smooth and well combined. The mixture should be a beautiful, deep orange color. (I always take a moment to admire it at this stage.)
- Combine the Dry Ingredients: In your large mixing bowl, whisk together the oat flour, almond flour, baking soda, baking powder, pumpkin pie spice, cinnamon, and salt. Make sure everything is evenly distributed—you don’t want a pocket of baking soda in your final loaf.
- Fold Wet into Dry: Pour the wet ingredients into the bowl with the dry ingredients. Use your rubber spatula to gently fold everything together. The key word here is “gently.” Stir just until you no longer see any streaks of flour. A few small lumps are totally fine. Overmixing will make the bread tough, so resist the urge to keep stirring.
- Add Mix-Ins (Optional): If you’re using chocolate chips or nuts, gently fold them in at this point. I like to reserve a handful to sprinkle on top of the batter for a pretty presentation.
- Pour and Smooth: Pour the batter into your prepared loaf pan. Use the spatula to spread it evenly into the corners. Give the pan a gentle tap on the counter a couple of times to release any air bubbles. Sprinkle any reserved chocolate chips or nuts on top.
- Bake to Perfection: Place the pan in the preheated oven and bake for 50-60 minutes. The bread is done when a toothpick inserted into the center comes out clean or with just a few moist crumbs. The top should be a deep golden brown and feel springy to the touch. (My oven runs a little hot, so I usually start checking at the 45-minute mark.)
- Cool Completely: This is the hardest part, I know. Let the bread cool in the pan on a wire rack for about 15 minutes. Then, using the parchment sling, lift the bread out of the pan and transfer it directly to the cooling rack. Let it cool completely before slicing—at least 1 hour. If you slice it while it’s still warm, it will be too fragile and might crumble. Trust me, I’ve learned this the hard way.
Cooking Tips & Techniques
After making this bread more times than I can count (including a few spectacular failures), I’ve picked up some tricks that make a real difference. Here are my best tips for success:
- Don’t Overmix the Batter. I cannot stress this enough. Gluten-free batters don’t develop gluten like wheat-based ones, but they can still get tough if you overwork them. Mix until just combined, and then stop. Your spatula should be your best friend, not your enemy.
- Check Your Oven Temperature. Ovens lie. I once had an oven that ran 25 degrees too hot, and I couldn’t figure out why my baked goods were always burning on the outside and raw in the middle. An inexpensive oven thermometer is a game-changer. Trust me on this one.
- Let It Cool. I know it smells incredible, and the wait is agonizing. But cutting into this bread while it’s still warm is a recipe for a crumbly mess. The structure needs time to set as it cools. I once cut into a loaf after only 20 minutes, and it basically fell apart in my hands. Patience is a virtue, especially with gluten-free baking.
- Use Room Temperature Ingredients. Cold eggs or cold coconut oil can seize up the batter and lead to uneven baking. Take your eggs out of the fridge about 30 minutes before you start, and make sure your coconut oil is melted but not hot.
- The Toothpick Test Trick. If the toothpick comes out with wet batter, the bread needs more time. If it comes out clean, it’s done. But if it comes out with a few moist crumbs clinging to it, that’s the sweet spot—a perfectly moist loaf.
- Bake It Low and Slow. If you notice the top of your bread browning too quickly while the center is still raw, tent it loosely with a piece of aluminum foil. This will prevent the top from burning while the inside finishes baking.
Variations & Adaptations
One of the best things about this recipe is how adaptable it is. I’ve played around with it quite a bit, and here are some of my favorite variations:
- Vegan Version: Replace the eggs with flax eggs (1 tablespoon ground flaxseed mixed with 3 tablespoons water per egg, let sit for 5 minutes). Use maple syrup as the sweetener and coconut oil as the fat. The texture will be slightly denser but still incredibly delicious.
- Nut-Free Version: If you need to avoid nuts, simply replace the almond flour with an equal amount of additional oat flour or a gluten-free all-purpose flour blend. The texture will be a bit more cake-like, but it’s still fantastic.
- Chocolate Lover’s Twist: This is my personal favorite. Add ¼ cup of unsweetened cocoa powder to the dry ingredients and increase the maple syrup to ½ cup. Fold in a full cup of dark chocolate chips. It’s like a pumpkin-chocolate dream.
- Spice It Up: For a more intense spice profile, add ½ teaspoon of ground ginger and ¼ teaspoon of ground cloves to the dry ingredients. It gives the bread a real “fall harvest” vibe.
- Blueberry Pumpkin: Gently fold in 1 cup of fresh or frozen blueberries (don’t thaw them first) at the end. The little bursts of tartness are amazing against the sweet pumpkin and banana.
- Streusel Topping: For a bakery-style finish, mix together ¼ cup of oat flour, 2 tablespoons of coconut sugar, 2 tablespoons of cold coconut oil, and ½ teaspoon of cinnamon. Sprinkle this over the batter before baking. It creates a lovely, crunchy crust.
Serving & Storage Suggestions
This bread is wonderful in so many ways. Here’s how I like to serve it and keep it fresh:
Serving Suggestions
- Warm and Toasted: My absolute favorite way to enjoy this bread is toasted. Slice it, pop it in the toaster or a dry skillet, and let it get golden and slightly crispy on the edges. It’s like a whole new experience.
- With Butter or Nut Butter: A pat of salted butter melting into a warm slice is pure heaven. Or try it with a generous smear of almond butter or peanut butter for extra protein.
- With a Dollop of Yogurt: For a quick breakfast or snack, top a slice with a spoonful of Greek yogurt and a drizzle of honey. The tanginess is a perfect counterpoint to the sweet bread.
- As a Dessert: Serve it warm with a scoop of vanilla ice cream or a drizzle of coconut cream. It’s simple but incredibly satisfying.
- Beverage Pairing: A hot cup of chai tea, a pumpkin spice latte, or even just a strong cup of black coffee are all perfect companions for this cozy loaf.
Storage Instructions
- At Room Temperature: Store the bread tightly wrapped in plastic wrap or in an airtight container at room temperature for up to 3 days. The moisture from the pumpkin and banana actually helps it stay soft longer than most gluten-free breads.
- In the Refrigerator: For longer storage, wrap it well and refrigerate for up to a week. The texture will firm up a bit, but it toasts beautifully straight from the fridge.
- In the Freezer: This bread freezes like a dream. Slice it first, then wrap each slice individually in plastic wrap and place them in a freezer-safe bag. They’ll keep for up to 3 months. To enjoy, just pop a frozen slice in the toaster or microwave for about 30 seconds.
The flavors actually deepen and meld together after a day or two. I honestly think this bread is even better on day two than it is fresh out of the oven—if you can wait that long.
Nutritional Information & Benefits
I’m not a nutritionist, but I like to know what’s in my food. Here’s a rough estimate for one slice (based on 10 slices, without any mix-ins):
| Nutrient | Amount per Slice |
|---|---|
| Calories | ~210 kcal |
| Fat | 10g |
| Carbohydrates | 28g |
| Fiber | 4g |
| Sugar | 12g |
| Protein | 6g |
Key Health Benefits:
- Pumpkin: Packed with vitamin A (beta-carotene) for eye health and a strong immune system. It’s also low in calories and high in fiber.
- Bananas: A great source of potassium, which is essential for heart health and muscle function. They also provide natural sweetness, reducing the need for refined sugar.
- Oat Flour: Contains beta-glucan, a type of soluble fiber that can help lower cholesterol and keep you feeling full longer.
- Almond Flour: Rich in vitamin E, magnesium, and healthy fats. It adds protein and helps stabilize blood sugar levels.
Dietary Considerations: This recipe is naturally gluten-free, dairy-free (if using coconut oil), and can easily be made vegan. It’s a wonderful option for those with dietary restrictions who still want a delicious, comforting treat.
Conclusion
This cozy gluten-free pumpkin banana bread isn’t just a recipe—it’s a warm hug on a cold day, a little moment of peace in a busy world, and proof that gluten-free baking can be absolutely incredible. It started as a happy accident in my friend Margie’s kitchen, and now it’s a staple in mine, especially when the leaves start to turn and the air gets crisp.
I love that it uses simple, real ingredients that I usually have on hand. I love that it fills my house with the most amazing, comforting aroma. And I really love that it makes people smile. Whether you’re gluten-free by necessity or by choice, or you just happen to have a sad banana and half a can of pumpkin, I hope you give this recipe a try.
Make it your own. Add chocolate chips, throw in some nuts, or keep it perfectly plain. However you make it, I promise it will be good. When you do make it, I’d love to hear about it! Leave a comment below and let me know how it turned out, or share a photo on Pinterest with your own twist. Happy baking, friends!
Frequently Asked Questions
Can I use a different gluten-free flour blend?
Yes, you can! If you don’t have oat flour, you can substitute it with a good quality gluten-free all-purpose flour blend that contains xanthan gum. Just keep in mind that the texture might be slightly different—a bit more cake-like and less tender. I’ve also had success using a blend of sorghum flour and brown rice flour, but oat flour really is my top recommendation for the best texture.
Why is my bread so dense?
A dense loaf is usually a sign of overmixing the batter or using too much flour. Remember to mix gently until just combined. Also, make sure you’re measuring your flour correctly—spoon it into the measuring cup and level it off with a knife, rather than scooping directly from the bag, which can pack the flour down.
Can I make this bread without eggs?
Absolutely! I’ve tested this with flax eggs, and it works beautifully. Just mix 2 tablespoons of ground flaxseed with 6 tablespoons of water, let it sit for 5 minutes to thicken, and use that in place of the eggs. The bread will be a touch denser, but still moist and delicious.
How do I know when the bread is fully baked?
The best way is the toothpick test. Insert a toothpick or a thin knife into the center of the loaf. If it comes out clean or with just a few moist crumbs, it’s done. If it comes out with wet batter, it needs more time. The top should also be golden brown and spring back when lightly touched.
Can I double this recipe?
Yes, this recipe doubles beautifully. Just use a larger bowl and make sure you have two 9×5-inch loaf pans. You can also bake it in a 9×13-inch pan, but you’ll need to adjust the baking time—start checking at about 35 minutes. The bread might be slightly thinner, so it will bake faster.
Pin This Recipe!
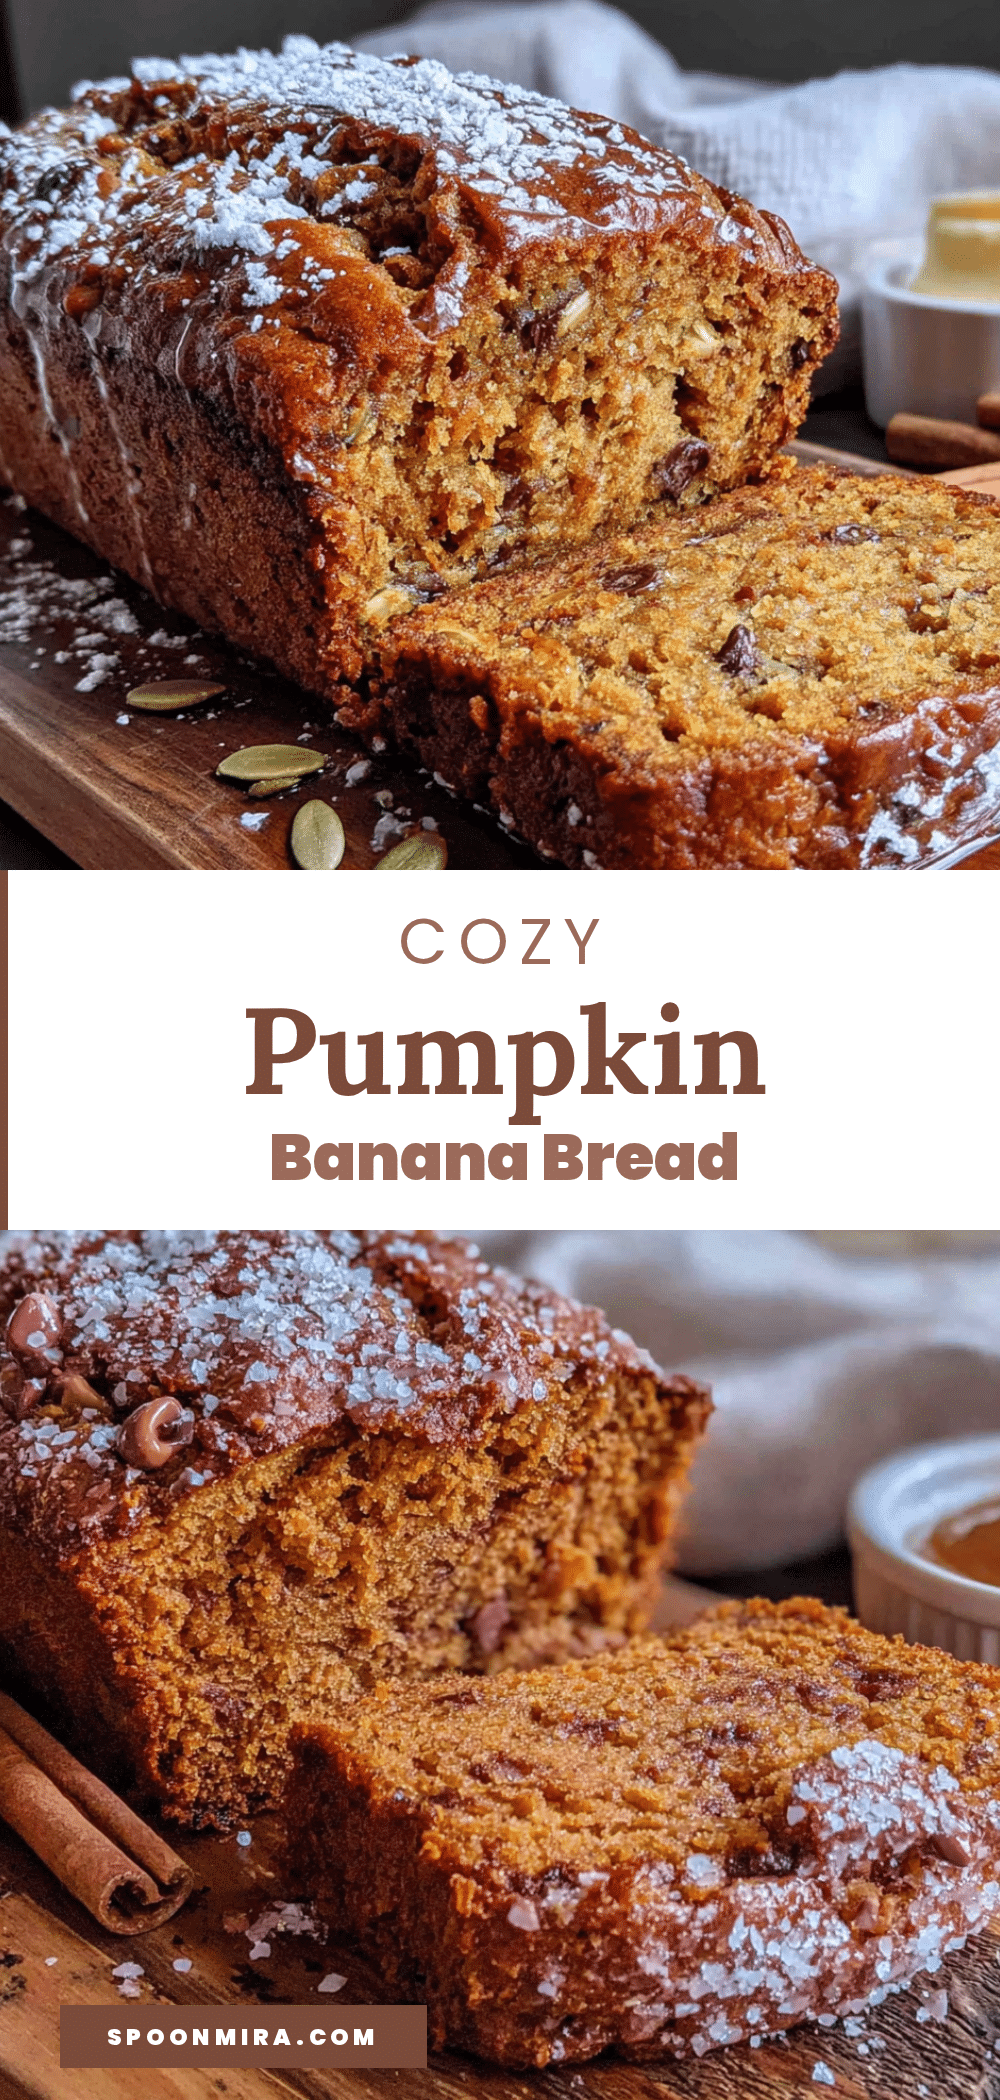
Cozy Gluten-Free Pumpkin Banana Bread: Easy Moist Loaf Recipe
This incredibly moist and tender gluten-free pumpkin banana bread is the ultimate comfort food for chilly days. Made with simple ingredients like oat flour and almond flour, it’s a quick and easy recipe that’s perfect for breakfast, snack, or dessert.
- Prep Time: 15 minutes
- Cook Time: 55 minutes
- Total Time: 1 hour 10 minutes
- Yield: 10 servings 1x
- Category: Bread
- Cuisine: American
Ingredients
- 1 ½ cups (180g) gluten-free oat flour
- ½ cup (60g) almond flour
- 1 teaspoon baking soda
- 1 teaspoon baking powder
- 2 teaspoons pumpkin pie spice
- 1 teaspoon cinnamon
- ½ teaspoon salt
- 2 medium ripe bananas (about 1 cup / 240g mashed)
- 1 cup (240g) pumpkin purée (not pumpkin pie filling)
- 2 large eggs, room temperature
- ⅓ cup (80ml) coconut oil, melted and cooled
- ⅓ cup (80ml) maple syrup
- 1 teaspoon vanilla extract
- ½ cup (90g) chocolate chips (optional)
- ½ cup (60g) chopped pecans or walnuts (optional)
Instructions
- Preheat your oven to 350°F (175°C). Line a 9×5-inch loaf pan with parchment paper, leaving an overhang on the two long sides. Lightly grease the parchment with coconut oil or non-stick spray.
- In a medium bowl, mash the ripe bananas with a fork until mostly smooth with a few small lumps. You should have about 1 cup of mashed banana.
- To the mashed bananas, add the pumpkin purée, eggs, melted and cooled coconut oil, maple syrup, and vanilla extract. Whisk until smooth and well combined.
- In a large mixing bowl, whisk together the oat flour, almond flour, baking soda, baking powder, pumpkin pie spice, cinnamon, and salt until evenly distributed.
- Pour the wet ingredients into the bowl with the dry ingredients. Use a rubber spatula to gently fold together until just combined and no streaks of flour remain. Do not overmix.
- If using, gently fold in chocolate chips and/or chopped nuts. Reserve a handful to sprinkle on top if desired.
- Pour the batter into the prepared loaf pan and spread evenly. Tap the pan gently on the counter a few times to release air bubbles. Sprinkle reserved mix-ins on top.
- Bake for 50-60 minutes, until a toothpick inserted into the center comes out clean or with a few moist crumbs. The top should be deep golden brown and springy to the touch.
- Let the bread cool in the pan on a wire rack for 15 minutes. Then, using the parchment sling, lift the bread out and transfer to the cooling rack. Cool completely before slicing, at least 1 hour.
Notes
Do not overmix the batter to avoid a dense loaf. Use room temperature ingredients for best results. Let the bread cool completely before slicing to prevent crumbling. For a vegan version, replace eggs with flax eggs (2 tablespoons ground flaxseed mixed with 6 tablespoons water). For a nut-free version, replace almond flour with additional oat flour.
Nutrition
- Serving Size: 1 slice
- Calories: 210
- Sugar: 12
- Sodium: 280
- Fat: 10
- Saturated Fat: 5
- Carbohydrates: 28
- Fiber: 4
- Protein: 6
Keywords: gluten-free pumpkin banana bread, easy pumpkin banana bread, moist gluten-free bread, pumpkin banana loaf, gluten-free fall recipe


