I was standing in the middle of the grocery store parking lot last October when a stranger walked by holding a paper bag, and the smell hit me—that warm, spicy, unmistakable scent of pumpkin and cinnamon and something sweet baking. And suddenly I was nine years old again, sitting on the cracked linoleum floor of my aunt Carol’s tiny kitchen, watching her pull a pan of something golden-brown out of the oven. She wasn’t much of a baker, honestly. She burned toast more often than not. But every fall, without fail, she’d make these little oatmeal cups that filled her whole apartment with that same smell. I haven’t thought about those mornings in years. She passed away when I was fifteen, and I never got her recipe—she didn’t write anything down, she just knew it by heart.
So last fall, I set out to recreate that feeling. Not just the dish, you know, but the way it made me feel standing there in her kitchen, waiting for her to hand me one while it was still warm. I burned a few batches. I made a mess of my own kitchen. I forgot the eggs once and ended up with oatmeal that looked more like soup than cups. But eventually, after maybe four or five tries, I got it right. And let me tell you—the first bite stopped me in my tracks. It wasn’t exactly hers, but it was close enough that I felt like she was standing right there next to me, nodding her approval.
These crowd-pleasing pumpkin baked oatmeal cups are everything I was chasing that day. They’re simple, they’re forgiving, and they have that same warm, cozy smell that fills your whole house and makes everyone wander into the kitchen asking what’s for breakfast. Maybe you’ve been there—standing in your own kitchen, trying to remember a taste from years ago, hoping you can get it right. These cups are that recipe. The one you keep making, the one people ask for, the one that feels like coming home.
Why You’ll Love This Recipe
I’ve tested this recipe more times than I care to admit, and every time I serve these pumpkin baked oatmeal cups at a gathering, they disappear before anything else on the table. They’re the kind of breakfast that makes people close their eyes after the first bite, and honestly, that never gets old.
- Quick & Easy: These come together in about 35 minutes from start to finish. Mix the dry ingredients, mix the wet, stir them together, and you’re done. No stand mixer needed, no complicated techniques—just a bowl and a whisk.
- Simple Ingredients: You probably have most of this in your pantry right now. Oats, pumpkin puree, eggs, maple syrup, cinnamon—nothing fancy, nothing you have to hunt down at a specialty store.
- Perfect for Hosting: These are made for feeding a crowd. Make a double batch for brunch, pack them for a potluck, or set them out at a fall gathering and watch them vanish. They’re portable, they’re mess-free, and they look impressive without any effort.
- Crowd-Pleaser: I’ve served these to kids who swear they don’t like oatmeal and adults who claim they’re not breakfast people. Every single time, someone asks for the recipe. Every single time.
- Unbelievably Delicious: The texture is what gets people—soft and tender on the inside, with slightly crisp edges that hold their shape perfectly. The pumpkin keeps them moist without being soggy, and the warm spices make your whole kitchen smell like fall.
What makes these different from every other oatmeal cup recipe out there? It’s the ratio, honestly. I spent weeks tweaking the amounts until I got that perfect balance—not too dense, not too cakey, not too wet. They hold together beautifully without falling apart, but they’re still soft enough to feel like comfort food. Plus, they’re naturally sweetened with maple syrup, so you don’t get that sugar crash an hour later.
These aren’t just good for oatmeal cups. They’re good, period. The kind of breakfast that makes you look forward to getting out of bed, especially on those crisp fall mornings when all you want is something warm and cozy and familiar.
What Ingredients You Will Need
This recipe uses simple, wholesome ingredients to deliver that warm, spiced pumpkin flavor and soft, satisfying texture. Most of these are pantry staples, especially if you do any fall baking, and I’ve included a few notes on what I’ve found works best through all my testing.
For the Oatmeal Cups
- Rolled oats, 2 cups (180g) – Use old-fashioned rolled oats, not quick oats or steel-cut. Rolled oats give the cups the perfect texture—soft but with a little chew. Quick oats turn them mushy, and steel-cut oats won’t cook through properly.
- Pumpkin puree, 1 cup (245g) – Make sure you’re buying pure pumpkin puree, not pumpkin pie filling. The pie filling has added sugar and spices that will throw off the balance. I prefer Libby’s for consistent results, but any brand works as long as it’s 100% pumpkin.
- Eggs, 2 large – Room temperature eggs mix in more evenly. If you forget to take them out ahead of time, place them in a bowl of warm water for 5 minutes.
- Maple syrup, 1/3 cup (80ml) – Real maple syrup makes a difference here. The flavor is deeper and more complex than pancake syrup. That said, honey works in a pinch if that’s what you have.
- Milk, 1/2 cup (120ml) – Any milk works—dairy, almond, oat, or coconut. I’ve used all of them depending on what’s in my fridge, and they all turn out well. For extra richness, use whole milk or canned coconut milk.
- Coconut oil, 1/4 cup (60ml), melted – Melted coconut oil keeps these moist and adds a subtle richness. You can substitute melted butter or any neutral oil like avocado oil.
- Vanilla extract, 1 teaspoon – Pure vanilla extract is worth springing for here. It rounds out the pumpkin and spice flavors beautifully.
- Baking powder, 1 teaspoon – This helps the cups rise just slightly so they’re light and tender instead of dense and flat.
- Pumpkin pie spice, 2 teaspoons – If you don’t have pumpkin pie spice, make your own: 1 teaspoon cinnamon, 1/2 teaspoon ginger, 1/4 teaspoon nutmeg, 1/4 teaspoon cloves, and a pinch of allspice.
- Cinnamon, 1 teaspoon – I add extra cinnamon because I love the warmth it brings. Feel free to dial it back if you’re not as obsessed.
- Salt, 1/4 teaspoon – Just a pinch to balance the sweetness and bring out the other flavors.
Optional Add-Ins
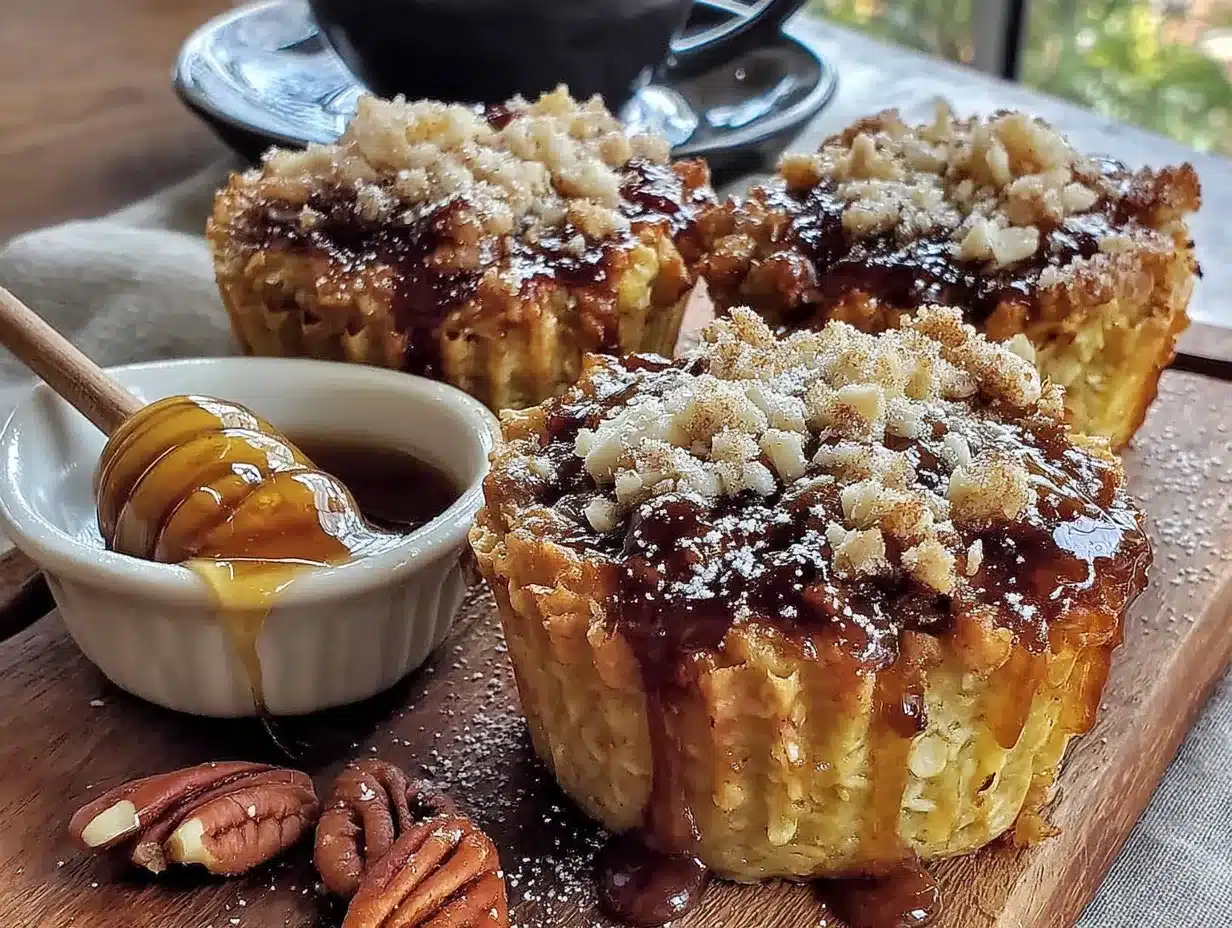
- Chocolate chips, 1/2 cup (90g) – Semi-sweet or dark chocolate chips pair beautifully with the pumpkin and spice. White chocolate works too if you want something sweeter.
- Chopped pecans or walnuts, 1/2 cup (60g) – Adds a nice crunch and makes these feel even more special for a gathering.
- Dried cranberries, 1/3 cup (40g) – The tartness cuts through the sweetness and adds a lovely pop of color.
Equipment Needed
You don’t need anything fancy to make these pumpkin baked oatmeal cups, which is part of why I love them. Here’s what you’ll need:
- Muffin tin (12-cup) – A standard muffin tin works perfectly. If you have a non-stick one, great. If not, just make sure to grease it well or use paper liners.
- Mixing bowls (2) – One large bowl for the wet ingredients and one medium bowl for the dry ingredients. Any bowls you have will work.
- Whisk – For mixing everything together smoothly. A fork works in a pinch, but a whisk is easier.
- Measuring cups and spoons – For accurate measurements. I cannot stress this enough—baking is chemistry, and eyeballing it can lead to sad, flat oatmeal cups.
- Spatula – For scraping every last bit of batter into the muffin cups. Trust me, you don’t want to waste any.
- Cooling rack – Letting the cups cool in the pan for a few minutes before transferring them to a rack prevents soggy bottoms.
If you don’t have a muffin tin, you can bake this in an 8×8 baking dish and serve it like a breakfast bar instead. Just increase the baking time by about 5-8 minutes and cut it into squares once it’s cooled slightly. I’ve done this when traveling and it works great.
Preparation Method
These pumpkin baked oatmeal cups come together quickly, so I recommend reading through the steps once before you start. That way you won’t be scrambling to find the baking powder while your batter sits there getting sad.
- Preheat your oven to 350°F (175°C). Give it a full 15-20 minutes to reach temperature. An oven that isn’t hot enough will make your cups spread instead of rise, and nobody wants flat oatmeal cups.
- Grease your muffin tin. Use cooking spray, butter, or coconut oil to grease each cup generously. You can also use paper liners, but I find the cups get slightly crispier edges when they’re baked directly in the greased tin. If you’re serving a crowd, liners make cleanup faster.
- Mix the dry ingredients. In a medium bowl, whisk together the rolled oats, baking powder, pumpkin pie spice, cinnamon, and salt. Make sure everything is evenly distributed so you don’t get a pocket of baking powder in one cup. I learned this the hard way, and let me tell you, a mouthful of bitter baking powder is not a pleasant surprise.
- Mix the wet ingredients. In a large bowl, whisk together the pumpkin puree, eggs, maple syrup, milk, melted coconut oil, and vanilla extract. Whisk until the mixture is smooth and fully combined. The pumpkin should be completely incorporated with no streaks of orange left. This takes about 30 seconds of steady whisking.
- Combine wet and dry. Pour the dry ingredients into the wet ingredients and stir with a spatula until just combined. Do not overmix—stir until you no longer see dry oats, then stop. Overmixing will make the cups tough and dense instead of tender and soft.
- Fold in any add-ins. If you’re using chocolate chips, nuts, or dried cranberries, gently fold them in now. Reserve a small handful to sprinkle on top of each cup before baking—it makes them look prettier and gives each cup a little surprise on top.
- Fill the muffin cups. Divide the batter evenly among the 12 muffin cups. Each cup should be about three-quarters full. I use a 1/4-cup measuring scoop for even portions, but a spoon works fine too. The batter will be thick and a little sticky—that’s normal.
- Sprinkle tops (optional). If you reserved any add-ins, sprinkle them over the tops now. You can also sprinkle a little extra cinnamon or a pinch of coarse sugar for a slightly crunchy top.
- Bake for 18-22 minutes. The cups are done when the edges are golden brown and a toothpick inserted into the center of a cup comes out clean or with just a few moist crumbs. Every oven runs a little differently, so start checking at 18 minutes. My oven runs hot, so I usually pull mine at 19 minutes.
- Cool in the pan. Let the cups cool in the muffin tin for 5 minutes. This allows them to set so they don’t fall apart when you remove them. After 5 minutes, carefully transfer them to a cooling rack. If any stick, run a butter knife around the edge to loosen them.
One thing I always do: I take a bite of the first one while it’s still warm. Not just because it tastes amazing (it does), but because it tells me if I got the texture right. If it’s too wet, I know I need to bake the next batch a minute or two longer. If it’s too dry, I adjust the milk next time. It’s my little quality control moment.
Cooking Tips & Techniques
After making these pumpkin baked oatmeal cups more times than I can count, I’ve picked up a few tricks that make a real difference. Here’s what I wish someone had told me before my first attempt.
Don’t skip the salt. I know it seems like a tiny amount, but salt is what makes the pumpkin and spices taste like themselves. Without it, the cups taste flat and one-dimensional. I’ve made them without salt exactly once, and I regretted it with every bite.
Let your eggs come to room temperature. Cold eggs can cause the coconut oil to seize up and form little clumps. If you forget to take them out ahead of time, place them in a bowl of warm water for 5 minutes. It’s a small step, but it makes the batter come together smoothly.
Use a cookie scoop for even portions. I use a 1/4-cup cookie scoop to fill my muffin cups, and it makes everything so much easier. Every cup is the same size, so they bake evenly, and there’s no mess. Plus, it’s faster than using a spoon.
Don’t overbake. This is the most common mistake I see people make. The cups will continue to cook slightly as they cool in the pan, so pull them out when a toothpick comes out with just a few moist crumbs attached. Overbaked oatmeal cups are dry and crumbly, and nobody wants that.
Let them cool completely before storing. If you put warm oatmeal cups in an airtight container, the steam will make them soggy. I learned this when I was rushing to get out the door and packed them while they were still warm. By lunchtime, they were a sad, mushy mess. Patience pays off here.
Make a double batch. These freeze beautifully, so I always make at least 24 at a time. They’re perfect for busy mornings when you need breakfast in a hurry. Just grab one from the freezer, microwave it for 30 seconds, and you’re good to go.
Variations & Adaptations
One of the best things about this recipe is how flexible it is. I’ve tried quite a few variations over the past year, and here are my favorites.
Gluten-Free Version: Use certified gluten-free rolled oats instead of regular oats. That’s the only change you need to make. Everything else stays the same, and honestly, I can’t tell the difference. I’ve made these for gluten-sensitive friends multiple times, and they’ve always been a hit.
Vegan Version: Replace the eggs with flax eggs (2 tablespoons ground flaxseed mixed with 6 tablespoons water, let sit for 5 minutes). Use a plant-based milk like almond or oat milk, and make sure your chocolate chips are dairy-free. The texture is slightly denser but still delicious. I tested this version for a vegan brunch potluck, and nobody even noticed the difference.
Lower Sugar Version: Reduce the maple syrup to 1/4 cup and add an extra 1/4 cup of mashed banana or unsweetened applesauce. The banana adds natural sweetness and moisture, and it pairs beautifully with the pumpkin. I make this version for my mom, who watches her sugar intake, and she loves them.
Pumpkin Chocolate Chip Version: This is probably my most-requested variation. Fold in 1/2 cup of semi-sweet chocolate chips and sprinkle a few on top before baking. The warm chocolate with the pumpkin and spice is absolutely irresistible. I’ve served these at three different fall gatherings, and they disappeared every single time.
Savory-Sweet Version: Skip the chocolate chips and add 1/2 cup of sharp cheddar cheese, shredded, plus 1/4 cup of chopped fresh sage. It sounds weird, I know, but the combination of pumpkin, cheese, and sage is surprisingly amazing. I tried this on a whim one morning when I was out of chocolate chips, and it’s become one of my go-to variations for brunch.
Serving & Storage Suggestions
These pumpkin baked oatmeal cups are incredibly versatile when it comes to serving. Here’s how I like to handle them.
Serving Temperature: These are best served warm, but they’re also delicious at room temperature. If you’re serving them at a brunch or potluck, you can bake them ahead of time and reheat them just before serving. Pop them in a 300°F oven for 5-7 minutes, and they’ll taste freshly baked.
Presentation Ideas: Arrange them on a large platter or wooden board with a small bowl of maple syrup or honey for drizzling. Add a few fresh apple slices or a pile of grapes for color contrast. If you’re feeling fancy, dust them with a little powdered sugar or cinnamon right before serving. For a fall gathering, I like to serve them alongside a warm mug of apple cider or a pumpkin spice latte.
What to Serve Alongside: These cups pair beautifully with a simple yogurt parfait, a fresh fruit salad, or a side of crispy bacon or sausage. For a heartier brunch, serve them alongside a frittata or a breakfast casserole. They’re also fantastic on their own with a cup of coffee—honestly, that’s how I eat them most mornings.
Storage Instructions: Store leftover oatmeal cups in an airtight container in the refrigerator for up to 5 days. Place a paper towel at the bottom of the container to absorb any excess moisture, and replace it if it gets damp. To freeze, arrange the cooled cups in a single layer on a baking sheet and freeze for 1 hour, then transfer them to a freezer-safe bag or container. They’ll keep for up to 3 months.
Reheating: The best way to reheat these is in the microwave for 20-30 seconds, or in a 350°F oven for 5-7 minutes. If you’re reheating from frozen, add an extra 10-15 seconds in the microwave or a few extra minutes in the oven. The texture stays surprisingly good even after freezing and reheating.
Flavor Development: Here’s something I discovered by accident: these cups actually taste better the next day. The flavors have time to meld together, and the texture becomes even more tender. So don’t hesitate to make them a day ahead—your future self will thank you.
Nutritional Information & Benefits
These pumpkin baked oatmeal cups are a solid breakfast choice that balances indulgence with real nutritional value. Here’s a rough breakdown per cup (without add-ins):
- Calories: Approximately 180-200
- Protein: 5-6 grams
- Fiber: 3-4 grams
- Fat: 7-8 grams
- Carbohydrates: 26-28 grams
- Sugar: 10-12 grams (naturally occurring from maple syrup and pumpkin)
The rolled oats provide sustained energy thanks to their complex carbohydrates and fiber, which helps keep you full until lunch. Pumpkin is packed with vitamin A and antioxidants, and it adds moisture without a lot of calories. The eggs add high-quality protein, and the coconut oil provides healthy fats that support brain function.
These cups are naturally dairy-free if you use a plant-based milk, and they can easily be made gluten-free and vegan with the substitutions I mentioned earlier. They’re also nut-free if you skip the pecans or walnuts, making them a safe option for school functions or gatherings where allergies are a concern.
I love that these feel like a treat but actually provide real nourishment. They’re the kind of breakfast that keeps you going through a busy morning without that mid-morning crash. Plus, they’re portion-controlled, which makes it easy to grab one and go without overdoing it.
Conclusion
These crowd-pleasing pumpkin baked oatmeal cups have become my go-to fall recipe for a reason. They’re simple enough for a weekday morning but impressive enough for a holiday brunch. They freeze beautifully, travel well, and somehow make everyone who tries them smile. Every time I make them, I think about my aunt Carol standing in her tiny kitchen, and I feel like I’m carrying on a tradition I never got to learn from her directly.
What I love most about this recipe is how forgiving it is. You can swap ingredients, adjust the sweetness, add whatever mix-ins you have on hand, and it still turns out delicious. It’s the kind of recipe that invites experimentation, which is exactly how the best recipes should feel.
I’d love to hear how these turn out for you. Did you try any variations? Did you serve them at a gathering? Drop a comment below and let me know—I read every single one, and your feedback helps me keep improving these recipes. And if you snap a photo, tag me on social media so I can see your beautiful creations. Happy baking, friends. Fall is here, and these cups are waiting.
Frequently Asked Questions
Can I use quick oats instead of rolled oats?
I don’t recommend it. Quick oats absorb liquid differently and will make your oatmeal cups mushy and dense instead of tender with a little chew. Stick with old-fashioned rolled oats for the best texture.
Can I make these ahead of time for a party?
Absolutely. You can make them up to 3 days ahead and store them in the refrigerator, or freeze them for up to 3 months. Reheat them in a 300°F oven for 5-7 minutes just before serving, and they’ll taste freshly baked.
Why did my oatmeal cups turn out dry?
This usually happens from overbaking or using too many dry ingredients. Make sure you’re measuring your oats and pumpkin accurately—packed oats or too little pumpkin can throw off the moisture balance. Also, pull them out of the oven when a toothpick comes out with just a few moist crumbs, not completely clean.
Can I use fresh pumpkin instead of canned?
Yes, but you’ll need to roast and puree it first, and make sure to drain any excess liquid. Fresh pumpkin tends to be more watery than canned, which can make the cups soggy. If using fresh, let the puree sit in a fine-mesh strainer for 15 minutes to remove extra moisture.
How do I keep these from sticking to the muffin tin?
Grease each cup generously with butter, coconut oil, or cooking spray, and make sure you get the edges and corners. Let them cool in the pan for a full 5 minutes before removing—this allows them to set and release more easily. If they still stick, run a butter knife around the edge to loosen them.
Pin This Recipe!
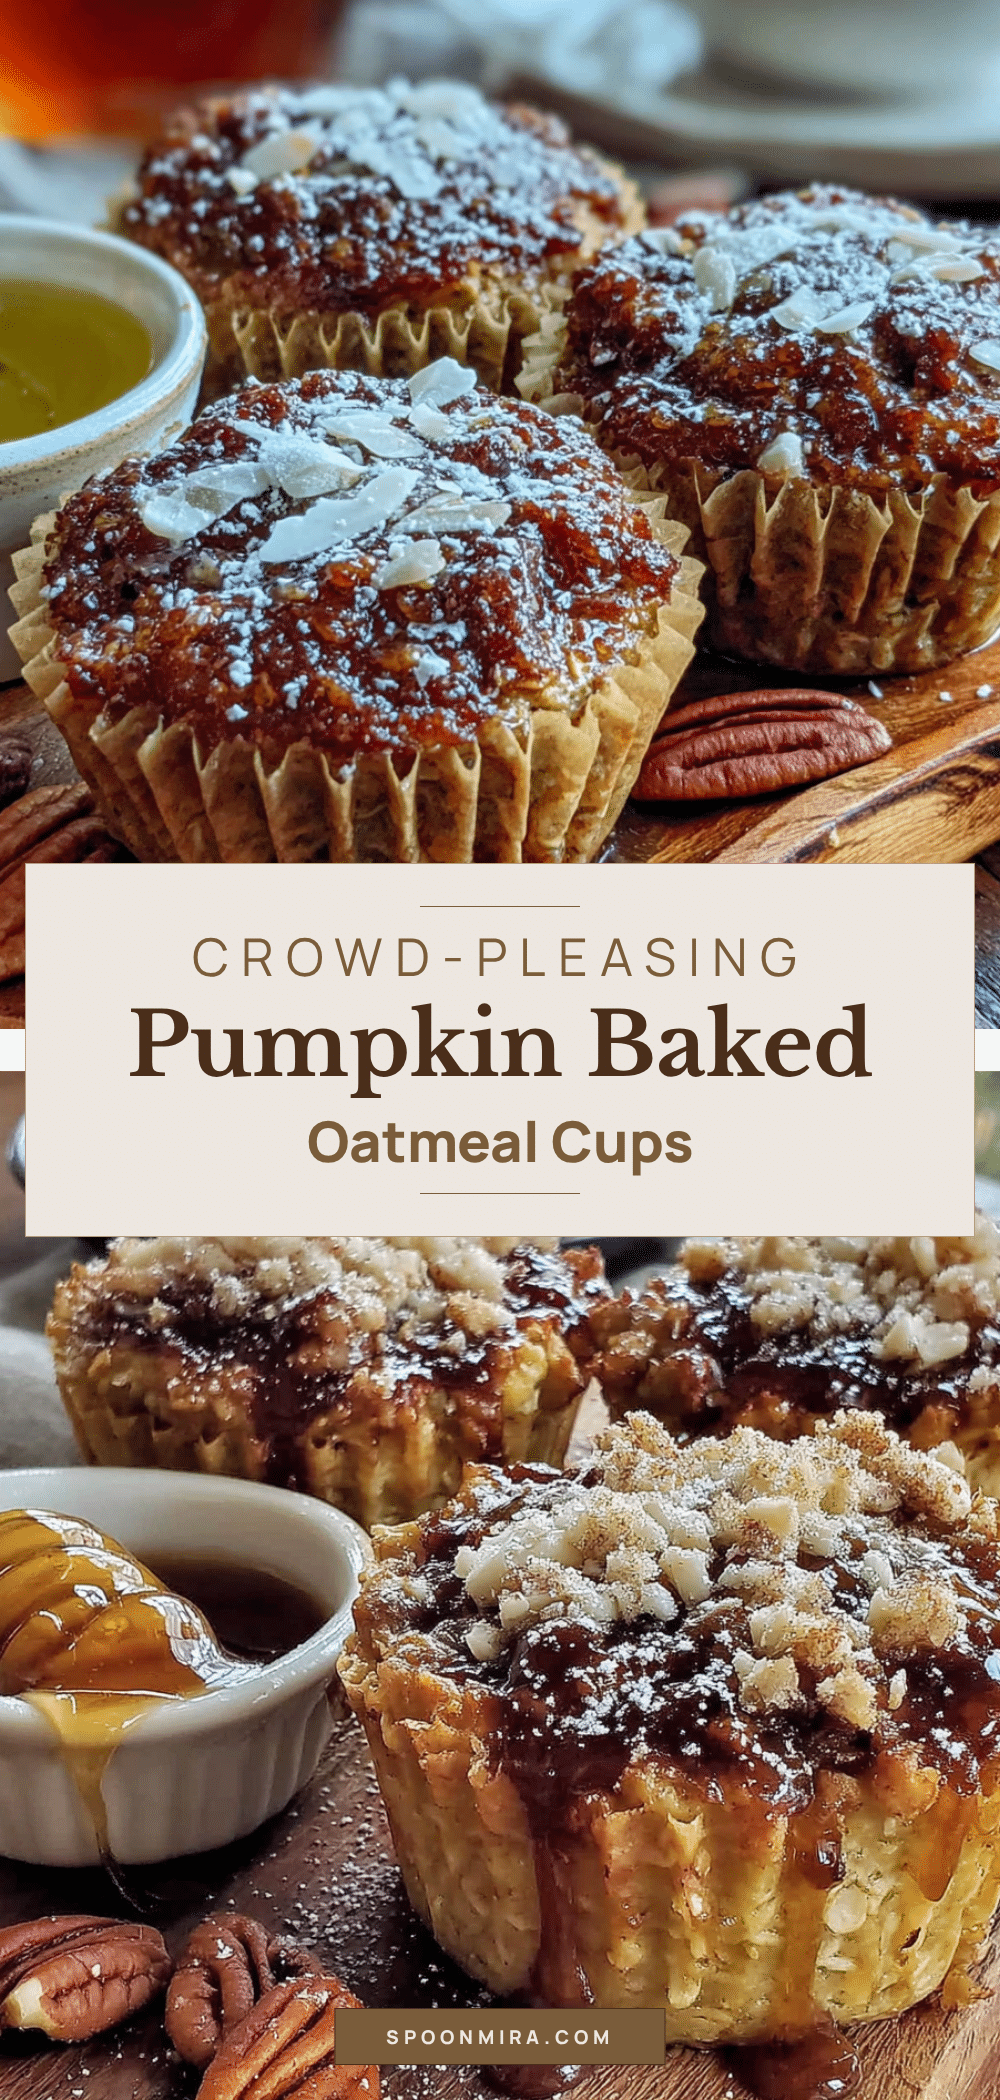
Best Easy Pumpkin Baked Oatmeal Cups

These crowd-pleasing pumpkin baked oatmeal cups are simple, forgiving, and have that warm, cozy smell that fills your whole house. They’re the kind of breakfast that makes people close their eyes after the first bite.
- Prep Time: 10 minutes
- Cook Time: 20 minutes
- Total Time: 30 minutes
- Yield: 12 servings 1x
- Category: Breakfast
- Cuisine: American
Ingredients
- 2 cups (180g) rolled oats
- 1 cup (245g) pumpkin puree
- 2 large eggs
- 1/3 cup (80ml) maple syrup
- 1/2 cup (120ml) milk (dairy or plant-based)
- 1/4 cup (60ml) coconut oil, melted
- 1 teaspoon vanilla extract
- 1 teaspoon baking powder
- 2 teaspoons pumpkin pie spice
- 1 teaspoon cinnamon
- 1/4 teaspoon salt
- 1/2 cup (90g) chocolate chips (optional)
- 1/2 cup (60g) chopped pecans or walnuts (optional)
- 1/3 cup (40g) dried cranberries (optional)
Instructions
- Preheat your oven to 350°F (175°C).
- Grease a 12-cup muffin tin generously with cooking spray, butter, or coconut oil.
- In a medium bowl, whisk together the rolled oats, baking powder, pumpkin pie spice, cinnamon, and salt.
- In a large bowl, whisk together the pumpkin puree, eggs, maple syrup, milk, melted coconut oil, and vanilla extract until smooth.
- Pour the dry ingredients into the wet ingredients and stir with a spatula until just combined. Do not overmix.
- If using add-ins, gently fold them in, reserving a small handful for topping.
- Divide the batter evenly among the 12 muffin cups, filling each about three-quarters full.
- Sprinkle reserved add-ins on top if desired.
- Bake for 18-22 minutes, until edges are golden brown and a toothpick inserted into the center comes out clean or with a few moist crumbs.
- Let the cups cool in the muffin tin for 5 minutes, then transfer to a cooling rack.
Notes
These cups freeze beautifully. To freeze, arrange cooled cups in a single layer on a baking sheet and freeze for 1 hour, then transfer to a freezer-safe bag or container for up to 3 months. Reheat in the microwave for 20-30 seconds or in a 350°F oven for 5-7 minutes. The cups taste even better the next day as flavors meld.
Nutrition
- Serving Size: 1 oatmeal cup
- Calories: 190
- Sugar: 11
- Sodium: 120
- Fat: 8
- Saturated Fat: 5
- Carbohydrates: 27
- Fiber: 4
- Protein: 5
Keywords: pumpkin baked oatmeal cups, easy pumpkin oatmeal cups, fall breakfast, healthy oatmeal cups, pumpkin spice oatmeal cups


