There used to be a tiny bakery tucked between a vintage bookshop and a dry cleaner on the corner of Elm and Sycamore in my old neighborhood. The place was called Sweet Tooth & Co., and every October they’d set up a glass case filled with the most impossibly cute ghost meringue cookies I’d ever seen. When they closed up shop three years ago—the owner retired to somewhere sunny, lucky her—I genuinely felt a little pang of loss. I mean, where was I supposed to get my fix of those light-as-air Halloween treats that looked like they’d floated straight out of a cartoon?
After twelve attempts—and let me tell you, the first few were downright tragic—I finally cracked the code. My kitchen looked like a powdered sugar bomb had gone off, and I’m pretty sure I woke up with meringue in my hair the next morning, but it was worth it. These ghost meringue cookies are now my go-to for every Halloween party, potluck, or spooky gathering I host. Honestly, they’re so simple that you’ll wonder why you ever bought them.
Maybe you’ve been there too—scrolling through Pinterest, bookmarking a dozen recipes, and then getting overwhelmed by complicated steps and specialty equipment. That’s not this recipe. These ghost meringue cookies come together with just five ingredients, and the hardest part is waiting for them to bake. The first time I made them for my annual Halloween bash, a friend actually asked if I’d ordered them from a bakery. I just smiled and said, “Nope, I’m just that good.” You’ll want to say the same thing.
Why You’ll Love This Recipe
Let me tell you why these ghost meringue cookies are about to become your secret weapon for Halloween entertaining. I’ve tested this recipe more times than I care to count, tweaking temperatures and piping techniques until I got it just right. Here’s what makes them a total game-changer:
- Quick & Easy: From start to finish, you’re looking at about 2 hours total—but only 15 minutes of active work. The oven does the rest. Perfect when you’re juggling party prep and costume emergencies.
- Simple Ingredients: Egg whites, sugar, cream of tartar, vanilla, and black gel food coloring. That’s it. No weird stabilizers or hard-to-find extracts. You probably have most of this in your pantry right now.
- Perfect for Halloween Parties: These little ghosts are the life of the party. They’re dairy-free, gluten-free, and practically fat-free, so everyone can grab a handful without guilt. Plus, they look amazing on a dessert table.
- Crowd-Pleaser: I’ve served these to kids, adults, and even picky relatives who “don’t do sweets.” Every single time, they disappear faster than I can make them. There’s something about a cute ghost cookie that brings out the kid in everyone.
- Unbelievably Delicious: The texture is what gets people. Crisp on the outside, chewy in the center, and light as a cloud. That first bite? Pure magic. The vanilla flavor is subtle but perfect—not too sweet, not too bland.
What sets this recipe apart from the dozens of other meringue recipes out there? It’s the technique. I’ve learned that low-and-slow baking is the secret to ghost meringue cookies that don’t crack, brown, or collapse. And the way I pipe them? It gives each ghost its own personality—some are tall and spooky, others are short and round. No two are exactly alike, which makes them feel handmade and special.
This isn’t just another Halloween cookie recipe. This is the one that makes people say, “Wait, you made these?” It’s the kind of recipe that makes you feel like a pastry chef, even if you’ve never piped a meringue in your life. And honestly? That feeling never gets old.
What Ingredients You Will Need
This recipe uses simple, humble ingredients to create something that looks and tastes like it came from a fancy bakery. No fancy extracts or specialty sugars here—just pantry staples that work together beautifully. Here’s what you’ll need:
For the Meringue Base
- 4 large egg whites, room temperature (this is crucial—cold eggs won’t whip up as high or as stable)
- 1 cup (200g) granulated sugar (I prefer regular white sugar; superfine is nice but not necessary)
- 1/4 teaspoon cream of tartar (this stabilizes the meringue and helps it hold its shape)
- 1 teaspoon vanilla extract (pure vanilla, not imitation—trust me, the flavor difference is real)
- Black gel food coloring (for the ghost faces; liquid food coloring will make the meringue too runny)
Ingredient Tips & Substitutions
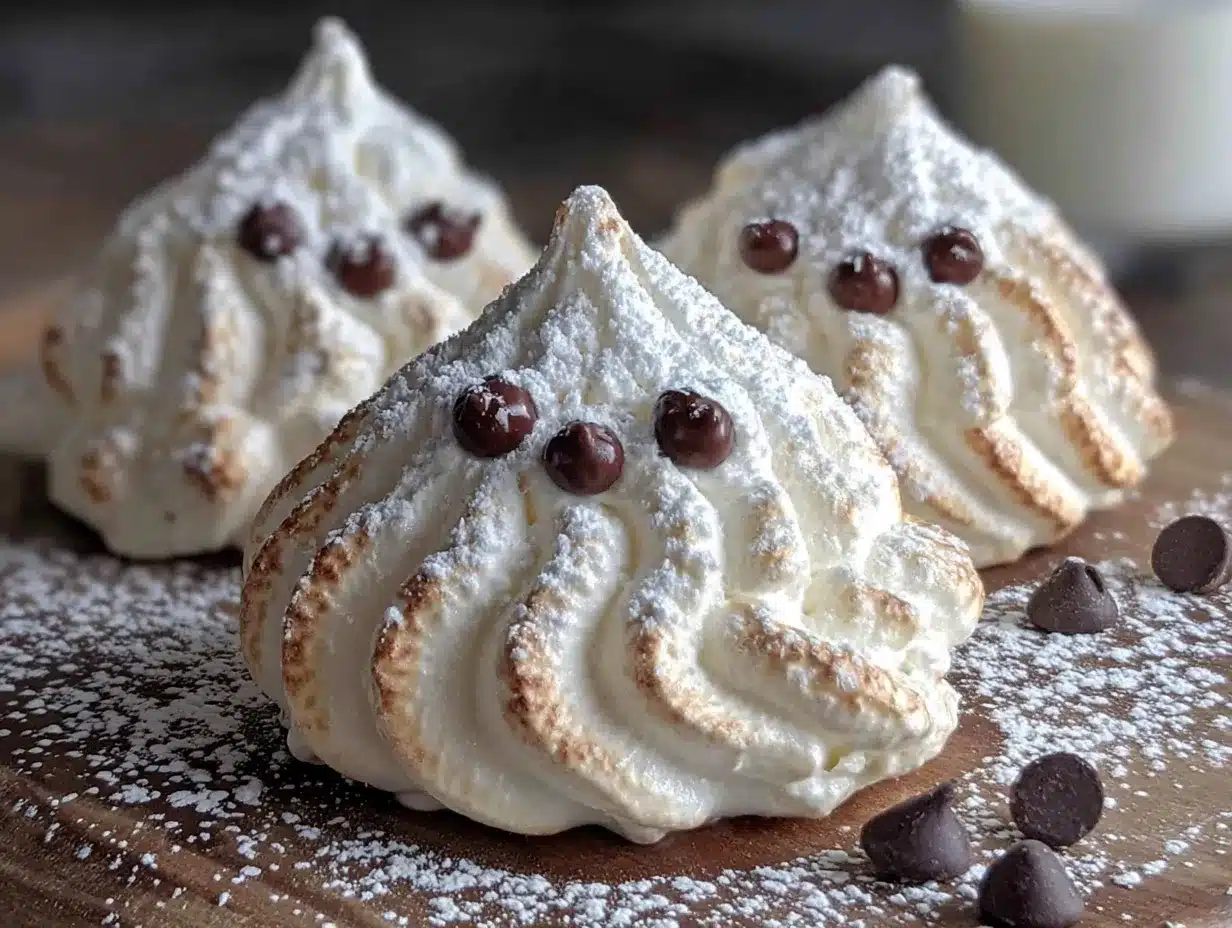
Let me share a few things I’ve learned the hard way. First, those egg whites really need to be at room temperature. I know, I know—you’re in a rush. But cold egg whites don’t whip up as voluminously, and you’ll end up with flat, sad ghosts. Take them out of the fridge about 30 minutes before you start, or place the whole eggs in a bowl of warm water for 5 minutes.
For the sugar, I’ve tried using organic cane sugar and even coconut sugar (don’t do that, by the way—it turns the ghosts brown). Regular granulated sugar works best because it dissolves completely into the egg whites, giving you that smooth, glossy meringue. If you want to get fancy, you can use superfine sugar, but honestly, I’ve never noticed a big enough difference to justify buying a separate bag.
Cream of tartar is non-negotiable in my book. It’s what keeps your ghost meringue cookies from deflating or weeping (that’s when they release moisture and get sticky). If you don’t have it, you can substitute 1/2 teaspoon of lemon juice or white vinegar per 1/4 teaspoon cream of tartar, but I recommend just picking some up—it’s cheap and lasts forever.
As for the black gel food coloring, I use the Wilton brand because it’s concentrated and doesn’t water down the meringue. You only need a tiny dab on the tip of a toothpick to draw those cute little ghost faces. If you’re serving these to kids, make sure your food coloring is labeled as safe.
Equipment Needed
The beauty of this recipe is that you don’t need a professional pastry kit. Here’s what I use, along with a few alternatives if you’re working with a limited kitchen:
- Electric mixer (stand mixer or hand mixer—both work great; I’ve made these with my trusty KitchenAid and also with a cheap hand mixer, and both produced perfect ghost meringue cookies)
- Large mixing bowl (make sure it’s completely clean and dry; any grease will ruin your meringue)
- Piping bag (disposable or reusable; I prefer disposable because cleanup is easier)
- Large round piping tip (I use a Wilton 1A or any 1/2-inch round tip)
- Baking sheet (lined with parchment paper—do NOT use wax paper or foil)
- Toothpicks (for drawing the ghost faces)
- Cooling rack (optional but helpful)
If you don’t have a piping bag, don’t panic. You can use a sturdy zip-top bag with the corner snipped off. It won’t be as precise, but your ghosts will still look adorable. I’ve done it in a pinch when I ran out of piping bags, and honestly, nobody noticed the difference.
One tip: make sure your mixing bowl is spotless. I wipe mine down with a little lemon juice on a paper towel before starting, just to remove any trace of grease. Meringue is finicky that way—any fat will keep it from whipping up properly.
Preparation Method
Alright, let’s make some ghost meringue cookies! Follow these steps carefully, and you’ll have a batch of adorable Halloween treats that’ll steal the show at your party.
- Preheat your oven to 200°F (93°C). Yes, that’s low—we’re going to dry the meringues out slowly, not bake them. Line two baking sheets with parchment paper and set them aside.
- Separate your eggs while they’re still cold—it’s easier. But then let the whites come to room temperature before whipping. I usually separate them, cover the bowl with plastic wrap, and let them sit on the counter for 30 minutes. And save those yolks! You can use them for custard, lemon curd, or even scrambled eggs the next morning.
- Start whipping the egg whites on medium speed until they’re frothy and bubbly—about 1 to 2 minutes. You’ll see them turn from clear liquid to a foamy white. This is when you add the cream of tartar. Keep whipping until soft peaks form; that’s when the peaks flop over when you lift the whisk.
- Gradually add the sugar, one tablespoon at a time, with the mixer running on medium-high speed. This is important—if you dump all the sugar in at once, your meringue won’t be as stable. I set a timer and add a spoonful every 15 seconds or so. Once all the sugar is in, crank the speed up to high and whip until stiff peaks form. How do you know it’s ready? The meringue should be glossy and thick, and when you lift the whisk, the peak should stand straight up without drooping. Rub a little between your fingers—if it feels gritty, keep whipping until the sugar dissolves completely. This usually takes about 5 to 7 minutes total.
- Add the vanilla extract and whip for another 30 seconds to combine. Don’t overmix at this stage, or you’ll deflate all that lovely air you just whipped in.
- Transfer the meringue to your piping bag fitted with the round tip. I twist the top of the bag and hold it closed with my hand to prevent the meringue from squirting out the top. If you’re using a zip-top bag, just snip off about 1/2 inch from one corner.
- Pipe the ghosts onto the prepared baking sheets. Hold the piping bag straight up and down, about 1/2 inch above the parchment. Squeeze gently to create a round base, then lift the bag straight up while continuing to squeeze. When you get to the desired height (I aim for about 2 inches), stop squeezing and pull the bag away quickly. You’ll get a little peak on top—that’s the ghost’s head! Space them about 1 inch apart; they don’t spread much, but you want good air circulation.
- Draw the faces using a toothpick dipped in black gel food coloring. I make two tiny dots for eyes and a little oval for the mouth. Some of my ghosts look surprised, some look grumpy, and some look like they’re laughing. It’s fun to give each one a different expression. Just be gentle—you don’t want to deflate the meringue.
- Bake for 60 to 75 minutes, rotating the pans halfway through. The ghost meringue cookies are done when they’re dry to the touch and can be easily lifted off the parchment. They shouldn’t be brown at all—just pale and crisp. If they start to brown, your oven is too hot; crack the door open slightly.
- Turn off the oven and leave the meringues inside for another 30 minutes to 1 hour to continue drying out. This step is optional but highly recommended—it ensures they’re perfectly crisp all the way through. Then transfer them to a cooling rack and let them cool completely.
And there you have it—a tray full of adorable ghost meringue cookies that look like they’re ready to haunt your Halloween party. The first time I made these, I accidentally piped one that looked suspiciously like a ghost wearing a hat. My friends still talk about “Hat Ghost” like it was a beloved character.
Cooking Tips & Techniques
After making these ghost meringue cookies more times than I can count, I’ve collected a few tricks that make the process smoother and the results more reliable. Here are my best tips:
Humidity is the enemy. Meringue hates moisture. If it’s a rainy or humid day, your cookies might come out sticky or soft. Wait for a dry day, or run a dehumidifier in your kitchen for an hour before you start. I learned this one the hard way during a particularly muggy October—my ghosts looked more like sad, deflated balloons.
Don’t overmix after adding the vanilla. I know it’s tempting to keep whipping until everything is perfectly combined, but overmixing can deflate the meringue. Just give it a quick 30-second whip and stop. Trust the process.
Use a damp paper towel under your mixing bowl. If you’re using a hand mixer, place a damp paper towel or a silicone mat under the bowl to keep it from sliding around. This is one of those small things that makes a huge difference when you’re whipping for 7 minutes straight.
Pipe quickly but carefully. Meringue starts to break down once it’s in the piping bag, so work efficiently. If you’re making a huge batch, pipe half the meringue, then refill the bag with the rest. Don’t let it sit in the bag for more than 10 minutes.
Check for sugar grit. The most common mistake I see is undermixing the meringue. Rub a tiny bit between your thumb and forefinger—if it feels smooth, you’re good. If it feels gritty, keep whipping. That gritty texture means the sugar hasn’t dissolved, and your cookies will have a weird texture.
Store them properly. These ghost meringue cookies are sensitive to moisture, so store them in an airtight container at room temperature. Don’t refrigerate them—the fridge is too humid and will make them sticky. They’ll stay fresh for up to two weeks, but honestly, they never last that long at my house.
Variations & Adaptations
One of the best things about these ghost meringue cookies is how easy they are to customize. Here are a few variations I’ve tried and loved:
Chocolate Ghosts: Replace 2 tablespoons of the granulated sugar with cocoa powder. Sift it together first to avoid lumps. The ghosts turn a pale brown, which actually looks pretty cool—like dusty, antique ghosts. My nephew declared them “chocolate ghosts” and they were a hit.
Peppermint Ghosts: Swap the vanilla extract for peppermint extract and add a drop of green food coloring for a fun twist. These are perfect for a Christmas-themed party or a winter gathering. Just be careful—peppermint extract is strong, so use half the amount and taste test.
Lemon Ghosts: Replace the vanilla with lemon extract and add a tiny bit of yellow food coloring. The citrus flavor is bright and refreshing, and the yellow ghosts look cheerful instead of spooky. I made these for a friend’s “Not-So-Spooky” Halloween party, and they were a hit with the kids.
Gluten-Free and Dairy-Free: This recipe is naturally both! Meringue contains no gluten or dairy, so it’s perfect for guests with dietary restrictions. Just make sure your vanilla extract is gluten-free (most are, but check the label).
Different Shapes: If ghosts aren’t your thing, you can pipe the meringue into other shapes. Try making little pumpkins by piping a round shape and adding a tiny piece of green licorice for a stem. Or pipe little bats using a small star tip. The possibilities are endless.
I once made a batch of ghost meringue cookies with pink food coloring and called them “Friendly Ghosts” for a baby shower. They were adorable, and nobody complained about the color change. So feel free to experiment!
Serving & Storage Suggestions
These ghost meringue cookies are best served at room temperature, straight from the container. They’re light and airy, with that perfect crisp-then-chewy texture that keeps you reaching for just one more. Here’s how I like to present them:
For a Halloween Party: Arrange them on a platter lined with black or orange tissue paper. Scatter a few candy eyeballs or chocolate spiders around for extra spooky vibes. I sometimes stand them upright in a small glass jar or a hollowed-out pumpkin for a centerpiece that doubles as a snack.
What to Serve Alongside: These cookies pair beautifully with hot chocolate, apple cider, or a warm pumpkin spice latte. For a dessert table, I like to serve them alongside brownies, caramel apples, or pumpkin pie. They’re light enough to balance out heavier sweets.
Storage Instructions: Store the ghost meringue cookies in an airtight container at room temperature. Do not refrigerate—the moisture will make them sticky. They’ll stay fresh for up to 2 weeks, though they’re at their best within the first 3 to 4 days. If you live in a humid climate, add a silica gel packet (the kind that comes in shoe boxes) to the container to absorb excess moisture.
Freezing Instructions: You can freeze these cookies for up to 3 months. Place them in a single layer in a freezer-safe container, with parchment paper between layers. To thaw, let them sit at room temperature for about 30 minutes. Don’t unwrap them while frozen, or they’ll absorb moisture from the air.
Flavor Development: Here’s a little secret—these cookies actually taste better after a day or two. The flavors meld together, and the texture becomes even more perfectly crisp. So feel free to make them a day or two before your party. One less thing to worry about!
Nutritional Information & Benefits
Let’s talk numbers. Per ghost meringue cookie (assuming you get about 24 from this recipe), here’s the breakdown:
| Nutrient | Amount |
|---|---|
| Calories | 35 |
| Total Fat | 0g |
| Saturated Fat | 0g |
| Cholesterol | 0mg |
| Sodium | 10mg |
| Total Carbohydrates | 8g |
| Sugars | 8g |
| Protein | 1g |
These ghost meringue cookies are practically guilt-free. They’re fat-free, cholesterol-free, and low in calories, making them a great option for anyone watching their intake. The main ingredient is egg whites, which are packed with protein—about 4 grams per serving. Egg whites are also rich in riboflavin and selenium, which support energy metabolism and immune function.
From a dietary perspective, these cookies are naturally gluten-free, dairy-free, and nut-free, so they’re safe for most common allergies. Just double-check your food coloring if you’re serving someone with sensitivities. And since they’re low in sugar compared to most cookies (only 8g per ghost), they won’t send anyone on a sugar crash.
I love that I can serve these at a party without feeling like I’m loading everyone up with empty calories. They’re a treat, sure, but a relatively wholesome one. Plus, they’re so light that even after three or four, you don’t feel weighed down.
Conclusion
These ghost meringue cookies are more than just a Halloween treat—they’re a little piece of nostalgia, a conversation starter, and a way to make your party feel special without spending hours in the kitchen. They’re the kind of recipe that makes people say, “You made these? They look store-bought!” And honestly, that never gets old.
I hope you give them a try. Customize them however you like—different colors, different flavors, different faces. Make them your own. And when you bring them to your next Halloween gathering, watch how fast they disappear. There’s something magical about watching a plate of adorable ghost cookies bring smiles to people’s faces.
If you make these, I’d love to hear about it. Drop a comment below and tell me how they turned out, or share a photo of your ghost creations. Did you give them funny faces? Add sprinkles? Make a whole haunted family? I want to see! And if you have any questions, just ask—I’m always happy to help.
Happy Halloween, and happy baking! May your ghosts be cute, your parties be fun, and your cookie jar never be empty.
Frequently Asked Questions
Can I make these ghost meringue cookies ahead of time?
Absolutely! In fact, they taste even better after a day or two. Store them in an airtight container at room temperature for up to 2 weeks. Just keep them away from humidity.
Why did my meringue turn out sticky?
Sticky meringue usually means it wasn’t baked long enough, or the humidity was too high. Make sure you bake them at a low temperature for the full time, and let them dry out in the oven after baking. On humid days, it’s best to wait for a drier day.
Can I use liquid food coloring instead of gel?
I don’t recommend it. Liquid food coloring will add too much moisture to the meringue, making it runny and difficult to pipe. Gel food coloring is concentrated and won’t affect the texture. You only need a tiny dab on a toothpick.
How do I know when the meringue is whipped enough?
The meringue should be glossy, thick, and hold stiff peaks. When you lift the whisk, the peak should stand straight up without drooping. Rub a little between your fingers—if it feels smooth, you’re good. If it’s gritty, keep whipping.
Can I freeze these cookies?
Yes! Freeze them in a single layer in an airtight container for up to 3 months. Thaw at room temperature for about 30 minutes before serving. Don’t unwrap them while frozen, or they’ll absorb moisture and become sticky.
Pin This Recipe!
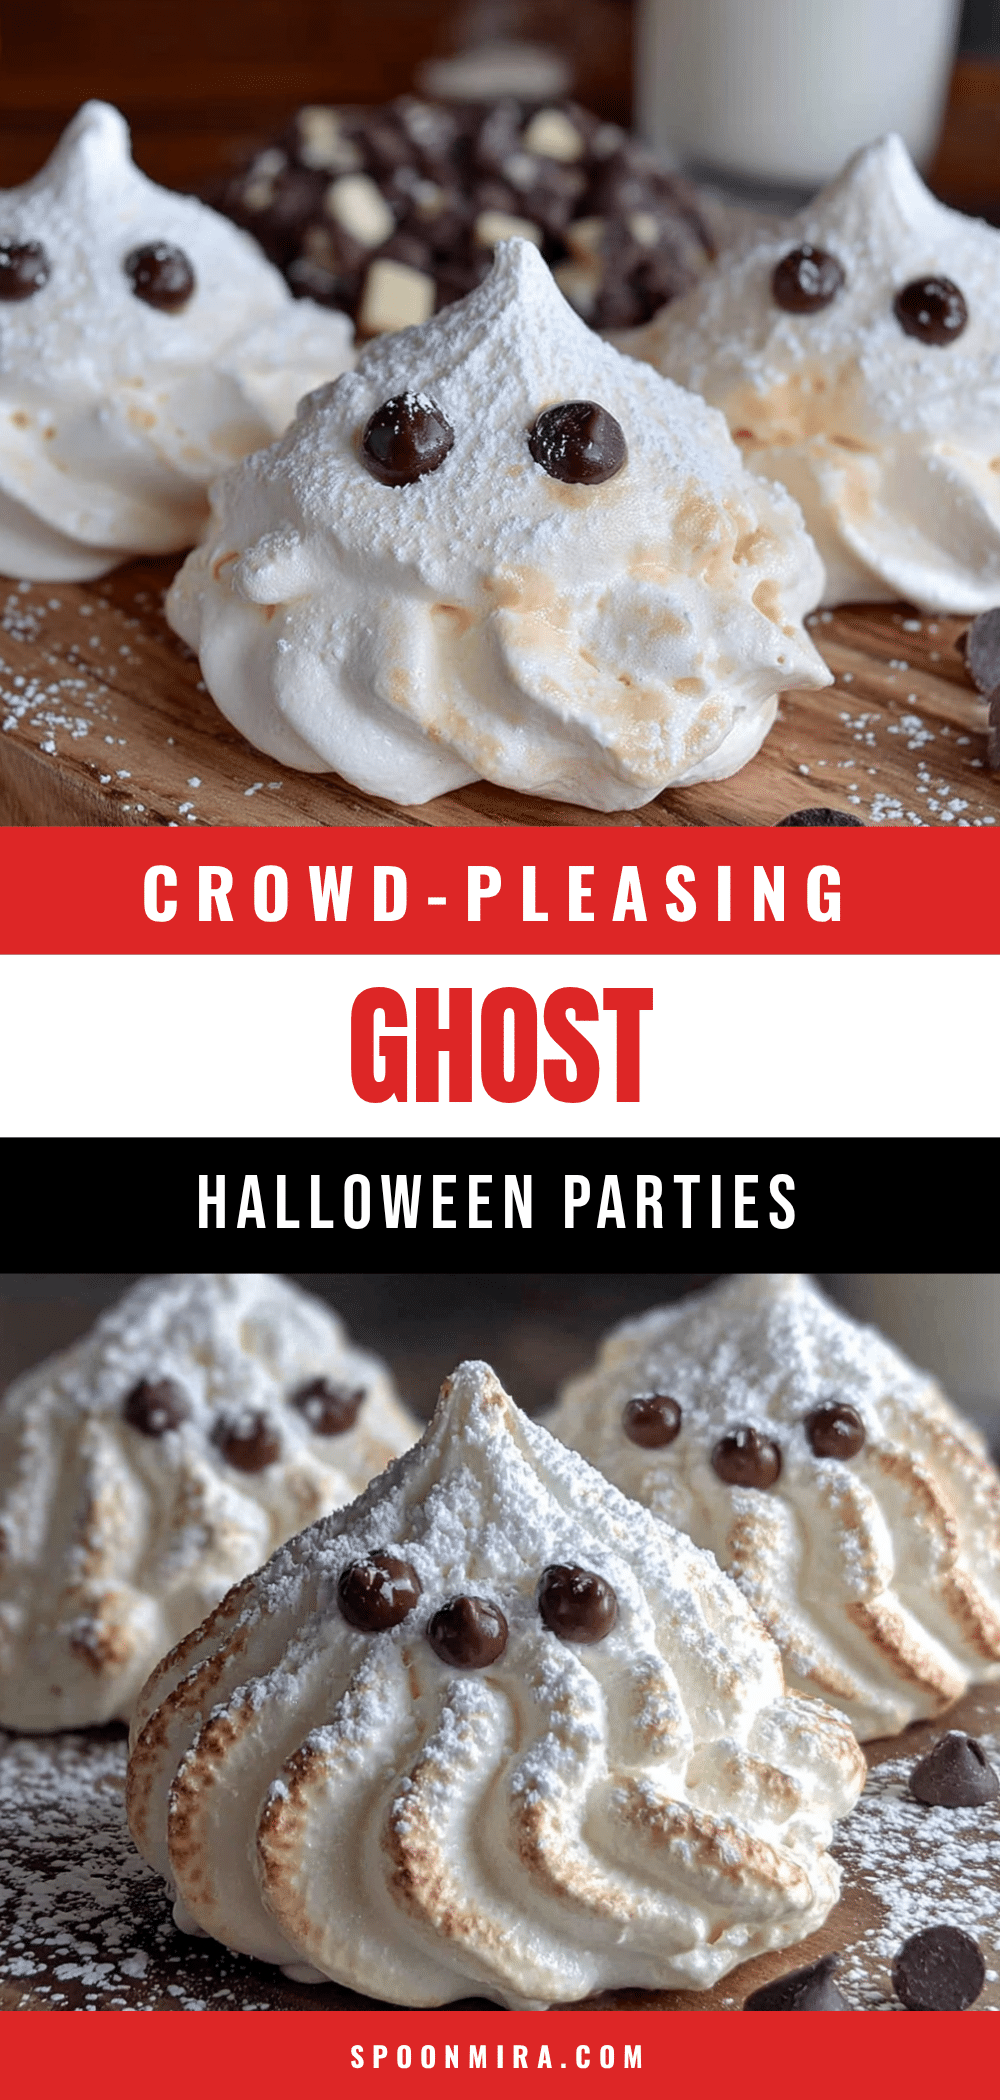
Best Ghost Meringue Cookies for Halloween Parties
These light-as-air ghost meringue cookies are perfect for Halloween parties. With just five ingredients and minimal active time, they’re dairy-free, gluten-free, and practically fat-free, making them a crowd-pleasing treat that looks like it came from a bakery.
- Prep Time: 15 minutes
- Cook Time: 60-75 minutes
- Total Time: 2 hours (including drying time)
- Yield: 24 cookies 1x
- Category: Dessert
- Cuisine: American
Ingredients
- 4 large egg whites, room temperature
- 1 cup (200g) granulated sugar
- 1/4 teaspoon cream of tartar
- 1 teaspoon vanilla extract
- Black gel food coloring
Instructions
- Preheat your oven to 200°F (93°C). Line two baking sheets with parchment paper.
- Separate your eggs while they’re still cold, then let the whites come to room temperature (about 30 minutes).
- Whip the egg whites on medium speed until frothy and bubbly, about 1-2 minutes. Add cream of tartar and continue whipping until soft peaks form.
- Gradually add the sugar, one tablespoon at a time, with the mixer running on medium-high speed. Once all sugar is added, increase speed to high and whip until stiff, glossy peaks form (about 5-7 minutes total). The meringue should feel smooth between your fingers.
- Add vanilla extract and whip for another 30 seconds to combine.
- Transfer meringue to a piping bag fitted with a large round tip (e.g., Wilton 1A).
- Pipe ghosts onto prepared baking sheets: hold the bag upright, squeeze to create a round base, then lift straight up while squeezing to form a 2-inch tall ghost. Space about 1 inch apart.
- Use a toothpick dipped in black gel food coloring to draw two eyes and a mouth on each ghost.
- Bake for 60-75 minutes, rotating pans halfway through. Cookies are done when dry to the touch and easily lift off the parchment.
- Turn off the oven and leave meringues inside for another 30 minutes to 1 hour to continue drying. Transfer to a cooling rack and cool completely.
Notes
Humidity is the enemy of meringue; wait for a dry day. Ensure bowl is completely clean and dry. Do not overmix after adding vanilla. Store in an airtight container at room temperature for up to 2 weeks. Do not refrigerate. Can be frozen for up to 3 months.
Nutrition
- Serving Size: 1 cookie
- Calories: 35
- Sugar: 8
- Sodium: 10
- Carbohydrates: 8
- Protein: 1
Keywords: ghost meringue cookies, Halloween cookies, meringue cookies, easy Halloween treats, gluten-free cookies, dairy-free cookies


