I was standing in the baking aisle of my local grocery store last Tuesday, staring at a box of rainbow sprinkles, when a specific smell hit me — that sweet, slightly artificial vanilla-and-butter scent from the bakery counter at the old mall. And suddenly I was seven years old again, pressed against the glass display case at my Aunt Carla’s house, watching her pull a layer cake out of the oven. She wasn’t a fancy baker. She used boxed mixes and store-bought frosting, and honestly? Nobody cared. Because when she brought that cake to the table, covered in those bright little sprinkles, the whole room lit up. I can still feel the way the frosting stuck to the roof of my mouth and the way my cousin Jake would try to steal the corner piece before anyone noticed. Aunt Carla passed away a few years back, and I haven’t thought about that cake in forever. But standing there with a bag of sprinkles in my hand, I knew I had to try and make it myself — only better. Faster. From scratch, but without the fuss. Because that’s what weeknights demand, right? You want something that feels special but doesn’t take all evening. Maybe you’ve been there — craving a real birthday cake on a random Tuesday, but the thought of a complicated recipe makes you want to order pizza instead. This Quick Funfetti Birthday Layer Cake is my attempt to capture that exact feeling: the joy, the nostalgia, the little burst of color, all without spending hours in the kitchen. It’s not just a cake. It’s a memory you can eat.
Why You’ll Love This Recipe
Let me tell you something — I’ve tested this cake about seven times to get it just right. The first batch came out dry. The second one was too dense. But by the fourth try, I had that perfect balance: a tender, moist crumb that holds up to stacking, with those little pops of color running through every single bite. And the vanilla buttercream? Silky, not too sweet, and it comes together in about five minutes flat.
- Quick & Easy: From start to finish, this cake is on your table in under an hour. No complicated techniques, no fancy equipment.
- Simple Ingredients: You probably have most of these already — flour, sugar, butter, eggs, vanilla. The only special thing is a jar of rainbow sprinkles.
- Perfect for Any Occasion: Birthdays, obviously. But also Tuesday nights, surprise parties, or when you just need a little color in your life.
- Crowd-Pleaser: Kids love it. Adults love it. Even my neighbor who claims he doesn’t like cake asked for seconds.
- Unbelievably Delicious: The texture is light and fluffy, the buttercream is dreamy, and the sprinkles add that little crunch that makes every bite interesting.
What makes this recipe different from all the other funfetti cakes out there? It’s the technique. I use a reverse-creaming method that gives you a super tender crumb without overmixing. And I add a splash of milk at the end to keep the batter from getting too thick. It’s a small thing, but it makes a big difference. This isn’t just another version — it’s the one you’ll come back to again and again. Honestly, it’s the kind of cake that makes you close your eyes after the first bite. Comfort food reimagined — faster, easier, but with the same soul-soothing satisfaction.
What Ingredients You Will Need
This recipe uses simple, pantry-friendly ingredients to deliver big flavor and that classic funfetti look. Most of these are things you probably already have on hand, which is exactly what you want on a busy weeknight.
- All-Purpose Flour (2 ½ cups / 315g) — The backbone of the cake. I use Gold Medal, but any brand works. Just spoon it into your measuring cup and level it off.
- Granulated Sugar (1 ¾ cups / 350g) — For sweetness and structure. Don’t reduce it — sugar helps keep the cake moist.
- Unsalted Butter (1 cup / 226g, softened) — I use Land O’Lakes. Make sure it’s really soft, like almost squishy, for the best texture.
- Eggs (3 large, room temperature) — Room temperature eggs mix in more evenly. If you forgot to take them out, pop them in a bowl of warm water for 5 minutes.
- Buttermilk (1 cup / 240ml, room temperature) — This is the secret to a tender cake. No buttermilk? Add 1 tablespoon of lemon juice or vinegar to regular milk and let it sit for 5 minutes.
- Vanilla Extract (2 teaspoons) — Pure vanilla is best, but imitation works fine too. I use Nielsen-Massey when I want that intense flavor.
- Baking Powder (2 ½ teaspoons) — Make sure it’s fresh. Test it by dropping a little in hot water — if it fizzes, it’s good.
- Salt (½ teaspoon) — Balances the sweetness. Don’t skip it.
- Rainbow Sprinkles (½ cup / 90g) — Use jimmies, not nonpareils. Jimmies hold their color better and don’t bleed into the batter. I like the ones from Wilton.
For the Vanilla Buttercream:
- Unsalted Butter (1 ½ cups / 339g, softened) — Yes, that’s three sticks. Buttercream is supposed to be indulgent.
- Powdered Sugar (4 cups / 480g) — Sift it if you want a super smooth frosting. I don’t always bother, and it still turns out fine.
- Heavy Cream (3-4 tablespoons / 45-60ml) — Adds richness. Milk works in a pinch.
- Vanilla Extract (2 teaspoons) — More vanilla = more flavor. I sometimes add a tiny pinch of salt to balance it.
- Rainbow Sprinkles (for decoration, about ¼ cup / 45g)
Equipment Needed
You don’t need a professional bakery setup for this cake. Here’s what you’ll need:
- Two 9-inch Round Cake Pans — I use Fat Daddio’s anodized aluminum pans. They heat evenly and don’t rust. If you only have one pan, you can bake the layers one at a time.
- Electric Mixer — A stand mixer with the paddle attachment is ideal, but a hand mixer works perfectly. I’ve made this cake with both.
- Mixing Bowls — You’ll need at least two: one for dry ingredients, one for wet.
- Rubber Spatula — For scraping down the bowl and folding in the sprinkles. Get a good one that doesn’t melt.
- Cooling Rack — Lets the cakes cool evenly. If you don’t have one, you can use the wire rack from your oven.
- Offset Spatula — Makes frosting the cake so much easier. A butter knife works, but the offset spatula is worth the $8.
- Cake Stand or Plate — For serving. I have a simple glass stand that cost $12 at Target.
- Parchment Paper — Cut circles to line the bottom of your pans. This guarantees the cakes won’t stick.
Pro tip: If you don’t have a stand mixer, you can cream the butter and sugar by hand with a wooden spoon. It takes a little elbow grease, but it’s totally doable.
Preparation Method
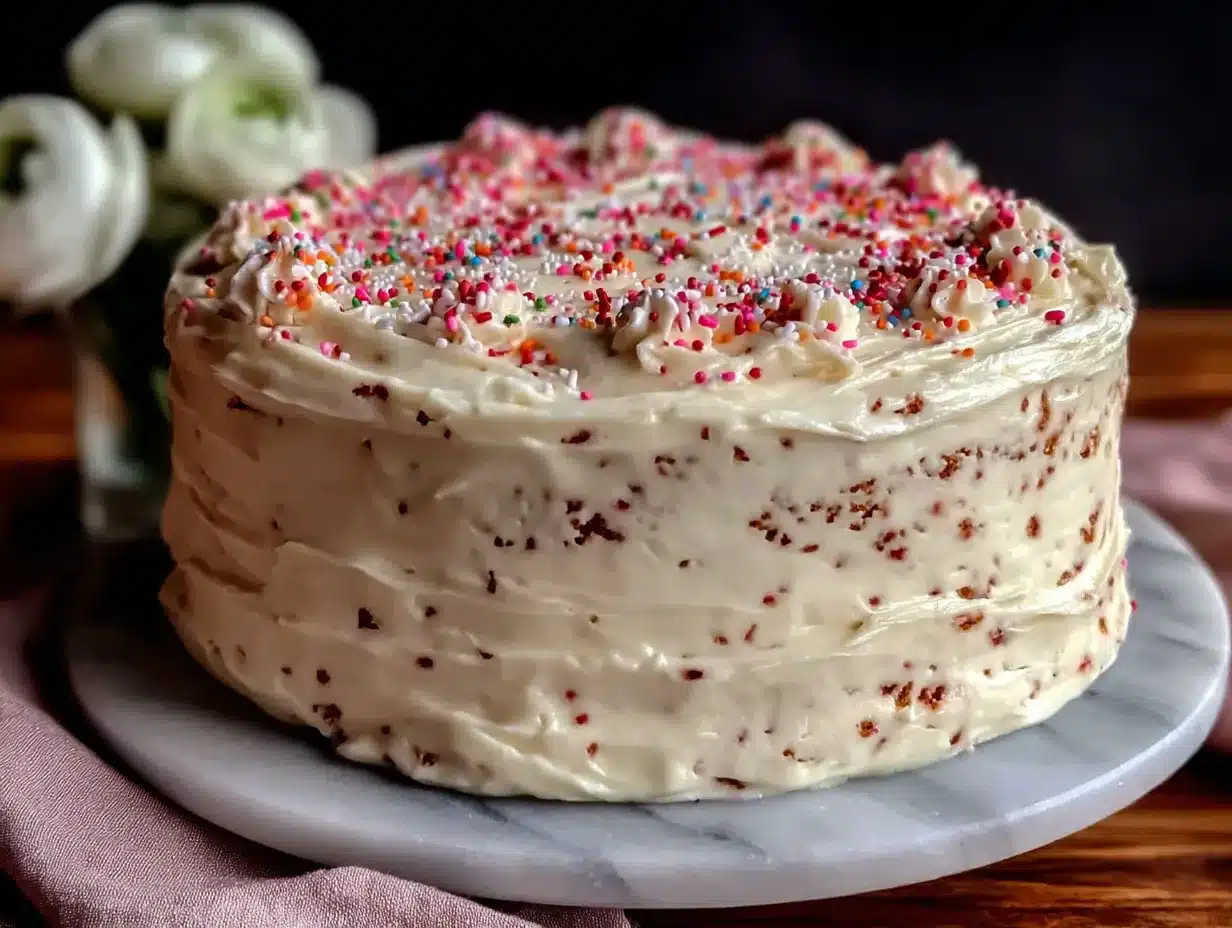
Alright, let’s make this cake. I’ve broken it down into simple steps so you don’t feel rushed. Take your time, and remember — it’s supposed to be fun.
- Preheat and Prep: Preheat your oven to 350°F (175°C). Grease two 9-inch round cake pans with butter or non-stick spray, then line the bottoms with parchment paper circles. This is non-negotiable — trust me, I learned the hard way when a cake stuck so bad I had to eat it out of the pan with a spoon.
- Mix Dry Ingredients: In a medium bowl, whisk together 2 ½ cups (315g) all-purpose flour, 2 ½ teaspoons baking powder, and ½ teaspoon salt. Set aside. This step aerates the flour and makes sure the baking powder is evenly distributed.
- Cream Butter and Sugar: In a large mixing bowl, beat 1 cup (226g) softened unsalted butter with 1 ¾ cups (350g) granulated sugar on medium speed for 3-4 minutes, until light and fluffy. Scrape down the sides of the bowl halfway through. The mixture should look pale and almost creamy.
- Add Eggs and Vanilla: Add the 3 room-temperature eggs one at a time, beating well after each addition. Then mix in 2 teaspoons vanilla extract. The batter might look a little curdled at this point — that’s normal. Don’t panic.
- Alternate Dry and Wet Ingredients: With the mixer on low speed, add the dry ingredients in three additions, alternating with 1 cup (240ml) buttermilk. Start and end with the dry ingredients. Mix just until combined — overmixing will make the cake tough. I usually stop the mixer when there’s still a little flour visible and finish by hand with a spatula.
- Fold in Sprinkles: Gently fold in ½ cup (90g) rainbow sprinkles using a rubber spatula. Don’t overmix here — you want streaks of color, not a gray mess. The batter will be thick and fluffy.
- Divide and Bake: Divide the batter evenly between the two prepared pans. I use a kitchen scale for accuracy, but eyeballing it works too. Smooth the tops with a spatula. Bake for 25-30 minutes, until a toothpick inserted in the center comes out clean or with a few moist crumbs. The tops should be golden and spring back when lightly touched.
- Cool Completely: Let the cakes cool in the pans for 10 minutes, then turn them out onto a wire rack. Peel off the parchment paper and let them cool completely — at least 1 hour. Don’t try to frost a warm cake. It will end in tears and melted buttercream.
- Make the Buttercream: While the cakes cool, beat 1 ½ cups (339g) softened butter on medium speed for 2-3 minutes until creamy. Gradually add 4 cups (480g) powdered sugar, one cup at a time, beating on low speed. Add 3 tablespoons heavy cream and 2 teaspoons vanilla extract, then beat on medium-high for 3-4 minutes until light and fluffy. If the frosting is too thick, add another tablespoon of cream. If it’s too thin, add a little more powdered sugar.
- Assemble the Cake: Place one cake layer on your serving plate. Spread about ¾ cup of buttercream evenly on top. Place the second layer on top, then apply a thin crumb coat — a thin layer of frosting that seals in the crumbs. Refrigerate for 15 minutes to set the crumb coat. Then apply the final layer of frosting, using an offset spatula for smooth sides. Top with extra sprinkles.
Cooking Tips & Techniques
I’ve made this cake enough times to know where things can go wrong. Here are the lessons I learned the hard way so you don’t have to.
- Room Temperature Ingredients Matter: Cold butter won’t cream properly, and cold eggs can make the batter curdle. Set everything out 30-60 minutes before you start. I forgot once and ended up with a lumpy batter — the cake still tasted okay, but the texture was off.
- Don’t Overmix the Batter: Once you add the flour, mix just until you don’t see streaks anymore. Overmixing develops gluten, which makes the cake dense and rubbery. I ruined my first batch this way. Now I stop the mixer a little early and finish by hand.
- Use the Right Sprinkles: Jimmies are the long, skinny ones. Nonpareils are the tiny round balls. Nonpareils bleed their color into the batter and turn everything gray. Trust me on this — I made a “confetti” cake once that looked more like a storm cloud.
- Check for Doneness Early: Ovens vary wildly. Start checking your cakes at 22 minutes. If the toothpick comes out with wet batter, give it another 3 minutes. If it comes out clean, it’s done. Overbaked cake is dry cake.
- The Crumb Coat is Your Friend: That thin first layer of frosting might seem like extra work, but it traps all the crumbs so your final layer is smooth and pretty. I skipped it once and ended up with little brown flecks all through my white frosting. Not cute.
Variations & Adaptations
This recipe is flexible — here are some ways to make it your own.
- Gluten-Free Version: Substitute the all-purpose flour with a 1:1 gluten-free baking flour blend. I’ve used King Arthur Measure for Measure with great results. Add 1 teaspoon of xanthan gum if your blend doesn’t already include it.
- Dairy-Free Option: Use vegan butter sticks (like Earth Balance) and replace the buttermilk with 1 cup of unsweetened almond milk mixed with 1 tablespoon of lemon juice. For the buttercream, use vegan butter and a dairy-free milk alternative.
- Chocolate Funfetti Cake: Replace ½ cup (60g) of the flour with ½ cup (40g) unsweetened cocoa powder. Reduce the baking powder to 2 teaspoons. The chocolate flavor pairs beautifully with the sprinkles.
- Lemon Funfetti Cake: Add the zest of 2 lemons to the sugar and rub it in with your fingers before creaming with the butter. Replace the vanilla extract with 1 teaspoon of lemon extract. It’s bright, fresh, and perfect for spring.
- Cupcakes: This batter makes about 24 cupcakes. Bake at 350°F (175°C) for 18-20 minutes. Frost with the same buttercream and top with sprinkles. My daughter’s class devoured these in about 10 minutes.
Serving & Storage Suggestions
This cake is best served at room temperature. If you’ve refrigerated it, let it sit out for about 30 minutes before slicing. The buttercream softens and the crumb becomes more tender.
For a fun presentation, arrange extra sprinkles on the plate or add a few birthday candles — even if it’s not actually anyone’s birthday. I’ve served this on a random Wednesday with candles and my kids thought it was the best day ever.
Storage-wise, this cake keeps well in an airtight container at room temperature for up to 3 days. If your kitchen is warm, you can refrigerate it — just bring it back to room temperature before serving. The flavors actually develop a bit overnight. I think it tastes even better on day two.
To freeze, wrap the unfrosted cake layers tightly in plastic wrap, then foil. Freeze for up to 3 months. Thaw overnight in the fridge, then bring to room temperature before frosting. You can also freeze the frosted cake — just place it in the freezer unwrapped for an hour to harden the buttercream, then wrap it well. Thaw in the fridge overnight.
Reheating? Honestly, I don’t recommend microwaving this cake — it melts the sprinkles and makes the buttercream greasy. If you want a warm slice, let it sit at room temperature and enjoy it as is.
Nutritional Information & Benefits
Let’s be real — this is a celebration cake, not a health food. But here’s the breakdown per slice (based on 12 servings):
- Calories: Approximately 520
- Fat: 28g
- Carbohydrates: 68g
- Protein: 5g
- Sugar: 50g
The buttermilk adds a little calcium and some probiotics. The butter provides vitamin A. And honestly? There’s something to be said for the mental health benefits of a slice of birthday cake on a random Tuesday. Joy is a nutrient too.
If you’re watching your sugar intake, you can reduce the sugar in the cake to 1 ½ cups (300g) without affecting the texture too much. For the frosting, you can use a sugar-free powdered sugar substitute, but I’ll warn you — the texture won’t be quite as silky.
Potential allergens: This recipe contains dairy, gluten, and eggs. See the variations section for substitutions.
Conclusion
This Quick Funfetti Birthday Layer Cake is everything I wanted it to be — tender, colorful, and genuinely easy to pull together on a weeknight. It’s the kind of cake that makes you feel like you’ve done something special, even when all you really did was mix, bake, and frost. And honestly, that’s the whole point. Life is busy, and we don’t always have time for elaborate projects. But we all deserve a little sprinkle of joy now and then.
I’d love to hear how yours turns out. Did you try a variation? Did your kids help with the sprinkles? Drop a comment below and let me know. And if you loved this recipe, share it with a friend who needs a little fun in their kitchen.
Go on — make yourself a birthday cake. Even if it’s not your birthday. You’ve earned it.
Frequently Asked Questions
Can I use a boxed cake mix instead of making it from scratch?
Absolutely. If you’re short on time, a white or yellow cake mix works great. Just add ½ cup of sprinkles to the batter and follow the box instructions. The buttercream recipe above still works perfectly with a boxed cake.
Why did my sprinkles bleed into the batter?
You probably used nonpareils (the tiny round ones) instead of jimmies (the long skinny ones). Jimmies are coated to hold their color better. If you only have nonpareils, toss them in a little flour before folding them in — it helps absorb some of the color.
Can I make this cake ahead of time?
Yes! You can bake the cake layers up to 2 days in advance. Wrap them tightly in plastic wrap and store at room temperature. You can also make the buttercream up to 5 days ahead and refrigerate it — just let it come to room temperature and re-whip before using.
How do I get smooth sides on my buttercream?
Use an offset spatula and a turntable if you have one. Apply a crumb coat first, then refrigerate for 15 minutes. For the final layer, hold the spatula at a 45-degree angle and rotate the cake slowly. A bench scraper also works wonders for getting perfectly smooth sides.
My cake layers are domed on top. What do I do?
That’s totally normal. Use a serrated knife to level the tops before stacking. Just slice off the dome so the layers are flat. You can eat the scraps — chef’s privilege!
Pin This Recipe!
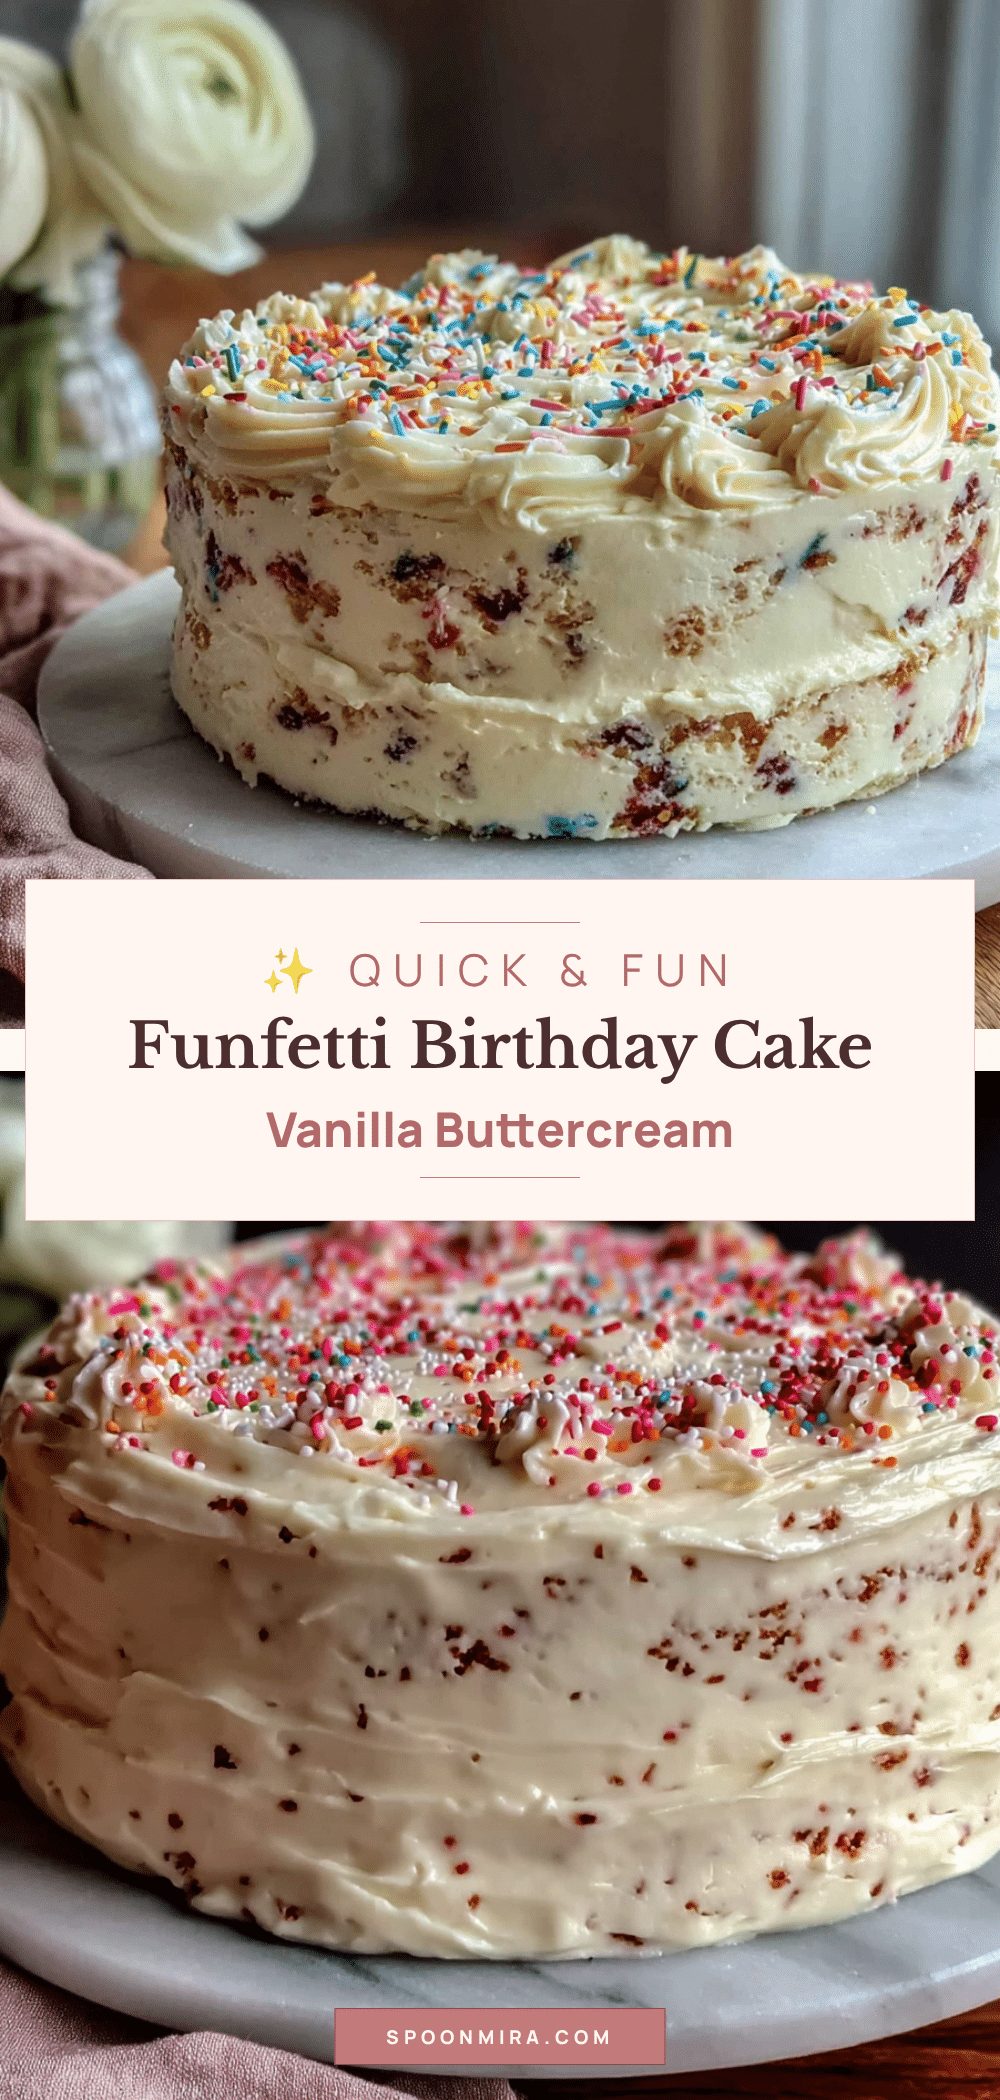
Quick Funfetti Birthday Layer Cake with Easy Vanilla Buttercream
A tender, moist funfetti layer cake with silky vanilla buttercream that comes together in under an hour. Perfect for birthdays, weeknight celebrations, or any time you need a little sprinkle of joy.
- Prep Time: 20 minutes
- Cook Time: 30 minutes
- Total Time: 50 minutes
- Yield: 12 servings 1x
- Category: Dessert
- Cuisine: American
Ingredients
- 2 ½ cups (315g) all-purpose flour
- 1 ¾ cups (350g) granulated sugar
- 1 cup (226g) unsalted butter, softened
- 3 large eggs, room temperature
- 1 cup (240ml) buttermilk, room temperature
- 2 teaspoons vanilla extract
- 2 ½ teaspoons baking powder
- ½ teaspoon salt
- ½ cup (90g) rainbow sprinkles (jimmies)
- 1 ½ cups (339g) unsalted butter, softened (for buttercream)
- 4 cups (480g) powdered sugar
- 3–4 tablespoons (45-60ml) heavy cream
- 2 teaspoons vanilla extract (for buttercream)
- ¼ cup (45g) rainbow sprinkles (for decoration)
Instructions
- Preheat oven to 350°F (175°C). Grease two 9-inch round cake pans and line bottoms with parchment paper circles.
- In a medium bowl, whisk together flour, baking powder, and salt. Set aside.
- In a large mixing bowl, beat softened butter and granulated sugar on medium speed for 3-4 minutes until light and fluffy. Scrape down sides halfway through.
- Add eggs one at a time, beating well after each addition. Mix in vanilla extract.
- With mixer on low, add dry ingredients in three additions, alternating with buttermilk, starting and ending with dry ingredients. Mix just until combined; finish by hand with a spatula if needed.
- Gently fold in ½ cup rainbow sprinkles with a rubber spatula until just combined.
- Divide batter evenly between prepared pans. Smooth tops. Bake for 25-30 minutes until a toothpick inserted in center comes out clean or with a few moist crumbs.
- Cool cakes in pans for 10 minutes, then turn out onto a wire rack. Peel off parchment and cool completely (at least 1 hour).
- For buttercream: Beat 1 ½ cups softened butter on medium speed for 2-3 minutes until creamy. Gradually add powdered sugar, one cup at a time, beating on low. Add 3 tablespoons heavy cream and 2 teaspoons vanilla; beat on medium-high for 3-4 minutes until light and fluffy. Adjust consistency with additional cream or powdered sugar as needed.
- Place one cake layer on serving plate. Spread about ¾ cup buttercream evenly on top. Place second layer on top. Apply a thin crumb coat, refrigerate 15 minutes, then apply final layer of frosting. Top with extra sprinkles.
Notes
Use jimmies (long skinny sprinkles) not nonpareils to prevent color bleeding. Room temperature ingredients are crucial for best texture. A crumb coat helps achieve smooth frosting. Cake keeps at room temperature for up to 3 days or can be frozen unfrosted for up to 3 months.
Nutrition
- Serving Size: 1 slice
- Calories: 520
- Sugar: 50
- Sodium: 320
- Fat: 28
- Saturated Fat: 17
- Carbohydrates: 68
- Fiber: 1
- Protein: 5
Keywords: funfetti cake, birthday cake, layer cake, vanilla buttercream, sprinkle cake, easy cake recipe, quick cake


