“Why can’t we just crush the cookies with our hands?” my six-year-old nephew asked, eyeing the rolling pin I’d just pulled from the drawer. I started to explain why that wouldn’t work—something about even crumbs and proper texture—then stopped. Honestly? I had no good reason. I just assumed my way was the right way.
So I handed him the bag of Oreos. Ten minutes later, we had a mixing bowl full of perfectly crushed “dirt,” his tiny fingers doing way more damage than my rolling pin ever could. I stood there, a little humbled, watching him grin at his handiwork. He’d been right. Sometimes the simplest method really is the best one.
That afternoon turned into our first batch of no-bake Oreo dirt cups, and let me tell you—it was a mess. Chocolate pudding ended up on the counter, gummy worms were “swimming” in the cream layer before I could stop him, and I’m pretty sure there’s still a hidden Oreo crumb somewhere in my kitchen. But you know that feeling when something just works, even when it looks like chaos? That was this recipe.
These easy no-bake Oreo dirt cups with gummy worms have become my go-to for pretty much every kid-friendly gathering since. Birthday parties, summer cookouts, lazy Sunday afternoons—they never last long. And the best part? You don’t need an oven, a mixer, or any fancy skills. Just a few ingredients, some little helpers, and maybe a sense of humor about the mess.
I keep making them because they remind me that cooking doesn’t always have to be complicated to be special. Sometimes the best recipes come from letting go of control and letting a six-year-old show you how it’s done.
Why You’ll Love This Recipe
Let’s be real—when you’re hosting a party or putting together a fun dessert for a crowd, you need something that looks impressive but doesn’t stress you out. These no-bake Oreo dirt cups deliver on both fronts. I’ve brought them to potlucks, family reunions, and Halloween parties, and they always steal the show.
- No baking required: Seriously, zero oven time. This is perfect for hot summer days or when your oven is already occupied with other dishes.
- Kid-friendly and kid-approved: My nephew still requests these for every visit. They’re fun to make and even more fun to eat.
- Simple ingredients: Oreos, instant pudding, milk, cream cheese, whipped topping, and gummy worms. That’s it. No weird specialty items.
- Perfect for gatherings: Individual servings mean no slicing, no mess, and everyone gets their own little garden of worms.
- Make-ahead magic: You can prep these the night before and just pull them out when guests arrive. Your future self will thank you.
- Crowd-pleaser guaranteed: I’ve yet to meet a kid—or adult, honestly—who doesn’t light up when they see these little cups of dirt.
What makes this recipe different from all the other dirt cup versions out there? It’s the texture. The creamy, slightly tangy pudding layer combined with the crunchy Oreo crumb topping creates this perfect contrast that keeps people coming back for more. Plus, the cream cheese in the pudding mixture gives it a richness that boxed pudding alone just can’t match.
These aren’t just another dessert—they’re the kind that makes people smile before they even take a bite. And isn’t that what hosting is all about?
What Ingredients You Will Need
This recipe uses simple, everyday ingredients to create something that feels surprisingly special. Most of these are probably already in your pantry or fridge, which makes this perfect for those last-minute hosting moments.
For the Pudding Layer
- 1 package (3.9 oz) instant chocolate pudding mix – I prefer Jell-O brand for consistent results, but any brand works fine. Make sure it’s the instant kind, not cook-and-serve.
- 2 cups cold milk – Whole milk gives the richest texture, but 2% works well too. For a dairy-free version, use oat milk or almond milk.
- 4 oz cream cheese, softened – This is my secret ingredient. It adds a subtle tang and makes the pudding layer extra creamy. Let it sit out for 30 minutes before mixing.
- 1/4 cup powdered sugar – Just enough to sweeten the cream cheese without making things too sugary.
- 1 cup frozen whipped topping, thawed – Cool Whip works great, or use homemade whipped cream if you’re feeling fancy. Thaw it in the fridge for a few hours before using.
For the Dirt Layer
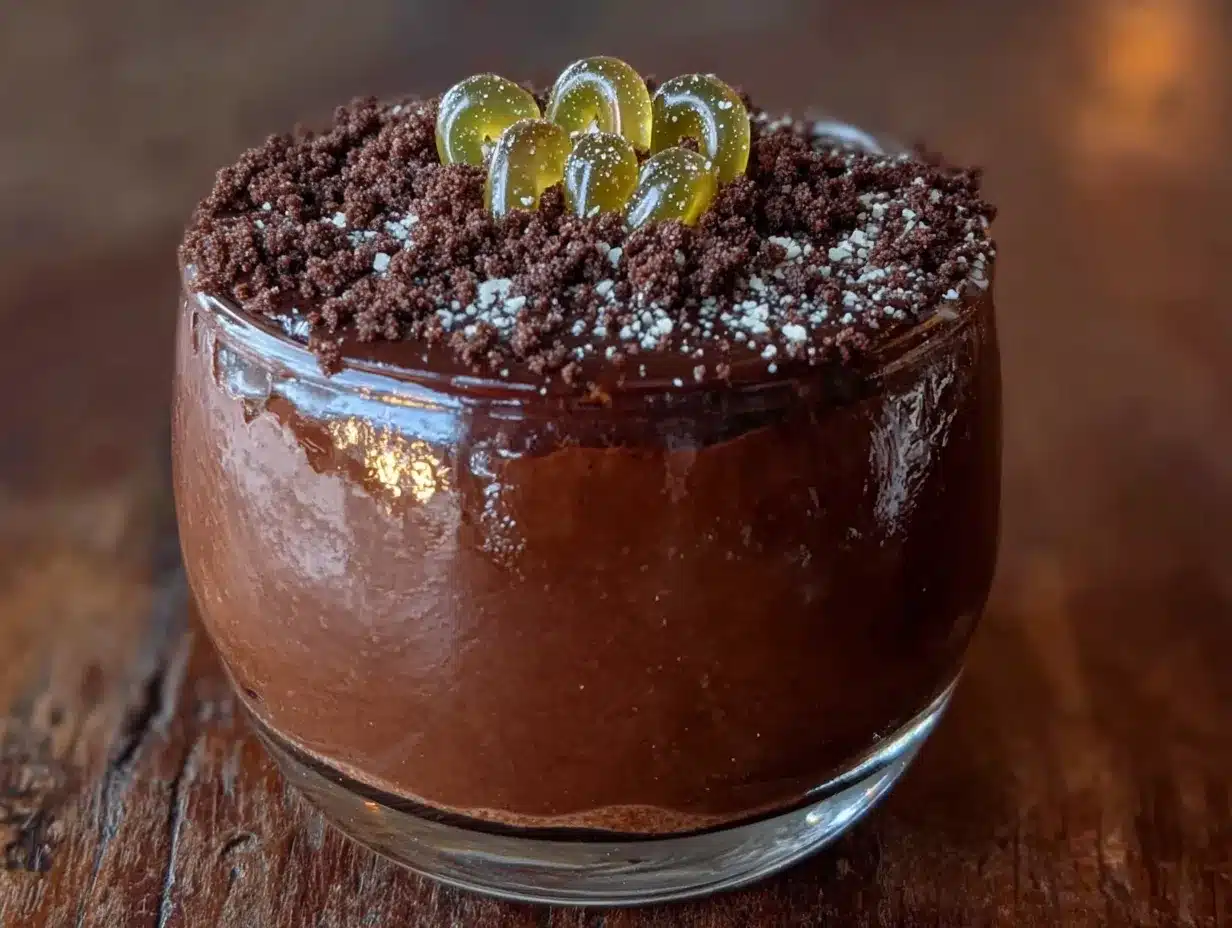
- 1 package (14.3 oz) Oreo cookies – Regular Oreos work best. Double Stuf is fine too, but you’ll get slightly less “dirt” texture since there’s more cream filling. I’ve also used the generic chocolate sandwich cookies in a pinch, and they work just fine.
For Decoration
- Gummy worms – About 2-3 per cup, depending on how “infested” you want your dirt to look. I like the sour ones for extra zing.
- Optional: small gummy leaves or flower sprinkles – For a garden-themed party, these add a cute touch.
Ingredient Tips: When you’re buying Oreos for this recipe, look for a fresh package—stale cookies won’t crush as nicely and the texture will be off. For the pudding, I’ve tried both chocolate and cookies and cream flavors, and honestly, chocolate gives the best “dirt” color. The cream cheese is non-negotiable in my book; it really does make a difference in the final texture. If you’re dairy-free, use a plant-based cream cheese and whipped topping—I’ve tested this with Kite Hill cream cheese and it worked beautifully.
Equipment Needed
One of the best things about this recipe is how little equipment you need. No stand mixer, no food processor, no special pans.
- Mixing bowls: You’ll need one large bowl for the pudding mixture and one medium bowl for crushing the Oreos.
- Hand mixer or whisk: A hand mixer makes incorporating the cream cheese much easier, but a strong arm and a whisk will work too. I’ve done it both ways.
- Measuring cups and spoons: Standard set for the milk, powdered sugar, and pudding mix.
- Small cups or clear plastic cups: I use 7-ounce clear plastic cups for parties—they show off the layers beautifully. You can also use small mason jars, ramekins, or even paper cups.
- Ziploc bag or rolling pin: For crushing the Oreos. A Ziploc bag and your hands (or a rolling pin) work perfectly. Or just let a kid do it—they love it.
- Spatula: For scraping every last bit of pudding into the cups.
If you don’t have a hand mixer, no worries. Just soften your cream cheese really well and whisk vigorously. It takes an extra minute or two, but the result is the same. For the cups, I’ve reused old yogurt containers in a pinch—just make sure they’re clean and dry.
Preparation Method
This comes together in about 20 minutes of active time, plus at least 2 hours of chilling. Here’s how to make your own no-bake Oreo dirt cups.
- Crush the Oreos: Place the entire package of Oreos (cream filling and all) into a large Ziploc bag. Seal it, then crush the cookies using your hands, a rolling pin, or the bottom of a measuring cup. You want a mix of fine crumbs and slightly larger pieces—think real garden dirt. Don’t pulverize them completely; a little texture is good. Set aside about 1/4 cup of the crumbs for topping later.
- Soften the cream cheese: In a large mixing bowl, beat the softened cream cheese with a hand mixer until smooth and creamy, about 1 minute. Add the powdered sugar and beat until combined. This step is crucial—if the cream cheese isn’t smooth, you’ll get lumps in your pudding layer.
- Make the pudding: In a separate bowl, whisk together the instant chocolate pudding mix and cold milk for about 2 minutes until it starts to thicken. It should be slightly set but still pourable.
- Combine the mixtures: Pour the pudding into the cream cheese mixture and beat with the hand mixer until smooth and fully combined. Scrape down the sides of the bowl to make sure everything is incorporated.
- Fold in the whipped topping: Gently fold the thawed whipped topping into the pudding mixture using a spatula. Don’t overmix—you want to keep it light and airy. The mixture should be smooth, creamy, and a uniform chocolate color.
- Assemble the cups: Spoon about 2 tablespoons of the crushed Oreo crumbs into the bottom of each cup. This creates the first “dirt” layer. Press it down lightly with the back of a spoon.
- Add the pudding layer: Spoon or pipe the pudding mixture over the Oreo layer, filling each cup about 3/4 full. You can use a piping bag for cleaner layers, but a spoon works just fine. Tap the cups gently on the counter to settle the pudding.
- Top with more dirt: Sprinkle the remaining Oreo crumbs over the pudding layer, covering it completely. You want to hide the chocolate pudding so it looks like real dirt. Use the reserved 1/4 cup of finer crumbs for the top if you want a more polished look.
- Add the worms: Gently poke 2-3 gummy worms into the top of each cup, letting some stick out as if they’re crawling out of the dirt. Get creative—some can be fully buried, some half in, half out.
- Chill: Refrigerate the cups for at least 2 hours, or overnight. This allows the pudding to set completely and the flavors to meld. The longer they sit, the better they taste.
My personal tip: When you’re crushing the Oreos, leave a few larger chunks. They add a nice crunch and make the “dirt” look more realistic. Also, don’t skip the chilling time—I once served these after only an hour, and the pudding was still too soft. Two hours is the sweet spot.
Cooking Tips & Techniques
After making these dirt cups more times than I can count, I’ve picked up a few tricks that make the process smoother and the results better.
Don’t overmix the pudding. I learned this the hard way when I beat the pudding mixture too long and ended up with a thin, soupy mess. Instant pudding sets quickly, so stop mixing as soon as it comes together. About 2 minutes is perfect.
Room temperature cream cheese is key. Cold cream cheese will leave you with lumpy pudding. Set it out on the counter for 30 minutes before you start. If you forget (I do this all the time), microwave it for 10-15 seconds on low power.
Layer strategically for parties. If you’re making these for a crowd, prep the pudding mixture and crushed Oreos separately, then let guests assemble their own cups. It’s a fun activity and saves you time. Just keep the components refrigerated until serving.
Use clear cups for the wow factor. The layers are half the fun of this dessert. Clear plastic cups or small mason jars let everyone see the dirt, the pudding, and the worms peeking out. Trust me, it makes a difference.
Toast the Oreo crumbs for extra flavor. This is optional, but spreading the crushed Oreos on a baking sheet and toasting them at 350°F for 5 minutes adds a deeper, almost smoky flavor. Let them cool completely before assembling.
Make it ahead of time. These actually taste better after sitting overnight. The Oreo crumbs soften slightly and the flavors meld together. I usually make them the day before a party and just add the gummy worms right before serving so they stay chewy.
Variations & Adaptations
One of the things I love about this recipe is how easy it is to change up. Here are some of my favorite variations.
Peanut butter dirt cups: Add 1/4 cup of creamy peanut butter to the cream cheese mixture before adding the pudding. The chocolate and peanut butter combo is incredible. Just make sure no one has allergies if you’re serving a crowd.
Mint chocolate version: Use mint Oreos instead of regular ones, and add 1/2 teaspoon of peppermint extract to the pudding mixture. It tastes like a Thin Mint in cup form. Perfect for Christmas parties.
Vegan adaptation: Use dairy-free cream cheese, coconut milk-based whipped topping, and oat milk for the pudding. Most Oreos are accidentally vegan, so you’re good there. I’ve tested this with a vegan friend, and she couldn’t tell the difference.
Gluten-free option: Use gluten-free chocolate sandwich cookies. There are several brands available now that taste remarkably close to Oreos. Everything else in the recipe is naturally gluten-free.
Halloween version: Swap the gummy worms for gummy spiders or bats. Use orange and black sprinkles on top. I did this for a Halloween party last year, and the kids went wild.
Birthday party twist: Add a layer of rainbow sprinkles between the pudding and the Oreo crumbs. It creates a fun “surprise” layer when you dig in.
Serving & Storage Suggestions
These no-bake Oreo dirt cups are best served cold, straight from the fridge. The contrast between the cool, creamy pudding and the crunchy Oreo topping is what makes them so satisfying.
Presentation tips for hosting: Arrange the cups on a serving tray or platter. For extra flair, add a few extra gummy worms around the base of each cup, or place a small plastic flower or garden decoration on the tray. I once served these in small terra cotta pots (lined with plastic wrap) and everyone thought I’d gone all out—but it took no extra effort.
What to serve alongside: These pair beautifully with fresh fruit like strawberries or raspberries, which cut through the richness. For a full dessert spread, serve them alongside classic chocolate chip cookies or a simple vanilla ice cream. If you’re hosting a kids’ party, add a platter of colorful fruit skewers for balance.
Storage: Cover the cups with plastic wrap or transfer them to an airtight container. They’ll keep in the refrigerator for up to 3 days. The Oreo crumbs will soften over time, but that’s actually part of the charm—they start to taste like real dirt.
Freezing: You can freeze these for up to 1 month. Make them without the gummy worms, freeze the cups individually wrapped, then thaw in the fridge overnight and add the worms before serving. The texture is slightly different but still delicious.
Reheating: Don’t. These are meant to be served cold. If they’ve been sitting out for more than 2 hours, just pop them back in the fridge for 30 minutes before serving.
Nutritional Information & Benefits
Let’s be honest—these are a treat, not a health food. But here’s the breakdown if you’re curious.
| Nutrient | Amount Per Serving (1 cup) |
|---|---|
| Calories | 380 |
| Total Fat | 18g |
| Saturated Fat | 10g |
| Cholesterol | 25mg |
| Sodium | 380mg |
| Total Carbohydrates | 52g |
| Dietary Fiber | 2g |
| Sugars | 36g |
| Protein | 5g |
Health considerations: These contain dairy, gluten (from the Oreos), and soy. They’re not suitable for vegans unless you make the adaptations mentioned above. The good news? They’re portion-controlled in individual cups, which makes it easier to enjoy without overdoing it.
A note from me: I don’t make these every week, but when I do, I don’t feel guilty. Food is about joy, connection, and celebration. These dirt cups bring all three. Plus, the cream cheese adds a little protein and calcium, so there’s that.
Frequently Asked Questions
Can I make these without cream cheese?
Yes, but the texture won’t be as rich. Just skip the cream cheese and powdered sugar, and use the pudding and whipped topping alone. They’ll still taste good, just less creamy.
How far in advance can I make dirt cups?
You can make them up to 3 days ahead. Just add the gummy worms right before serving so they stay chewy. If you add them too early, they’ll absorb moisture and get soggy.
Can I use homemade pudding instead of instant?
You can, but it changes the texture. Homemade pudding is thinner and won’t set as firmly. If you go that route, add an extra tablespoon of cornstarch to help it thicken.
What if I don’t have clear cups?
No problem! Use small bowls, ramekins, or even paper cups. The layers won’t be visible, but they’ll taste the same. I’ve even made these in a large trifle dish for a party.
Can I double this recipe?
Absolutely. This recipe makes about 6-8 cups depending on the size. For a crowd, just double everything. The only thing to watch is your mixing bowl size—you might need to do the pudding in batches.
Conclusion
These easy no-bake Oreo dirt cups with gummy worms are more than just a dessert—they’re an experience. They bring out the kid in everyone, from the youngest party guest to the most serious adult at the table. And honestly? That’s exactly what I love about them.
Whether you’re hosting a birthday party, a summer barbecue, or just looking for a fun weekend project with the kids, this recipe delivers. It’s forgiving, customizable, and impossible to mess up. Even if you’ve never baked a thing in your life, you can make these and look like a rockstar.
So go ahead—crush some cookies, poke in some worms, and watch the smiles happen. And if a little helper suggests doing it their way? Maybe listen. They might just teach you something.
I’d love to hear how yours turn out! Drop a comment below with your favorite variation or tag me in your dirt cup photos. Happy hosting!
Pin This Recipe!
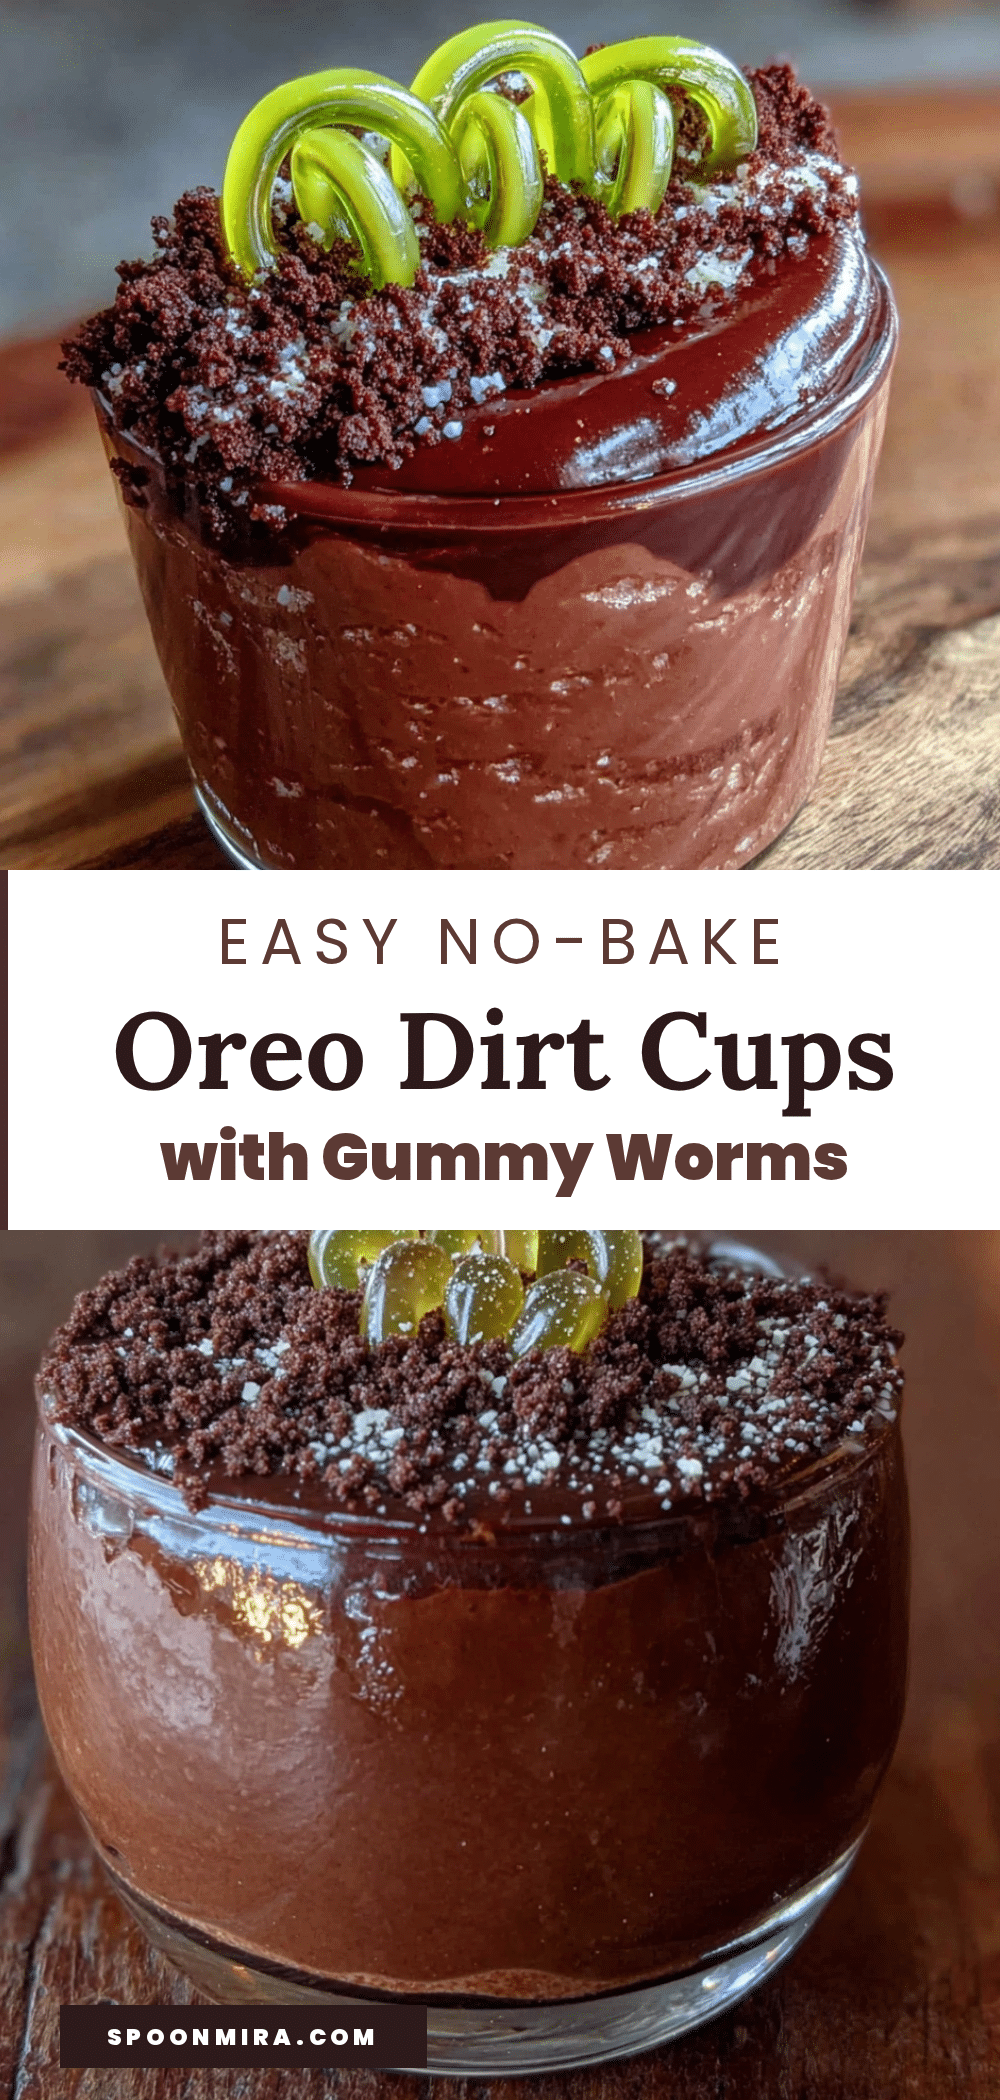
Easy No-Bake Oreo Dirt Cups Recipe for Kids
These easy no-bake Oreo dirt cups with gummy worms are a fun, kid-friendly dessert perfect for parties and gatherings. With a creamy chocolate pudding layer and crunchy Oreo crumb topping, they’re simple to make and always a crowd-pleaser.
- Prep Time: 20 minutes
- Cook Time: 0 minutes
- Total Time: 2 hours 20 minutes (includes chilling time)
- Yield: 6-8 servings 1x
- Category: Dessert
- Cuisine: American
Ingredients
- 1 package (3.9 oz) instant chocolate pudding mix
- 2 cups cold milk
- 4 oz cream cheese, softened
- 1/4 cup powdered sugar
- 1 cup frozen whipped topping, thawed
- 1 package (14.3 oz) Oreo cookies
- Gummy worms (about 2-3 per cup)
- Optional: small gummy leaves or flower sprinkles
Instructions
- Crush the Oreos: Place the entire package of Oreos (cream filling and all) into a large Ziploc bag. Seal it, then crush the cookies using your hands, a rolling pin, or the bottom of a measuring cup. You want a mix of fine crumbs and slightly larger pieces. Set aside about 1/4 cup of the crumbs for topping later.
- Soften the cream cheese: In a large mixing bowl, beat the softened cream cheese with a hand mixer until smooth and creamy, about 1 minute. Add the powdered sugar and beat until combined.
- Make the pudding: In a separate bowl, whisk together the instant chocolate pudding mix and cold milk for about 2 minutes until it starts to thicken. It should be slightly set but still pourable.
- Combine the mixtures: Pour the pudding into the cream cheese mixture and beat with the hand mixer until smooth and fully combined. Scrape down the sides of the bowl.
- Fold in the whipped topping: Gently fold the thawed whipped topping into the pudding mixture using a spatula. Don’t overmix—you want to keep it light and airy.
- Assemble the cups: Spoon about 2 tablespoons of the crushed Oreo crumbs into the bottom of each cup. Press it down lightly with the back of a spoon.
- Add the pudding layer: Spoon or pipe the pudding mixture over the Oreo layer, filling each cup about 3/4 full. Tap the cups gently on the counter to settle the pudding.
- Top with more dirt: Sprinkle the remaining Oreo crumbs over the pudding layer, covering it completely. Use the reserved 1/4 cup of finer crumbs for the top if you want a more polished look.
- Add the worms: Gently poke 2-3 gummy worms into the top of each cup, letting some stick out as if they’re crawling out of the dirt.
- Chill: Refrigerate the cups for at least 2 hours, or overnight. This allows the pudding to set completely and the flavors to meld.
Notes
For best results, use room temperature cream cheese to avoid lumps. Don’t overmix the pudding—stop as soon as it comes together (about 2 minutes). For a more polished look, reserve finer crumbs for the top layer. These taste even better after sitting overnight. Add gummy worms just before serving to keep them chewy.
Nutrition
- Serving Size: 1 cup
- Calories: 380
- Sugar: 36
- Sodium: 380
- Fat: 18
- Saturated Fat: 10
- Carbohydrates: 52
- Fiber: 2
- Protein: 5
Keywords: no-bake dessert, Oreo dirt cups, kid-friendly dessert, chocolate pudding, gummy worms, easy dessert, party dessert


