I had refused to eat cooked squash for a solid decade. Maybe longer. I blamed it on my grandmother’s boiled zucchini from the seventies—waterlogged, sad, and utterly flavorless. Then, last October, I found myself at a friend’s farmhouse for a weekend cooking experiment, and she handed me a knife and a bag of acorn squash with that look. You know the one. The look that says “I dare you to try this my way.”
Honestly, I almost made something else for myself. But she was already pulling maple syrup from the pantry and talking about how the squash rings caramelize at the edges, and something about the way the afternoon light hit that bottle of amber syrup made me pause. “Fine,” I said. “But I’m not promising anything.”
Twenty-eight minutes later, I was scraping the last bits of maple glaze off the baking sheet with my finger. And I mean, I was caught—she walked back into the kitchen and found me hunched over the pan, making those little “mm-hmm” sounds you make when you don’t want anyone to see how much you’re enjoying something you swore you hated. She didn’t say a word. Just smiled that slow, knowing smile.
The thing about these cozy maple glazed roasted acorn squash rings is that they don’t taste like squash. Or rather, they taste like what squash was always supposed to taste like—sweet, buttery, with edges that get all chewy-crisp and a glaze that sticks to your fingers. I’ve made them every week since that weekend, and I still get that same little jolt of surprise when I pull them out of the oven. Maybe you’ve been there with a vegetable you thought you had figured out.
This recipe stayed with me because it proved me wrong without trying. That’s a rare thing, honestly. And now I keep making it because it’s the easiest way I know to turn a Tuesday night into something that feels a little bit like a celebration.
Why You’ll Love This Recipe
Let me tell you why this one is different. I’ve tested this recipe about seven times to get the glaze-to-squash ratio just right—too thin and it slides off, too thick and it burns before the squash softens. This version hits that sweet spot where each ring comes out glossy, tender, and just a little bit sticky.
- Quick & Easy: From knife to table in 30 minutes flat. No peeling required. No complicated techniques.
- Simple Ingredients: You probably have everything already—acorn squash, maple syrup, butter, salt, and pepper. That’s it.
- Perfect for Fall & Winter: This is the side dish that belongs at Thanksgiving, Friendsgiving, Sunday dinners, and those cozy weeknights when you want something warm and sweet.
- Crowd-Pleaser: I served these at a potluck last month, and three people asked for the recipe. One of them was my uncle who “doesn’t eat vegetables.”
- Unbelievably Delicious: The edges caramelize into these little crispy bits that taste like candy. The centers stay soft and almost creamy.
What makes this recipe different from the dozens of other roasted squash recipes out there? It’s the technique. Slicing the squash into rings instead of halves means more surface area for that maple glaze to cling to. More caramelized edges per bite. And the low-and-slow start followed by a high-heat finish gives you that perfect texture contrast—tender all the way through, but with those gorgeous browned edges.
This isn’t just another roasted vegetable recipe. It’s the kind of side dish that makes you close your eyes after the first bite. It’s comfort food that feels a little bit fancy but comes together with almost no effort. Perfect for impressing guests without stress, or turning a simple weeknight meal into something memorable.
What Ingredients You Will Need
This recipe uses simple, wholesome ingredients to deliver bold flavor and satisfying texture without the fuss. Most of these are pantry staples, especially if you cook with maple syrup during the fall months. Here’s what you’ll need:
- Acorn squash (2 medium, about 1.5 pounds each) — Look for squash that feels heavy for its size and has a deep green color with some orange patches. The orange patches mean it’s fully ripe and will be sweeter. I prefer organic when I can find it, but conventional works just fine.
- Pure maple syrup (¼ cup, 60 ml) — Please use the real stuff, not pancake syrup. Grade A dark amber is my go-to for this recipe because it has a stronger maple flavor that stands up to roasting. I personally like the brands from Vermont or New York, but any pure maple syrup works.
- Unsalted butter (3 tablespoons, 42 grams, melted) — Salted butter works too, just reduce the added salt slightly. For a dairy-free version, coconut oil or vegan butter both work beautifully.
- Olive oil (1 tablespoon, 15 ml) — This helps the squash brown without burning the butter. Use a good-quality extra virgin olive oil if you have it, but regular works too.
- Salt (½ teaspoon, 3 grams) — I use fine sea salt. Kosher salt works too, but you might need a bit more since the flakes are larger.
- Black pepper (¼ teaspoon, freshly ground) — Freshly ground makes a difference here. It adds a little warmth that plays nicely with the sweet maple.
- Cinnamon (½ teaspoon, optional but recommended) — This is my little addition. It brings out the natural sweetness of the squash and makes the whole kitchen smell incredible.
- Fresh thyme (4-5 sprigs, for garnish) — Optional, but the color contrast is gorgeous and the earthy flavor balances the sweetness.
Ingredient Selection Tips: When choosing acorn squash, avoid any with soft spots or cracks. The stem should be intact and dry. If you’re buying ahead, acorn squash keeps for about a month in a cool, dark place. I’ve also made this with butternut squash when acorn wasn’t available—just cut it into rings of similar thickness, about ½ inch each.
Substitution Guidance: For a lower-sugar option, you can use half maple syrup and half water or apple cider. For a savory twist, skip the cinnamon and add a pinch of cayenne or smoked paprika. And if you don’t have fresh thyme, dried thyme works—just use about ½ teaspoon and sprinkle it on before roasting.
Equipment Needed
You don’t need much for this recipe, which is part of why I love it so much. Here’s what you’ll want to have on hand:
- Sharp chef’s knife (8-inch or larger) — Acorn squash is tough. A dull knife is dangerous here. I learned this the hard way after nearly slicing my thumb. A good, sharp knife makes the job easy and safe.
- Cutting board — A sturdy wooden or plastic board that won’t slip. Place a damp paper towel underneath to keep it stable.
- Large baking sheet (18×13 inch or similar) — You want enough space so the rings aren’t crowded. If they touch too much, they’ll steam instead of caramelizing. I use a half-sheet pan and it works perfectly.
- Parchment paper or silicone baking mat — This makes cleanup so much easier and prevents the glaze from sticking and burning onto the pan.
- Small bowl — For mixing the glaze.
- Pastry brush or spoon — For brushing the glaze onto the squash rings. A brush gives more even coverage, but a spoon works fine too.
- Measuring spoons and cups — For accurate measurements.
- Metal spatula — For flipping the rings halfway through. A thin metal spatula slides under the caramelized edges without tearing them.
If you don’t have a pastry brush, no worries. I’ve used the back of a spoon many times, and honestly, it still works great. Just drizzle and spread. And if your baking sheet is smaller than recommended, use two sheets or bake in batches.
Preparation Method
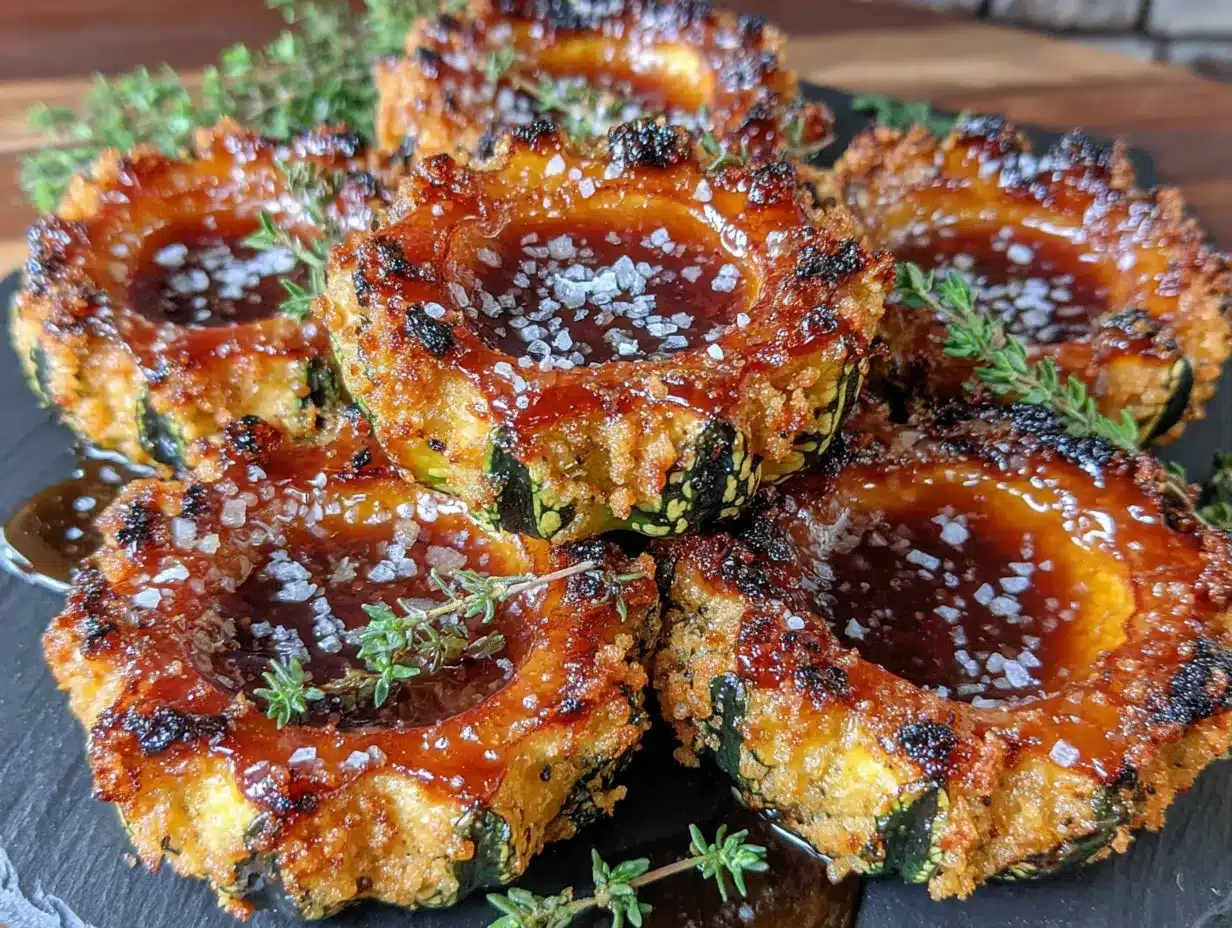
Let’s get cooking. This whole process takes about 30 minutes, and most of that is hands-off oven time. Here’s the step-by-step:
- Preheat your oven to 400°F (200°C). Position the rack in the middle of the oven. Line your large baking sheet with parchment paper or a silicone mat.
- Prepare the squash. Using your sharp chef’s knife, carefully cut off both ends of the acorn squash—just about ¼ inch from each tip. This creates flat surfaces so the squash sits steady. Stand the squash upright on one flat end and slice it in half vertically from top to bottom. Use a spoon to scoop out the seeds and stringy pulp. Don’t worry about getting every last string—just remove the bulk of it.
- Slice into rings. Lay each squash half cut-side down on the cutting board. Slice crosswise into ½-inch thick half-rings. You should get about 6-8 half-rings per squash half, depending on size. If some are thinner or thicker, that’s okay—just keep them as uniform as you can for even cooking. I usually end up with some smaller pieces from the ends, and I roast those too. They just cook a little faster.
- Make the maple glaze. In your small bowl, whisk together the melted butter, maple syrup, olive oil, salt, pepper, and cinnamon (if using). Whisk until fully combined. Taste it—it should be sweet, salty, and a little warm from the cinnamon. Adjust salt or pepper to your preference.
- Arrange the rings. Place the squash rings in a single layer on the prepared baking sheet. Don’t overlap them. If they’re crowded, use a second sheet. You want air to circulate around each ring so they caramelize properly.
- Brush with glaze. Using your pastry brush or a spoon, generously brush the maple glaze over each ring. Make sure to coat both sides if you can—flip each ring, brush the other side, then flip back. Don’t be shy with the glaze. It’s what makes these rings so good. Use all of it.
- Roast for 15 minutes. Place the baking sheet in the preheated oven. Set a timer for 15 minutes. At this point, the squash should be starting to soften and the glaze should be bubbling.
- Flip and brush again. Remove the sheet from the oven. Using your metal spatula, carefully flip each ring. You might notice some glaze has pooled on the pan—that’s fine. Brush any remaining glaze from the bowl over the rings again. If there’s glaze on the parchment, just spread it around with the brush.
- Roast for another 10-15 minutes. Return to the oven. Start checking at the 10-minute mark. The rings are done when they’re tender all the way through (a fork should slide in easily) and the edges are browned and caramelized. Some spots might look almost burnt—that’s the sugar in the maple syrup caramelizing, and it’s delicious.
- Rest and garnish. Remove from the oven and let the rings rest on the pan for 2-3 minutes. This lets the glaze set slightly. Transfer to a serving platter and garnish with fresh thyme sprigs if using. Serve warm.
Sensory cues: During roasting, your kitchen will smell like a combination of maple candy and toasted nuts. The edges should look deep amber to almost mahogany in spots—that’s the caramelization you want. The centers should be tender but not mushy. If you press a ring gently with a fork, it should give way easily but still hold its shape.
Personal tip: Don’t skip the flipping step. I tried skipping it once to save time, and the bottoms got too dark while the tops stayed pale. That extra minute of flipping is worth it for even caramelization.
Cooking Tips & Techniques
I’ve made this recipe enough times to learn a few things the hard way. Here’s what I wish someone had told me:
Don’t skip the parchment paper. The first time I made these, I put the rings directly on the baking sheet. The maple syrup caramelized and stuck so badly that I spent 20 minutes scrubbing the pan. Parchment paper or a silicone mat saves you that headache and makes cleanup almost effortless.
Watch the edges. Because maple syrup has a lower burning point than oil, the edges can go from perfectly caramelized to burnt in about 60 seconds. Check your rings at the 10-minute mark after flipping. If the edges are already dark, pull them out early. Every oven runs a little differently—mine runs hot, so I usually check at 8 minutes.
Cut uniform rings. I know I said this before, but it’s worth repeating. Rings that are roughly the same thickness cook at the same rate. If you have some thin and some thick, the thin ones will burn before the thick ones are tender. I aim for ½ inch and don’t stress if some are a little off.
Multitasking tip: While the squash roasts, you can prep the rest of your meal. These rings pair beautifully with roasted chicken, pork chops, or a simple grain bowl. I often start the squash first, then prepare the main dish while it roasts. Everything finishes around the same time.
My biggest failure: I once tried to double the recipe and crammed everything onto one baking sheet. The rings were crowded, they steamed instead of roasting, and the glaze never caramelized. They came out soft and watery. Learn from my mistake—give those rings space. Use two sheets if you need to, and rotate them halfway through if they’re on different racks.
Variations & Adaptations
One of the best things about this recipe is how adaptable it is. Here are some ways I’ve changed it up:
- Savory Herb Version: Skip the cinnamon and add 1 teaspoon of dried rosemary or sage to the glaze. Swap the maple syrup for honey or agave for a different sweetness. This version is fantastic alongside roasted meats.
- Spicy Maple Version: Add ¼ teaspoon of cayenne pepper or red pepper flakes to the glaze. The heat cuts through the sweetness beautifully. I made this for a game day party and it disappeared faster than the wings.
- Vegan Version: Use coconut oil or vegan butter instead of regular butter. The coconut oil adds a subtle tropical note that works surprisingly well with the maple. I’ve tested this twice and it’s just as good.
- Air Fryer Version: Preheat your air fryer to 375°F (190°C). Arrange the glazed rings in a single layer in the basket (you may need to work in batches). Cook for 10-12 minutes, flipping halfway through. The edges get even crispier in the air fryer. This is my go-to method when I don’t want to heat up the whole oven.
- Citrus Maple Version: Add 1 tablespoon of fresh orange juice and ½ teaspoon of orange zest to the glaze. The brightness of the citrus balances the richness. I tried this on a whim one Sunday and now it’s my favorite fall variation.
Personal variation I love: I sometimes sprinkle a tablespoon of chopped pecans over the rings during the last 5 minutes of roasting. The nuts toast in the glaze and add a lovely crunch. It makes the dish feel a little more special for company.
Serving & Storage Suggestions
These rings are best served warm, straight from the oven, when the edges are still crispy and the glaze is glossy. Here’s how I like to present them:
Arrange the rings on a large, flat platter in a single layer or slightly overlapping. Drizzle any remaining glaze from the pan over the top. Sprinkle with fresh thyme leaves and a pinch of flaky sea salt if you have it—the salt crystals add a nice pop of texture and flavor. For a pretty presentation, I sometimes add a few fresh cranberries or pomegranate seeds around the edges for color.
What to serve with them:
- Roasted chicken or turkey (especially during the holidays)
- Pork chops or pork tenderloin
- Grilled salmon (the sweetness pairs beautifully)
- Simple grain bowls with quinoa or farro
- Alongside a hearty salad with apples and walnuts
- As part of a Thanksgiving or Friendsgiving spread
Storage: Leftover rings keep well in an airtight container in the refrigerator for up to 4 days. The edges will soften, but the flavor is still wonderful. To reheat, place them on a baking sheet in a 350°F (175°C) oven for 5-7 minutes, or until warmed through. You can also reheat them in the air fryer at 350°F for 3-4 minutes. I don’t recommend microwaving—it makes them soggy.
Freezing: These rings freeze surprisingly well. Let them cool completely, then arrange in a single layer on a parchment-lined baking sheet and freeze until solid (about 2 hours). Transfer to a freezer-safe bag or container. They’ll keep for up to 3 months. Reheat from frozen in a 375°F (190°C) oven for 10-12 minutes.
Flavor development: Honestly, the flavors meld and deepen overnight. I sometimes make these a day ahead for holidays because they taste even better the next day—the maple really soaks into the squash. Just reheat before serving.
Nutritional Information & Benefits
Here’s the nutritional breakdown per serving (about 4-5 rings, based on 4 servings total):
| Nutrient | Amount |
|---|---|
| Calories | 185 |
| Total Fat | 9g |
| Saturated Fat | 5g |
| Carbohydrates | 28g |
| Fiber | 3g |
| Sugar | 18g |
| Protein | 2g |
| Sodium | 310mg |
| Vitamin A | 15% DV |
| Vitamin C | 20% DV |
| Potassium | 12% DV |
Health Benefits: Acorn squash is packed with vitamin A (great for eye health), vitamin C (supports immunity), and fiber (keeps you full). The maple syrup provides antioxidants called polyphenols, and cinnamon has anti-inflammatory properties. This is a side dish that actually nourishes you while tasting indulgent.
Dietary Considerations: This recipe is naturally gluten-free, vegetarian, and can easily be made vegan (using coconut oil). It’s also relatively low in calories for how satisfying it is. The main sugar source is maple syrup, which is less processed than refined sugar.
Allergen Note: Contains dairy (butter). For dairy-free, use coconut oil or vegan butter. The recipe is nut-free, egg-free, and soy-free as written.
Conclusion
So here’s the thing about these cozy maple glazed roasted acorn squash rings—they’re proof that sometimes the best recipes come from proving yourself wrong. I spent years avoiding cooked squash, and now I can’t imagine fall without these rings on my table. They’re sweet, savory, caramelized, tender, and honestly, they’re the easiest way I know to make a weeknight dinner feel special.
I hope you give them a try, and I hope you make them your own. Maybe you’ll add extra cinnamon, or skip it entirely. Maybe you’ll go heavy on the black pepper, or throw in some cayenne for heat. That’s the beauty of a simple recipe—it’s a starting point, not a rulebook.
If you make these rings, I’d love to hear about it. Leave a comment below and tell me how they turned out, or share your own twist on the recipe. Tag me in your photos—I genuinely get excited seeing your creations. And if you’re looking for more cozy fall side dishes, don’t miss my honey balsamic roasted Brussels sprouts or my garlic parmesan roasted carrots.
Happy cooking, friends. And remember—sometimes the things you think you hate just haven’t been made the right way yet.
Frequently Asked Questions
Do I need to peel acorn squash before roasting?
No, absolutely not. The skin of acorn squash is completely edible and becomes tender after roasting. Plus, it’s where a lot of the fiber lives. Just wash the squash well before slicing. If you prefer a softer texture, you can peel it, but I honestly never bother.
Can I use butternut squash instead of acorn squash?
Yes, butternut squash works great. The main difference is that butternut squash is a little sweeter and less fibrous. Slice it into rings of similar thickness (about ½ inch). You may need to adjust the roasting time by a few minutes since butternut is denser.
Why did my maple glaze burn?
This usually happens when the oven temperature is too high or the rings are too thin. Maple syrup has a lower burning point than oil, so watch the rings carefully during the last 10 minutes. If your oven runs hot, reduce the temperature to 375°F (190°C) and extend the roasting time by a few minutes.
Can I make these ahead of time for a holiday dinner?
Yes, and they actually taste better the next day. Roast them as directed, let them cool completely, and store in an airtight container in the refrigerator. Reheat on a baking sheet at 350°F (175°C) for 5-7 minutes before serving. The edges won’t be as crispy, but the flavor is even deeper.
What can I use instead of maple syrup?
Honey, agave nectar, or brown sugar dissolved in a little warm water all work well. Each will give a slightly different flavor—honey is floral, agave is neutral, and brown sugar adds a molasses note. Adjust the amount to taste since some sweeteners are stronger than others.
Pin This Recipe!
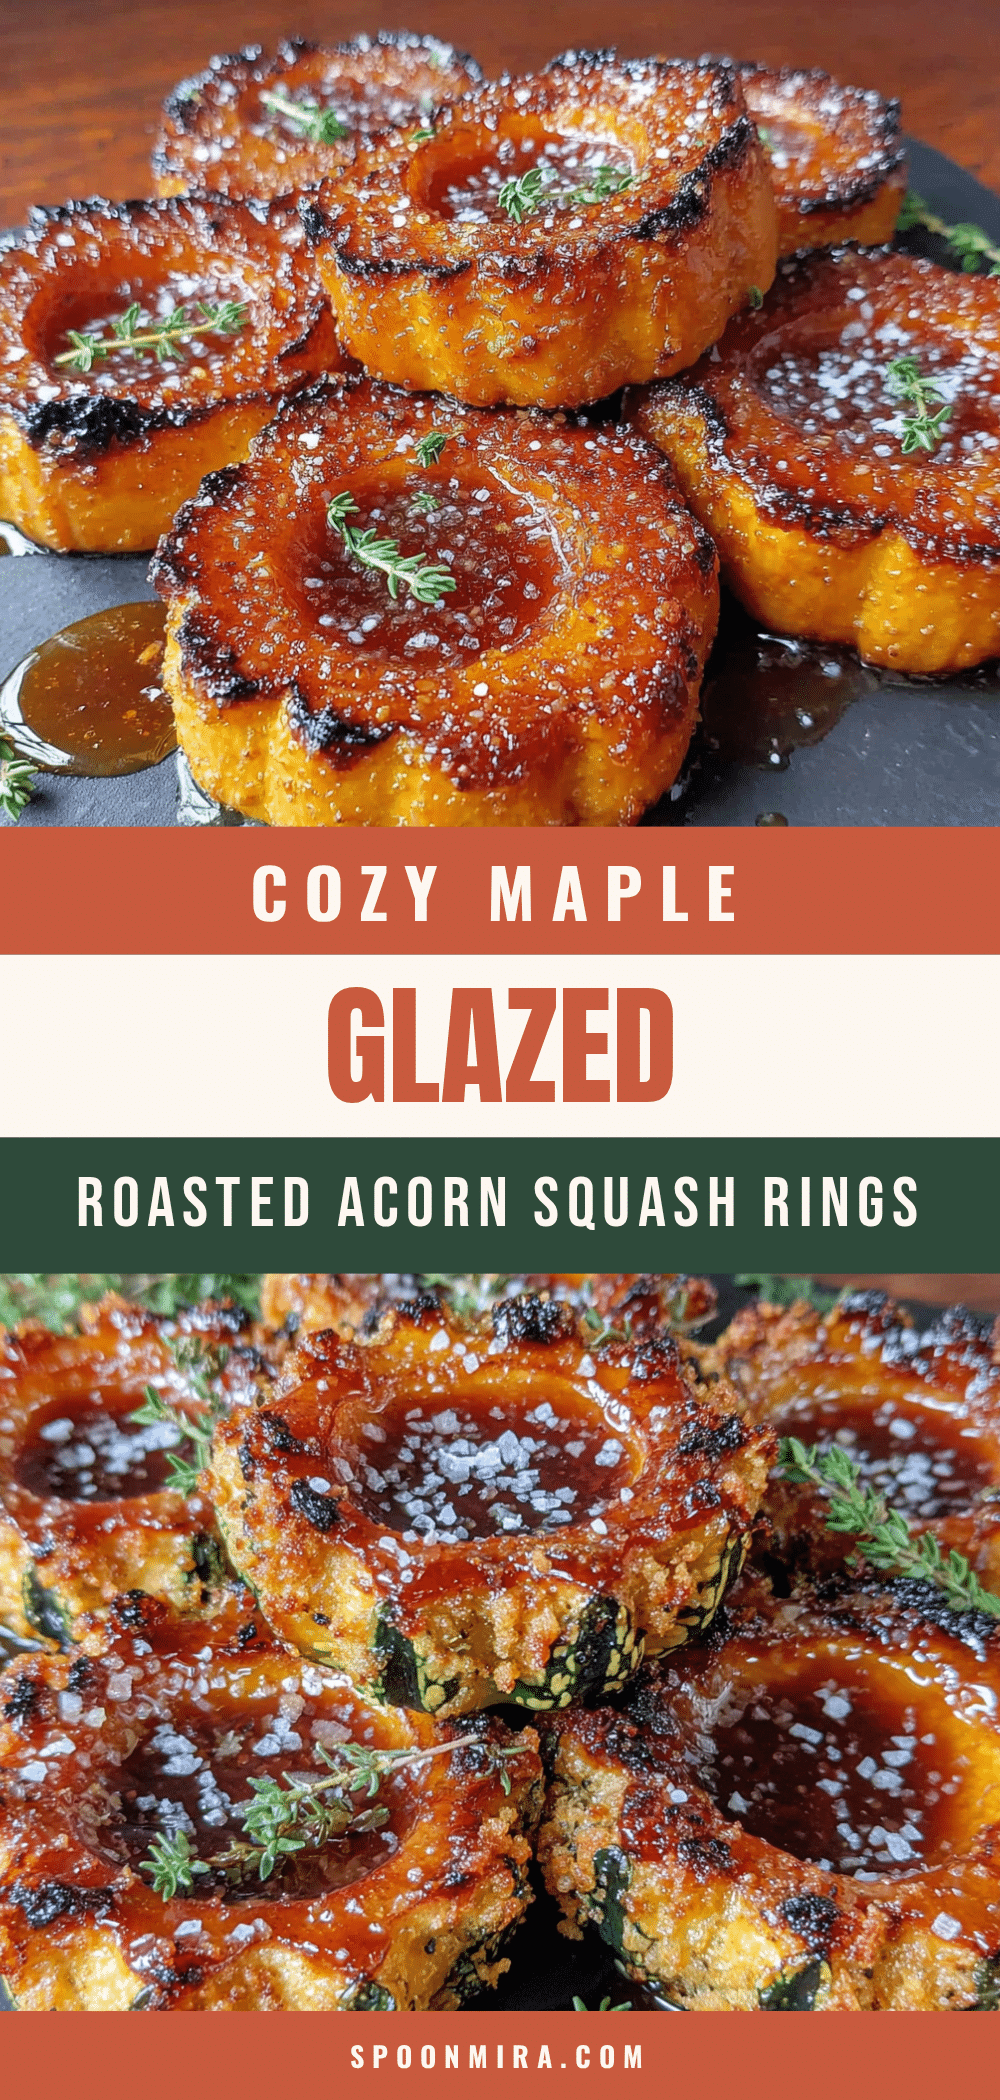
Cozy Maple Glazed Roasted Acorn Squash Rings (Easy, 30-Minute Side)
These maple glazed roasted acorn squash rings are a quick and easy 30-minute side dish with caramelized edges and a sweet, buttery glaze. Perfect for fall and winter dinners, they’re a crowd-pleaser that turns a simple weeknight meal into something special.
- Prep Time: 5 minutes
- Cook Time: 25 minutes
- Total Time: 30 minutes
- Yield: 4 servings 1x
- Category: Side Dish
- Cuisine: American
Ingredients
- 2 medium acorn squash (about 1.5 pounds each)
- ¼ cup pure maple syrup (60 ml)
- 3 tablespoons unsalted butter, melted (42 grams)
- 1 tablespoon olive oil (15 ml)
- ½ teaspoon fine sea salt (3 grams)
- ¼ teaspoon freshly ground black pepper
- ½ teaspoon cinnamon (optional but recommended)
- 4–5 sprigs fresh thyme (for garnish, optional)
Instructions
- Preheat your oven to 400°F (200°C). Position the rack in the middle of the oven. Line a large baking sheet with parchment paper or a silicone mat.
- Prepare the squash: Using a sharp chef’s knife, carefully cut off both ends of the acorn squash—about ¼ inch from each tip. Stand the squash upright on one flat end and slice it in half vertically. Use a spoon to scoop out the seeds and stringy pulp.
- Slice into rings: Lay each squash half cut-side down on the cutting board. Slice crosswise into ½-inch thick half-rings. You should get about 6-8 half-rings per squash half.
- Make the maple glaze: In a small bowl, whisk together the melted butter, maple syrup, olive oil, salt, pepper, and cinnamon (if using) until fully combined.
- Arrange the rings in a single layer on the prepared baking sheet. Don’t overlap them.
- Brush the glaze generously over each ring, coating both sides. Use all of the glaze.
- Roast for 15 minutes. The squash should be starting to soften and the glaze bubbling.
- Remove the sheet from the oven. Using a metal spatula, carefully flip each ring. Brush any remaining glaze from the bowl over the rings again.
- Roast for another 10-15 minutes, until the rings are tender all the way through and the edges are browned and caramelized.
- Remove from the oven and let the rings rest on the pan for 2-3 minutes. Transfer to a serving platter and garnish with fresh thyme sprigs if using. Serve warm.
Notes
Don’t skip the parchment paper to prevent sticking. Watch the edges during the last 10 minutes to avoid burning. Cut uniform rings for even cooking. For a vegan version, use coconut oil or vegan butter instead of butter. Leftovers keep in the refrigerator for up to 4 days and can be reheated in the oven or air fryer.
Nutrition
- Serving Size: 4-5 rings
- Calories: 185
- Sugar: 18
- Sodium: 310
- Fat: 9
- Saturated Fat: 5
- Carbohydrates: 28
- Fiber: 3
- Protein: 2
Keywords: acorn squash, maple glazed, roasted squash, fall side dish, easy side dish, 30-minute recipe, vegetarian, gluten-free


