There used to be a tiny diner on the corner of Elm and 4th, right by the old train station, that made what they called a “Beef & Rice Bowl.” When they closed for good after the owner retired, I felt a genuine pang of loss. I mean, it wasn’t a fancy place—cracked vinyl booths and a jukebox that only played 80s hits—but that bowl was pure magic for my kids. After 7 tries—some too dry, some too bland, one that my youngest actually pushed away—I finally cracked the code. This Kid-Friendly Cheesy Ground Beef and Rice Skillet is the spot-on recreation of that diner magic, and honestly, it might be even better.
The first few attempts were, let’s be real, a mess. I tried using long-grain rice, which turned into a gluey paste. I added too much cheese, and it turned into a greasy puddle. I even tried using ground turkey once to make it “healthier,” and my husband looked at me like I’d lost my mind. “Just make the one from the diner,” he said. So I did. Or, I tried. It took me a solid month of Tuesday night experiments to get that perfect, creamy, cheesy texture where every grain of rice is coated in a silky, savory sauce. The day I nailed it, my daughter asked for seconds, and my son, who usually eats like a bird, cleaned his plate. That’s when I knew I had to share it.
Maybe you’ve been there—standing in your kitchen at 5:30 PM, staring at a pound of ground beef and a box of rice, wondering how to turn it into something the whole family will actually eat without complaint. This skillet is the answer. It’s the kind of meal that feels like a hug in a bowl, the kind that makes you close your eyes after that first bite. The cheese melts into the rice, the beef is perfectly seasoned, and it all comes together in one pan. No fuss, no mess, just pure, unadulterated comfort. And let me tell you, it’s been a weeknight lifesaver more times than I can count.
Why You’ll Love This Recipe
Look, I’ve tested this recipe more times than I care to admit. I’ve made it with different cheeses, different broths, and even different types of rice. I’ve burned it, I’ve undercooked it, and I’ve had it turn into a soupy mess. But through all those trials, I landed on a version that is absolutely foolproof. This isn’t just another ground beef and rice recipe—it’s the one that will earn a permanent spot in your weekly rotation.
- Quick & Easy: From start to finish, this meal comes together in under 30 minutes. That’s faster than takeout, and you don’t have to change out of your sweatpants.
- Simple Ingredients: You probably have everything you need in your pantry and fridge right now. Ground beef, rice, cheese, a few spices—no fancy grocery trips required.
- One-Pan Wonder: Less cleanup means more time for you to actually sit down and enjoy dinner with your family. The skillet does all the work.
- Perfect for Picky Eaters: This dish is creamy, cheesy, and savory—everything kids love. My own kids, who are notoriously picky, ask for this at least once a week.
- Crowd-Pleaser: It’s hearty enough for hungry teenagers, but gentle enough for little ones. I’ve served it at family gatherings and watched even the adults go back for seconds.
- Unbelievably Delicious: The secret is in the technique—cooking the rice directly in the beef broth so it absorbs all that savory flavor, then finishing it with a generous handful of melted cheddar. It’s next-level comfort food.
What makes this recipe different from the rest is the balance. It’s not too dry, not too soupy, not too greasy. The rice is perfectly cooked, the beef is tender and seasoned just right, and the cheese creates a creamy, luscious sauce that ties everything together. It’s the kind of meal that makes you feel like a rockstar mom or dad, even on the busiest of nights. And honestly, isn’t that what we all want?
What Ingredients You Will Need
This recipe uses simple, wholesome ingredients that come together to deliver bold flavor and a satisfying, creamy texture. There’s nothing complicated here—just smart choices that make a big difference. Let’s break down what you’ll need and why each ingredient matters.
- 1 pound (450g) ground beef (80/20) — I recommend using 80/20 ground beef for the best flavor. The fat adds richness and keeps the meat juicy. If you use leaner beef, like 93/7, you might need to add a tablespoon of olive oil to prevent it from drying out. (Adds richness and flavor)
- 1 medium yellow onion, diced — A yellow onion provides a sweet, savory base that melts into the dish. You can use a white onion in a pinch, but yellow is my go-to for its mellow sweetness. (Sweeter, more aromatic base)
- 2 cloves garlic, minced — Fresh garlic is non-negotiable here. It adds a punch of flavor that jarred garlic just can’t match. I use a microplane to mince it super fine so it dissolves into the sauce. (Adds aromatic depth)
- 1 cup (200g) long-grain white rice, uncooked — Long-grain rice is key for this recipe. It stays fluffy and separate, unlike medium-grain rice which can get sticky. I’ve tested this with jasmine rice, and it works beautifully, but avoid using instant rice or brown rice as the cooking times will be very different. (Fluffy, separate grains)
- 2 cups (480ml) low-sodium beef broth — The broth is where the magic happens. It infuses the rice with deep, savory flavor. I prefer low-sodium so I can control the salt level. Swanson’s is my favorite brand for its rich taste. (Infuses rice with flavor)
- 1 can (10.75 oz / 305g) condensed cream of mushroom soup — This is the secret to the creamy, velvety texture. Don’t skip it! You can use cream of chicken or even a “healthy request” version if you prefer. (Creates creamy sauce)
- 1 cup (120g) shredded sharp cheddar cheese — Sharp cheddar adds a bold, tangy flavor that cuts through the richness. Pre-shredded cheese is fine, but freshly shredded melts much smoother. I buy a block of Tillamook sharp cheddar and shred it myself for the best results. (Adds cheesy tang and creaminess)
- 1/2 cup (60g) shredded mozzarella cheese — Mozzarella adds a stretchy, gooey texture that kids absolutely love. It also helps mellow out the sharpness of the cheddar. (Adds stretch and mild flavor)
- 1 teaspoon paprika — Smoked paprika adds a subtle smoky depth, but sweet paprika works just fine. (Adds color and subtle warmth)
- 1/2 teaspoon garlic powder — Not to be confused with fresh garlic. This adds a consistent, mellow garlic flavor throughout the dish. (Reinforces garlic flavor)
- 1/2 teaspoon onion powder — Works with the fresh onion to create a deeper, more rounded savory flavor. (Deepens savory notes)
- 1/2 teaspoon salt, plus more to taste — I start with 1/2 teaspoon and adjust at the end. The cheese and broth already have salt, so it’s easy to overdo it. (Enhances all flavors)
- 1/4 teaspoon black pepper — Freshly cracked is best, but pre-ground works in a pinch. (Adds a hint of heat)
- 2 tablespoons chopped fresh parsley (optional) — A sprinkle of fresh parsley at the end adds a pop of color and a fresh, herbaceous note. It’s not essential, but it makes the dish look beautiful. (Adds color and freshness)
Equipment Needed
You don’t need any fancy gadgets for this recipe, which is part of its beauty. Here’s what you’ll need to pull it off.
- Large, deep skillet with a lid (12-inch or larger) — This is the star of the show. A deep skillet with a tight-fitting lid is essential for cooking the rice evenly. I use my trusty 12-inch cast-iron skillet, but a stainless steel or non-stick skillet with a lid works just as well. If you don’t have a lid, a sheet of aluminum foil tightly crimped around the edges will do the trick.
- Wooden spoon or silicone spatula — For browning the beef and stirring everything together. A wooden spoon won’t scratch your pan, and it’s sturdy enough to break up the meat.
- Chef’s knife and cutting board — For dicing the onion and mincing the garlic. A sharp knife makes this job so much easier.
- Measuring cups and spoons — Precision matters, especially with the rice and broth. Use standard measuring cups for the dry and wet ingredients.
- Box grater (optional) — If you’re shredding your own cheese, a box grater is your best friend. It takes an extra minute, but the difference in meltability is worth it.
I’ve made this recipe in a cheap non-stick skillet from the grocery store and in my expensive Le Creuset, and it works perfectly in both. Don’t let your equipment hold you back. A cast-iron skillet will give you a bit more even heat distribution, but honestly, any deep pan with a lid will get the job done.
Preparation Method
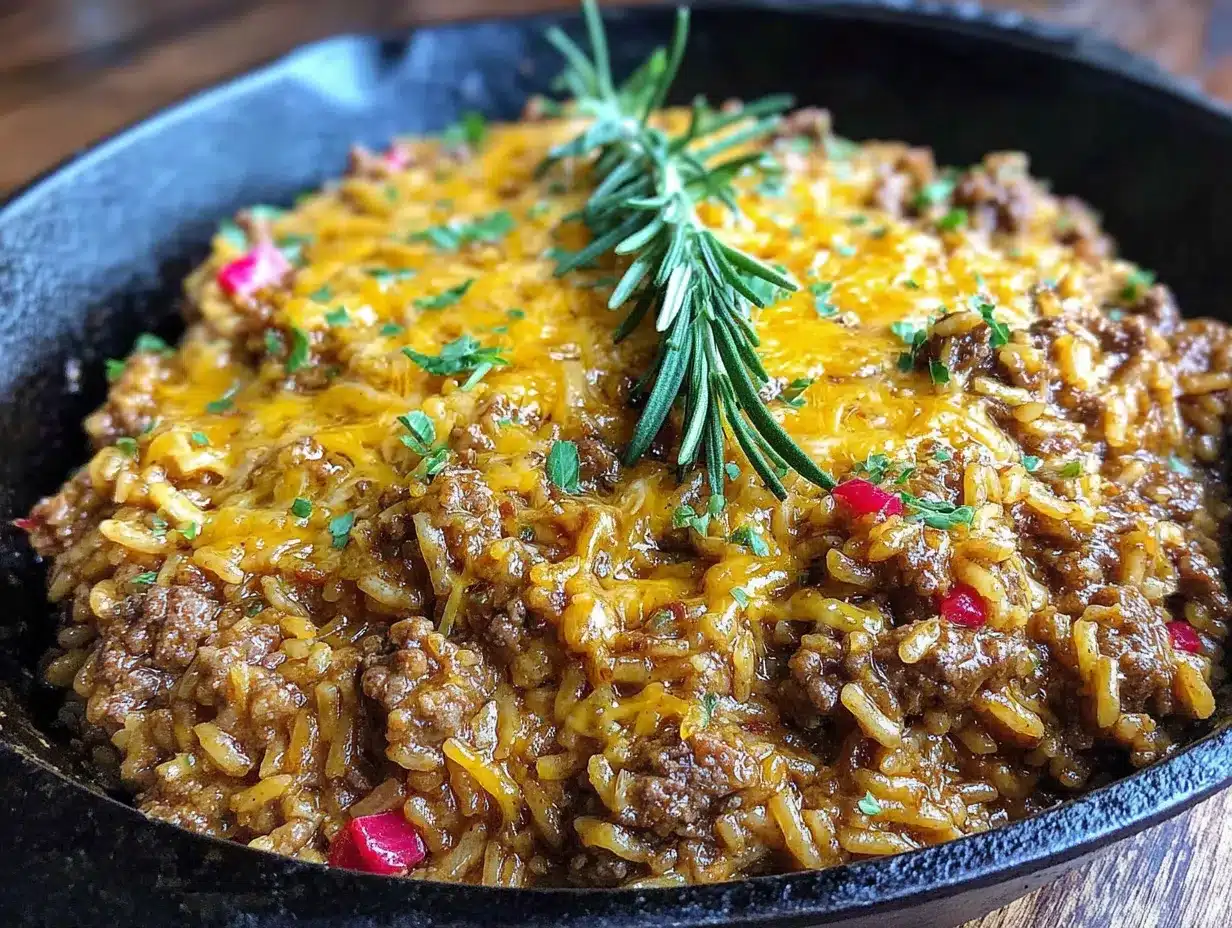
Alright, let’s get cooking! This is a straightforward, one-pan meal, but a few key steps make all the difference. Follow along, and you’ll have a perfect, cheesy skillet dinner in no time.
- Brown the Ground Beef: Place your large skillet over medium-high heat. Add the ground beef and cook, breaking it up with a wooden spoon, until it’s browned and no longer pink. This should take about 5-7 minutes. Don’t drain all the fat—leave about 1 tablespoon in the pan for flavor. If you’re using very lean beef, add a tablespoon of olive oil at the start. (Sensory cue: The sizzle when the beef hits the pan is a beautiful sound. You’re looking for a deep brown color, not just gray.)
- Sauté the Aromatics: Reduce the heat to medium. Add the diced onion to the skillet and cook for 3-4 minutes, stirring occasionally, until it becomes translucent and soft. Add the minced garlic and cook for another 30 seconds, until fragrant. Be careful not to burn the garlic—it turns bitter quickly. (Tip: Scrape up any browned bits from the bottom of the pan—that’s flavor!)
- Add the Rice and Spices: Sprinkle the uncooked rice, paprika, garlic powder, onion powder, salt, and pepper over the beef and onion mixture. Stir everything together for about 1 minute, coating the rice grains in the beef fat and spices. This toasts the rice slightly and helps it stay fluffy. (Sensory cue: The rice will start to smell nutty and fragrant.)
- Pour in the Liquids: Pour in the beef broth and add the can of condensed cream of mushroom soup. Stir everything together until the soup is fully dissolved and the mixture is smooth. Bring it to a gentle boil over medium-high heat. (Warning: It will look very liquidy at this point—don’t panic! The rice will absorb all that goodness.)
- Simmer and Cook the Rice: Once it’s boiling, reduce the heat to low, cover the skillet with a tight-fitting lid, and let it simmer for 18-20 minutes. Do not lift the lid during this time! The steam is what cooks the rice perfectly. Set a timer and walk away. (Troubleshooting: If your rice is still hard after 20 minutes, add 2 tablespoons of water, cover, and cook for 5 more minutes.)
- Add the Cheese: After 20 minutes, remove the lid. The rice should be tender and most of the liquid should be absorbed. Sprinkle the shredded cheddar and mozzarella cheese evenly over the top. Cover the skillet again and let it sit for 2-3 minutes off the heat, until the cheese is completely melted and gooey. (Sensory cue: The cheese will form a beautiful, golden crust around the edges. It’s the best part.)
- Fluff and Serve: Remove the lid and give everything a gentle stir to incorporate the melted cheese into the rice and beef. Taste and adjust salt and pepper if needed. Sprinkle with fresh parsley for a pop of color. Serve hot, straight from the skillet!
Cooking Tips & Techniques
I’ve made this recipe enough times to learn a few hard lessons. Here are my best tips to ensure your skillet turns out perfect every single time.
- Don’t rush the browning. I used to rush this step, just cooking the beef until it was no longer pink. But taking the time to get a good sear on the meat adds a ton of flavor. Let it sit in the pan for a minute or two before breaking it up. You want those deep, caramelized bits on the bottom of the pan.
- Toast the rice. This is a game-changer. Stirring the raw rice in the hot pan with the beef fat and spices for a minute before adding the liquid helps keep the grains separate and adds a subtle nutty flavor. I learned this trick from a chef friend, and it makes a noticeable difference.
- Resist the urge to peek. I know it’s hard, but lifting the lid releases the steam that’s essential for cooking the rice evenly. Set a timer and walk away. The first time I made this, I lifted the lid after 10 minutes to “check on it,” and the rice ended up slightly crunchy. Learn from my mistake!
- Use freshly shredded cheese. Pre-shredded cheese is coated in anti-caking agents like potato starch, which prevents it from melting smoothly. If you want that ultra-creamy, gooey texture, buy a block of cheese and shred it yourself. It takes an extra 2 minutes, and the result is worth it.
- Let it rest. After you add the cheese and turn off the heat, let the skillet sit for 2-3 minutes before serving. This allows the cheese to fully melt and the flavors to meld together. Plus, it gives you time to set the table and pour the drinks.
One of my biggest failures? I once tried to double the recipe in a skillet that was too small. The rice didn’t cook evenly, and the whole thing turned into a mushy, starchy mess. Stick to the measurements and use a large enough pan—you’ll thank me later.
Variations & Adaptations
This recipe is incredibly versatile. Here are a few ways to switch it up based on what you have on hand or what your family prefers.
- Vegetable-Packed Version: Add 1 cup of frozen peas and carrots or a cup of finely chopped bell peppers along with the onion. It adds color, nutrients, and a slight sweetness that kids actually love. My daughter calls it “confetti rice.”
- Spicy Kick: For adults who want a little heat, add 1/2 teaspoon of red pepper flakes or a diced jalapeño along with the garlic. You can also use pepper jack cheese instead of cheddar for an extra kick.
- Mexican-Style Skillet: Swap the cream of mushroom soup for a can of Rotel (diced tomatoes and green chilies) and use a Mexican cheese blend. Add a teaspoon of cumin and a squeeze of lime juice at the end. Serve with a dollop of sour cream and some tortilla chips on the side.
- Gluten-Free Adaptation: This recipe is naturally gluten-free if you use a gluten-free cream of mushroom soup (like Pacific Foods brand) and ensure your broth is certified gluten-free. The rest of the ingredients are naturally gluten-free.
- Dairy-Free Version: Use a dairy-free cheese alternative (I like Daiya’s cheddar shreds) and a dairy-free cream of mushroom soup. The texture will be slightly different, but it’s still delicious. You can also use nutritional yeast for a cheesy flavor without the dairy.
I once tried a version with ground chicken and added a big handful of spinach at the end. It was a total experiment, and honestly, it turned out amazing. The spinach wilted right into the cheesy rice, and my kids didn’t even notice the extra greens. Don’t be afraid to play around!
Serving & Storage Suggestions
This dish is best served hot, straight from the skillet. The cheese is at its gooiest and the rice is perfectly tender. Here’s how to make the most of it.
- Serving Temperature: Serve immediately while the cheese is still melted and stretchy. I like to bring the skillet right to the table—it makes for a cozy, family-style meal. Garnish with a sprinkle of fresh parsley or a few cracks of black pepper.
- Complementary Sides: This skillet is a complete meal on its own, but it pairs beautifully with a simple side salad dressed with a light vinaigrette. The acidity cuts through the richness of the cheese. Steamed green beans or roasted broccoli are also great options. For a truly kid-friendly meal, serve it with a side of buttered corn or apple slices.
- Beverage Pairings: For the adults, a crisp lager or a light red like a Pinot Noir works wonderfully. For the kids, a tall glass of cold milk is the perfect companion to the cheesy rice.
- Storage Instructions: Leftovers can be stored in an airtight container in the refrigerator for up to 4 days. The rice will absorb more liquid as it sits, so it will be slightly thicker the next day—but still delicious.
- Reheating Methods: The best way to reheat this is in a skillet over medium-low heat with a splash of beef broth or water. Stir occasionally until heated through. You can also microwave it in 30-second bursts, stirring in between. Add a little extra cheese on top before reheating for that fresh-from-the-skillet experience.
- Freezer Instructions: This recipe freezes surprisingly well. Let it cool completely, then transfer it to a freezer-safe container. It will keep for up to 3 months. Thaw overnight in the refrigerator and reheat as directed above. The texture of the rice might be slightly softer after freezing, but the flavor is still spot-on.
I’ve found that the flavors actually deepen overnight. My husband, who is not a fan of leftovers, actually looks forward to this dish the next day. It’s one of those rare recipes that is just as good, if not better, the second time around.
Nutritional Information & Benefits
While this is definitely a comfort food dish, it does offer some nutritional benefits. Here’s a quick look at what you’re getting in a serving (based on 6 servings).
Estimated Nutritional Values (per serving):
- Calories: 485
- Fat: 24g
- Carbohydrates: 38g
- Protein: 28g
- Fiber: 1g
- Sodium: 720mg
Health Highlights:
- Protein-Packed: The ground beef provides a solid dose of protein, which is essential for growing kids and helps keep everyone feeling full and satisfied.
- Calcium-Rich: The cheese adds a good amount of calcium for strong bones and teeth. It’s a tasty way to get some dairy into picky eaters.
- Iron Source: Beef is a great source of heme iron, which is easily absorbed by the body and important for energy levels.
- Customizable for Dietary Needs: As mentioned in the variations section, this recipe can easily be adapted for gluten-free or dairy-free diets.
Potential Allergens: This recipe contains dairy (cheese, cream of mushroom soup) and gluten (depending on the soup brand used). Always check labels if you have sensitivities.
Look, I’m not a nutritionist, and I’m not going to pretend this is a health food. But I do believe that a balanced dinner—one that brings the family together and puts smiles on faces—is good for the soul. And honestly, that counts for a lot.
Conclusion
This Kid-Friendly Cheesy Ground Beef and Rice Skillet is more than just a weeknight dinner—it’s a solution to that 5:30 PM panic, a way to get everyone around the table, and a reminder that simple food, made with love, is often the best food. It’s the recipe I turn to when I’m tired, when I’m short on time, and when I need a guaranteed win with my kids. And after all those failed attempts at recreating that diner magic, I can honestly say this version is my absolute favorite.
I want you to make this your own. Add your family’s favorite vegetables, swap in a different cheese, or give it a spicy kick. The beauty of a one-pan skillet meal is that it’s forgiving and adaptable. Don’t be afraid to experiment and find the version that your family loves best. That’s what cooking is all about, right?
So, what do you think? Are you ready to give this a try? I’d love to hear how it turns out for you. Drop a comment below and let me know if your kids asked for seconds, or if you came up with a fun variation. And if you loved it, please share this recipe with a friend who could use a little dinnertime magic. Until next time, happy cooking!
Frequently Asked Questions
Can I use brown rice instead of white rice?
I don’t recommend it for this recipe. Brown rice takes much longer to cook (about 40-45 minutes) and requires more liquid. If you try to substitute it directly, you’ll end up with crunchy rice and a dry pan. If you want to use brown rice, you’ll need to adjust the cooking time and add about 1/2 cup more broth. It’s doable, but it’s not a simple swap.
Can I make this in a slow cooker or Instant Pot?
This recipe is designed for the stovetop skillet method, which gives you the best texture. However, you can adapt it for an Instant Pot. Use the sauté function to brown the beef and onions, then add the rice, broth, and soup. Pressure cook on high for 5 minutes with a natural release. Stir in the cheese at the end. For a slow cooker, brown the beef first, then add everything except the rice and cheese. Cook on low for 4-6 hours, then stir in cooked rice and cheese before serving. The texture won’t be quite the same, but it’s a decent alternative.
My rice turned out mushy. What did I do wrong?
Mushy rice usually means you added too much liquid or you lifted the lid too often during cooking. Make sure you’re using a tight-fitting lid and resist the urge to peek. Also, check that you’re using long-grain white rice—medium-grain or short-grain rice can become sticky and mushy. If you find your rice is mushy, next time try reducing the broth by 1/4 cup.
Can I use ground turkey or chicken instead of beef?
Absolutely! Ground turkey or chicken work well in this recipe. Just keep in mind that they are leaner than beef, so you’ll want to add a tablespoon of olive oil to the pan when browning to prevent them from drying out. You might also want to add a little extra seasoning, as poultry is milder than beef.
How can I make this recipe more budget-friendly?
This recipe is already pretty budget-friendly, but here are a few tips. Buy your ground beef in bulk when it’s on sale and freeze what you don’t use. Use store-brand cheese and broth—they taste just as good. You can also substitute the cream of mushroom soup with a homemade white sauce made from butter, flour, and milk to save a few cents and control the ingredients. And don’t skip the rice—it’s the most affordable way to stretch a pound of beef into a filling meal for the whole family.
Pin This Recipe!
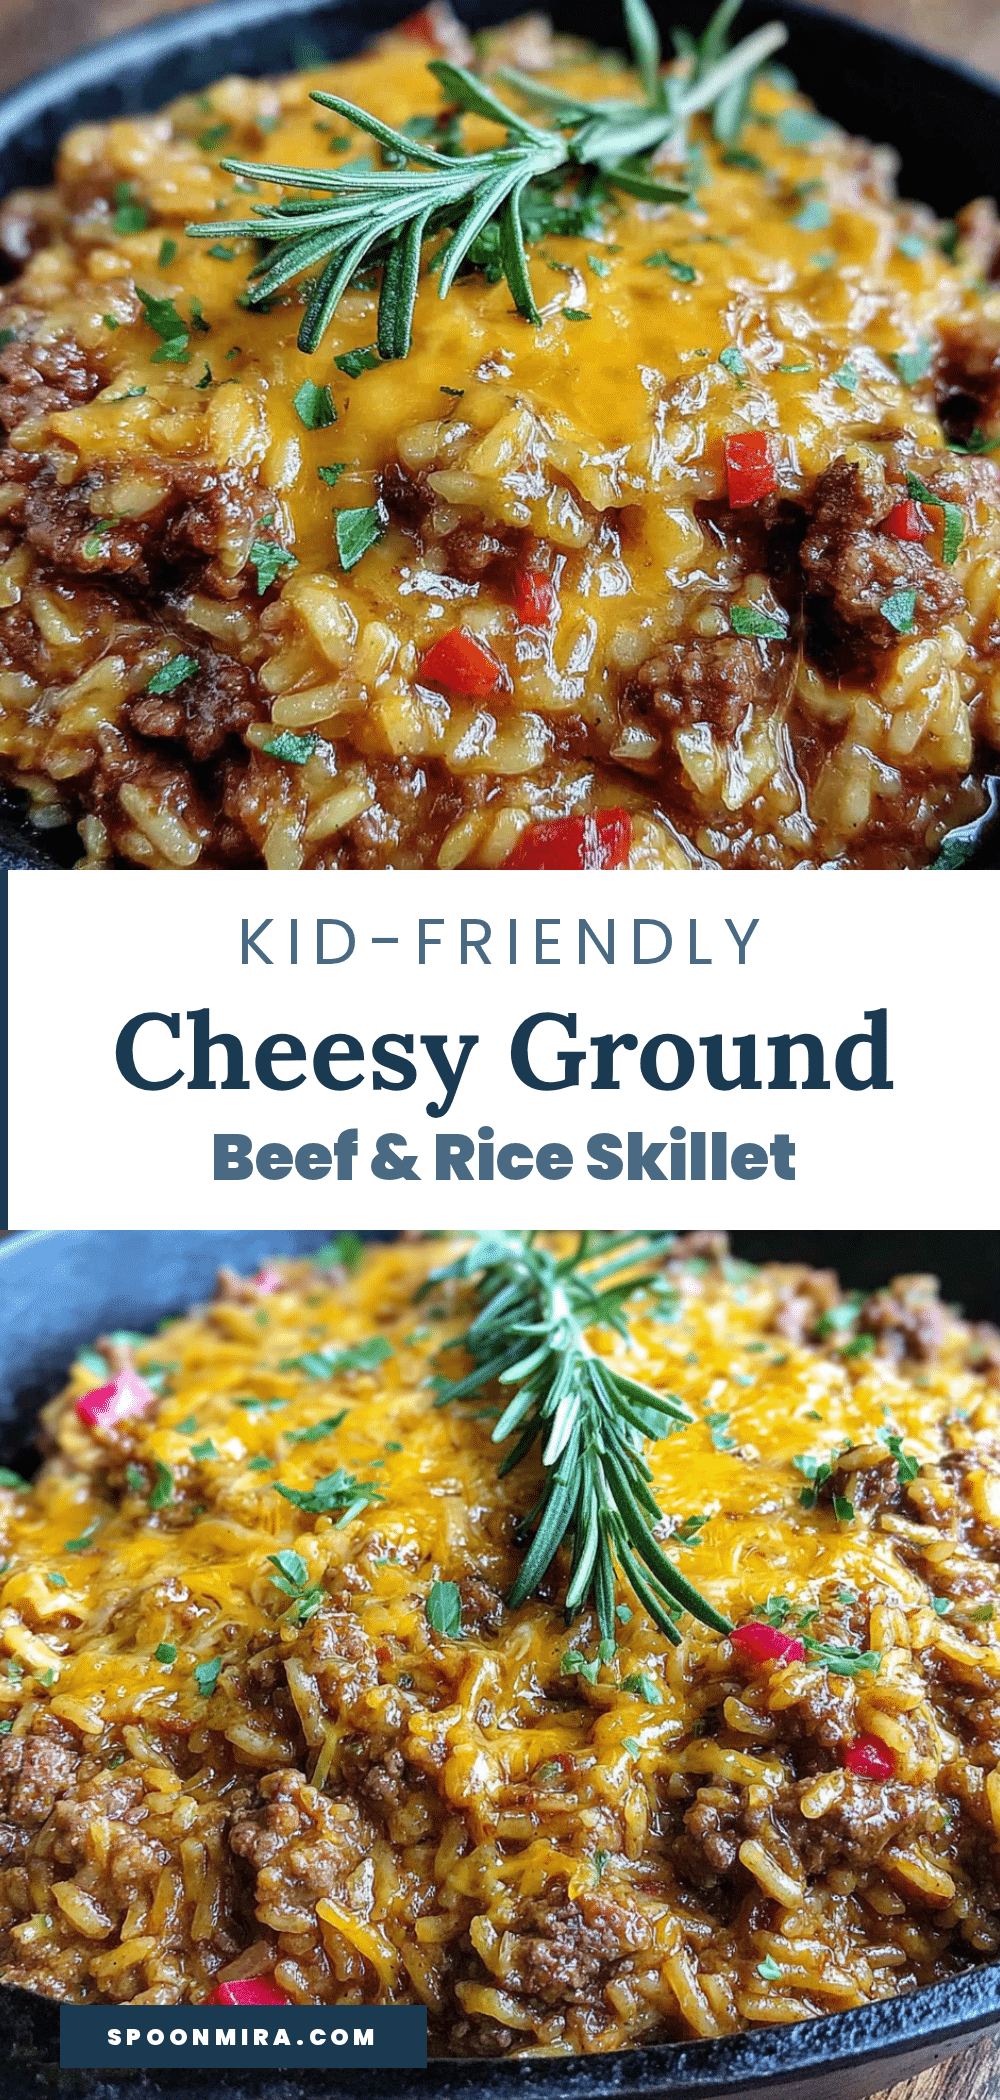
Kid-Friendly Cheesy Ground Beef and Rice Skillet: Easy One-Pan Dinner

A creamy, cheesy one-pan skillet dinner with ground beef and rice that’s perfect for busy weeknights. This kid-friendly recipe comes together in under 30 minutes and is a guaranteed crowd-pleaser.
- Prep Time: 10 minutes
- Cook Time: 20 minutes
- Total Time: 30 minutes
- Yield: 6 servings 1x
- Category: Main Course
- Cuisine: American
Ingredients
- 1 pound (450g) ground beef (80/20)
- 1 medium yellow onion, diced
- 2 cloves garlic, minced
- 1 cup (200g) long-grain white rice, uncooked
- 2 cups (480ml) low-sodium beef broth
- 1 can (10.75 oz / 305g) condensed cream of mushroom soup
- 1 cup (120g) shredded sharp cheddar cheese
- 1/2 cup (60g) shredded mozzarella cheese
- 1 teaspoon paprika
- 1/2 teaspoon garlic powder
- 1/2 teaspoon onion powder
- 1/2 teaspoon salt, plus more to taste
- 1/4 teaspoon black pepper
- 2 tablespoons chopped fresh parsley (optional)
Instructions
- Brown the Ground Beef: Place your large skillet over medium-high heat. Add the ground beef and cook, breaking it up with a wooden spoon, until it’s browned and no longer pink. This should take about 5-7 minutes. Don’t drain all the fat—leave about 1 tablespoon in the pan for flavor. If you’re using very lean beef, add a tablespoon of olive oil at the start.
- Sauté the Aromatics: Reduce the heat to medium. Add the diced onion to the skillet and cook for 3-4 minutes, stirring occasionally, until it becomes translucent and soft. Add the minced garlic and cook for another 30 seconds, until fragrant. Be careful not to burn the garlic—it turns bitter quickly.
- Add the Rice and Spices: Sprinkle the uncooked rice, paprika, garlic powder, onion powder, salt, and pepper over the beef and onion mixture. Stir everything together for about 1 minute, coating the rice grains in the beef fat and spices. This toasts the rice slightly and helps it stay fluffy.
- Pour in the Liquids: Pour in the beef broth and add the can of condensed cream of mushroom soup. Stir everything together until the soup is fully dissolved and the mixture is smooth. Bring it to a gentle boil over medium-high heat.
- Simmer and Cook the Rice: Once it’s boiling, reduce the heat to low, cover the skillet with a tight-fitting lid, and let it simmer for 18-20 minutes. Do not lift the lid during this time! The steam is what cooks the rice perfectly. Set a timer and walk away.
- Add the Cheese: After 20 minutes, remove the lid. The rice should be tender and most of the liquid should be absorbed. Sprinkle the shredded cheddar and mozzarella cheese evenly over the top. Cover the skillet again and let it sit for 2-3 minutes off the heat, until the cheese is completely melted and gooey.
- Fluff and Serve: Remove the lid and give everything a gentle stir to incorporate the melted cheese into the rice and beef. Taste and adjust salt and pepper if needed. Sprinkle with fresh parsley for a pop of color. Serve hot, straight from the skillet!
Notes
Don’t rush the browning of the beef for maximum flavor. Toast the rice in the pan before adding liquid to keep grains separate. Resist the urge to lift the lid while the rice cooks. Use freshly shredded cheese for the best melt. Let the skillet rest for 2-3 minutes after adding cheese before serving.
Nutrition
- Serving Size: 1 serving (about 1.5
- Calories: 485
- Sodium: 720
- Fat: 24
- Carbohydrates: 38
- Fiber: 1
- Protein: 28
Keywords: cheesy ground beef and rice skillet, one-pan dinner, kid-friendly dinner, easy weeknight meal, ground beef recipe, cheesy rice skillet


