This was supposed to be a regular veggie platter. Just a simple, boring tray of carrots and celery for the Halloween party at my daughter’s school. I grabbed the wrong bag of baby carrots—they were those weird, skinny, pre-cut ones—the cream cheese for the dip was still half-frozen, and I was already running late because I’d spent twenty minutes looking for the spider-shaped cookie cutter I swore I owned. The kids were bouncing off the walls, my neighbor was knocking on the door for a cup of sugar she didn’t need, and honestly, I was this close to just tossing a bag of chips on the table and calling it a day.
But then, I saw the frozen cream cheese and had a moment of pure desperation. I microwaved it too long, it got all soft and weird, and I thought, well, that’s ruined. I threw in some ranch seasoning, stirred it until it looked less like soup, and plopped it into a bowl. To cover up the mess, I grabbed a bottle of black olive tapenade I had in the fridge and drizzled it on top, making a messy spiral. It looked like a lopsided spiderweb, honestly. I was mortified.
I brought it to the party, apologizing under my breath. You know that feeling when you just want to hide behind the punch bowl? That was me. But then, the kids went crazy for it. They weren’t just eating the veggies—they were fighting over who got to dip into the “web.” One little boy asked if the spider was hiding in the dip. I mean, it was a total accident, but it worked. That messy, last-minute mistake became the most popular thing on the table. And now? It’s the only veggie tray I bring to any gathering, Halloween or not. It’s funny how the best things in the kitchen happen when you stop trying so hard.
Why You’ll Love This Recipe
Let me tell you, as a mom who has tried every trick in the book to get my kids to eat their vegetables, this tray is a game-changer. It’s not just about the creepy-cool look—it’s about making healthy food fun without spending hours in the kitchen. I’ve tested this at three different parties now, and it’s always the first tray to be wiped clean. Here’s why it works so well for busy families like yours:
- Quick & Easy: This whole thing comes together in under 15 minutes. Seriously. No baking, no boiling, just chopping and dipping. Perfect for those frantic school nights or last-minute Halloween get-togethers.
- Simple Ingredients: You probably have most of this stuff already. Ranch seasoning, cream cheese, sour cream, and whatever veggies are hanging out in your crisper drawer. No fancy grocery trips needed.
- Perfect for Parties: Whether it’s a spooky Halloween bash, a kid’s birthday party, or just a Tuesday night where you want to surprise the family, this tray fits right in. It’s a crowd-pleaser that makes everybody smile.
- Crowd-Pleaser: I’m not kidding—kids and adults alike go nuts for this. There’s something about the spiderweb design that makes people forget they’re eating vegetables. My husband, who claims he doesn’t like ranch dip, ate half the tray.
- Unbelievably Delicious: The dip is the real star here. It’s thick, creamy, and tangy, with that classic ranch flavor that everyone loves. The black olive tapenade adds a salty, briny kick that makes it feel special, not just like plain ranch out of a bottle.
What makes this different from every other veggie tray out there is the presentation. It’s not just a pile of veggies with a bowl of dip in the middle. The spiderweb design draws people in, and the two-tone dip is a conversation starter. Plus, you can customize it with whatever veggies your family actually eats. No more wasting money on broccoli that nobody touches. This is the veggie tray that finally works.
What Ingredients You Will Need
This recipe uses simple, wholesome ingredients to deliver bold flavor and satisfying crunch without the fuss. Most of these are pantry staples or easy to find at any grocery store. I’ve tested a few different brands, and here’s what I recommend for the best results.
- For the Ranch Dip:
- 8 oz cream cheese, softened (I use Philadelphia—it gives the creamiest texture)
- 1/2 cup sour cream (full-fat works best, but low-fat is fine in a pinch)
- 1 packet (1 oz) dry ranch seasoning mix (Hidden Valley is my go-to)
- 1/4 cup milk (any kind works; I use 2%)
- 1/4 cup black olive tapenade (store-bought is fine; I like the one from Trader Joe’s)
- For the Veggie Tray:
- 1 large head of broccoli, cut into florets (about 2 cups)
- 1 large head of cauliflower, cut into florets (about 2 cups)
- 1 red bell pepper, sliced into thin strips
- 1 yellow bell pepper, sliced into thin strips
- 2 large carrots, peeled and cut into sticks
- 1 cup cherry tomatoes, halved
- 1 cup cucumber, sliced into rounds
- Optional: black olives for garnish (to look like spiders!)
For the dip, I really recommend using full-fat cream cheese. I tried it once with the low-fat version, and it was runny and didn’t hold the spiderweb pattern well. Also, if you can’t find black olive tapenade, you can just chop up some black olives very finely and mix them with a little olive oil. It’s not quite the same, but it works in a pinch. For the veggies, feel free to swap in whatever your family likes. My kids love snap peas and sugar snap peas, so I often add those too. The key is to have a variety of colors and textures—it makes the tray look more festive and appealing to little eyes.
Equipment Needed
You don’t need any fancy gadgets for this recipe, which is part of why I love it. Here’s what you’ll need to pull it together:
- Large serving platter or cutting board: A round platter works best for the spiderweb design, but a rectangular one will do. I use a big wooden board I got at a garage sale, and it looks great.
- Small mixing bowl: For the ranch dip. Any medium-sized bowl will work.
- Rubber spatula: To spread the dip and create the web pattern. A spoon works too, but a spatula is easier.
- Knife and cutting board: For chopping the veggies. A sharp knife makes all the difference—dull knives are dangerous and frustrating.
- Piping bag or zip-top bag: To drizzle the tapenade. If you don’t have a piping bag, just snip a tiny corner off a zip-top bag. It’s not fancy, but it works.
- Small cookie cutter (optional): If you want to cut the bell peppers into fun shapes like stars or bats. I don’t usually bother, but it’s a nice touch for a Halloween party.
I’ve made this tray with just a butter knife and a plastic bag before, so don’t stress if you don’t have all the tools. The beauty of this recipe is that it’s forgiving. Just get creative with what you have.
Preparation Method
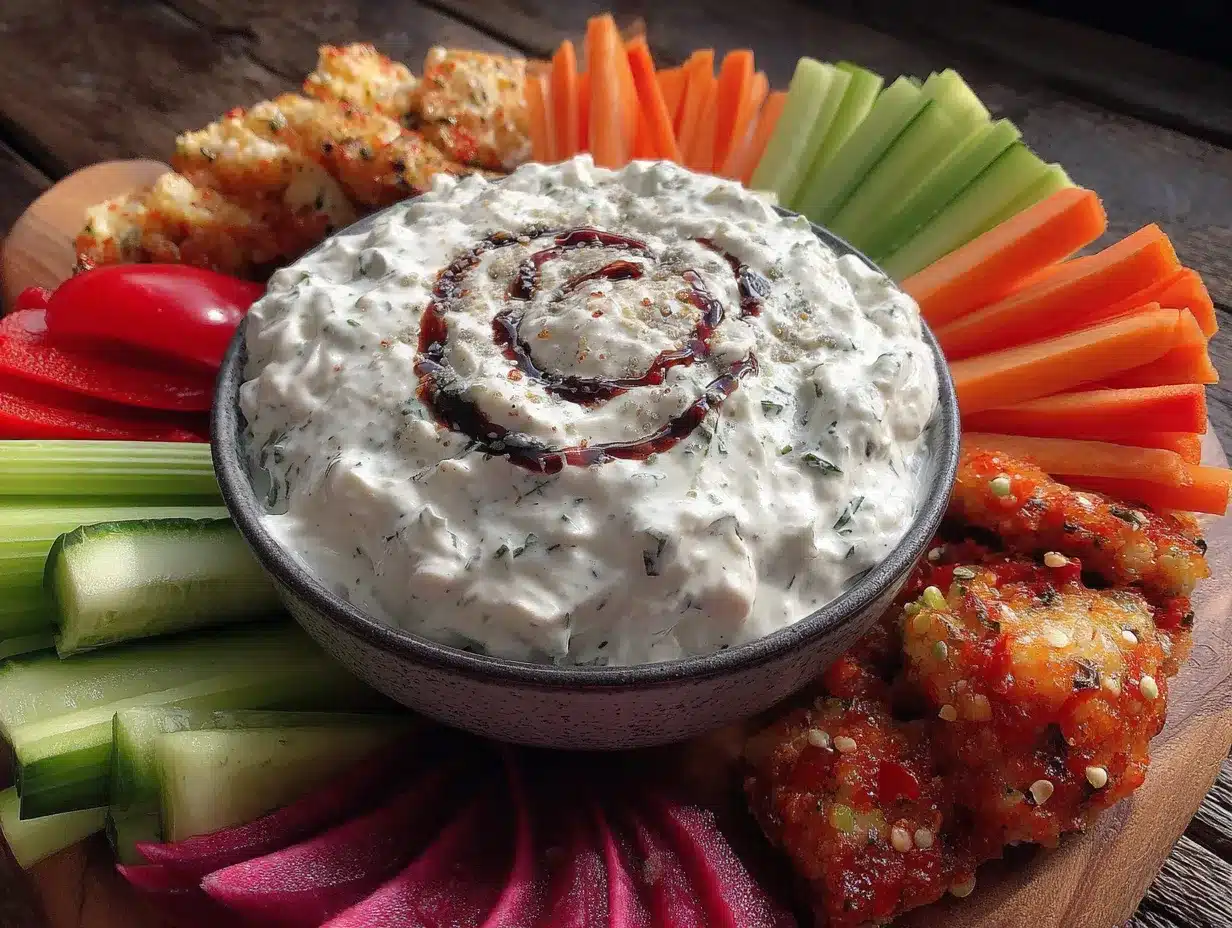
Alright, let’s get into the nitty-gritty. Follow these steps, and you’ll have a spiderweb veggie tray that’ll be the hit of the party. I’ve included time estimates and sensory cues so you know exactly what to look for.
- Make the ranch dip (5 minutes): In your small mixing bowl, combine the softened cream cheese, sour cream, dry ranch seasoning, and milk. Stir with your rubber spatula until it’s smooth and creamy. You want it to be thick but spreadable—like a thick yogurt. If it’s too stiff, add a splash more milk. If it’s too runny, pop it in the fridge for 5 minutes to firm up. Taste it and adjust the seasoning if needed. I sometimes add a pinch of garlic powder if I’m feeling bold.
- Spread the dip on the platter (2 minutes): Scoop the ranch dip onto the center of your serving platter. Use the back of your spatula to spread it into a circle, about 6-8 inches wide. Don’t worry about making it perfect—the spiderweb will cover up any uneven spots. The dip should be about 1/2 inch thick so it holds the pattern.
- Create the spiderweb pattern (3 minutes): Spoon the black olive tapenade into your piping bag or zip-top bag. Snip a tiny corner off the bag. Starting from the center of the dip, pipe a small circle of tapenade. Then, pipe a larger circle around it, and another, until you have about 4-5 concentric circles. Now, take a toothpick or the tip of a knife, and starting from the center, drag it outward through the circles to the edge of the dip. Repeat this all the way around, like you’re drawing spokes on a wheel. This creates the classic spiderweb look. Wipe the toothpick clean between each drag to keep the lines sharp.
- Arrange the veggies (5 minutes): Now, the fun part. Arrange your veggies around the dip in a circular pattern, like rays of the sun. Start with the larger items like broccoli and cauliflower florets, placing them with the flat side down so they stay put. Then, add the bell pepper strips, carrot sticks, and cucumber rounds. Tuck the cherry tomatoes in between the other veggies for pops of color. Try to create a dense, full look—you don’t want to see too much of the platter underneath. If you’re using black olives for garnish, place a few on top of the dip to look like spiders.
- Garnish and serve (1 minute): If you want to get extra fancy, sprinkle a little dried parsley or paprika over the veggies for color. Serve immediately, or cover with plastic wrap and refrigerate for up to 2 hours before serving. The dip will firm up in the fridge, which actually makes the web pattern hold better.
One thing I learned the hard way: don’t pile the veggies too high. Keep them in a single layer as much as possible, so people can easily grab what they want without knocking over the whole display. Also, if you’re making this ahead of time, wait to add the cherry tomatoes until just before serving—they can get watery and make the tray soggy.
Cooking Tips & Techniques
Over the years, I’ve made this tray more times than I can count, and I’ve definitely had my share of failures. Here are the tips I’ve picked up along the way to help you nail it on the first try.
Don’t overmix the dip. I know it’s tempting to beat the cream cheese until it’s super fluffy, but that can incorporate too much air and make the dip runny. Just mix until it’s combined and smooth. A few small lumps are totally fine—they’ll disappear as the dip sits.
Chill the dip before piping. If you have time, pop the spread dip in the fridge for 10 minutes before you add the tapenade. A firmer surface makes it way easier to create clean spiderweb lines. I forgot to do this once, and the tapenade just bled into the dip, creating a muddy mess. It still tasted good, but it wasn’t pretty.
Use a light hand with the tapenade. You don’t need a lot to create the web effect. Too much, and it’ll overpower the ranch flavor. A thin, steady drizzle is all you need. If you mess up a line, just smooth the dip back out with your spatula and try again. No one will know.
Prep your veggies ahead of time. Wash and chop everything the night before, and store them in zip-top bags in the fridge. This makes assembly a breeze on party day. I learned this after a particularly chaotic Halloween where I was chopping carrots while trying to help a kid with his costume. Not fun.
Keep it covered. If you’re not serving immediately, cover the tray tightly with plastic wrap. This keeps the veggies crisp and the dip from drying out. Just be careful not to smudge the spiderweb—use toothpicks to prop the wrap up slightly if needed.
Variations & Adaptations
This recipe is super flexible, so don’t be afraid to make it your own. Here are a few variations I’ve tried and loved.
Dietary Adaptations: For a dairy-free version, use vegan cream cheese and sour cream. I’ve tried it with Kite Hill brand, and it works surprisingly well. The texture is a bit thinner, so you might need to add a little cornstarch to thicken it. For a gluten-free option, just double-check your ranch seasoning packet—most are gluten-free, but it’s worth reading the label.
Seasonal Swaps: In the summer, I swap out the broccoli and cauliflower for fresh snap peas, asparagus spears, and zucchini rounds. In the fall, I add roasted pumpkin seeds on top for a crunchy garnish. The spiderweb design works with any veggie combo, so get creative with what’s in season.
Flavor Twists: If you want a spicier dip, add a dash of cayenne pepper or a squirt of sriracha to the ranch mixture. My husband loves it with a little smoked paprika mixed in. For a more kid-friendly version, you can use plain Greek yogurt instead of sour cream for a tangier, protein-packed dip. I tried this once when I was out of sour cream, and the kids didn’t even notice the difference.
Different Cooking Methods: If you’re short on time, you can use pre-cut veggie trays from the store. Just dump them out and arrange them around your homemade dip. No one will judge you—I’ve done it plenty of times. Also, you can make the dip in a food processor for an even smoother texture. Just pulse the cream cheese, sour cream, and seasonings until combined, then spread as usual.
Serving & Storage Suggestions
This tray is best served cold or at room temperature, so take it out of the fridge about 15 minutes before you’re ready to eat. The dip softens slightly, making it easier to scoop up with the veggies. For presentation, I like to place the tray in the center of the table with small plates and napkins around it. It’s a great conversation starter, especially if you add a few plastic spider rings on top for fun.
As for what to serve with it, this tray pairs beautifully with other finger foods. I often put it next to a bowl of popcorn or some cheese cubes for a full party spread. It also goes great with a warm bowl of chili or soup—the cool, crunchy veggies are a nice contrast to something hot and hearty. For drinks, apple cider or a simple punch works well for kids, while a crisp white wine like Sauvignon Blanc is nice for the adults.
Storage: Leftover veggies can be stored in an airtight container in the fridge for up to 3 days. The dip will keep for about 4 days, but it’s best eaten within 2. I don’t recommend freezing the dip—cream cheese gets grainy when thawed. To reheat? Don’t. This is a cold dish all the way. If the dip gets too thick after refrigeration, just let it sit at room temperature for 10 minutes and stir it before serving.
One thing I love about this recipe is that the flavors actually get better after a few hours in the fridge. The ranch seasoning melds with the cream cheese, and the tapenade infuses the dip with a subtle olive flavor. So if you can, make it a few hours ahead of time. Your taste buds will thank you.
Nutritional Information & Benefits
This veggie tray is a fantastic way to pack in nutrients without anyone complaining. Here’s a rough breakdown per serving (about 1 cup of veggies with 2 tablespoons of dip):
| Nutrient | Amount per Serving |
|---|---|
| Calories | 120 |
| Total Fat | 8g |
| Saturated Fat | 4g |
| Cholesterol | 20mg |
| Sodium | 280mg |
| Total Carbohydrates | 10g |
| Dietary Fiber | 3g |
| Sugars | 4g |
| Protein | 4g |
| Vitamin C | 60% DV |
| Vitamin A | 45% DV |
| Calcium | 6% DV |
| Iron | 4% DV |
The veggies provide a ton of fiber, vitamins, and antioxidants. Broccoli and cauliflower are packed with Vitamin C and K, while bell peppers are loaded with Vitamin A. The ranch dip adds calcium and protein from the dairy, making this a balanced snack that actually satisfies. If you’re watching your sodium, use a low-sodium ranch seasoning mix or make your own from scratch. And for a lighter option, swap the sour cream for Greek yogurt—it cuts the fat without sacrificing creaminess.
Conclusion
Honestly, this spiderweb veggie tray is one of those recipes that proves you don’t need to be a professional chef to impress people. It’s simple, it’s fun, and it gets even the pickiest eaters reaching for a carrot stick. I love that it started as a total disaster and turned into something my family now requests every Halloween. It’s a reminder that sometimes the best things in the kitchen come from just going with the flow.
I’d love to see how yours turns out! Feel free to swap in your family’s favorite veggies or add your own twist to the dip. Drop a comment below and let me know what variations you tried—I’m always looking for new ideas. And if you share a photo on Pinterest, tag me so I can cheer you on. Happy snacking, and remember: even when things go wrong, you might just end up with something amazing.
Frequently Asked Questions
Can I make this spiderweb veggie tray ahead of time?
Yes! You can assemble the whole tray up to 4 hours in advance. Just cover it tightly with plastic wrap and keep it in the fridge. I recommend adding the cherry tomatoes right before serving to keep them from getting watery.
What if I don’t have black olive tapenade?
No problem! You can finely chop about 1/4 cup of black olives and mix them with a teaspoon of olive oil. It won’t be as smooth, but the flavor is almost identical. You can also use pesto for a green spiderweb—it’s a fun twist!
Can I use a different dip base?
Absolutely. Greek yogurt works great for a lighter option, or you can use a vegan cream cheese for a dairy-free version. The key is to get the consistency right—thick enough to hold the spiderweb pattern, but spreadable enough to work with.
How do I get the spiderweb lines to look clean?
The trick is to chill the dip before piping the tapenade. A cold, firm surface makes the lines crisp. Also, wipe your toothpick clean between each drag to avoid smudging the pattern. Practice on a plate first if you’re nervous!
What are the best veggies for kids?
In my experience, kids love anything they can grab easily. Carrot sticks, cucumber rounds, bell pepper strips, and cherry tomatoes are always hits. Broccoli and cauliflower can be hit or miss, so I usually include them but don’t stress if they get left behind. Snap peas and sugar snap peas are also great options.
Pin This Recipe!
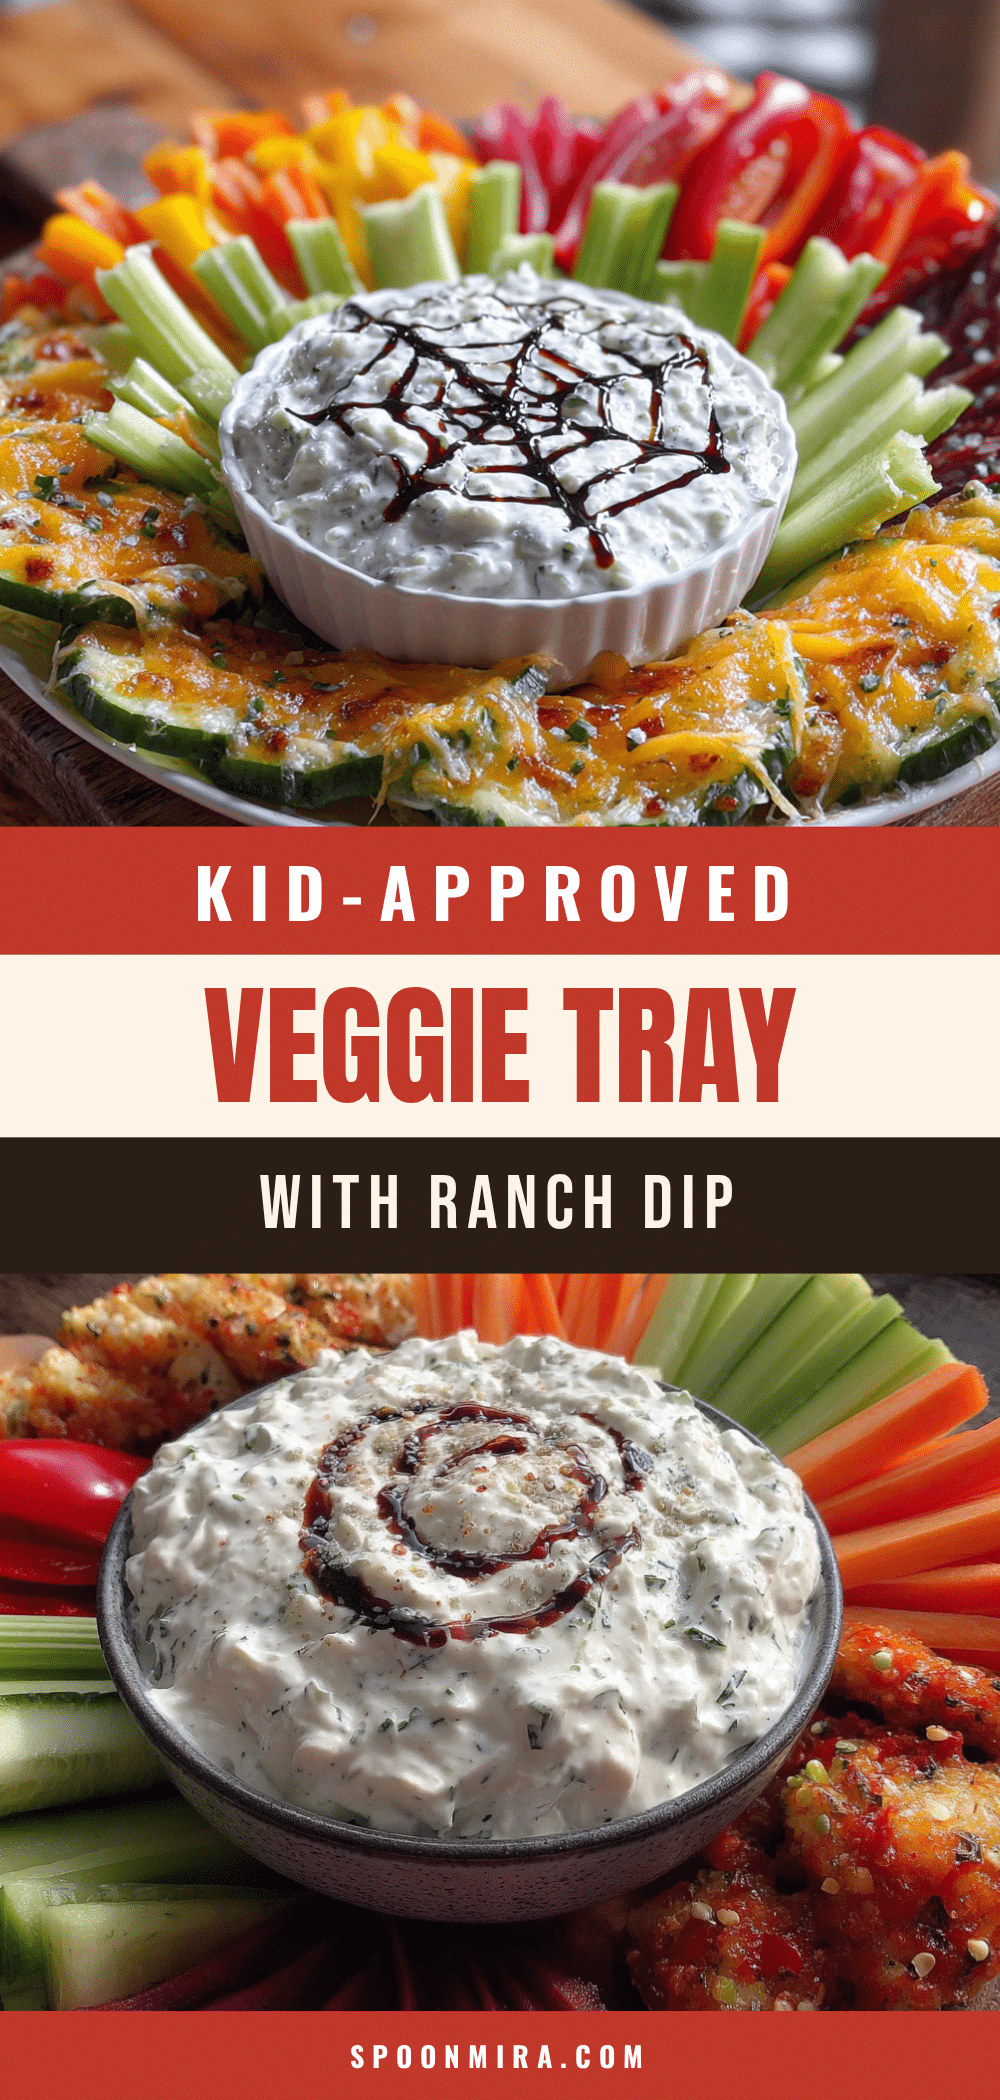
Kid-Approved Spiderweb Veggie Tray with Ranch Dip

A fun and easy Halloween veggie tray featuring a creamy ranch dip with a black olive tapenade spiderweb design. Perfect for parties and picky eaters, this crowd-pleaser comes together in under 15 minutes.
- Prep Time: 15 minutes
- Cook Time: 0 minutes
- Total Time: 15 minutes
- Yield: 8 servings 1x
- Category: Appetizer
- Cuisine: American
Ingredients
- 8 oz cream cheese, softened
- 1/2 cup sour cream
- 1 packet (1 oz) dry ranch seasoning mix
- 1/4 cup milk
- 1/4 cup black olive tapenade
- 1 large head of broccoli, cut into florets (about 2 cups)
- 1 large head of cauliflower, cut into florets (about 2 cups)
- 1 red bell pepper, sliced into thin strips
- 1 yellow bell pepper, sliced into thin strips
- 2 large carrots, peeled and cut into sticks
- 1 cup cherry tomatoes, halved
- 1 cup cucumber, sliced into rounds
- Optional: black olives for garnish
Instructions
- Make the ranch dip: In a small mixing bowl, combine the softened cream cheese, sour cream, dry ranch seasoning, and milk. Stir with a rubber spatula until smooth and creamy. Adjust consistency with more milk if needed.
- Spread the dip on the platter: Scoop the ranch dip onto the center of a large serving platter. Use the back of a spatula to spread it into a circle about 6-8 inches wide and 1/2 inch thick.
- Create the spiderweb pattern: Spoon the black olive tapenade into a piping bag or zip-top bag with a tiny corner snipped off. Pipe concentric circles starting from the center of the dip. Use a toothpick or knife tip to drag outward from the center through the circles, creating spokes. Wipe the toothpick clean between each drag.
- Arrange the veggies: Arrange the broccoli, cauliflower, bell pepper strips, carrot sticks, cucumber rounds, and cherry tomatoes around the dip in a circular pattern. Place black olives on top of the dip to look like spiders if desired.
- Garnish and serve: Sprinkle dried parsley or paprika over the veggies for color if desired. Serve immediately or cover with plastic wrap and refrigerate for up to 2 hours.
Notes
For best results, use full-fat cream cheese to ensure the dip holds the spiderweb pattern. Chill the spread dip for 10 minutes before piping the tapenade for cleaner lines. Prep veggies ahead of time to save time on party day. Add cherry tomatoes just before serving to prevent sogginess.
Nutrition
- Serving Size: 1 cup of veggies wit
- Calories: 120
- Sugar: 4
- Sodium: 280
- Fat: 8
- Saturated Fat: 4
- Carbohydrates: 10
- Fiber: 3
- Protein: 4
Keywords: Halloween, veggie tray, spiderweb, ranch dip, party appetizer, kid-friendly, healthy snack


