My neighbor Carol wasn’t trying to impress anyone. I’d stopped by to borrow a cup of sugar—how cliché, I know—and this smell hit me before I even made it past her front door. It wasn’t cookies baking or bread rising. It was something richer, almost chocolaty, with a hint of something creamy underneath. I followed my nose to her kitchen, where she stood at the counter, completely nonchalant, layering crushed cookies into little cups like it was nothing.
“Oh, this?” she said when I asked, barely looking up. “It’s just something the kids begged for.” She handed me a spoon and told me to try one she’d already finished. Honestly, that first bite stopped me mid-sentence. The cool, silky pudding, the crunch of the cookie crumbs, and then—I swear—the tiny burst of nostalgia that hit me right in the chest. I’d eaten dirt pudding at birthday parties as a kid, but this version was different. It felt cozier, like a hug in a cup. Maybe it was the way Carol made it, or maybe it was just the kind of rainy Tuesday afternoon that makes you crave something sweet and simple.
I stood there in her kitchen for another twenty minutes, watching her work. She didn’t have a recipe written down. She just eyeballed everything, tasted as she went, and kept muttering about how her kids would eat the gummy worms before she could even finish the layers. I scribbled notes on a napkin before I left, and I’ve been making these cozy Oreo dirt pudding cups with gummy worms ever since. They’ve gotten me through cold nights, rough days, and more than a few potlucks where people asked for the recipe. Honestly, the best dishes come from people who don’t think they’re doing anything special—and Carol definitely didn’t realize she’d changed my dessert game forever.
Why You’ll Love This Recipe
Let me tell you why this recipe has earned a permanent spot in my rotation. I’ve tested it at least six times since that afternoon at Carol’s, tweaking the ratios and trying different brands, and this version is the one I keep coming back to. It’s not just good—it’s the kind of dessert that makes you close your eyes after the first bite.
- Quick & Easy: No oven required, no complicated techniques. You can have these cups ready in about 20 minutes of active time. The hardest part is waiting for them to chill.
- Simple Ingredients: You probably already have most of what you need in your pantry. Oreos, instant pudding mix, milk, cream cheese, and some gummy worms. That’s it.
- Perfect for Cozy Nights: Whether it’s a rainy evening, a snowy afternoon, or just a Tuesday that needs fixing, these cups deliver that warm, nostalgic comfort without any fuss.
- Crowd-Pleaser: I’ve served these at family gatherings, kids’ parties, and even a book club meeting. Every single time, someone asks for the recipe. Kids love the gummy worms; adults love the creamy, crunchy texture.
- Unbelievably Delicious: The combination of silky pudding, crushed Oreos, and cool cream cheese creates a texture that’s next-level comfort food. It’s like eating a cloud made of cookies.
What makes this recipe different from the rest? For starters, I use a little trick I picked up from Carol herself—she added a splash of vanilla extract to the cream cheese mixture. It sounds small, but it makes the whole thing taste more homemade, less like a boxed dessert. Plus, I’ve found that using full-fat cream cheese gives the pudding layers a richness that low-fat versions just can’t match. This isn’t just another dirt pudding recipe. It’s the one you’ll actually want to make again and again.
There’s something about these cups that feels like a hug. Maybe it’s the creamy texture, or the childhood memories of digging into a cup of “dirt” at a birthday party. Whatever it is, this recipe has a way of making even the busiest evening feel a little more special. And honestly, isn’t that what comfort food is supposed to do?
What Ingredients You Will Need
This recipe uses simple, wholesome ingredients to deliver bold flavor and satisfying texture without the fuss. Most of these are pantry staples, so you probably don’t need a special trip to the store. Here’s what you’ll need:
For the Pudding Layer
- 1 (3.9-ounce) package instant chocolate pudding mix (I prefer Jell-O brand for consistent results, but store brands work fine too)
- 2 cups cold whole milk (adds richness; 2% milk works in a pinch, but whole milk gives the creamiest texture)
- 1 teaspoon vanilla extract (optional, but I swear it makes a difference—use pure vanilla if you have it)
For the Cream Cheese Layer
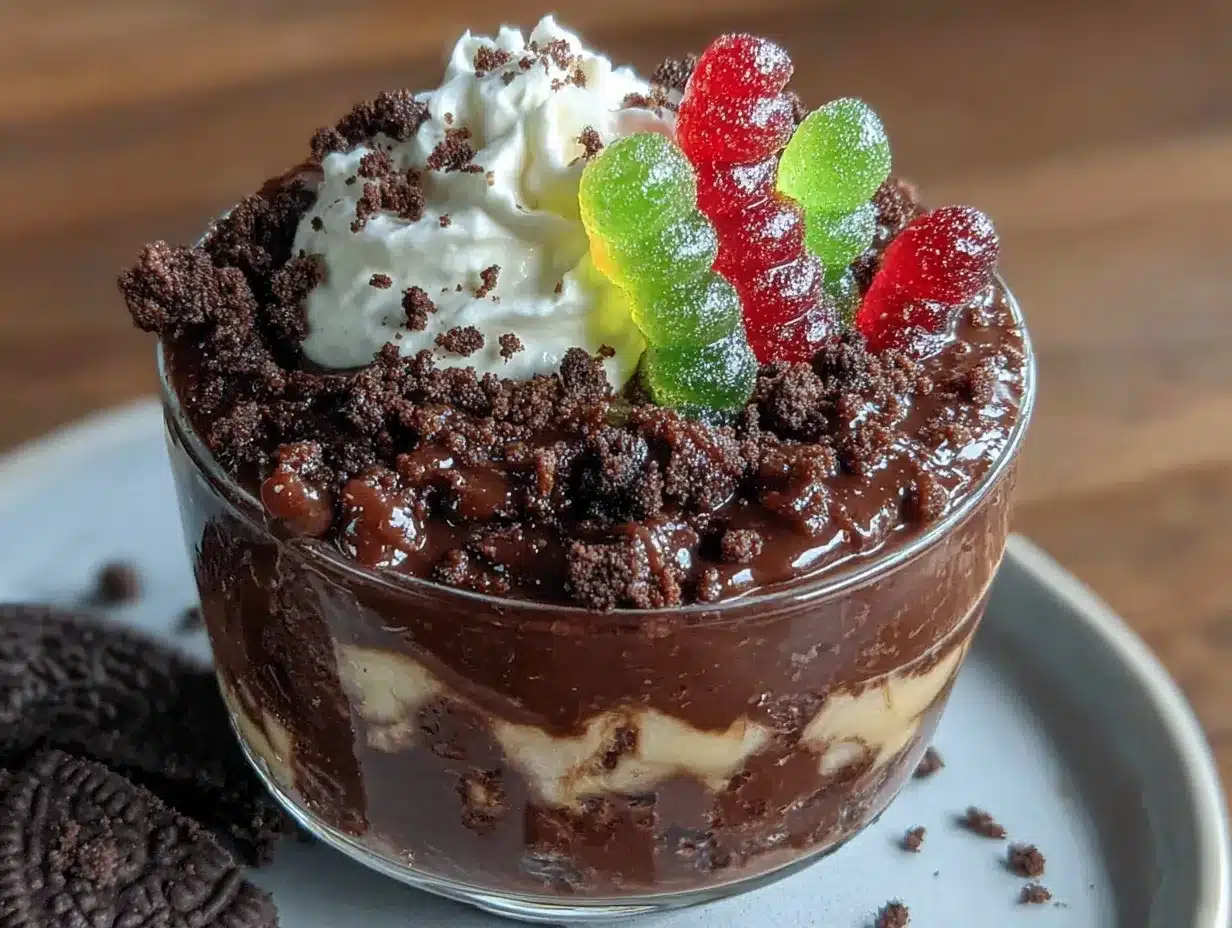
- 4 ounces cream cheese, softened to room temperature (full-fat is best; low-fat can make the mixture grainy)
- 1/4 cup unsalted butter, softened (salted butter works if you reduce the added salt, but unsalted gives you more control)
- 1 cup powdered sugar (sift it first to avoid lumps—trust me on this one)
- 1/2 teaspoon vanilla extract
- 2 cups whipped topping, thawed (Cool Whip is the classic choice, but homemade whipped cream works beautifully if you’re feeling ambitious)
For the “Dirt” Layer
- 1 (14.3-ounce) package Oreo cookies (regular or Double Stuf—both work, but Double Stuf gives a richer crumb)
- 2 tablespoons melted butter (optional, but it helps the crumbs clump together slightly for a more realistic “dirt” texture)
For Decoration
- 1 cup gummy worms (I like the sour ones for a little tangy contrast, but classic worms are great too)
- Optional: Fresh mint leaves or edible flowers for a grown-up presentation (honestly, I skip these most of the time)
Ingredient Tips: When buying Oreos, look for packages that aren’t too crushed already—you want to control the crumb size yourself. For the gummy worms, I’ve found that the softer, fresher ones work better than the hard, stale ones. Check the date on the package if you can. And if you’re dairy-free, you can substitute the cream cheese and butter with plant-based versions, though the texture will be slightly different. I’ve tried it with coconut cream in place of the cream cheese, and it works—just don’t expect the same tanginess.
Equipment Needed
You don’t need a fancy kitchen to make these cozy Oreo dirt pudding cups. Here’s what I use:
- Mixing bowls: One large bowl for the pudding, one medium bowl for the cream cheese mixture. Glass or stainless steel works best.
- Electric hand mixer or stand mixer: You can mix the cream cheese by hand if you’re patient, but a mixer makes it much easier to get that smooth, lump-free texture. I’ve done it both ways, and the mixer wins every time.
- Food processor or rolling pin: For crushing the Oreos. A food processor gives you fine, even crumbs in seconds. A rolling pin and a zip-top bag work just as well—and honestly, it’s kind of therapeutic to smash them yourself.
- Small cups or glasses: Six to eight 8-ounce cups work perfectly. I use clear plastic cups so you can see the layers, but small mason jars or even ramekins are great options.
- Spatula: For scraping every last bit of that cream cheese mixture out of the bowl. Don’t waste a drop.
- Measuring cups and spoons: For accuracy, especially with the milk and powdered sugar.
Budget-friendly tip: If you don’t have a food processor, just put the Oreos in a gallon-sized zip-top bag and go to town with a rolling pin. It takes a few extra minutes, but it’s oddly satisfying. Plus, your kids will probably volunteer to help with this part.
Preparation Method
Alright, let’s make these cozy Oreo dirt pudding cups. I’ve broken it down into steps so you don’t miss anything. Trust me, following the order here makes a difference.
Step 1: Make the Chocolate Pudding
In a large mixing bowl, whisk together the instant chocolate pudding mix and 2 cups of cold whole milk. Whisk vigorously for about 2 minutes until the pudding starts to thicken. You’ll notice it go from liquid to a soft, silky consistency. Add 1 teaspoon of vanilla extract and stir it in. Set the bowl aside—the pudding will continue to set as you work on the other layers. Pro tip: If the pudding seems too thin after 2 minutes, let it sit for another minute or two. It’ll firm up on its own.
Step 2: Make the Cream Cheese Layer
In a medium mixing bowl, beat 4 ounces of softened cream cheese and 1/4 cup of softened unsalted butter together until smooth. This takes about 2-3 minutes with an electric mixer on medium speed. Scrape down the sides of the bowl with a spatula halfway through. Add 1 cup of sifted powdered sugar and 1/2 teaspoon of vanilla extract, then beat until everything is combined and fluffy. Sensory cue: The mixture should look pale, smooth, and spreadable—like a thick frosting. If it looks lumpy, keep beating for another minute.
Gently fold in 2 cups of thawed whipped topping using a spatula. Don’t overmix here—you want to keep the airiness. Fold until you see no more white streaks. The mixture should be light and creamy, almost like a mousse.
Step 3: Crush the Oreos
Place the entire package of Oreos (cream filling and all) into a food processor. Pulse until you get fine crumbs. If you’re using a rolling pin, put the cookies in a zip-top bag and crush them until you have a mix of fine crumbs and a few slightly larger pieces. Transfer the crumbs to a bowl and stir in 2 tablespoons of melted butter if you’re using it. This step is optional, but it helps the crumbs hold together a bit more, giving you that “dirt” texture that doesn’t just fall apart when you eat it.
Step 4: Layer the Cups
Now comes the fun part. Grab your cups or glasses. Start with a layer of Oreo crumbs at the bottom—about 2 tablespoons per cup. Press it down lightly with the back of a spoon. Next, add a layer of the cream cheese mixture—about 3 tablespoons per cup, spread evenly. Then add a layer of chocolate pudding—another 3 tablespoons or so. Repeat the layers: another thin layer of Oreo crumbs, then the remaining cream cheese mixture, then the remaining pudding. Note: You want to end with a thick layer of Oreo crumbs on top to look like dirt. This is where the gummy worms will go, so leave about 1/2 inch of space at the top of each cup.
Step 5: Add the Gummy Worms and Chill
Press a few gummy worms into the top Oreo crumb layer so they look like they’re crawling out of the “dirt.” You can leave some half-buried and some fully visible for a playful effect. Cover the cups with plastic wrap and refrigerate for at least 2 hours, but 4 hours is better. The longer they chill, the more the flavors meld together and the creamier the texture becomes. Warning: Don’t skip the chilling step. If you eat these right away, the layers will be too loose and the pudding won’t be fully set. Patience, my friend.
Step 6: Serve and Enjoy
Take the cups out of the fridge about 10 minutes before serving to take the chill off slightly. Add a few extra gummy worms on top for garnish if you want to get fancy. Serve with a spoon and watch everyone’s faces light up.
Cooking Tips & Techniques
I’ve made these cozy Oreo dirt pudding cups more times than I can count, and I’ve learned a few things along the way. Here are my best tips to make sure yours turn out perfectly:
- Soften the cream cheese properly: This is non-negotiable. If your cream cheese is too cold, it won’t blend smoothly with the butter, and you’ll end up with lumps. Leave it on the counter for at least 30 minutes before you start. In a pinch, you can microwave it for 10-15 seconds, but watch it carefully—you don’t want it to melt.
- Sift the powdered sugar: I know, it’s an extra step. But trust me, unsifted powdered sugar creates clumps that are nearly impossible to beat out. A quick sift takes 30 seconds and saves you from gritty cream cheese mixture.
- Don’t overmix the whipped topping: When you fold the whipped topping into the cream cheese mixture, use a gentle hand. Overmixing deflates the air and makes the layer dense instead of light and fluffy.
- Crush Oreos to the right consistency: You want a mix of fine crumbs and slightly larger pieces. If everything is too fine, it turns into mud instead of “dirt.” If it’s too chunky, it won’t look realistic. Aim for crumbs that are about the size of coarse sand.
- Chill for the full 4 hours: I once tried to rush this step and served the cups after only an hour. The layers slid around, and the pudding was still runny. Learn from my mistake—give them time to set properly.
One more thing: If you’re making these for a party, you can assemble them the night before. They actually taste better the next day because the flavors have more time to meld. Just add the gummy worms right before serving so they don’t get too soft from the moisture in the fridge.
Variations & Adaptations
One of the best things about this recipe is how easy it is to customize. Here are some variations I’ve tried and loved:
Gluten-Free Version
Swap the Oreos for gluten-free chocolate sandwich cookies. There are several good brands out there now that taste almost identical to the original. Everything else in the recipe is naturally gluten-free, so this is an easy switch.
Dairy-Free Version
Use dairy-free cream cheese (I like the brand Kite Hill), plant-based butter, and coconut milk for the pudding. For the whipped topping, look for a dairy-free version like CocoWhip. The texture will be slightly different—a bit less creamy—but it’s still delicious. I’ve tested this version for a friend with lactose intolerance, and she gave it two thumbs up.
Peanut Butter Twist
Add 1/4 cup of creamy peanut butter to the cream cheese mixture before beating. It adds a nutty richness that pairs beautifully with the chocolate. Just make sure to beat it well so it’s fully incorporated. This version is dangerously good—I had to stop myself from eating the entire bowl of cream cheese mixture.
Mint Chocolate Version
Use mint-flavored Oreos (the ones with green filling) and add 1/4 teaspoon of peppermint extract to the pudding. Top with a few chocolate shavings for an extra fancy touch. This is my go-to for holiday gatherings.
Individual Parfait Jars
Instead of cups, layer everything in small mason jars. These make great gifts or party favors. Just screw on the lids and tie a ribbon around the jar. I did this for a friend’s baby shower, and people couldn’t stop talking about them.
Personal variation: I once made these with a layer of fresh raspberries in the middle, and it was incredible. The tartness of the berries cuts through the sweetness perfectly. Give it a try if you’re feeling adventurous.
Serving & Storage Suggestions
These cozy Oreo dirt pudding cups are best served cold, straight from the fridge. I like to take them out about 10 minutes before serving so they’re not ice-cold, but still nicely chilled. For presentation, you can’t beat clear cups—the layers look so pretty against the glass. If you’re serving these at a party, arrange them on a tray with a few extra gummy worms scattered around for a playful touch.
What to serve with them: These cups are rich and satisfying on their own, but they pair beautifully with a cup of hot coffee or a glass of cold milk. For a dessert spread, put them out alongside some classic chocolate chip cookies or a simple fruit salad for balance. If you’re feeling extra indulgent, add a dollop of whipped cream on top before serving.
Storage: Cover the cups tightly with plastic wrap or pop on lids if your cups have them. They’ll keep in the refrigerator for up to 3 days. After that, the Oreo crumbs start to get soggy, and the texture isn’t as nice. I don’t recommend freezing these—the dairy layers get grainy when thawed, and the gummy worms turn into weird, hard little nuggets.
Reheating: Don’t. These are meant to be eaten cold. If you absolutely must, you can let them sit at room temperature for 15-20 minutes to take the chill off, but do not microwave them. Trust me on this one.
Flavor development: These cups actually taste better the next day. The flavors meld together, and the texture becomes even creamier. So if you can, make them a day ahead. Your future self will thank you.
Nutritional Information & Benefits
Let’s be real—these are a treat, not a health food. But here’s the estimated nutritional breakdown for one serving (based on 8 servings per recipe):
- Calories: Approximately 420-450
- Fat: 22g
- Carbohydrates: 55g
- Protein: 6g
- Sugar: 38g
- Fiber: 2g
Health benefits: Okay, so these aren’t exactly a superfood. But there are a few bright spots. The cream cheese provides a small amount of calcium and protein. The Oreos (believe it or not) contain a tiny bit of iron from the enriched flour. And the gummy worms? Well, they make you smile, and that counts for something, right?
Dietary considerations: This recipe contains dairy and gluten. It can be made gluten-free and dairy-free with the substitutions mentioned in the variations section. It is not suitable for vegans unless you use plant-based alternatives throughout.
My take: I believe in balance. These cozy Oreo dirt pudding cups are a wonderful occasional indulgence—perfect for birthdays, holidays, or those days when you just need a little sweetness. Enjoy them without guilt, and maybe go for a walk afterward. That’s my philosophy, and it’s served me well.
Conclusion
So there you have it—my take on the classic dirt pudding, made cozy and completely irresistible. These cups have gotten me through some rough days, made some ordinary evenings feel special, and earned me more compliments than I can count. They’re the kind of dessert that reminds you why comfort food exists in the first place.
I hope you give these a try. Don’t be afraid to customize them to your taste—swap the pudding flavor, add your favorite toppings, or experiment with different cookies. The beauty of this recipe is how forgiving it is. Even if you mess up the layers or crush the Oreos too fine, it’ll still taste amazing. I promise.
Now I want to hear from you. Have you made these? Did you add your own twist? Drop a comment below and tell me about it. Share a photo on Pinterest or Instagram and tag me—I love seeing your creations. And if you know someone who needs a little cozy comfort in their life, send them this recipe. Because honestly, everyone deserves a cup of dirt pudding now and then.
Happy cooking, friend. And remember—the best desserts are the ones made without stress. So take your time, enjoy the process, and don’t forget to save a gummy worm for yourself.
Frequently Asked Questions
Can I use homemade chocolate pudding instead of instant?
Absolutely. Homemade pudding works beautifully here, though it will be slightly less firm than instant. Just make sure it’s completely cooled before layering, or it will melt the cream cheese mixture. I’ve done it both ways, and homemade adds a lovely richness if you have the time.
How far in advance can I make these cups?
You can make them up to 2 days ahead of time. Store them covered in the refrigerator. I actually prefer the flavor on day two—everything melds together so nicely. Just wait to add the gummy worms until right before serving so they stay chewy.
Can I use low-fat or fat-free cream cheese?
You can, but I don’t recommend it. Low-fat cream cheese has a higher water content, which can make the mixture grainy and less stable. If you’re watching calories, I’d suggest using a smaller portion of full-fat cream cheese rather than swapping to low-fat. The texture really does matter here.
What if I don’t have a food processor for the Oreos?
No problem at all. Put the Oreos in a large zip-top bag, seal it, and crush them with a rolling pin or even a heavy skillet. It takes a few extra minutes, but it’s oddly satisfying. You can also use a blender in short pulses, though you might get some uneven pieces.
Can I make these into a larger dish instead of individual cups?
Yes! Layer everything in a 9×13 inch baking dish or a trifle bowl. The proportions are the same—just spread each layer evenly. You’ll need to chill it for at least 4 hours, and it’s perfect for feeding a crowd. I’ve done this for potlucks, and it disappears fast.
Pin This Recipe!
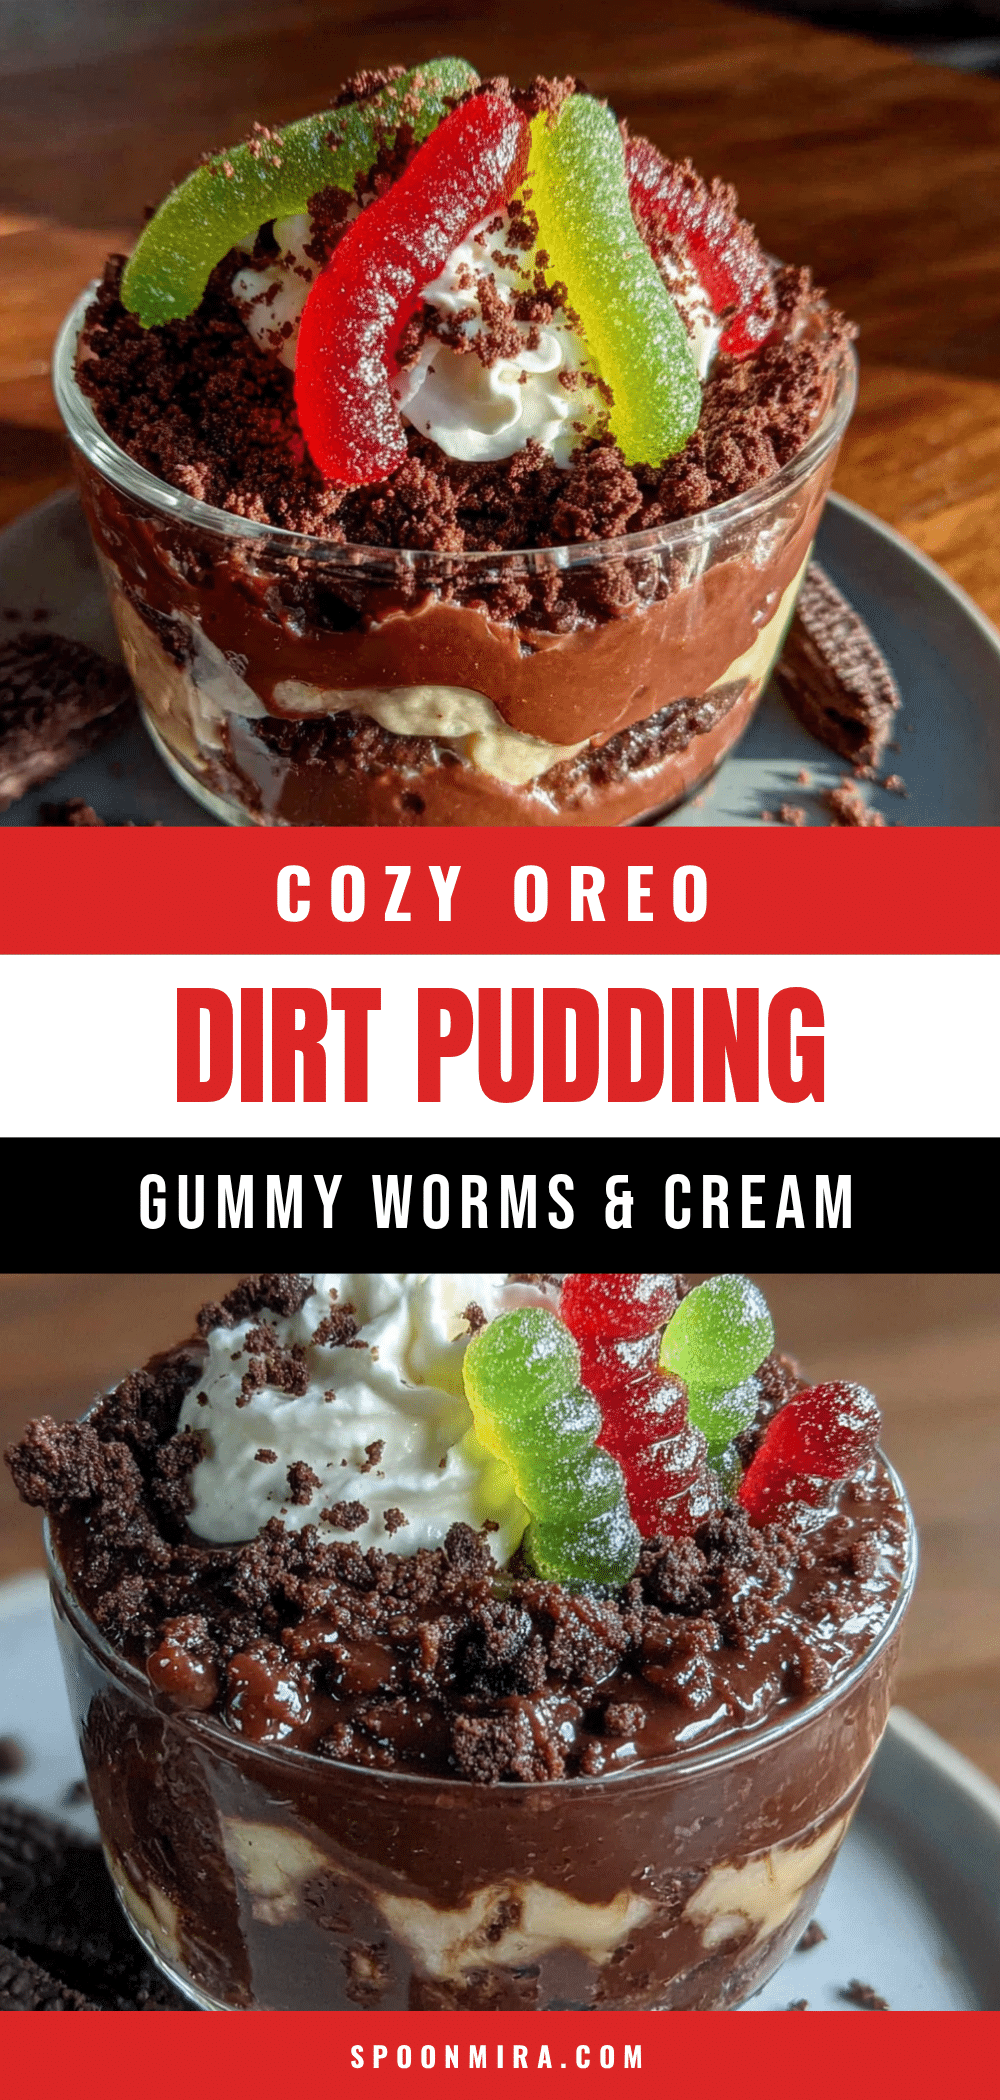
Cozy Oreo Dirt Pudding Cups Easy No-Bake Dessert

These no-bake Oreo dirt pudding cups are a cozy, nostalgic dessert with layers of creamy chocolate pudding, a fluffy cream cheese mixture, and crushed Oreo ‘dirt,’ topped with gummy worms. Perfect for parties, potlucks, or a simple sweet treat.
- Prep Time: 20 minutes
- Cook Time: 0 minutes
- Total Time: 4 hours 20 minutes (includes chilling)
- Yield: 8 servings 1x
- Category: Dessert
- Cuisine: American
Ingredients
- 1 (3.9-ounce) package instant chocolate pudding mix
- 2 cups cold whole milk
- 1 teaspoon vanilla extract
- 4 ounces cream cheese, softened to room temperature
- 1/4 cup unsalted butter, softened
- 1 cup powdered sugar, sifted
- 1/2 teaspoon vanilla extract
- 2 cups whipped topping, thawed
- 1 (14.3-ounce) package Oreo cookies
- 2 tablespoons melted butter (optional)
- 1 cup gummy worms
Instructions
- In a large mixing bowl, whisk together the instant chocolate pudding mix and 2 cups of cold whole milk for about 2 minutes until thickened. Stir in 1 teaspoon of vanilla extract. Set aside.
- In a medium mixing bowl, beat 4 ounces of softened cream cheese and 1/4 cup of softened unsalted butter together until smooth (2-3 minutes with an electric mixer). Add 1 cup of sifted powdered sugar and 1/2 teaspoon of vanilla extract, then beat until fluffy.
- Gently fold in 2 cups of thawed whipped topping until no white streaks remain.
- Crush the entire package of Oreos (cream filling included) in a food processor or by placing them in a zip-top bag and crushing with a rolling pin until you have fine crumbs with some slightly larger pieces. Stir in 2 tablespoons of melted butter if desired.
- Layer the cups: Start with about 2 tablespoons of Oreo crumbs at the bottom of each cup. Add about 3 tablespoons of the cream cheese mixture, then about 3 tablespoons of chocolate pudding. Repeat layers, ending with a thick layer of Oreo crumbs on top.
- Press a few gummy worms into the top Oreo layer so they appear to be crawling out of the ‘dirt.’ Cover cups with plastic wrap and refrigerate for at least 2 hours, preferably 4 hours or overnight.
- Serve cold. Remove from fridge about 10 minutes before serving. Garnish with extra gummy worms if desired.
Notes
For best results, use full-fat cream cheese and chill for at least 4 hours. The cups taste even better the next day. Add gummy worms just before serving to keep them chewy. For a gluten-free version, use gluten-free chocolate sandwich cookies. For dairy-free, use plant-based cream cheese, butter, milk, and whipped topping.
Nutrition
- Serving Size: 1 cup
- Calories: 435
- Sugar: 38
- Sodium: 380
- Fat: 22
- Saturated Fat: 12
- Carbohydrates: 55
- Fiber: 2
- Protein: 6
Keywords: Oreo dirt pudding, no-bake dessert, chocolate pudding cups, gummy worms, easy dessert, kid-friendly, party dessert


