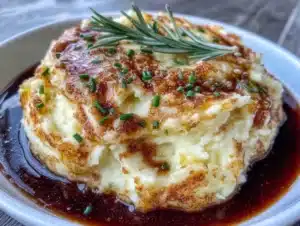
It was 11:47 PM on a drizzly Wednesday in late October, and I had a very specific craving for something that felt like a hug and a Halloween party all at once. I didn’t have any fancy cake mixes or pre-made frosting for a spooky dessert, but I had a mountain of leftover roasted garlic mashed potatoes from Tuesday’s dinner and a bag of frozen peas. The idea that arrived was weird, impulsive, and honestly, a little bit perfect: a savory Halloween “graveyard” made entirely from cozy, creamy mashed potatoes. I wasn’t trying to impress anyone—my cat was the only witness—but something about the quiet, rainy night just begged for a little playful, comforting chaos in the kitchen.
Why You’ll Love This Cozy Roasted Garlic Mashed Potato Graveyard
Let’s be real: Halloween food is usually all about sugar and scary things. But what if you want something that’s spooky-adjacent but still feels like a warm blanket? That’s where this dish comes in. It’s the side dish that steals the show, and here’s why you’re going to want to make it tonight.
- Quick & Easy: This comes together in under 30 minutes if you have pre-made mashed potatoes. Even from scratch, it’s a simple, stress-free project.
- Simple Ingredients: No weird gelatin molds or neon food coloring. You probably have everything you need for the potatoes, and the “decorations” are just pantry staples.
- Perfect for Halloween Parties: It’s a guaranteed conversation starter. It looks incredible on a buffet table, but it’s not a dessert, so it balances out all the candy.
- Unbelievably Delicious: The roasted garlic makes these the best mashed potatoes you’ve ever had. The creamy texture is the perfect canvas for the savory “dirt” and “tombstones.”
- Crowd-Pleaser: Kids love the spooky factor, and adults love the sophisticated garlic flavor. It’s a win-win for everyone.
This isn’t just another Halloween recipe. It’s the one that makes you feel like a culinary genius with almost zero effort. It’s comfort food reimagined as a centerpiece—the kind of dish that makes you close your eyes after the first bite, even with a plastic skeleton grinning at you from across the table.
What Ingredients You Will Need
This recipe uses simple, wholesome ingredients to deliver that rich, comforting flavor. Most of these are pantry staples, which makes this a perfect last-minute Halloween hero.
For the Roasted Garlic Mashed Potatoes
- 2 pounds Yukon Gold potatoes, peeled and quartered (Yukon Golds are my go-to for the creamiest, butteriest texture; Russets work too, but they’re a bit fluffier)
- 1 whole head of garlic (Don’t skimp here—roasted garlic is the heart of this dish. It gets sweet and mellow, nothing sharp or harsh)
- 1 tablespoon olive oil (For roasting the garlic)
- 4 tablespoons unsalted butter, softened (I use Kerrygold for its rich flavor)
- 1/2 cup whole milk or heavy cream, warmed (Warm liquid incorporates better and keeps the potatoes fluffy)
- Salt and freshly ground black pepper, to taste
- 1/4 cup sour cream or Greek yogurt (Adds a lovely tang and extra creaminess)
For the Graveyard Decorations
- 1/2 cup black olives, sliced into rounds (These become the creepy “stones” and path)
- 1/4 cup fresh parsley or chives, finely chopped (This is your “grass” and adds a fresh pop of color)
- 1/2 cup frozen peas, thawed (For making little “graves” or “mounds”)
- 3-4 rectangular crackers or pieces of toasted bread (These will be your “tombstones.” I used simple saltines)
- 1 tablespoon poppy seeds or black sesame seeds (For “dirt” and texture on top)
For the tombstones, I personally love using simple saltine crackers because they are the perfect shape and size. You can also use pieces of pita bread that you’ve toasted until crisp. For a gluten-free option, use slices of firm polenta or large cucumber rounds.
Equipment Needed
- Large pot (For boiling the potatoes)
- Potato masher or ricer (A ricer gives the smoothest, fluffiest texture, but a good old-fashioned masher works perfectly and gives a more rustic feel. I actually prefer my masher for this because the slight lumps look more like “graveyard dirt.”)
- Small baking dish or foil (For roasting the garlic)
- Knife and cutting board
- Large mixing bowl
- Spatula or wooden spoon
- Small serving platter or shallow bowl (A dark-colored plate really makes the “graveyard” pop)
Preparation Method
- Roast the Garlic (Do this first!): Preheat your oven to 400°F (200°C). Cut the top off the head of garlic to expose the cloves. Drizzle with the olive oil, wrap tightly in foil, and roast for 35-40 minutes, until the cloves are soft and golden. Let it cool, then squeeze the soft, sweet garlic paste out of the skins. Set aside. (Pro tip: You can do this days in advance! Roasted garlic keeps in the fridge for a week.)
- Boil the Potatoes: While the garlic roasts, place the peeled and quartered potatoes in a large pot and cover with cold water by about an inch. Add a generous pinch of salt. Bring to a boil, then reduce to a simmer and cook for 12-15 minutes, until the potatoes are fork-tender. You want them to break apart easily when pierced.
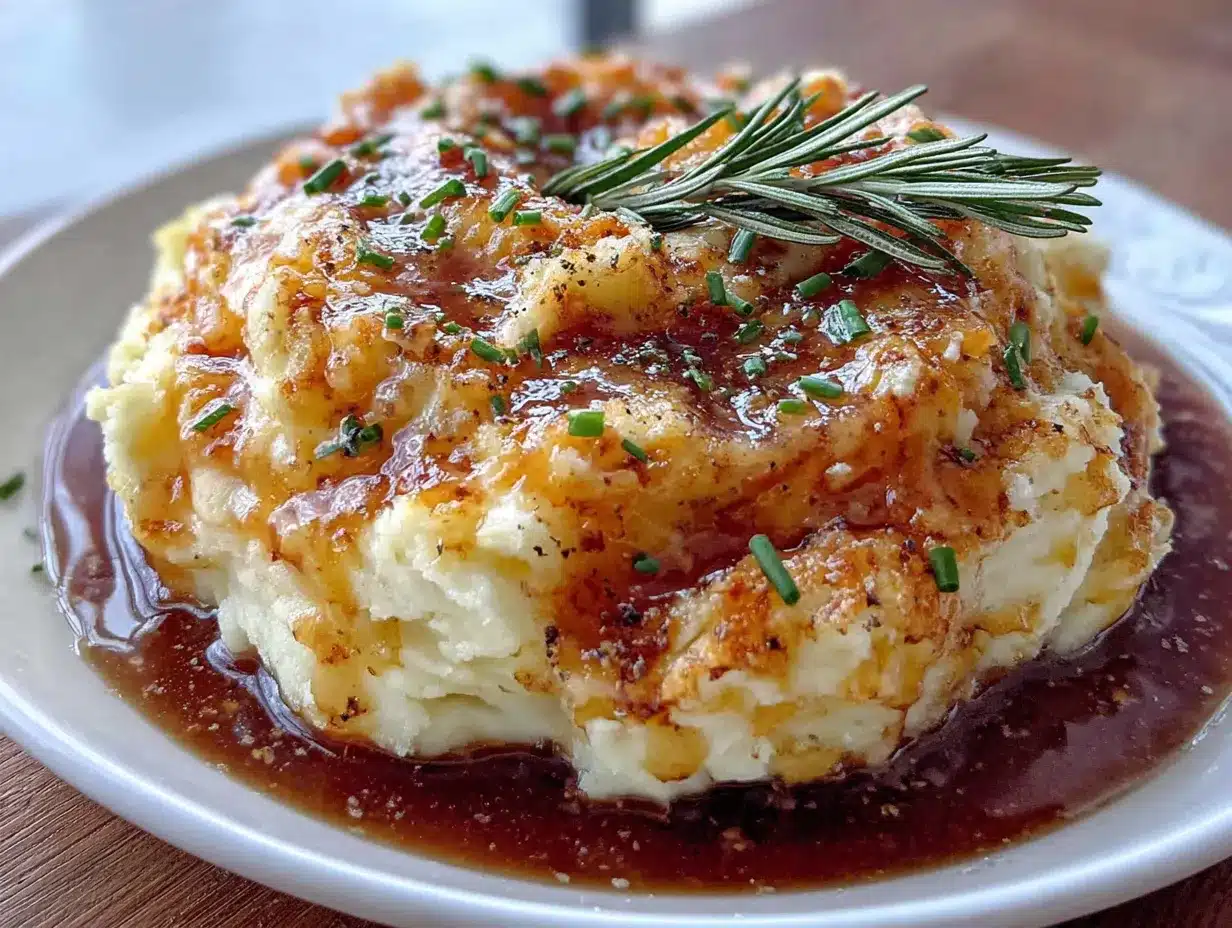
- Mash and Mix: Drain the potatoes well. Return them to the hot pot for a minute to steam off any excess moisture (this is crucial for non-watery mash!). Transfer to a large bowl. Add the roasted garlic paste, softened butter, and sour cream. Mash until almost smooth. Slowly pour in the warm milk or cream, stirring until you reach your desired consistency. Season generously with salt and pepper. Taste it—it should be so good you want to eat it with a spoon.
- Assemble the Graveyard Base: Spread the mashed potatoes onto your serving platter. Use the back of a spoon to create a landscape—make some areas higher for “hills” and “graves,” and leave a small “path” that winds through the middle.
- Create the “Dirt” and “Grass”: Sprinkle the poppy seeds or black sesame seeds over the “hills” to look like dark soil. Scatter the chopped parsley or chives over the lower areas to look like grass.
- Add the Graves and Tombstones: Press the thawed peas gently into the potato “hills” to create small, lumpy grave mounds. Write “R.I.P.” on your crackers or toast with a toothpick or a tiny bit of black food coloring (or just leave them plain for a more ancient, mysterious look). Stick them into the potato hills at a slight angle, as if they’re leaning.
- Finish with the Path: Lay the sliced black olives along the winding path you created, like stepping stones leading through the graveyard. Serve immediately while warm.
Warning: The “tombstones” will soften over time, so if you’re making this for a party, assemble it right before serving. The mashed potatoes themselves can be made a day ahead and reheated gently on the stovetop or in the microwave.
Cooking Tips & Techniques
I learned the hard way that the key to perfect mashed potatoes for a “graveyard” is getting the texture just right. If they are too wet, your tombstones will just fall over. Here’s what I’ve figured out:
- The Steam-Off Trick: After draining the potatoes, put them back in the hot pot for 30-60 seconds. This evaporates the excess water that makes mash gluey. It’s a game-changer.
- Don’t Over-Mash: Overworking the potatoes releases too much starch, turning them into a pasty, sticky mess. Mash just until the lumps are gone. A few small lumps are fine—they add to the “earthy” look of the graveyard.
- Warm Liquid is Non-Negotiable: Cold milk or cream will shock the hot potatoes and make them seize up. Always warm your liquid (even in the microwave for 30 seconds) before adding it.
- Season in Layers: Don’t just add salt at the end. Salt the water you boil the potatoes in, and then season the mash again. This builds a deep, savory flavor that stands up to the “spooky” toppings.
Variations & Adaptations
This recipe is super flexible. Here are a few ways I’ve played with it:
- Vegan Version: Use olive oil or vegan butter instead of dairy butter, and unsweetened oat milk or cashew cream instead of milk. The roasted garlic does so much heavy lifting for flavor that you won’t miss the dairy at all.
- Spicy Graveyard: Mix in a pinch of cayenne pepper or smoked paprika into the potatoes. It gives a subtle warmth that’s perfect for a chilly Halloween night.
- Cheesy “Tombstones”: Instead of crackers, use slices of firm cheddar or gouda. You can even use a small cookie cutter to make them into bat or ghost shapes! Just be careful—they might melt a little if the potatoes are very hot.
- The “Swamp” Graveyard: For a more sinister look, serve the potatoes in a shallow bowl and pour a little warm gravy or cheese sauce around the base of the “graves” to look like a creepy swamp.
Serving & Storage Suggestions
This dish is best served warm, right after assembly. The contrast between the cold, crisp “tombstones” and the warm, creamy potatoes is part of the magic.
- Serving Temperature: Warm, straight from the platter. It’s a side dish, so serve it alongside other Halloween favorites like hot dogs wrapped as “mummies” or a big bowl of chili.
- Complementary Dishes: This pairs beautifully with roasted chicken, a hearty steak, or a simple green salad with a tangy vinaigrette to cut through the richness.
- Storage: Leftover mashed potatoes (without the decorations) can be stored in an airtight container in the fridge for up to 4 days. The decorations are best removed and discarded before storing.
- Reheating: Reheat the potatoes in a saucepan over low heat with a splash of milk, or in the microwave in 30-second bursts, stirring in between. The flavor actually gets even better the next day as the garlic melds.
Nutritional Information & Benefits
While this is a treat, it’s made from real, whole foods. Potatoes are a great source of vitamin C, potassium, and fiber (especially if you leave the skins on). Roasted garlic is a powerhouse of antioxidants and is fantastic for your immune system—perfect for cold and flu season!
Estimated per serving (1/6 of recipe, without decorations):
- Calories: 280
- Fat: 14g
- Carbohydrates: 35g
- Protein: 6g
- Fiber: 4g
Note: These are estimates and will vary based on the specific ingredients you use.
Conclusion
Honestly, this Cozy Roasted Garlic Mashed Potato Graveyard is more than just a Halloween side dish. It’s a little moment of joy—a reminder that cooking can be fun, playful, and deeply comforting, even when you’re trying to be a little spooky. It’s the dish that proves you don’t need fancy ingredients or hours of time to create something that feels truly special. I hope you make this for your next Halloween gathering, or just for a quiet, rainy Wednesday night when you need a little bit of magic. If you do, I’d love to hear about it! Drop a comment below and tell me how you decorated your graveyard. Did you use little gummy worms? A ghost-shaped cracker? Let me know, and happy haunting from my kitchen to yours!
Frequently Asked Questions
Can I make this dish ahead of time?
You can definitely make the mashed potatoes up to two days in advance. Keep them in an airtight container in the fridge. When you’re ready to serve, reheat them gently and then assemble the graveyard decorations. The tombstones and “grass” should be added just before serving so they stay crisp and fresh.
My mashed potatoes are always gluey. What am I doing wrong?
This is a super common problem! The main culprit is usually over-mashing or using a food processor, which overworks the starch. Use a potato masher or a ricer, and stop as soon as the potatoes are smooth. Also, make sure you drain them really well and let them steam dry for a minute before adding any liquid.
What can I use instead of black olives for the path?
If you’re not an olive fan, no worries! You can use sliced mushrooms (raw or sautéed), chopped walnuts, or even dark-colored beans like black beans to create the path. The goal is just to have a dark, contrasting element that looks like stones.
Can I make this gluten-free?
Absolutely! The mashed potatoes themselves are naturally gluten-free. Just swap the cracker tombstones for slices of firm, baked polenta, thick cucumber rounds, or even large, sturdy gluten-free crackers. Everything else in the recipe is naturally gluten-free.
Is this recipe suitable for kids to help with?
Yes, it’s a fantastic recipe for kids! They can help with the “fun” parts like mashing the potatoes (under supervision), sprinkling the “dirt” and “grass,” and placing the olives and tombstones. It’s a great way to get them involved in the kitchen and excited about Halloween dinner.
Pin This Recipe!
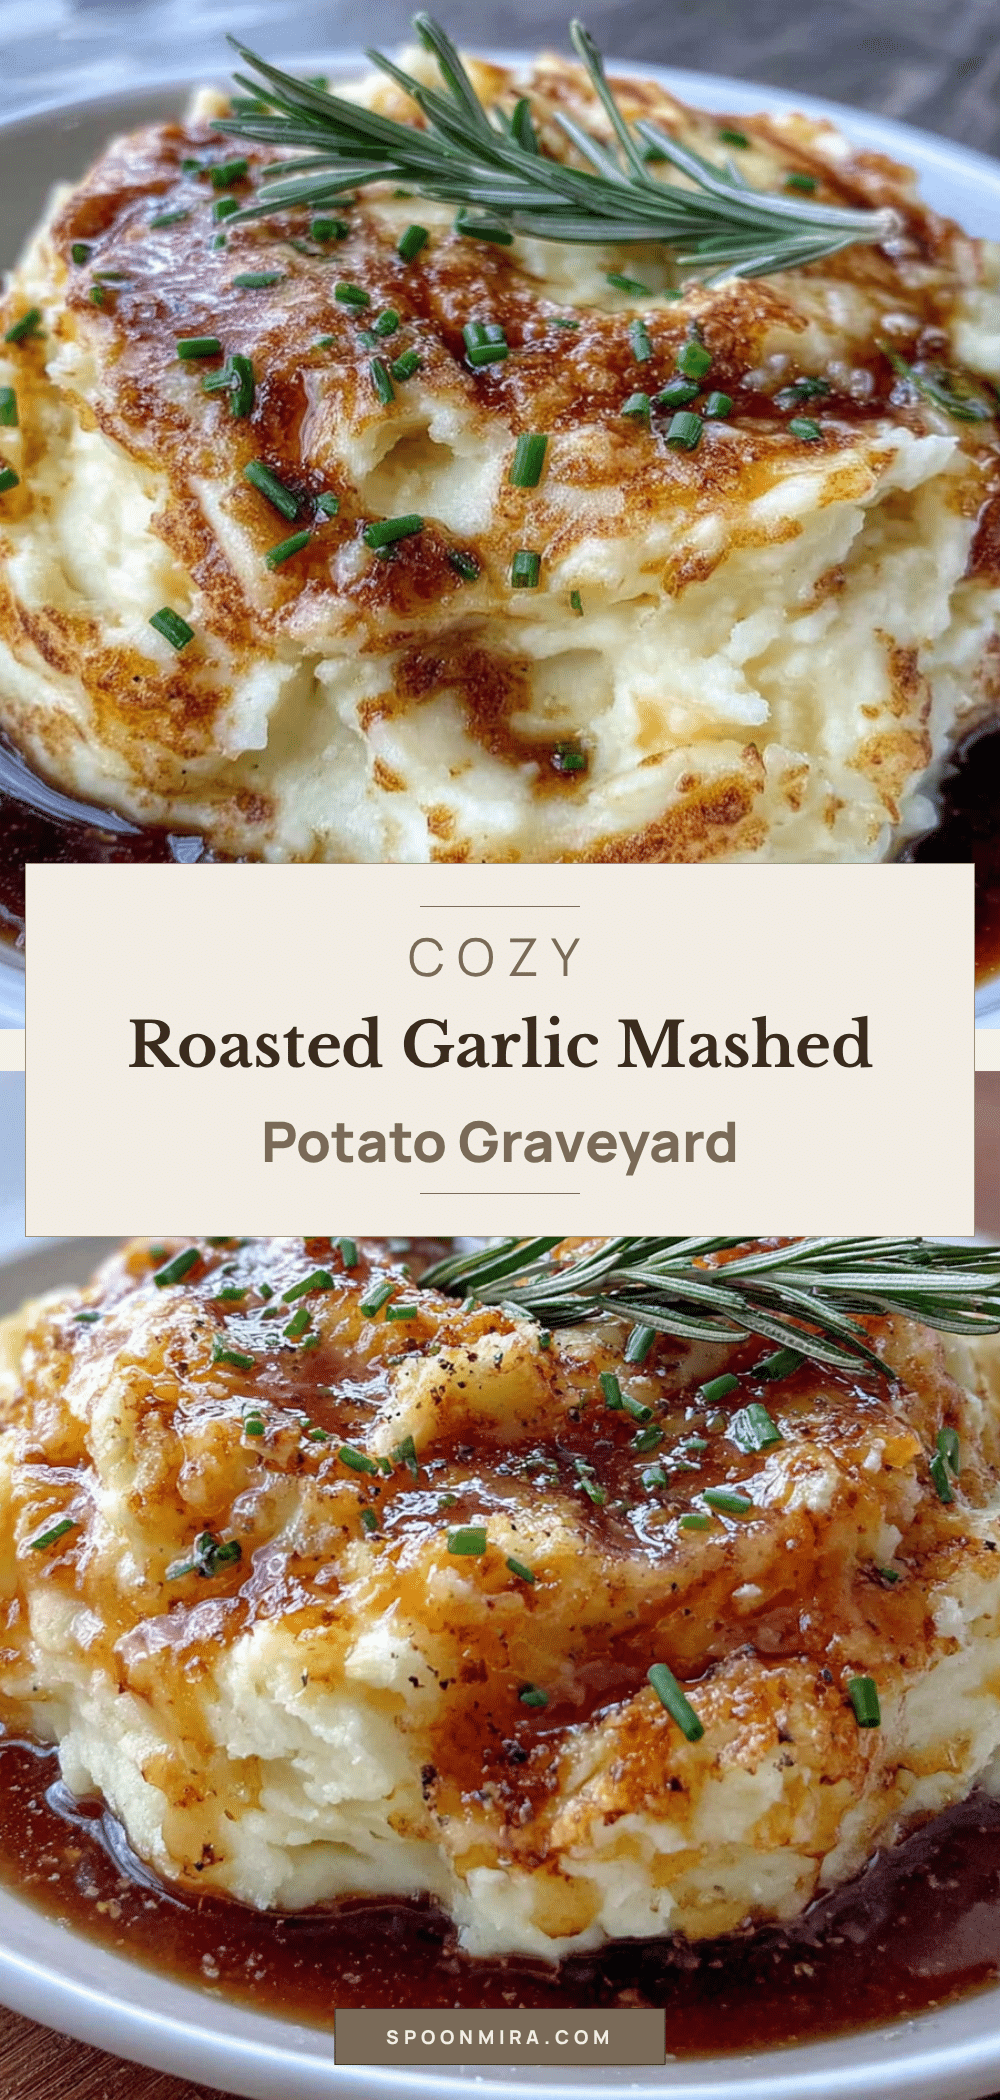
Cozy Roasted Garlic Mashed Potato Graveyard – Easy Halloween Side
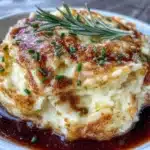
A savory Halloween ‘graveyard’ made from creamy roasted garlic mashed potatoes, topped with olive stone paths, pea graves, and cracker tombstones. It’s a cozy, spooky side dish that’s quick to assemble and perfect for parties.
- Prep Time: 15 minutes
- Cook Time: 40 minutes
- Total Time: 55 minutes
- Yield: 6 servings 1x
- Category: Side Dish
- Cuisine: American
Ingredients
- 2 pounds Yukon Gold potatoes, peeled and quartered
- 1 whole head of garlic
- 1 tablespoon olive oil
- 4 tablespoons unsalted butter, softened
- 1/2 cup whole milk or heavy cream, warmed
- Salt and freshly ground black pepper, to taste
- 1/4 cup sour cream or Greek yogurt
- 1/2 cup black olives, sliced into rounds
- 1/4 cup fresh parsley or chives, finely chopped
- 1/2 cup frozen peas, thawed
- 3–4 rectangular crackers or pieces of toasted bread
- 1 tablespoon poppy seeds or black sesame seeds
Instructions
- Preheat oven to 400°F (200°C). Cut the top off the head of garlic to expose the cloves. Drizzle with olive oil, wrap tightly in foil, and roast for 35-40 minutes until soft and golden. Let cool, then squeeze out the garlic paste. Set aside.
- Place peeled and quartered potatoes in a large pot, cover with cold water by an inch, and add a generous pinch of salt. Bring to a boil, then reduce to a simmer and cook for 12-15 minutes until fork-tender.
- Drain potatoes well. Return them to the hot pot for a minute to steam off excess moisture. Transfer to a large bowl. Add roasted garlic paste, softened butter, and sour cream. Mash until almost smooth. Slowly pour in warm milk or cream, stirring until desired consistency. Season with salt and pepper.
- Spread mashed potatoes onto a serving platter. Use the back of a spoon to create hills, graves, and a winding path.
- Sprinkle poppy seeds or black sesame seeds over the hills for ‘dirt’. Scatter chopped parsley or chives over lower areas for ‘grass’.
- Press thawed peas gently into the potato hills to create grave mounds. Write ‘R.I.P.’ on crackers or toast with a toothpick or black food coloring (optional). Stick them into the hills at a slight angle.
- Lay sliced black olives along the winding path like stepping stones. Serve immediately while warm.
Notes
The tombstones will soften over time, so assemble just before serving. Mashed potatoes can be made a day ahead and reheated gently. For gluten-free, use polenta slices or cucumber rounds instead of crackers.
Nutrition
- Serving Size: 1/6 of recipe
- Calories: 280
- Sugar: 3
- Sodium: 320
- Fat: 14
- Saturated Fat: 8
- Carbohydrates: 35
- Fiber: 4
- Protein: 6
Keywords: Halloween, mashed potatoes, roasted garlic, graveyard, side dish, spooky, easy, comfort food