The game was tied, the third quarter was winding down, and the only thing in my kitchen was a bag of frozen chicken breasts, a block of cream cheese, and half a bottle of Frank’s RedHot. My brother had shown up with three buddies, all of them wearing mismatched jerseys and expecting food. I had promised wings, but wings take time — and honestly, I was out of celery anyway. That’s when I started pulling things out of the fridge, hoping for a miracle, and this recipe was born right there on my countertop. These buffalo chicken sliders came together in a panic, but they disappeared faster than any wing platter I’ve ever made.
The smell of buttery buns toasting in the oven with that tangy buffalo sauce — it filled the whole house. Everyone kept reaching for another one, even after the game ended. I remember standing there, spatula in hand, watching these grown men fight over the last slider like it was the Super Bowl trophy itself. And honestly? I didn’t blame them. The creamy, spicy filling melts into those soft rolls, and the little crunch from the coleslaw on top just seals the deal.
These sliders have become my go-to for every game day since. They’re not fancy, they’re not complicated, but they’re the kind of food that makes people linger around the kitchen island long after the final whistle blows. You don’t need a special occasion to make them either — just a hungry crowd and a craving for something ridiculously good.
Why You’ll Love This Recipe
I’ve tested this recipe at least a dozen times, tweaking the sauce ratio, the cheese blend, and the baking time until it was just right. What I ended up with is a slider that hits every single note you want from game day food — spicy, creamy, a little messy, and completely unforgettable.
- Quick & Easy: These come together in about 30 minutes from start to finish. Perfect for when you realize kickoff is in an hour and you haven’t prepped a thing.
- Simple Ingredients: No fancy grocery trips needed. Chicken, hot sauce, cream cheese, cheddar, butter, and slider buns — that’s it.
- Perfect for Game Day: Whether it’s football, basketball, or just a movie night, these sliders fit right in. They’re portable, easy to eat standing up, and they stay warm for a good while.
- Crowd-Pleaser: I’ve served these to kids, picky eaters, and spice skeptics — everyone goes back for seconds. The heat is there but it’s not overwhelming.
- Unbelievably Delicious: The texture is what gets you. That soft, buttery bun against the creamy shredded chicken with just enough crunch from a quick slaw — it’s comfort food at its finest.
What makes this recipe different from the dozens of other buffalo chicken sliders out there? It’s the way the cream cheese binds everything together without making it heavy. Most recipes use ranch or blue cheese dressing, which can get watery. Cream cheese gives you that rich, stable base that clings to every shred of chicken. Plus, I brush the tops of the buns with garlic butter before baking — that little extra step makes all the difference.
This is the kind of recipe that makes you look like you planned ahead when you really just threw it together. And honestly, that’s my favorite kind of cooking.
What Ingredients You Will Need
This recipe uses simple, everyday ingredients to deliver bold flavor and satisfying texture without the fuss. Most of these are probably in your kitchen right now, which is exactly how game day cooking should be.
- Cooked chicken breast, shredded (about 3 cups) — Rotisserie chicken works great here. I often grab one from the store the day before. If you’re cooking from scratch, poach two large breasts in salted water for about 15 minutes, then shred.
- Frank’s RedHot Original Cayenne Pepper Sauce (¾ cup) — This is non-negotiable for me. The flavor is tangy, vinegary, and perfectly spicy without being overwhelming. Other hot sauces just don’t give you that classic buffalo taste.
- Cream cheese, softened (8 ounces) — Full-fat works best here. It melts into the sauce and creates that creamy, clingy texture that makes these sliders so good. Low-fat cream cheese can get grainy when heated.
- Sharp cheddar cheese, shredded (1½ cups) — I prefer shredding my own from a block. Pre-shredded cheese has anti-caking agents that prevent it from melting as smoothly. White cheddar adds a nice sharpness, but yellow works too.
- Slider buns (12-count package) — Hawaiian sweet rolls are my go-to. The slight sweetness balances the heat from the buffalo sauce beautifully. Regular dinner rolls or brioche buns work too.
- Unsalted butter (4 tablespoons, melted) — For brushing the tops and adding that golden, glossy finish. I like to add a pinch of garlic powder to the melted butter.
- Garlic powder (½ teaspoon) — Mixed into the butter for brushing. Adds a subtle savory note.
- Blue cheese or ranch dressing (optional, for drizzling) — Some people love it, some don’t. I serve it on the side so everyone can choose.
- Coleslaw mix (1 cup, optional) — Adds a fresh crunch that cuts through the richness. I toss it with a little lime juice and salt before piling it on.
- Green onions, sliced (¼ cup) — For garnish. They add color and a mild onion bite that works with the spicy chicken.
For the coleslaw topping, I just use a bag of pre-shredded cabbage and carrot mix. Toss it with a tablespoon of apple cider vinegar, a pinch of sugar, and some salt. Let it sit while you prep everything else — it softens just enough without getting soggy.
Equipment Needed
You don’t need much for these sliders, which is part of their charm. Here’s what I use:
- 9×13-inch baking dish — This is the perfect size for 12 sliders. A rectangular casserole dish works too.
- Large mixing bowl — For combining the chicken, cream cheese, and hot sauce. I use a glass bowl so I can microwave the cream cheese if needed.
- Small saucepan — For melting the butter and garlic. You could also do this in the microwave, but I like the control of the stovetop.
- Sharp knife and cutting board — For slicing the slider buns in half and chopping green onions. A serrated knife works best for cutting through the assembled sliders later.
- Pastry brush — For brushing the garlic butter on top of the buns. A silicone brush is easier to clean than a natural bristle one.
- Aluminum foil — For covering the dish during the first part of baking. This keeps the buns from burning before the filling heats through.
- Instant-read thermometer (optional but helpful) — If you’re cooking your own chicken, this ensures it hits 165°F without drying out.
If you don’t have a pastry brush, just drizzle the melted butter over the buns and spread it with the back of a spoon. It won’t look as pretty, but it’ll taste the same. And honestly, I’ve made these in a disposable aluminum pan for tailgating before — they turned out great.
Preparation Method
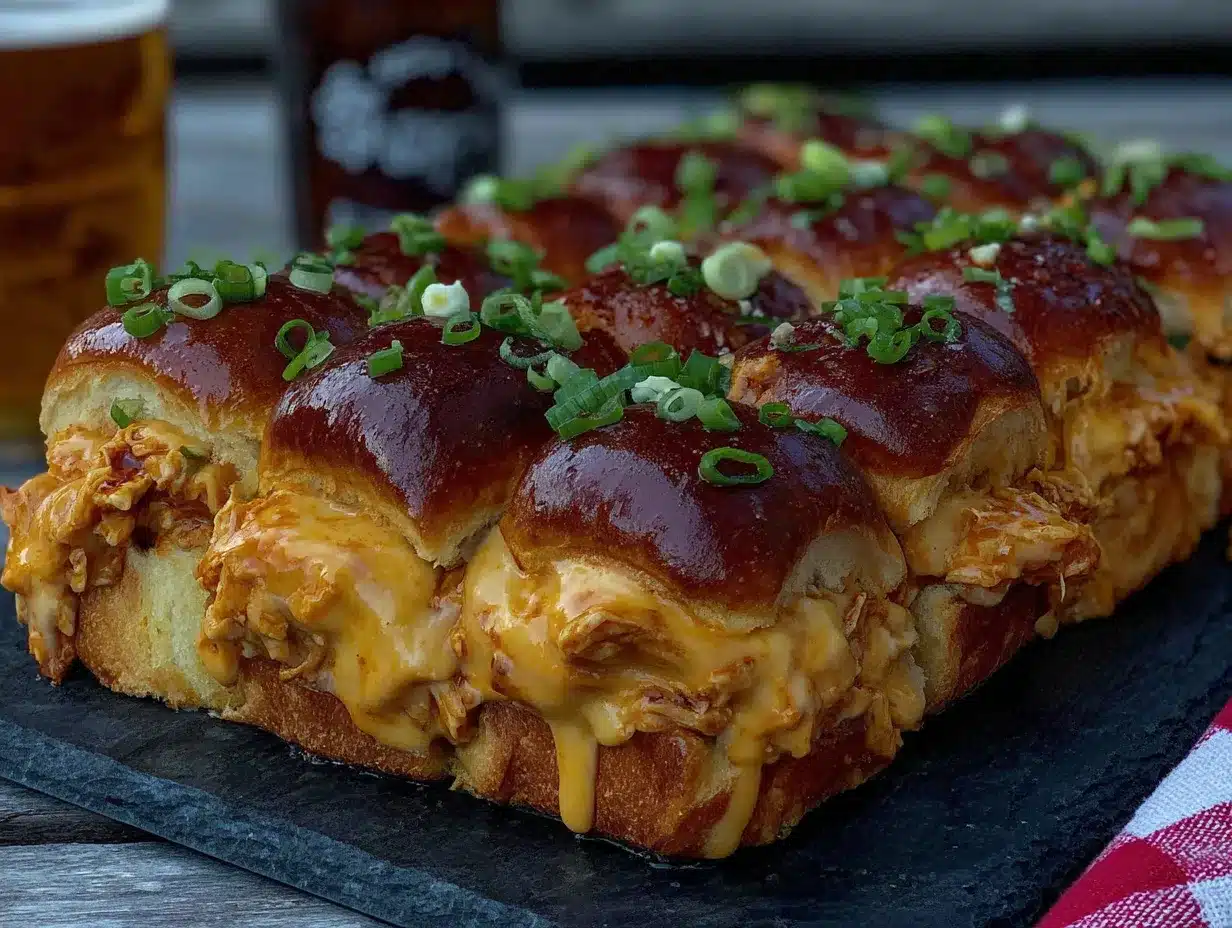
Let’s get these sliders in the oven. The whole process takes about 30 minutes, and most of that is hands-off baking time.
- Preheat your oven to 350°F (175°C). While it’s heating up, take the cream cheese out of the fridge so it softens a bit. If you forgot (I do all the time), microwave it for 15-20 seconds — just don’t melt it completely.
- Shred your chicken. If you’re using rotisserie chicken, pull the meat off the bones and shred it with two forks. You want about 3 cups of shredded chicken. If you’re cooking from scratch, poach two boneless, skinless chicken breasts in simmering salted water for 15 minutes, then shred. Let the chicken cool for a couple minutes before mixing.
- Make the buffalo chicken filling. In a large bowl, combine the softened cream cheese and Frank’s RedHot. Stir until smooth — it’ll look a little lumpy at first, but keep mixing. Add the shredded chicken and 1 cup of the shredded cheddar. Stir until everything is evenly coated. The mixture should be creamy and thick, not runny. If it seems dry, add another tablespoon of hot sauce.
- Prepare the slider buns. Without separating the individual rolls, slice the entire slab of 12 buns in half horizontally. Place the bottom half in your 9×13 baking dish. A serrated knife works best for this — saw gently so you don’t squish the buns.
- Assemble the sliders. Spread the buffalo chicken mixture evenly over the bottom buns. Use a spatula to press it down gently so it fills all the gaps. Sprinkle the remaining ½ cup of cheddar on top. Place the top half of the buns over the filling.
- Make the garlic butter. Melt the 4 tablespoons of unsalted butter in a small saucepan over low heat. Stir in the ½ teaspoon of garlic powder. Brush this mixture generously over the tops of the buns. Don’t skip this step — it’s what gives you that golden, crispy top that everyone fights over.
- Bake covered. Cover the dish loosely with aluminum foil and bake for 15 minutes. The foil traps steam and ensures the filling heats through without the tops burning.
- Bake uncovered. Remove the foil and bake for another 5-7 minutes, until the tops are golden brown and the cheese is bubbly around the edges. The buns should look glossy and slightly crisped.
- Rest and slice. Let the sliders rest for 5 minutes before slicing. This is important — the filling needs a minute to set so it doesn’t all slide out when you cut them. Use a sharp knife to cut along the seams of the rolls.
- Add toppings. If you’re using the coleslaw, pile a small spoonful on top of each slider just before serving. Sprinkle with sliced green onions. Drizzle with ranch or blue cheese if you like.
The sliders should feel warm all the way through, with the cheese melted and slightly stretchy when you pull one apart. The tops should be golden and the edges a little crispy. If the tops aren’t browning after 5 minutes uncovered, pop them under the broiler for 1-2 minutes — but watch them closely, they burn fast.
Cooking Tips & Techniques
I’ve made these sliders more times than I can count, and I’ve definitely learned a few things the hard way. Here’s what I wish someone had told me the first time.
Don’t overmix the filling. Stir just until everything is combined. If you mix too aggressively, the cream cheese breaks down and the filling gets greasy instead of creamy. You want distinct shreds of chicken coated in sauce, not a paste.
Use room temperature cream cheese. Cold cream cheese won’t blend smoothly into the hot sauce, and you’ll end up with white lumps in your filling. Let it sit on the counter for 20 minutes, or give it a quick 10-second zap in the microwave. I’ve made the mistake of using cold cream cheese before a big game — the filling was clumpy and uneven.
Toast the buns first if you want extra crunch. Some people like their sliders with a crispy bottom bun. If that’s you, pop the bottom half of the buns in the oven for 3-4 minutes before adding the filling. Just watch them — they go from toasted to burnt fast.
Make the coleslaw ahead. The vinegar-based slaw actually gets better after sitting for an hour. The cabbage softens slightly and absorbs the tangy dressing. I make mine while the sliders are baking, then let it sit on the counter until serving time.
Use a serrated knife to slice. A chef’s knife will squish the soft buns and push the filling out. A long serrated knife cuts cleanly through the rolls without crushing them. Saw gently and let the knife do the work.
Keep leftovers warm. If you’re serving these over a long game, keep the baking dish covered with foil and pop it back in a 200°F oven for 10 minutes when the filling starts to cool. They reheat beautifully without drying out.
Variations & Adaptations
One of the best things about this recipe is how easy it is to change up. Here are some variations I’ve tried and loved.
- Smoky Buffalo Sliders: Add ½ teaspoon of smoked paprika and ¼ teaspoon of chipotle powder to the cream cheese mixture. The smokiness adds depth and makes the sliders taste like they’ve been grilled. I made this version for a tailgate last fall and everyone thought I’d cooked the chicken on a smoker.
- Healthier Version: Use reduced-fat cream cheese and low-fat cheddar. Swap the slider buns for whole wheat or keto-friendly rolls. The filling will be a little less creamy, but the flavor is still there. You can also use shredded rotisserie chicken breast without the skin to cut down on fat.
- Vegetarian Option: Substitute the chicken with 3 cups of shredded jackfruit or a plant-based chicken alternative. Canned young green jackfruit works best — drain, rinse, shred, and cook it in a skillet with a little oil until it browns. Then proceed with the recipe as written.
- Extra Spicy Version: Add 1 tablespoon of your favorite hot sauce (I like something with habanero) to the Frank’s RedHot. You can also mix in ½ teaspoon of cayenne pepper and some pickled jalapeños on top before serving. This one’s for the heat seekers.
- Cheese Swaps: Try pepper jack for a spicy kick, smoked gouda for a rich, smoky flavor, or a mix of mozzarella and cheddar for extra stretchiness. I’ve done a blend of white cheddar and pepper jack — it melts like a dream and adds a nice little burn.
If you’re feeding a crowd with different tastes, you can set up a little slider bar with different toppings — extra hot sauce, pickled onions, sliced avocado, even crumbled bacon. Let everyone build their own. It makes the whole thing feel more interactive and fun.
Serving & Storage Suggestions
These sliders are best served warm, right after they come out of the oven. The buns are soft, the filling is hot and creamy, and the cheese is still stretchy. That’s the sweet spot.
For serving, I like to arrange them on a large platter with a pile of the coleslaw on the side and little ramekins of extra ranch and blue cheese dressing for dipping. Celery sticks and carrot chips are a classic pairing — they add crunch and help cool down the spice. If you’re going all out for game day, serve these alongside a big football field taco dip for the ultimate spread. The cool, creamy dip balances the heat of the sliders perfectly.
For storage, let any leftover sliders cool completely, then wrap them tightly in foil or place them in an airtight container. They’ll keep in the refrigerator for up to 3 days. The buns will soften a bit from the moisture, but the flavor stays great.
To reheat: Place the sliders in a 350°F oven for 8-10 minutes, covered with foil. This brings back the warmth without drying out the filling. You can also microwave individual sliders for 30-45 seconds, but the buns will be softer. For a crispier reheat, pop them under the broiler for 1-2 minutes after the oven — just keep an eye on them.
These sliders actually freeze pretty well too. Assemble them completely but don’t bake. Wrap the dish tightly in plastic wrap, then foil, and freeze for up to 2 months. When you’re ready, thaw overnight in the fridge, then bake as directed, adding 5-10 minutes to the covered baking time. I’ve done this for a last-minute gathering before, and nobody could tell they weren’t fresh.
The flavors actually meld together more after a day in the fridge. Leftovers the next day are almost better than the fresh batch — the buffalo sauce soaks into the buns just a little, and everything tastes more cohesive. If you’re making these for a party, you can absolutely prep them a day ahead and bake them right before guests arrive.
Nutritional Information & Benefits
Here’s the approximate nutritional breakdown for one slider (based on 12 servings, using full-fat ingredients and Hawaiian rolls):
| Nutrient | Amount per Slider |
|---|---|
| Calories | 285 |
| Total Fat | 16g |
| Saturated Fat | 9g |
| Cholesterol | 75mg |
| Sodium | 720mg |
| Total Carbohydrates | 18g |
| Dietary Fiber | 1g |
| Sugars | 5g |
| Protein | 20g |
These sliders are a solid source of protein, thanks to the chicken and cheese. The cream cheese adds calcium, and the hot sauce contains capsaicin, which has been linked to metabolism-boosting properties. If you use whole wheat buns and reduced-fat dairy, you can cut the calories and fat by about 25% without sacrificing too much flavor.
This recipe is not gluten-free as written, but you can easily swap in gluten-free slider buns. It’s also naturally nut-free and egg-free. The main allergens to note are dairy (cream cheese, cheddar, butter) and gluten (buns).
I personally like that these sliders feel indulgent without being over-the-top. One or two is satisfying, and the protein keeps you full through the fourth quarter. If you’re watching your sodium, use low-sodium hot sauce and skip the extra salt in the filling — the cheese and buffalo sauce bring plenty of flavor on their own.
Conclusion
These buffalo chicken football sliders are everything game day food should be — quick, crowd-pleasing, and just messy enough to feel like a real celebration. They came from a moment of panic in my kitchen, but they’ve earned a permanent spot in my recipe rotation. Every time I make them, someone asks for the recipe, and that never gets old.
Don’t be afraid to tweak them to your liking. Add more heat, swap the cheese, pile on extra toppings — the base recipe is forgiving and adaptable. That’s the beauty of a good slider. It’s meant to be customized, shared, and devoured while you’re yelling at the TV.
I’d love to hear how yours turn out. Did you try the smoky version? Did you add bacon? (You should definitely add bacon.) Drop a comment below and let me know your favorite twist. And if you’re looking for more easy game day recipes, check out this ultimate cheesy football pull-apart slider bake — it’s another one that disappears fast. Happy cooking, and enjoy the game!
Frequently Asked Questions
Can I make these buffalo chicken sliders ahead of time?
Yes, absolutely. You can assemble the sliders completely, cover them, and refrigerate for up to 24 hours before baking. Just add 5-10 minutes to the covered baking time since you’re starting from cold. I’ve done this for parties and it works great — just pop them in the oven when guests start arriving.
Can I use canned chicken instead of fresh?
You can, but I don’t recommend it. Canned chicken has a different texture — it’s finer and mushier — and it doesn’t shred the same way. The sliders will still taste okay, but the texture won’t be as satisfying. If you’re in a real pinch, drain the canned chicken well and pat it dry before mixing.
How do I keep the sliders from getting soggy?
The key is not overdoing the sauce. The cream cheese mixture should be thick and creamy, not runny. If it looks too wet, add more shredded chicken or a little extra cream cheese. Also, letting the sliders rest for 5 minutes after baking helps the filling set so it doesn’t soak into the buns.
What’s the best way to reheat leftover sliders?
Oven is best. Place them in a 350°F oven covered with foil for 8-10 minutes. This warms them through without drying out the chicken or burning the buns. The microwave works in a pinch, but the buns will be soft and the filling might get a little watery.
Can I make these in a slow cooker instead?
Yes, for the filling only. Combine the shredded chicken, cream cheese, and hot sauce in a slow cooker and cook on low for 2-3 hours, stirring occasionally. Then assemble the sliders on a baking sheet and bake as directed for 10-12 minutes. This is great for parties where you want to keep the filling warm for a while.
Pin This Recipe!
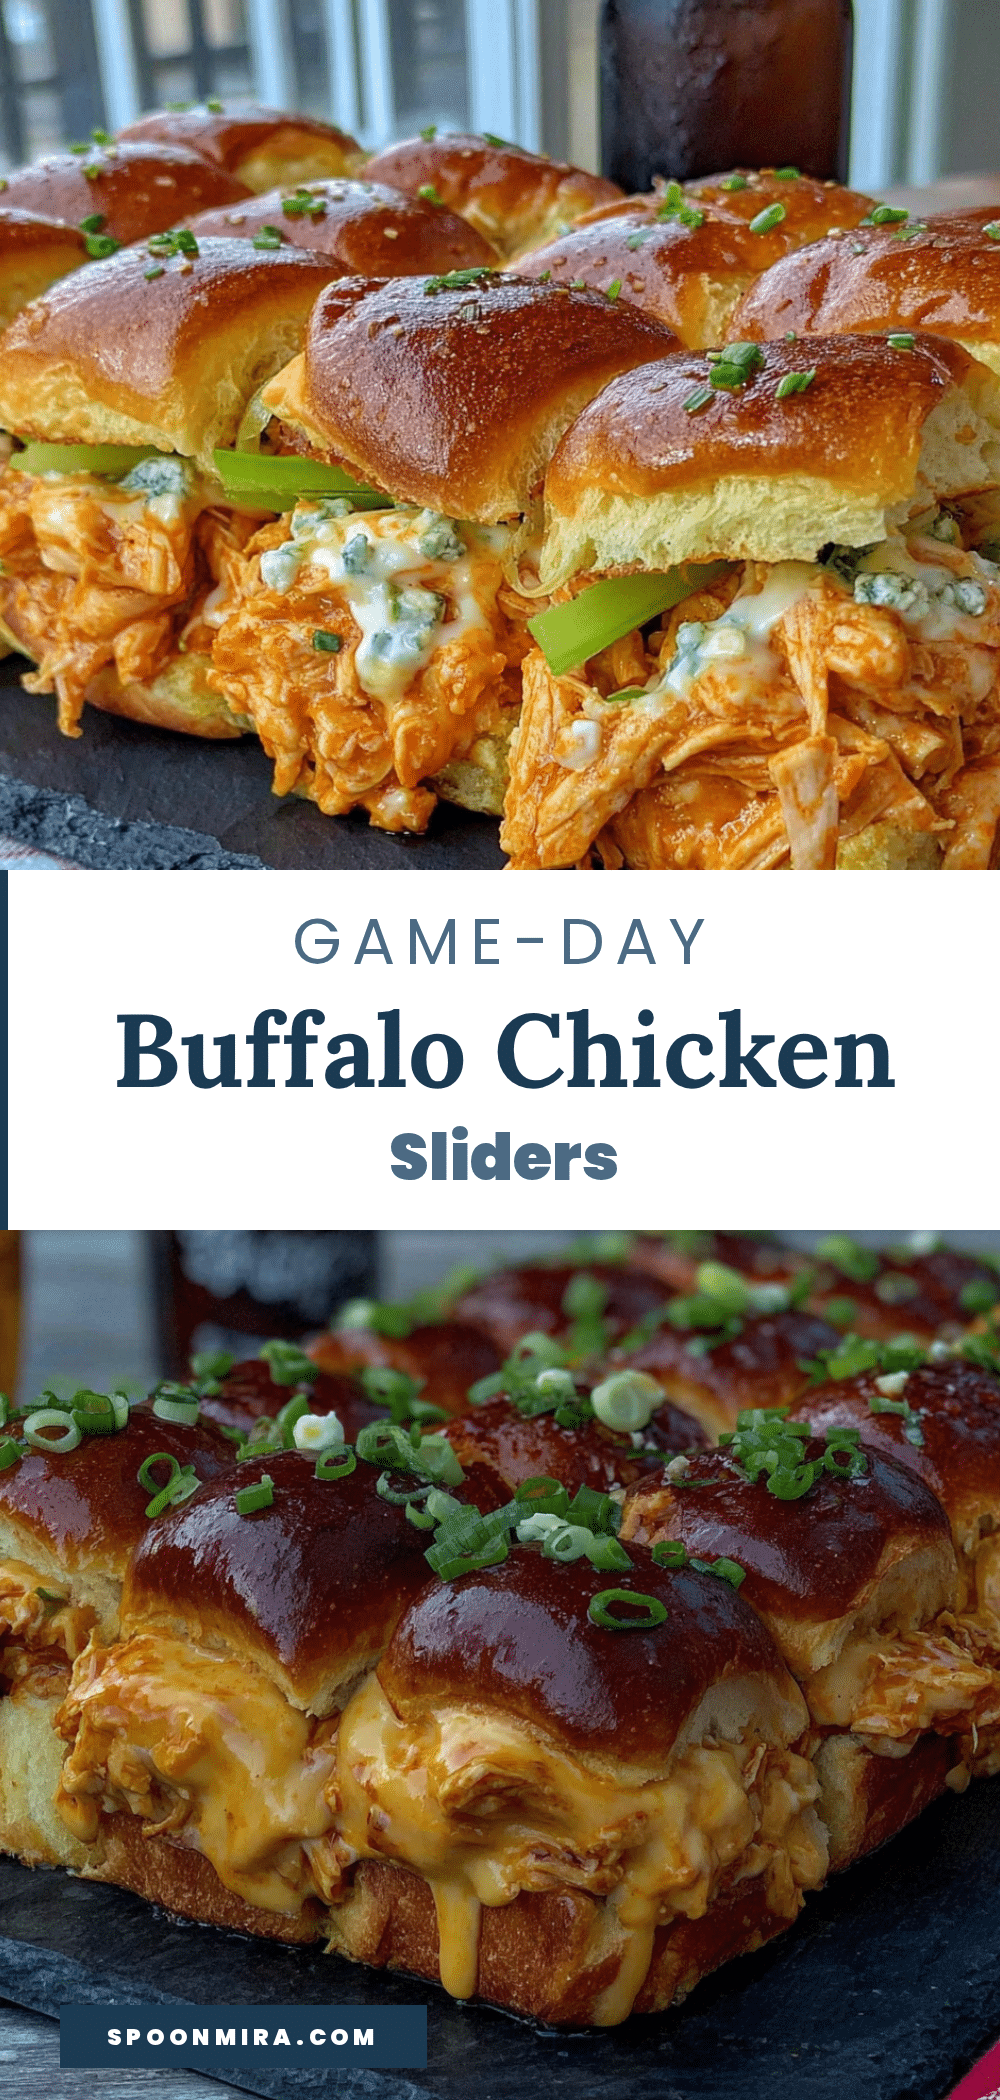
Best Buffalo Chicken Sliders: Easy Game Day Recipe

These buffalo chicken sliders are quick, easy, and perfect for game day. Creamy, spicy shredded chicken is piled onto soft slider buns, topped with melted cheddar, and baked until golden and bubbly.
- Prep Time: 10 minutes
- Cook Time: 20 minutes
- Total Time: 30 minutes
- Yield: 12 sliders 1x
- Category: Appetizer
- Cuisine: American
Ingredients
- 3 cups cooked chicken breast, shredded
- ¾ cup Frank’s RedHot Original Cayenne Pepper Sauce
- 8 ounces cream cheese, softened
- 1½ cups sharp cheddar cheese, shredded (divided)
- 12 slider buns (Hawaiian sweet rolls recommended)
- 4 tablespoons unsalted butter, melted
- ½ teaspoon garlic powder
- Blue cheese or ranch dressing (optional, for drizzling)
- 1 cup coleslaw mix (optional)
- ¼ cup green onions, sliced
Instructions
- Preheat oven to 350°F (175°C).
- Shred the cooked chicken using two forks.
- In a large bowl, combine softened cream cheese and Frank’s RedHot until smooth. Add shredded chicken and 1 cup of shredded cheddar. Stir until evenly coated.
- Slice the slab of 12 slider buns in half horizontally. Place the bottom half in a 9×13-inch baking dish.
- Spread the buffalo chicken mixture evenly over the bottom buns. Sprinkle remaining ½ cup cheddar on top. Place the top half of the buns over the filling.
- Melt butter in a small saucepan over low heat. Stir in garlic powder. Brush this mixture generously over the tops of the buns.
- Cover the dish loosely with aluminum foil and bake for 15 minutes.
- Remove foil and bake for another 5-7 minutes, until tops are golden brown and cheese is bubbly.
- Let sliders rest for 5 minutes before slicing along the seams of the rolls.
- If using, top each slider with coleslaw and sliced green onions. Drizzle with ranch or blue cheese dressing if desired.
Notes
For best results, use room temperature cream cheese to avoid lumps. Let sliders rest after baking to set the filling. To make ahead, assemble and refrigerate up to 24 hours before baking, adding 5-10 minutes to covered baking time.
Nutrition
- Serving Size: 1 slider
- Calories: 285
- Sugar: 5
- Sodium: 720
- Fat: 16
- Saturated Fat: 9
- Carbohydrates: 18
- Fiber: 1
- Protein: 20
Keywords: buffalo chicken sliders, game day recipe, easy appetizer, buffalo chicken, slider recipe


