I figured the best way to serve dessert on game day was to have something pre-sliced on a platter, easy to grab during a timeout. It took about three minutes of watching my cousin reach for a brownie while staring at the TV for that plan to fall apart completely. He missed the plate entirely, knocked the brownie onto the floor, and didn’t even notice. That’s when I realized game-day sweets need to be anchored to something, and a cast-iron skillet is the most stubborn anchor in the kitchen.
This game-day chocolate chip skillet cookie changed everything. You bake it in one pan, you serve it in that same pan, and nobody has to reach for a separate plate or worry about crumbs disappearing into the couch cushions. It stays warm for a good twenty minutes, which matters when the second quarter starts and nobody wants to get up. Honestly, it solved a problem I didn’t even know I had until I watched that brownie hit the floor.
The texture is what gets people. The edges turn crisp and buttery, almost like a shortbread, while the center stays soft and gooey. You get that contrast in every single bite. And because it bakes in a skillet, the heat distribution is even, so you don’t end up with a burnt ring around the outside and a raw middle. It just works.
I’ve made this for regular Sundays, for playoff games, and for that one Thursday night game where we needed something to keep the energy up after a long week. It never fails. The skillet does the heavy lifting, and the chocolate chips do the rest.
Why You’ll Love This Recipe
This isn’t just another cookie recipe. It’s built for real life, where you want something impressive without spending an hour on prep. Let me tell you why it works so well.
- One Pan, Zero Fuss : You mix everything in one bowl and bake it in the same skillet you serve it from. Minimal dishes, maximum flavor. That’s a win in my book.
- Perfect for a Crowd : A skillet cookie serves 6 to 8 people easily. No need to bake multiple batches of individual cookies. Just scoop, share, and enjoy.
- Stays Warm Longer : Cast iron retains heat beautifully. Your cookie stays warm and gooey for at least 20 minutes after it comes out of the oven. That’s an eternity in game-time minutes.
- Simple Ingredients : You probably have everything you need in your pantry right now. Butter, sugar, eggs, flour, chocolate chips. No fancy trips to the store.
- Customizable Toppings : Ice cream, caramel sauce, sea salt, or just eat it straight from the skillet with a spoon. No judgment here.
What makes this recipe different from the rest? It’s the technique. Most skillet cookies end up either too raw in the middle or too dry around the edges. I spent a few batches figuring out the exact bake time and temperature that gives you that perfect edge-to-center ratio. The secret is pulling it out when the center still looks slightly underdone. The residual heat from the skillet finishes the job while it cools.
This cookie is the kind that makes people close their eyes after the first bite. It’s comfort food in its purest form, warm and chocolatey and exactly what you need when the game gets tense.
What Ingredients You Will Need
This recipe uses simple, everyday ingredients that come together to create something genuinely special. Nothing weird, nothing hard to find. Just solid baking staples.
- 1 cup (2 sticks) unsalted butter, melted and slightly cooled (I use Kerrygold for the richness, but any good unsalted butter works)
- 1 cup packed light brown sugar (this gives the cookie that deep, caramel-like flavor and chewy texture)
- 1/2 cup granulated sugar (adds sweetness and helps with browning)
- 2 large eggs, at room temperature (cold eggs will seize the melted butter)
- 2 teaspoons vanilla extract (pure vanilla, not imitation, trust me on this)
- 2 1/4 cups all-purpose flour (spoon and level it, don’t scoop directly from the bag)
- 1 teaspoon baking soda
- 1/2 teaspoon salt (I use fine sea salt)
- 2 cups semi-sweet chocolate chips (I prefer Ghirardelli, but use your favorite brand)
- Flaky sea salt for sprinkling on top (optional but highly recommended)
You can swap the semi-sweet chips for dark chocolate, milk chocolate, or even white chocolate if that’s your thing. I’ve also used a mix of semi-sweet and dark chocolate chunks for a more complex flavor. If you’re feeling adventurous, toss in a handful of chopped pecans or walnuts. Just keep the total add-in amount around 2 cups.
For the butter, melting it is key. It gives the cookie a denser, chewier texture compared to creaming softened butter with sugar. That’s a trick I picked up from my brown butter snickerdoodle crinkle cookies, and it works just as well here.
Equipment Needed
You don’t need much for this recipe. Here’s what you’ll need to have on hand.
- 10-inch cast iron skillet (this is non-negotiable for the best results. Lodge makes a great affordable option)
- Large mixing bowl
- Whisk
- Rubber spatula
- Measuring cups and spoons
- Oven mitts (the skillet gets extremely hot)
If you don’t have a cast iron skillet, you can use a 9-inch oven-safe nonstick skillet or even a 9-inch cake pan. The edges won’t get quite as crispy, and the center might take a slightly different amount of time to bake, but it will still taste great. Just keep an eye on it. I’ve also used a well-seasoned carbon steel pan with good results.
For the best outcome, though, stick with cast iron. It holds heat evenly and gives you that perfect crusty edge. I’ve had my Lodge skillet for about eight years now, and it just keeps getting better.
Preparation Method
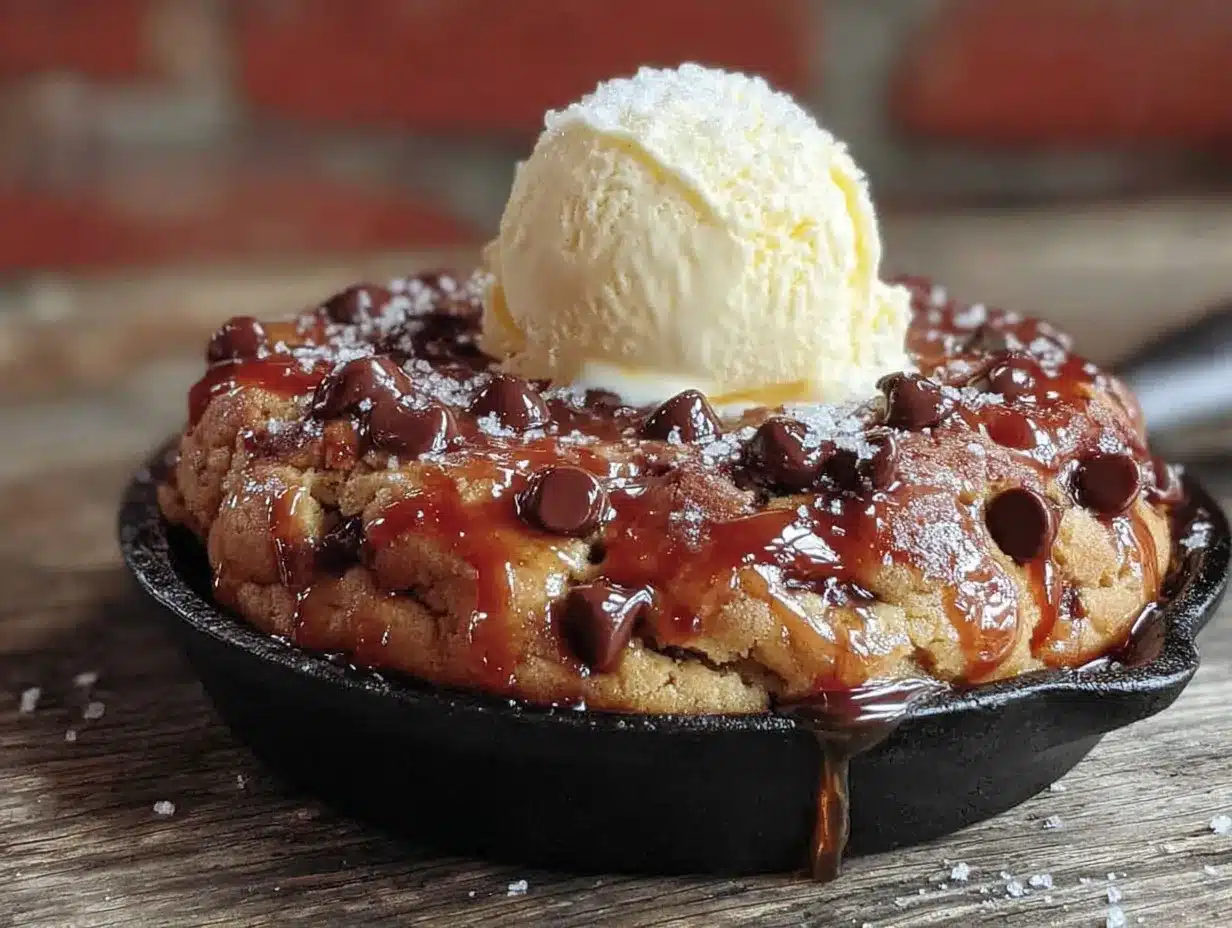
Preheat your oven to 350°F (175°C). Place your cast iron skillet inside the oven while it preheats. This step is important because it helps the edges of the cookie start cooking immediately when you pour the batter in.
In your large mixing bowl, whisk together the melted butter, brown sugar, and granulated sugar until smooth. It should look like a thick caramel sauce. Don’t overmix here. Just whisk until combined.
Add the eggs one at a time, whisking well after each addition. Then add the vanilla extract and whisk again. The mixture should be glossy and smooth.
Sprinkle the flour, baking soda, and salt over the wet ingredients. Use your rubber spatula to fold everything together gently. Stop as soon as you no longer see streaks of flour. Overmixing at this stage will make the cookie tough.
Fold in the chocolate chips. Make sure they’re evenly distributed throughout the dough. Reserve about a quarter cup to sprinkle on top later.
Carefully remove the hot skillet from the oven using your oven mitts. Place it on a heat-safe surface. The skillet will be very hot, so don’t touch the handle without protection.
Press the cookie dough evenly into the hot skillet. Use your spatula or the back of a spoon to spread it all the way to the edges. Sprinkle the reserved chocolate chips on top and press them in slightly.
Bake for 25 to 28 minutes. At the 25-minute mark, the edges should be golden brown and set, and the center should look slightly puffed and a little underdone. That’s exactly what you want. If you prefer a firmer cookie, bake for 28 minutes, but don’t go much longer or the center will dry out.
Remove the skillet from the oven and place it on a wire rack. Immediately sprinkle with flaky sea salt if using. Let the cookie cool in the skillet for at least 10 minutes before serving. It will continue to cook slightly from the residual heat.
Serve warm, straight from the skillet. Add a scoop of vanilla ice cream on top if you’re feeling extra indulgent.
Cooking Tips & Techniques
I’ve made this cookie more times than I can count, and I’ve learned a few things along the way. Here are the tips that make the biggest difference.
Don’t skip preheating the skillet. This is the trick that gives you those perfectly crispy edges. When the dough hits the hot pan, it starts browning immediately. If you add the dough to a cold skillet, the edges will be soft and pale.
Use room temperature eggs. If your eggs are cold, they’ll cause the melted butter to seize up and form small lumps. The dough will still work, but it won’t be as smooth. Just set your eggs on the counter for 30 minutes before you start.
Watch the center. The biggest mistake people make with skillet cookies is overbaking. The center should look slightly underdone when you pull it out. It will set as it cools. If you wait until the center looks fully baked, it will be dry and cakey.
Let it cool. I know it’s tempting to dig in right away, but the cookie needs at least 10 minutes to set. If you try to scoop it too soon, it will fall apart. Use that time to scoop the ice cream.
Use a kitchen scale if you have one. Measuring flour by weight is more accurate than using cups. One cup of all-purpose flour weighs about 120 grams. If you scoop flour directly from the bag with your measuring cup, you can end up with 30% more flour than the recipe calls for. That leads to a dry, crumbly cookie.
I learned that lesson the hard way with an early batch. It came out more like a shortbread than a gooey skillet cookie. Still tasted fine, but it wasn’t what I was going for.
Variations & Adaptations
This recipe is flexible. Here are a few ways to change it up based on what you have or what you’re craving.
Brown Butter Version : Brown the butter before using it. Melt the butter in a saucepan over medium heat, swirling occasionally, until it turns golden brown and smells nutty. Let it cool slightly before using. This adds a deep, toasty flavor that pairs beautifully with the chocolate. I use this technique in my chocolate zucchini cake, and it works just as well here.
Gluten-Free Option : Substitute the all-purpose flour with a 1:1 gluten-free baking flour blend. I’ve used King Arthur Measure for Measure flour with great results. The texture will be slightly more tender, but the flavor is still spot on.
Peanut Butter Swirl : Warm up about 1/4 cup of peanut butter in the microwave for 15 seconds, then dollop it over the dough before baking. Use a knife to swirl it through the top. The salty peanut flavor is amazing with the chocolate.
Double Chocolate : Replace 1/4 cup of the all-purpose flour with 1/4 cup of unsweetened cocoa powder. Use dark chocolate chips instead of semi-sweet. This version is intensely chocolatey and perfect for serious chocolate lovers.
Add Some Heat : Sprinkle a pinch of cayenne pepper or chili powder into the dough along with the dry ingredients. The subtle heat plays off the sweetness in a surprising way. It’s not overpowering, just a gentle warmth that builds as you eat.
I tried the peanut butter swirl version during a playoff game last year, and it disappeared faster than the regular version. My brother-in-law, who claims he doesn’t like sweets, ate three servings.
Serving & Storage Suggestions
Serve this cookie warm, straight from the skillet. That’s the whole point. Put the skillet on a trivet in the middle of the table and let everyone dig in with spoons or forks. Add a scoop of vanilla bean ice cream on top for the full experience. The cold ice cream melting into the warm cookie is pure magic.
You can also drizzle caramel sauce or chocolate sauce over the top. A dollop of whipped cream works too. For a more sophisticated touch, top it with a sprinkle of flaky sea salt and a drizzle of olive oil. It sounds weird, but the olive oil adds a fruity note that complements the chocolate.
For drinks, a cold glass of milk is the classic choice. Coffee or espresso also works well, especially if you’re serving this after dinner. A dark stout beer is surprisingly good with the chocolate, if you’re into that sort of thing.
To store leftovers, cover the skillet tightly with foil or plastic wrap. The cookie will keep at room temperature for up to 3 days. It won’t be as gooey as fresh, but it’s still delicious. You can reheat individual portions in the microwave for 15 to 20 seconds.
If you want to make this ahead, prepare the dough and press it into the skillet. Cover and refrigerate for up to 24 hours. When you’re ready to bake, add an extra 5 minutes to the baking time since the dough will be cold. This is a great option if you’re hosting a game-day party and want to minimize last-minute prep.
The flavors actually deepen after a day in the fridge. The brown sugar and vanilla meld together, and the chocolate chips become more pronounced. It’s a different experience, but still a good one.
Nutritional Information & Benefits
Let’s be real here. This is a dessert. It’s not health food. But knowing what’s in it helps you make informed choices.
Per serving (based on 8 servings):
- Calories: Approximately 480
- Fat: 26g
- Saturated Fat: 16g
- Carbohydrates: 58g
- Sugar: 38g
- Protein: 6g
- Fiber: 2g
- Sodium: 310mg
Dark chocolate chips contain antioxidants called flavonoids, which can support heart health when consumed in moderation. The butter provides vitamin A and healthy fats. Eggs add protein and essential amino acids. So there are small nutritional bright spots, but this is ultimately a treat to enjoy in moderation.
This recipe contains gluten, dairy, and eggs. It is not suitable for vegans or those with celiac disease without modifications. For a dairy-free version, substitute the butter with a high-quality vegan butter stick and use dairy-free chocolate chips.
I like to serve this after a meal that’s packed with vegetables and lean protein. It balances out the indulgence and makes the cookie feel like a special treat rather than an everyday habit.
Conclusion
This game-day chocolate chip skillet cookie is the dessert you didn’t know you needed. It’s warm, gooey, and perfectly shareable. The edges are crisp, the center is soft, and the chocolate chips melt into every bite. It comes together in one bowl and bakes in one pan. There’s almost no cleanup, which is exactly what you want when the game is about to start.
I love this recipe because it feels like a celebration. It’s not fancy or complicated. It’s just a really good cookie that brings people together. Whether you’re watching the big game, hosting a casual dinner, or just want something sweet on a Tuesday night, this skillet cookie delivers.
Make it your own. Add the peanut butter swirl, toss in some nuts, or keep it classic. However you make it, I promise it will be a hit. If you try it, let me know how it turns out in the comments. Did you add anything fun? Did the ice cream melt perfectly into the warm cookie? I want to hear all about it.
Now go preheat that skillet. Your game-day dessert is waiting.
Frequently Asked Questions
Can I use a different size skillet?
A 10-inch skillet is ideal for this recipe. If you use a 12-inch skillet, the cookie will be thinner and will bake faster, about 18 to 20 minutes. If you use an 8-inch skillet, the cookie will be thicker and will need about 30 to 32 minutes. Adjust your bake time accordingly and watch for the visual cues.
Can I freeze the cookie dough?
Yes. Press the dough into the skillet, wrap it tightly in plastic wrap and then foil, and freeze for up to 3 months. Bake directly from frozen, adding 8 to 10 minutes to the bake time. You can also freeze baked cookie slices. Wrap them individually and reheat in the microwave for 20 seconds.
Why is my cookie dry?
You likely overbaked it or measured too much flour. Pull the cookie out when the center still looks slightly underdone. And always spoon the flour into your measuring cup, then level it off with a knife. Scooping directly from the bag packs in too much flour.
Can I make this without a cast iron skillet?
Yes. Use a 9-inch oven-safe nonstick skillet or a 9-inch cake pan. The edges won’t get as crispy, and the bake time may vary slightly. Start checking at 22 minutes. The visual cues are the same: golden edges, slightly puffed and underdone center.
Can I use chocolate chunks instead of chips?
Absolutely. Chocolate chunks melt into bigger puddles of chocolate, which is never a bad thing. Use the same amount, about 2 cups. I actually prefer chunks for this recipe because they create those dramatic pools of melted chocolate throughout the cookie.
Pin This Recipe!
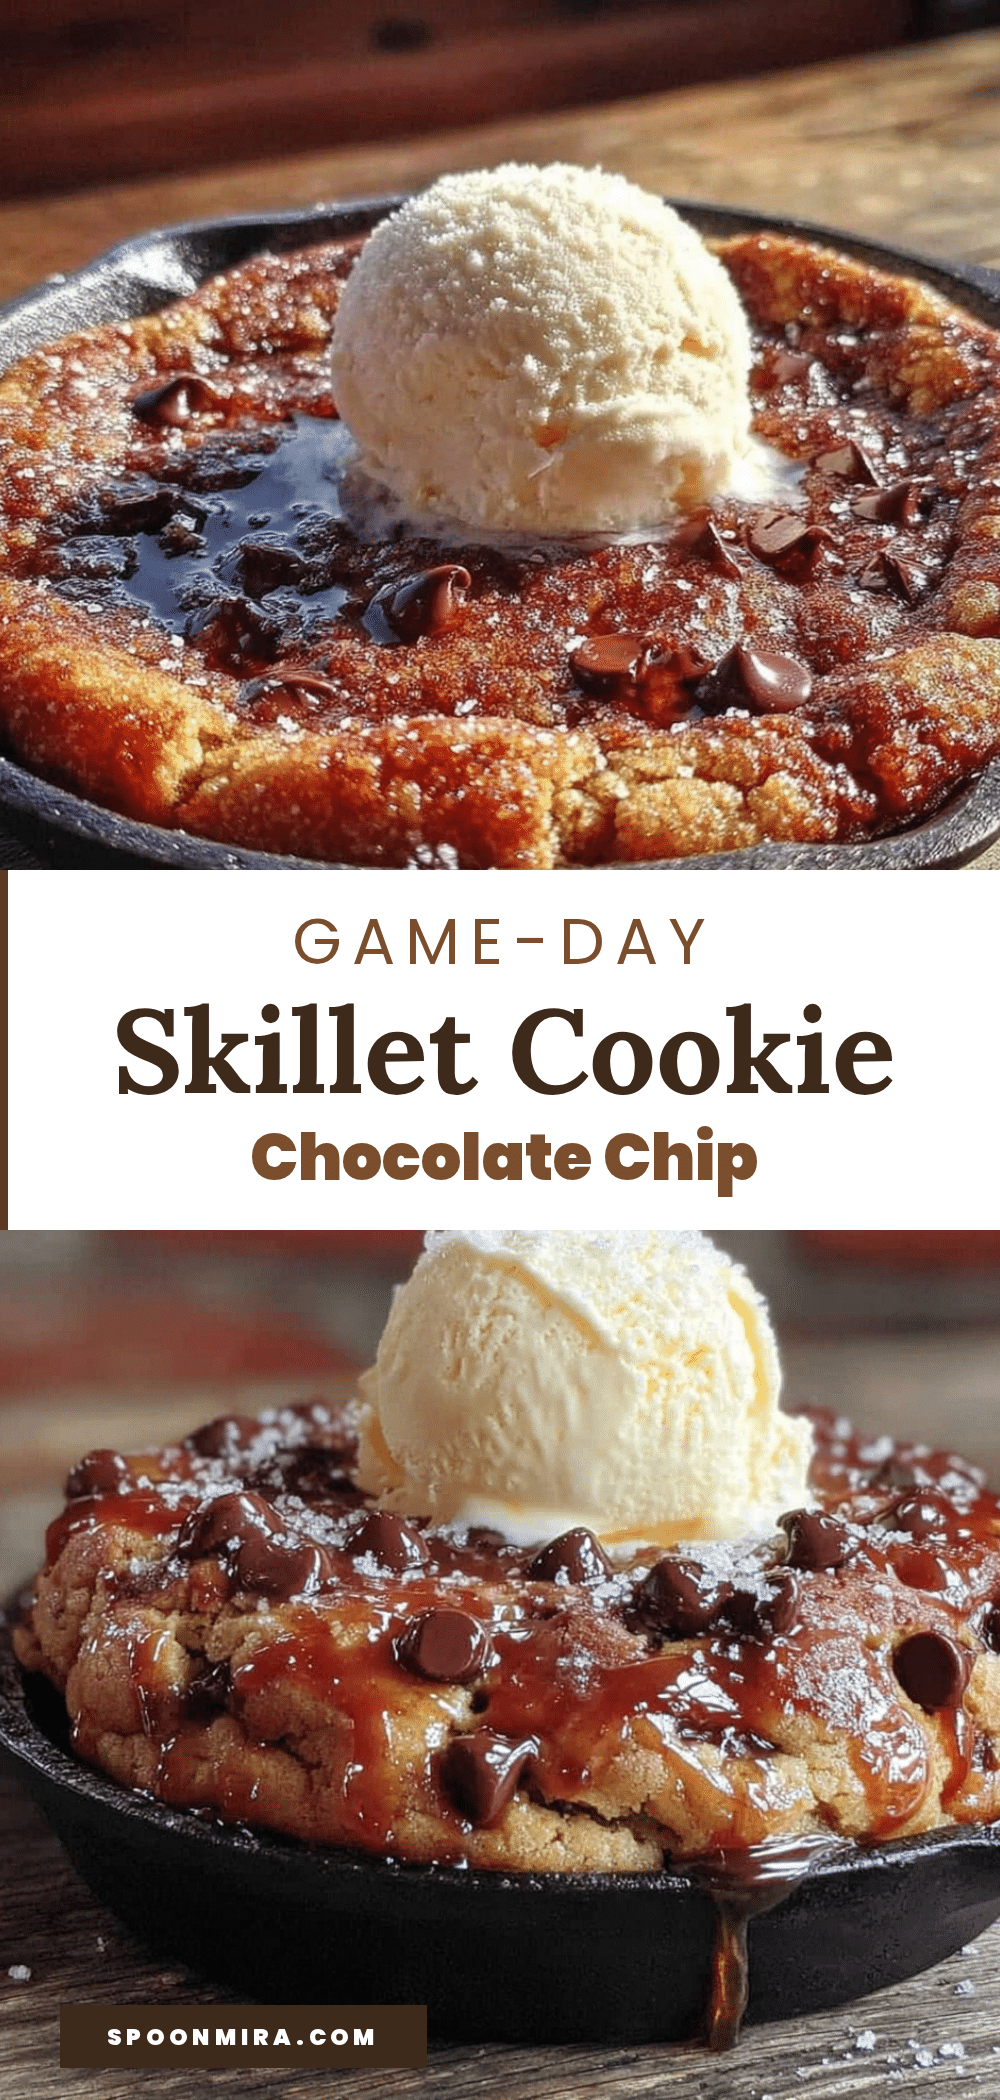
Best Game-Day Chocolate Chip Skillet Cookie Recipe

A warm, gooey chocolate chip cookie baked and served in a cast iron skillet. Perfect for game day, it stays warm for 20 minutes and serves 6-8 people with minimal cleanup.
- Prep Time: 15 minutes
- Cook Time: 28 minutes
- Total Time: 43 minutes
- Yield: 8 servings 1x
- Category: Dessert
- Cuisine: American
Ingredients
- 1 cup (2 sticks) unsalted butter, melted and slightly cooled
- 1 cup packed light brown sugar
- 1/2 cup granulated sugar
- 2 large eggs, at room temperature
- 2 teaspoons vanilla extract
- 2 1/4 cups all-purpose flour
- 1 teaspoon baking soda
- 1/2 teaspoon salt
- 2 cups semi-sweet chocolate chips
- Flaky sea salt for sprinkling (optional)
Instructions
- Preheat oven to 350°F (175°C). Place a 10-inch cast iron skillet in the oven to preheat.
- In a large mixing bowl, whisk together melted butter, brown sugar, and granulated sugar until smooth.
- Add eggs one at a time, whisking well after each. Add vanilla extract and whisk until glossy.
- Sprinkle flour, baking soda, and salt over the wet ingredients. Fold gently with a rubber spatula until just combined.
- Fold in chocolate chips, reserving about 1/4 cup for topping.
- Carefully remove hot skillet from oven. Press dough evenly into the skillet. Sprinkle reserved chocolate chips on top and press in slightly.
- Bake for 25-28 minutes, until edges are golden and center looks slightly underdone.
- Remove from oven, sprinkle with flaky sea salt if using. Let cool in skillet for at least 10 minutes before serving.
- Serve warm, straight from the skillet. Optionally top with vanilla ice cream.
Notes
Preheating the skillet is key for crispy edges. Pull the cookie out when the center looks slightly underdone; residual heat finishes baking. Use room temperature eggs to prevent butter from seizing. For best results, measure flour by weight (1 cup = 120g).
Nutrition
- Serving Size: 1 slice (1/8 of cook
- Calories: 480
- Sugar: 38
- Sodium: 310
- Fat: 26
- Saturated Fat: 16
- Carbohydrates: 58
- Fiber: 2
- Protein: 6
Keywords: chocolate chip skillet cookie, game day dessert, cast iron cookie, easy cookie recipe, one bowl cookie