I did not trust store-bought lunchables anymore. After the third time my son peeled back the foil on a cracker stacker and the cheese had that weird, sweaty sheen—you know the one—I decided we were done. The thing is, he loved them. He loved the ritual of stacking everything himself, the salty crunch of the cracker, the way the turkey peeled off in a perfect little square. I couldn’t just take that away without offering something better.
So I started making these copycat turkey cracker stackers at home, mostly out of spite. I figured if I was going to pack a lunch, it was going to taste like real food. Not processed cheese food product. Not turkey that crumbles into pink dust. I wanted the same fun, hands-on assembly, but with ingredients I could actually name.
The first batch was a little rough. The crackers got soggy by lunchtime. The cheese slices were too thick. But I kept tweaking, and honestly, this version is the one that finally made my son say, “Mom, these are better than the box.” That’s the moment I knew I had cracked the code. It’s not just about saving money—though that’s a nice bonus. It’s about giving them something real that still feels like a treat.
Why You’ll Love This Recipe
These copycat lunchable turkey cracker stackers hit that sweet spot between convenience and quality. Here’s why they’ve become a staple in our house:
- Quick & Easy: Five minutes of prep, and you’ve got lunch sorted for the whole week. No cooking required.
- Simple Ingredients: You need exactly four things—crackers, turkey, cheese, and a little something for crunch. That’s it.
- Perfect for Lunchboxes: These stackers hold up beautifully in a bento box or snack container. No sogginess, no mess.
- Crowd-Pleaser: My picky eater, my husband, and even the neighbor’s kid who stopped by all love these. They disappear fast.
- Unbelievably Delicious: The combination of salty crackers, savory turkey, and creamy cheese is simple comfort food at its best.
What makes this recipe different from the store-bought version is the quality control. You choose the turkey—smoked, honey, oven-roasted, whatever you like. You pick the cheese—sharp cheddar, provolone, even pepper jack if you’re feeling brave. And you get to skip all the preservatives and weird additives. It’s the same fun experience, but with food that actually tastes like food.
This is the kind of recipe that makes you feel like a good parent without spending hours in the kitchen. It’s perfect for busy mornings, road trips, or those afternoons when the kids need a snack that’s more than just a handful of goldfish. And honestly, it’s pretty great for grown-up lunches too. I’ve been known to pack a batch for my own workday.
What Ingredients You Will Need
This recipe uses simple, wholesome ingredients to deliver that classic lunchable experience without the processed stuff. Everything is easy to find at any grocery store.
- Mini crackers (square or round): I recommend Ritz or Club crackers for that buttery, salty base. You want something sturdy enough to hold up to the toppings without crumbling. Mini saltines work too, but they’re a bit more delicate.
- Sliced deli turkey (about 1/2 pound): Go for good quality oven-roasted or smoked turkey from the deli counter. Avoid the pre-packaged stuff if you can—it’s often watery and falls apart. I like Boar’s Head or whatever my local deli has that’s freshly sliced. Ask them to slice it a little thicker than usual, about 1/8 inch, so it holds its shape.
- Sliced cheese (cheddar, provolone, or your favorite): Sharp cheddar gives that classic orange cheese look, but provolone is milder and melts better at room temperature. For a kid-friendly option, Colby Jack is always a hit. You’ll want slices that are thin enough to stack but thick enough to taste.
- Optional add-ins for crunch: Mini pretzel twists, cucumber rounds, or apple slices add texture and variety. My son loves a few baby carrots on the side too.
When I’m making these for school lunches, I usually grab a few different cheese options so everyone can pick their favorite. The turkey I always get fresh-sliced—it makes a huge difference in texture. And for the crackers, I’ve tried generic store brands, but honestly, the name-brand ones hold up better. They don’t get as soft by lunchtime.
Equipment Needed
You don’t need much for this recipe, which is part of the appeal. Here’s what you’ll want on hand:
- Cutting board and sharp knife for trimming cheese and turkey into cracker-sized squares. A pizza cutter works great too if you’re making a big batch.
- Bento box or lunch container with compartments to keep the crackers, turkey, and cheese separate until assembly. I use a simple three-compartment container, but any divided lunch box works.
- Small cookie cutter (optional) if you want to cut the cheese into fun shapes. My kids love star-shaped cheese slices, and it takes about two extra seconds.
- Paper towels for patting the turkey dry if it looks a little wet. This prevents the crackers from getting soggy.
I’ve made these with just a butter knife and a plate before, so don’t overthink the equipment. The most important thing is having a container that keeps everything separate until lunchtime. If you’re looking for a good option, the easy no-sandwich snack box lunch for picky eaters uses the same kind of divided container and works perfectly for these stackers.
Preparation Method
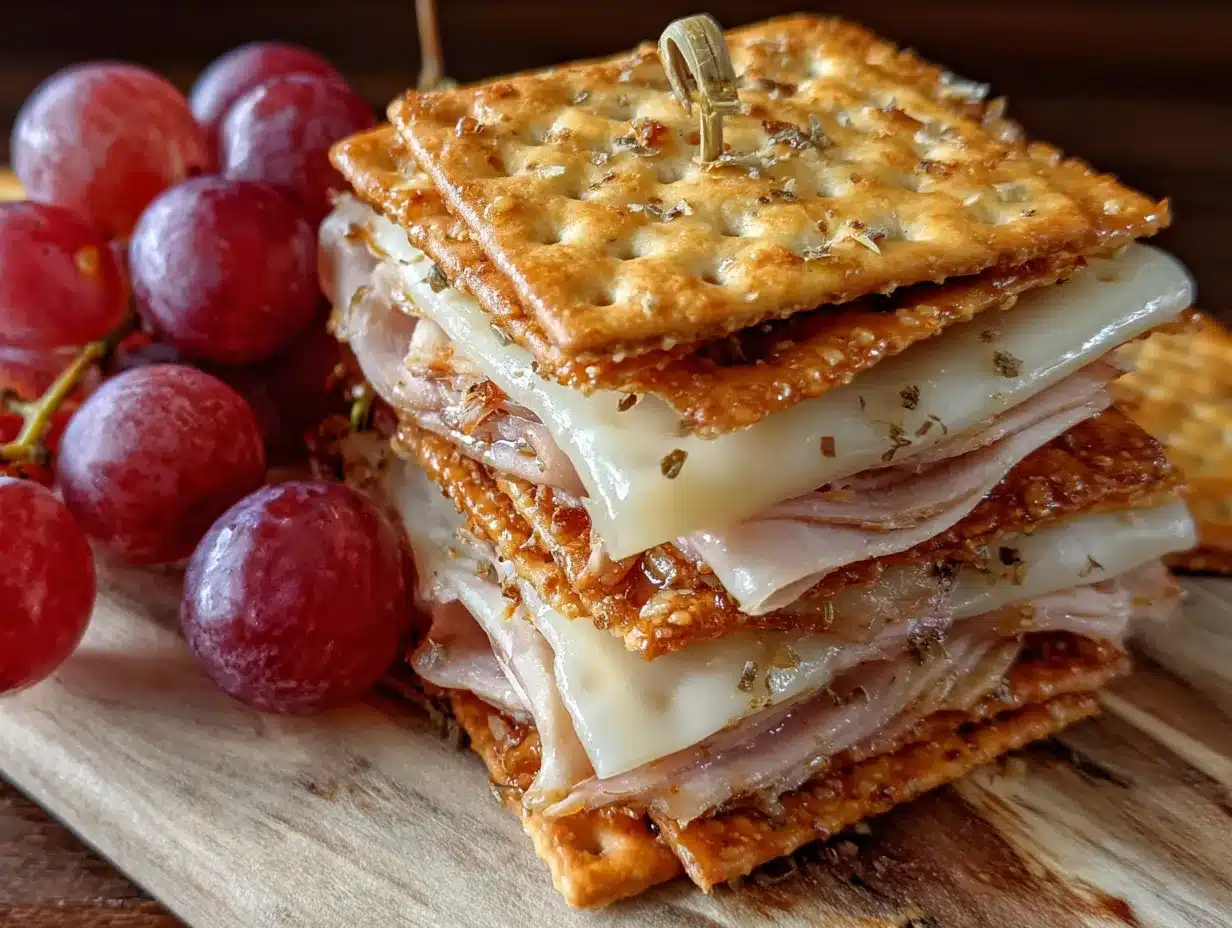
- Start by prepping your turkey. Lay the slices flat on your cutting board. If they’re large, cut them into squares roughly the size of your crackers. A 2-inch square works well for most mini crackers. Pat them gently with a paper towel if they feel moist—this step matters more than you think for keeping things crisp.
- Prep your cheese the same way. Stack a few slices and cut them into matching squares. If you’re using a cookie cutter, press it firmly into the cheese and pop out the shape. I usually cut about 24 cheese squares for a batch of 12 stackers.
- Arrange your crackers on a clean work surface. You’ll need two crackers per stacker, so lay them out in pairs. Give yourself a little space between each pair so you can work comfortably.
- Layer it up. Place a piece of turkey on one cracker, then add a piece of cheese on top. If you’re adding a little crunch, tuck a mini pretzel or cucumber slice between the turkey and cheese. Top with the second cracker and press gently so everything stays together.
- Repeat until you’ve used all your ingredients. I usually make about 12 stackers at a time, which is enough for three lunches or a week’s worth of snacks.
- Pack them carefully. If you’re serving them right away, pile them on a plate and dig in. For lunches, place them in a container with the compartments keeping crackers, turkey, and cheese separate. This is key—if you stack them all together, the moisture from the turkey will soften the crackers within an hour.
One thing I learned the hard way: don’t let the kids help with the stacking if you’re packing for the next day. They’ll get too excited and squish everything. Let them assemble their own at lunchtime instead. It’s half the fun.
For a complete lunch, I pack these stackers with some fruit, a handful of baby carrots, and maybe a peanut butter energy ball for a little sweetness. It’s a balanced meal that feels like a treat.
Cooking Tips & Techniques
Here’s the thing about these stackers—they’re not cooked, but there’s still technique involved. I learned most of these tips through trial and error, so you don’t have to.
Keep the crackers crisp. The biggest mistake I made early on was assembling everything the night before. By morning, the crackers were soft and sad. Now I pack the components separately and let my son build his own at lunch. It takes 30 seconds and the crackers stay perfectly crunchy.
Choose the right cheese. Pre-shredded cheese won’t work here—it doesn’t stack neatly. Stick with sliced cheese from the deli or block cheese that you slice yourself. If you’re using block cheese, slice it thin, about 1/8 inch thick. Too thick and it overpowers the turkey; too thin and it gets lost.
Pat your turkey dry. This is the pro tip nobody tells you. Deli turkey has a surprising amount of moisture, and that moisture is what turns your crackers into mush. A quick pat with a paper towel before cutting makes a huge difference.
Mix up the flavors. Once you’ve mastered the basic stacker, try switching the turkey for ham or roast beef. Or swap the cheddar for pepper jack if you want a little heat. The possibilities are endless, and it keeps lunch from getting boring.
Make it a full meal. These stackers pair beautifully with a ham and cheese quesadilla pocket if you’re packing a really hungry kid. Or serve them alongside some veggie sticks and ranch for a complete lunch.
Variations & Adaptations
One of the best things about this recipe is how easy it is to change up. Here are a few of my favorite variations:
- Gluten-free version: Swap the regular crackers for gluten-free mini crackers or rice cakes. The texture is a little different, but it works great. I’ve used Schar’s gluten-free crackers and they hold up well.
- Low-carb version: Use cucumber rounds or bell pepper slices instead of crackers. It’s a completely different experience, but surprisingly satisfying. My sister does this for her keto diet and swears by it.
- Veggie-packed version: Add a thin slice of cucumber or a small piece of bell pepper between the turkey and cheese. It adds crunch and a little nutrition boost without changing the flavor much.
- Different protein: Swap the turkey for ham, salami, or even leftover roast chicken. My husband prefers salami and provolone, and honestly, it’s pretty amazing.
- Sweet and savory version: Add a thin apple slice between the turkey and cheese. The sweetness of the apple pairs beautifully with the salty cheese and turkey. It sounds weird, but trust me on this one.
I once tried a version with pepper jack cheese and a slice of pickled jalapeño for myself. It was fantastic—spicy, salty, and totally adult-friendly. The kids weren’t interested, but that meant more for me.
Serving & Storage Suggestions
These stackers are best served cold or at room temperature. If you’re packing them for lunch, keep everything refrigerated until you’re ready to go. An ice pack in the lunch box helps keep the cheese from getting too soft.
For serving, arrange the stackers on a plate with some fruit, veggie sticks, and a small dip like ranch or hummus. It makes a great snack board for kids or a light lunch for adults. I sometimes serve them alongside a turkey pinwheel bento box for a bigger meal.
For storage, keep the components separate. Store the crackers in an airtight container at room temperature. Keep the turkey and cheese in separate bags or containers in the fridge. They’ll stay fresh for up to five days. Assemble only what you’re eating right away.
For reheating, you don’t want to heat these up. They’re meant to be eaten cold. If you’ve packed them and they’ve been sitting out for more than two hours, toss any leftovers to be safe.
Flavor development: Honestly, these are best fresh. The flavors don’t really develop over time, which is fine—they’re simple and satisfying exactly as they are. The key is keeping everything crisp and cold until you’re ready to eat.
Nutritional Information & Benefits
This is a rough estimate for one stacker (two crackers, one slice of turkey, one slice of cheese):
- Calories: approximately 80-100
- Protein: 6-8 grams
- Carbohydrates: 5-7 grams
- Fat: 4-6 grams
The exact numbers depend on your cracker and cheese choices, but it’s a balanced, protein-rich snack that keeps kids full until their next meal. The turkey provides lean protein for energy and muscle health, while the cheese adds calcium for strong bones. If you use whole-grain crackers, you’ll get a little fiber too.
This recipe is naturally low in sugar and can be made gluten-free or low-carb with simple substitutions. It’s also nut-free, which makes it a safe option for school lunches where allergies are a concern. Just check your cracker labels to make sure they’re processed in a nut-free facility if that’s an issue.
From a wellness perspective, I love that this snack feels indulgent but is actually pretty balanced. It’s not a health food, but it’s real food—and that’s what matters most.
Conclusion
These easy copycat lunchable turkey cracker stackers have honestly changed the way I think about packed lunches. They’re simple, they’re fast, and they make my kids genuinely excited to eat what I’ve packed. No more trading lunch items with friends or coming home with half-eaten containers.
What I love most is the flexibility. You can make them exactly how your family likes them—different cheeses, different meats, different crackers. It’s a template, not a rigid recipe, and that makes it work for almost everyone. Plus, it’s a great way to use up leftover deli meat or that half-block of cheese sitting in your fridge.
I’d love to hear how these turn out for you. Do your kids help assemble them? Do you have a favorite cheese and cracker combo? Drop a comment below and let me know. And if you try a variation I haven’t thought of, definitely share it—I’m always looking for new ideas to keep lunch interesting.
Here’s to lunches that actually get eaten. Happy stacking!
Frequently Asked Questions
Can I make these ahead of time for the whole week?
Yes, but keep the components separate. Store crackers at room temperature, and turkey and cheese in the fridge. Assemble them fresh each morning or let your kids build their own at lunchtime. This keeps everything crisp and fresh.
What crackers work best for these stackers?
Buttery crackers like Ritz or Club crackers are my top choice. They’re sturdy enough to hold the toppings without breaking. Mini saltines work too, but they’re more delicate. Avoid thin, flaky crackers that crumble easily.
Can I use a different type of meat?
Absolutely. Ham, salami, roast beef, or even leftover chicken all work great. Just make sure the meat is sliced thin and patted dry if it’s moist. Each meat gives a slightly different flavor, so feel free to experiment.
How do I keep the crackers from getting soggy?
The key is keeping everything separate until you’re ready to eat. Pat the turkey dry with a paper towel before cutting to remove excess moisture. And never assemble the stackers more than an hour before serving if you can help it.
Are these stackers safe for school lunches with nut allergies?
Generally yes, but check your cracker labels carefully. Some crackers are processed in facilities that also handle nuts. If your school has strict allergy policies, look for certified nut-free crackers or use cucumber rounds instead.
Pin This Recipe!
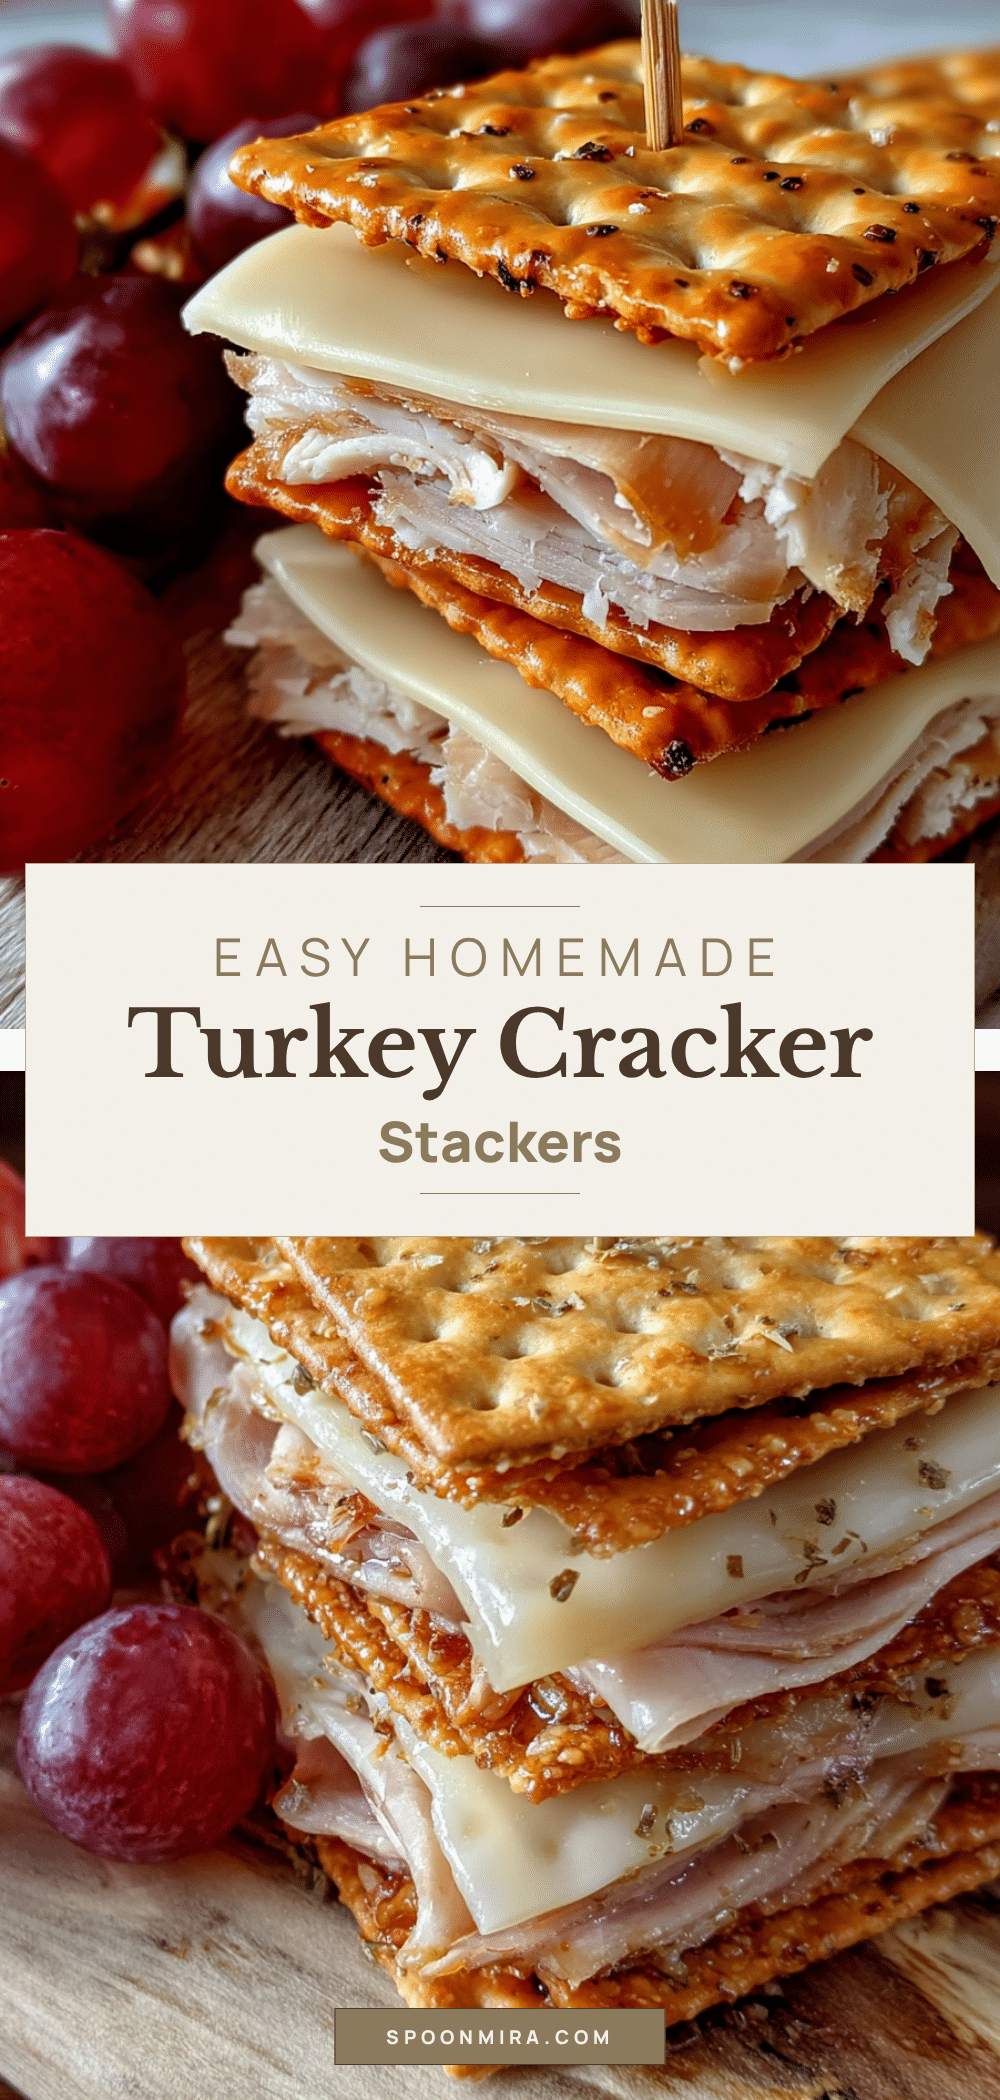
Easy Copycat Lunchable Turkey Cracker Stackers
These homemade turkey cracker stackers are a quick and easy lunchbox solution that tastes better than store-bought. With just four simple ingredients, you can create a fun, hands-on meal that kids and adults love.
- Prep Time: 10 minutes
- Cook Time: 0 minutes
- Total Time: 10 minutes
- Yield: 12 stackers (about 3-4 servings) 1x
- Category: Lunch
- Cuisine: American
Ingredients
- 24 mini crackers (square or round), such as Ritz or Club crackers
- 1/2 pound sliced deli turkey (oven-roasted or smoked), sliced about 1/8 inch thick
- 6 slices sliced cheese (cheddar, provolone, or Colby Jack), cut into 12 squares
- Optional: mini pretzel twists, cucumber rounds, or apple slices for crunch
Instructions
- Lay the turkey slices flat on a cutting board. If large, cut them into squares roughly the size of your crackers (about 2 inches). Pat gently with a paper towel if moist.
- Stack a few cheese slices and cut them into matching squares. Use a cookie cutter for fun shapes if desired. Aim for about 24 cheese squares for 12 stackers.
- Arrange crackers on a clean work surface in pairs, leaving space between each pair.
- Place a piece of turkey on one cracker, then add a piece of cheese on top. For extra crunch, tuck a mini pretzel or cucumber slice between the turkey and cheese.
- Top with the second cracker and press gently to hold together.
- Repeat until all ingredients are used (makes about 12 stackers).
- For immediate serving, pile on a plate. For lunches, pack components separately in a divided container to keep crackers crisp. Assemble just before eating.
Notes
Keep crackers, turkey, and cheese separate until serving to prevent sogginess. Pat turkey dry to remove excess moisture. For best results, assemble just before eating. Can be made gluten-free with gluten-free crackers or low-carb with cucumber rounds.
Nutrition
- Serving Size: 3 stackers
- Calories: 270
- Sugar: 2
- Sodium: 780
- Fat: 15
- Saturated Fat: 6
- Carbohydrates: 18
- Fiber: 1
- Protein: 21
Keywords: copycat lunchable, turkey cracker stackers, easy lunchbox, kid-friendly lunch, no-cook lunch, bento box, healthy snack


