Sunday evening, around eight o’clock, and the only thing I want is a batch of these mini banana muffins cooling on the counter. The rest of the house is quiet—my kids are sprawled on the living room rug with a book, and the dog is already dreaming under the kitchen table. I’m not looking for applause or a complicated project. I just want something small and good to come out of my oven, something that will make Monday morning feel a little less like a fight.
I found this recipe by accident, honestly. I had three spotty bananas on the counter that nobody was going to eat, and I was too tired to make a full loaf of banana bread. So I grabbed my mini muffin tin—the one I almost gave away twice—and decided to wing it. The first batch came out a little too dense, the second a little too dry, but the third? That one was just right. Soft, sweet, and small enough to disappear into a lunchbox without a second thought.
These easy mini banana muffins for kids lunchboxes have become our Sunday ritual. They’re not fancy or fussy. They’re just reliable, the way a good recipe should be. And honestly? That’s kind of the whole point.
Why You’ll Love This Recipe
I’ve tested this recipe more times than I care to admit, and here’s what I’ve learned: a good lunchbox muffin needs to check a lot of boxes. It has to be soft enough for little jaws, sturdy enough to survive a backpack toss, and sweet enough to feel like a treat without being a sugar bomb. These mini banana muffins do all of that and more.
- Quick & Easy : From start to finish, you’re looking at about 25 minutes. Mix the batter in one bowl, scoop, bake, and done. No stand mixer required, no complicated steps.
- Simple Ingredients : You probably have everything in your kitchen right now. Bananas, flour, butter, sugar, eggs, baking soda—that’s it. No weird add-ins or specialty flours unless you want them.
- Perfect for Lunchboxes : They’re bite-sized, which means they fit perfectly into those little compartments. My kids say they’re way better than store-bought snack cakes, and honestly, I agree.
- Crowd-Pleaser : I’ve brought these to playdates, school parties, and even a staff meeting (for the grown-ups, obviously). They disappear every single time.
- Unbelievably Delicious : The texture is what gets me every time. They’re soft and tender on the inside with a slightly golden edge. The banana flavor is front and center, not hiding behind a bunch of sugar.
What makes this different from other banana muffin recipes? It’s the ratio. I spent a long time tweaking the banana-to-flour balance so these stay moist without getting gummy. They’re also not overly sweet, which means they work just as well for breakfast as they do for an afternoon snack. And because they’re mini, portion control is built right in. No one’s fighting over who got the bigger muffin.
This is the kind of recipe that makes you feel like you’ve got it together, even on chaotic mornings. And let’s face it—we could all use a little of that energy.
What Ingredients You Will Need
This recipe uses simple, wholesome ingredients to deliver bold banana flavor and a soft, tender crumb without any fuss. Most of these are pantry staples, which is exactly what you want when you’re staring at a bunch of overripe bananas on a Sunday night.
- Ripe Bananas (3 medium, about 1 cup mashed) — The riper the better. You want them spotted brown all over. They’re sweeter and easier to mash, which means you can use less added sugar. If your bananas aren’t quite ripe enough, toss them in a 300°F oven for 10 minutes. Works like a charm.
- All-Purpose Flour (1 ½ cups, 180g) — Spoon and level your flour. Don’t scoop straight from the bag or you’ll end up with dense muffins. I use unbleached all-purpose, but bleached works fine too.
- Granulated Sugar (⅓ cup, 65g) — Just enough to complement the natural sweetness of the bananas. You can reduce this to ¼ cup if your bananas are very ripe.
- Unsalted Butter (⅓ cup, 75g, melted and cooled slightly) — Butter gives these muffins a rich flavor that oil just can’t match. If you only have salted butter, reduce the added salt to ¼ teaspoon.
- Large Egg (1, room temperature) — The egg binds everything together and adds structure. If you forget to take it out of the fridge, place it in a bowl of warm water for 5 minutes.
- Milk (¼ cup, 60ml) — Whole milk gives the best texture, but 2% or even oat milk work well. I’ve used buttermilk in a pinch and it made them extra tender.
- Vanilla Extract (1 teaspoon) — Pure vanilla is worth it here. The flavor really comes through in a simple recipe like this.
- Baking Soda (½ teaspoon) — This is what makes the muffins rise. Make sure it’s fresh—if it doesn’t fizz when you mix it with an acid (like the bananas), toss it and get a new box.
- Baking Powder (½ teaspoon) — A little extra lift to keep the texture light and airy.
- Salt (½ teaspoon) — Don’t skip it. Salt balances the sweetness and makes the banana flavor pop.
- Optional Mix-Ins (½ cup total) — Chocolate chips, chopped walnuts, dried cranberries, or shredded coconut. I usually add mini chocolate chips because my kids lose their minds over them. If you’re packing these for school lunches, check the school’s nut policy before adding walnuts.
I recommend using a good-quality vanilla like Nielsen-Massey or Rodelle. It makes a difference, especially in a recipe this simple where every ingredient shines.
Equipment Needed
You don’t need much for this recipe, which is part of what makes it so great. Here’s what you’ll need:
- Mini Muffin Tin (24-cup) — This is non-negotiable. I use a standard non-stick tin and it works perfectly. If you only have a 12-cup tin, you can make regular-sized muffins instead—just add 5-7 minutes to the bake time.
- Mixing Bowls (one large, one small) — I prefer glass or stainless steel. They don’t hold onto odors like plastic can.
- Whisk and Spatula — A whisk for the dry ingredients and a rubber spatula for folding everything together. Don’t use a mixer for this; you’ll overwork the batter.
- Measuring Cups and Spoons — For accuracy. Baking is a science, even if it’s a simple recipe.
- Cooling Rack — Essential for getting the muffins cool quickly so they don’t get soggy on the bottom.
- Cookie Scoop (1-tablespoon size) — This is my secret weapon. It makes filling the mini muffin cups so much faster and cleaner than using two spoons. A small trigger-style scoop costs about $8 and is worth every penny.
If you don’t have a mini muffin tin, you can absolutely use a regular one. Just adjust the baking time and you’re good to go. I’ve also made these as a mini loaf (about 35 minutes) and they turned out beautifully.
Preparation Method
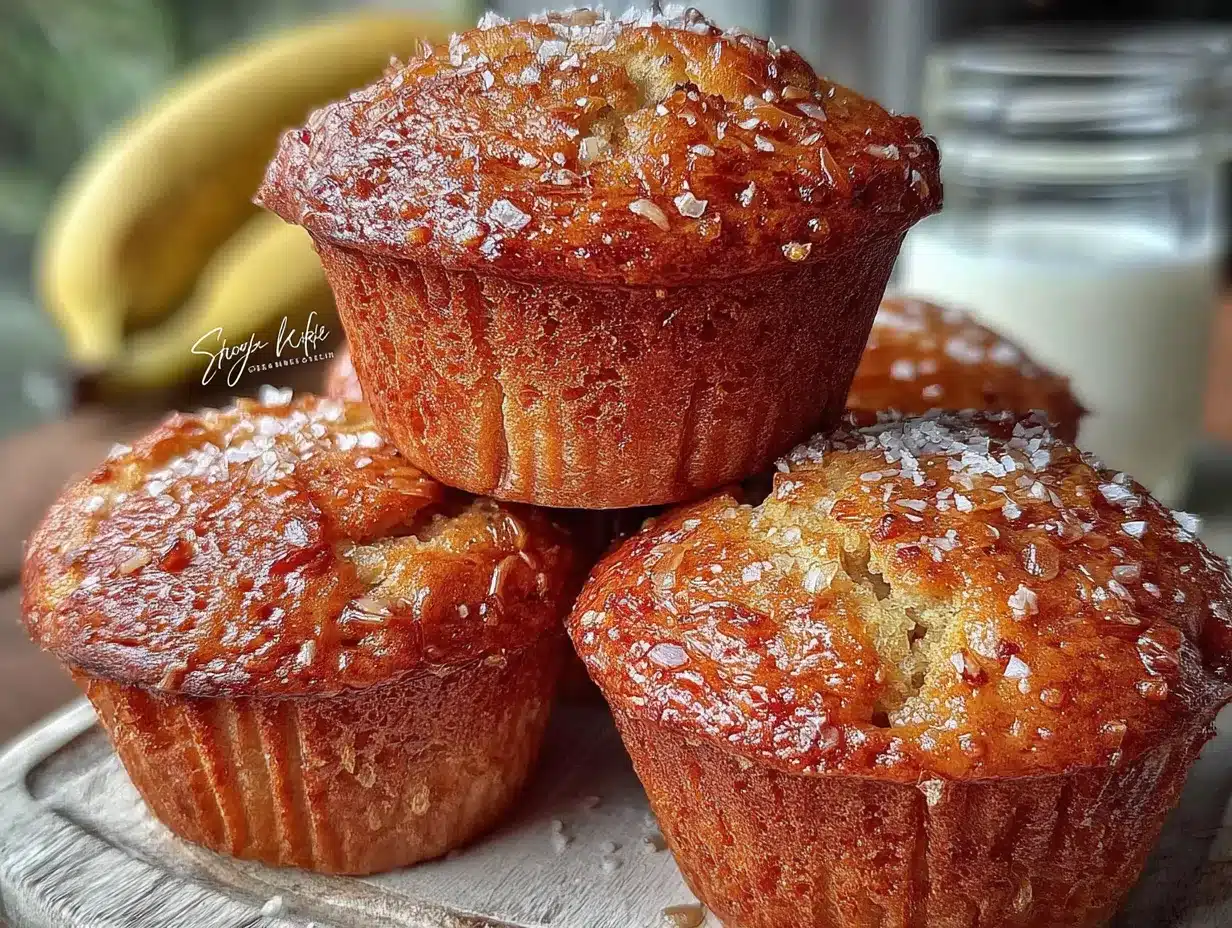
Let’s make some muffins. The whole process takes about 10 minutes of active work and 12 minutes of baking. Here’s how it goes:
- Preheat your oven to 350°F (175°C). Spray your mini muffin tin with non-stick cooking spray or line the cups with mini paper liners. I prefer liners because they make cleanup a breeze and the muffins pop right out.
- Mash the bananas. In a large bowl, mash your three ripe bananas with a fork until they’re mostly smooth. A few small lumps are totally fine—they add nice texture. You should have about 1 cup of mashed banana. If you’re a little over or under, don’t stress. The recipe is forgiving.
- Add the wet ingredients. To the mashed bananas, add the melted butter, egg, milk, and vanilla extract. Whisk everything together until it’s well combined. It’ll look a little lumpy from the bananas, and that’s exactly right.
- Mix the dry ingredients. In a separate small bowl, whisk together the flour, sugar, baking soda, baking powder, and salt. Whisking aerates the flour and makes sure the leavening agents are evenly distributed. No one wants a muffin that’s flat in one spot and puffy in another.
- Combine wet and dry. Pour the dry ingredients into the wet ingredients. Use a rubber spatula to fold everything together gently. Stir just until you don’t see any more streaks of flour. A few lumps are okay—overmixing will make your muffins tough. This is the most important step in the whole recipe, so take your time.
- Fold in mix-ins. If you’re using chocolate chips, nuts, or anything else, gently fold them in now. Don’t overdo it; about 5-6 folds is plenty.
- Scoop the batter. Use your cookie scoop or two spoons to divide the batter evenly among the 24 mini muffin cups. Fill each cup about ¾ full. If you’re using a scoop, it should be one level scoop per cup. The batter will be thick and slightly sticky—that’s normal.
- Bake. Place the muffin tin in the preheated oven and bake for 10-12 minutes. At 10 minutes, start checking them. They’re done when a toothpick inserted into the center of a muffin comes out clean or with just a few moist crumbs. The tops should be lightly golden and spring back when you touch them.
- Cool. Let the muffins cool in the tin for 5 minutes. Then transfer them to a wire rack to cool completely. If you leave them in the tin too long, the bottoms can get soggy. I learned that the hard way.
One quick note: if you’re making a double batch (and you probably will), don’t try to bake both tins at once unless you have a convection oven. Bake them one at a time on the middle rack for the most even results.
Cooking Tips & Techniques
I’ve made this recipe probably 30 times by now, and I’ve learned a few things along the way. Here are the tips that actually make a difference:
Don’t overmix the batter. I cannot say this enough. Stir until the flour just disappears. Overmixing develops gluten, and too much gluten makes muffins tough and rubbery. You want tender, not tough. If you see a few tiny flour specks, that’s okay. They’ll bake out.
Use a cookie scoop for even muffins. This is one of those little tools that changes everything. A 1-tablespoon scoop gives you perfectly portioned muffins every time. No more guessing, no more uneven baking. Plus, it’s way faster than using two spoons.
Check your baking soda. Baking soda loses potency over time. If your muffins aren’t rising properly, that’s usually the culprit. To test it, put a teaspoon of baking soda in a bowl and add a splash of vinegar. If it bubbles vigorously, it’s good. If it barely fizzes, get a new box.
Room temperature ingredients matter. I know it’s tempting to use cold eggs straight from the fridge, but room temperature ingredients emulsify better and create a more even crumb. Set your egg and milk out 20 minutes before you start baking. It makes a real difference.
Let them cool completely before storing. If you pack warm muffins into a container, the steam will make them soggy. I’ve made this mistake more times than I’d like to admit. Give them a full 20-30 minutes on a cooling rack before you even think about putting them away.
One more thing: if your bananas aren’t ripe enough, don’t force it. Unripe bananas don’t mash well and they won’t give you that deep, sweet banana flavor. Either wait a few days or use the oven trick I mentioned earlier. Trust me on this.
Variations & Adaptations
This recipe is incredibly adaptable. Here are some of my favorite variations:
Gluten-Free Version — Swap the all-purpose flour with a 1:1 gluten-free baking flour blend. I’ve had good luck with Bob’s Red Mill and King Arthur brands. The texture will be slightly more delicate, but they’re still delicious. Add an extra tablespoon of milk to compensate for the absorbency of gluten-free flours.
Dairy-Free Version — Use melted coconut oil or a neutral vegetable oil instead of butter, and swap the milk for almond milk, oat milk, or coconut milk. They won’t be quite as rich, but they’ll still be soft and tasty.
Lower Sugar Version — Reduce the sugar to 2 tablespoons and make sure your bananas are very ripe. You can also use 3 tablespoons of maple syrup or honey instead of granulated sugar. If using liquid sweetener, reduce the milk by 1 tablespoon to keep the batter consistency right.
Add Some Crunch — Fold in ¼ cup of finely chopped walnuts or pecans. Toast them first for extra flavor. Just be mindful of school nut policies if these are going in lunchboxes.
Berry Blast — Gently fold in ½ cup of fresh or frozen blueberries or diced strawberries. If using frozen berries, don’t thaw them first, or they’ll turn the batter purple. Toss them in a tablespoon of flour before adding to prevent them from sinking to the bottom.
Chocolate Lover’s Dream — Add ⅓ cup of mini chocolate chips and swap 2 tablespoons of flour for 2 tablespoons of unsweetened cocoa powder. This is my personal favorite. My kids call them “chocolate banana muffins” and they disappear in about 24 hours.
I once made a batch with shredded zucchini (about ½ cup, squeezed dry) and a sprinkle of cinnamon. They were incredible. It’s a great way to sneak in some veggies without anyone noticing.
Serving & Storage Suggestions
These mini banana muffins are best served at room temperature, straight from the lunchbox or the counter. They’re soft and tender without being crumbly, which makes them perfect for little hands.
For lunchboxes: Pack 2-3 muffins in a small container. They pair beautifully with a turkey pinwheel bento box or alongside some cheese cubes and grapes. My kids also love them with a side of yogurt for dipping. If you’re packing them the night before, let them cool completely first, then store in an airtight container at room temperature. Don’t refrigerate them—the fridge dries them out.
Storage: Keep the muffins in an airtight container at room temperature for up to 3 days. If you live in a humid climate, add a paper towel to the bottom of the container to absorb excess moisture. For longer storage, freeze them in a single layer on a baking sheet, then transfer to a freezer bag. They’ll keep for up to 3 months.
Reheating: Pop a frozen muffin in the microwave for 15-20 seconds, or let it thaw at room temperature for about 30 minutes. For a slightly crisp edge, warm them in a 300°F oven for 5 minutes. My kids actually prefer them cold from the lunchbox, but I like mine warmed up with a pat of butter.
Flavor development: These muffins actually taste better the next day. The banana flavor deepens and the texture becomes even more tender. If you can resist eating them all on baking day, you’re in for a treat.
For a fun twist, you can also make a batch of peanut butter energy balls to go alongside these muffins in a snack box. They’re both no-fuss, kid-approved options.
Nutritional Information & Benefits
Here’s the approximate nutritional breakdown for one mini muffin (based on 24 muffins, without mix-ins):
| Nutrient | Amount per muffin |
|---|---|
| Calories | 85 |
| Total Fat | 3.5g |
| Saturated Fat | 2g |
| Cholesterol | 15mg |
| Sodium | 95mg |
| Total Carbohydrates | 12g |
| Dietary Fiber | 1g |
| Sugars | 5g |
| Protein | 2g |
Bananas are a great source of potassium, vitamin B6, and vitamin C. They also provide natural energy, which makes these muffins a smart choice for active kids. The butter and egg add a small amount of protein and healthy fats to keep little bellies full until lunchtime.
Dietary considerations: This recipe can easily be made gluten-free or dairy-free using the substitutions listed above. It’s naturally nut-free (unless you add nuts) and contains no artificial ingredients. For a lower-sugar option, reduce the sugar to 2 tablespoons or use a natural sweetener like maple syrup.
Potential allergens: This recipe contains wheat (gluten), dairy (butter, milk), and eggs. Please adjust accordingly for your family’s needs.
I love that these muffins feel like a treat but are actually pretty balanced. They’re not loaded with sugar or preservatives, and I know exactly what went into them. That peace of mind is worth a lot when you’re packing lunchboxes day after day.
Conclusion
These easy mini banana muffins for kids lunchboxes have become a staple in our house for good reason. They’re quick to make, use ingredients I always have on hand, and they actually taste like something you’d want to eat—not just something you pack because you have to. The texture is soft, the banana flavor is real, and the mini size makes them perfect for little hands and lunchbox compartments.
I hope you give this recipe a try, and I hope it makes your mornings a little easier. Feel free to customize it based on what your family loves. Add chocolate chips, swap in blueberries, or keep it plain and simple. There’s no wrong way to make these. And if you come up with a variation I haven’t tried, I’d love to hear about it.
Drop a comment below and let me know how your batch turned out. Did your kids love them? Did you double the batch and freeze half? I read every single comment, and your stories honestly make my day. Happy baking, friends. You’ve got this.
Frequently Asked Questions
Can I use frozen bananas for this recipe?
Absolutely. Thaw them completely first, then drain off any excess liquid before mashing. Frozen bananas tend to release more water, which can throw off the batter consistency. I usually thaw them in a colander set over a bowl to catch the liquid. Then mash and proceed as usual.
How do I keep mini muffins from sticking to the pan?
Use a good non-stick spray or line the cups with mini paper liners. I prefer liners because they’re foolproof. If you’re using spray, make sure to get the sides of each cup, not just the bottom. Let the muffins cool in the pan for exactly 5 minutes before transferring them to a rack. Any longer and they can steam and stick.
Can I make these into regular-sized muffins?
Yes! This recipe makes about 8 regular-sized muffins. Fill the cups about ¾ full and bake at 350°F for 16-18 minutes, or until a toothpick comes out clean. The texture will be slightly different—a bit more dome on top—but they’re just as delicious.
Why did my muffins turn out dry?
Dry muffins usually mean one of three things: too much flour, overbaking, or not enough banana. Make sure you’re spooning and leveling your flour, not scooping it. Check your muffins at the minimum baking time (10 minutes) and pull them out as soon as they’re done. And make sure your bananas are very ripe—they contribute moisture as well as sweetness.
Can I add protein powder to make them more filling?
You can, but you’ll need to adjust the recipe. Replace about ¼ cup of the flour with your favorite protein powder. You may also need to add an extra tablespoon or two of milk since protein powder absorbs more liquid. I’ve tried this with vanilla whey protein and it worked well, though the texture was slightly denser. Plant-based protein powders tend to make them a bit grittier, so proceed with caution.
If you’re looking for more lunchbox-friendly ideas, these mini bagel pizzas are a huge hit in our house too. And for a sweet treat that travels well, these pencil sugar cookies are perfect for special school days.
Pin This Recipe!
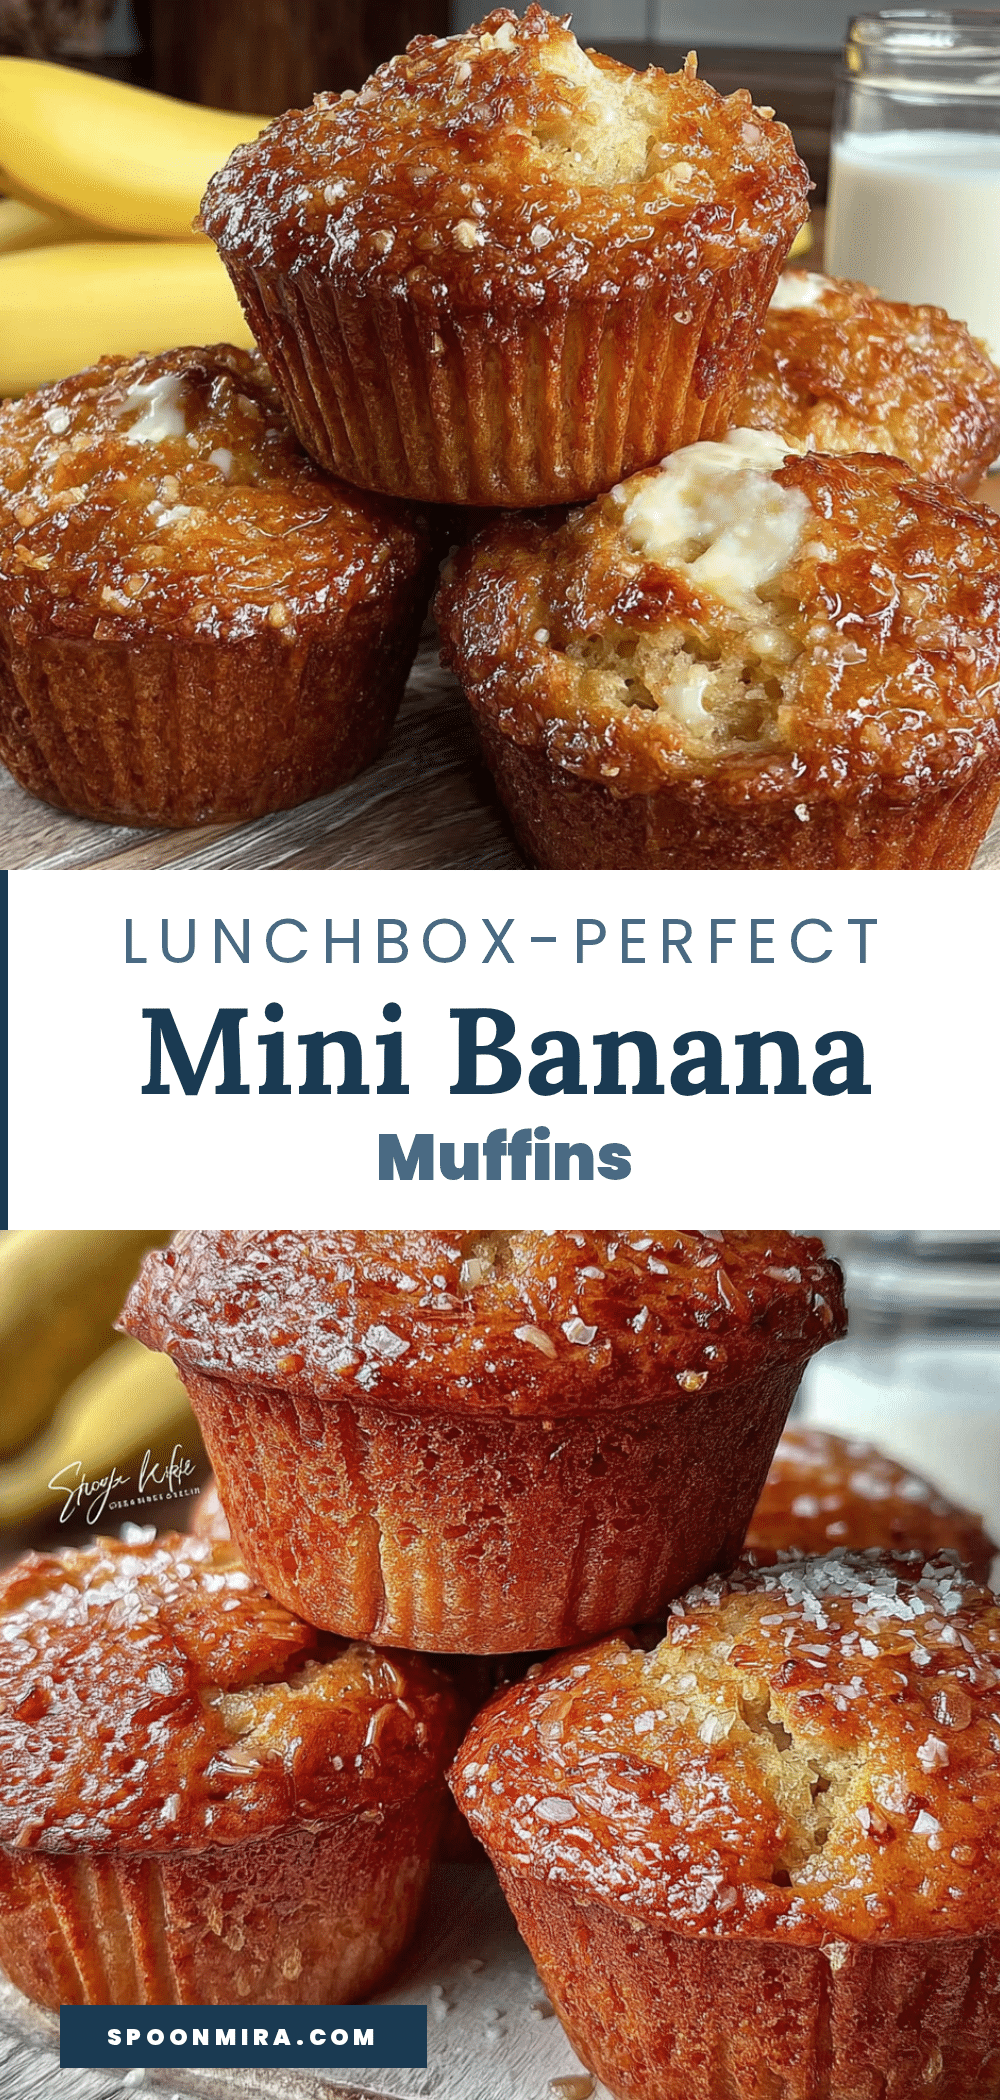
Easy Mini Banana Muffins: Best Kids Lunchbox Snack

Soft, sweet, and perfectly bite-sized, these easy mini banana muffins are the ultimate lunchbox snack. Made with simple ingredients and ready in about 25 minutes, they’re a kid-approved treat that parents can feel good about packing.
- Prep Time: 10 minutes
- Cook Time: 12 minutes
- Total Time: 22 minutes
- Yield: 24 mini muffins 1x
- Category: Snack
- Cuisine: American
Ingredients
- 3 medium ripe bananas (about 1 cup mashed)
- 1 ½ cups all-purpose flour (180g)
- ⅓ cup granulated sugar (65g)
- ⅓ cup unsalted butter, melted and cooled slightly (75g)
- 1 large egg, room temperature
- ¼ cup milk (60ml)
- 1 teaspoon vanilla extract
- ½ teaspoon baking soda
- ½ teaspoon baking powder
- ½ teaspoon salt
- ½ cup optional mix-ins (chocolate chips, chopped walnuts, dried cranberries, or shredded coconut)
Instructions
- Preheat your oven to 350°F (175°C). Spray a 24-cup mini muffin tin with non-stick cooking spray or line with mini paper liners.
- In a large bowl, mash the ripe bananas with a fork until mostly smooth (a few lumps are fine). You should have about 1 cup of mashed banana.
- Add the melted butter, egg, milk, and vanilla extract to the mashed bananas. Whisk until well combined.
- In a separate small bowl, whisk together the flour, sugar, baking soda, baking powder, and salt.
- Pour the dry ingredients into the wet ingredients. Use a rubber spatula to fold gently until just combined—do not overmix. A few lumps are okay.
- If using mix-ins, gently fold them in with about 5-6 folds.
- Use a 1-tablespoon cookie scoop or two spoons to divide the batter evenly among the 24 mini muffin cups, filling each about ¾ full.
- Bake for 10-12 minutes, or until a toothpick inserted into the center comes out clean or with a few moist crumbs. The tops should be lightly golden and spring back when touched.
- Let the muffins cool in the tin for 5 minutes, then transfer to a wire rack to cool completely.
Notes
Don’t overmix the batter—stir until flour just disappears. Use a cookie scoop for even muffins. Check baking soda freshness. Room temperature ingredients matter. Let muffins cool completely before storing to avoid sogginess. For gluten-free, use a 1:1 gluten-free flour blend and add an extra tablespoon of milk. For dairy-free, use melted coconut oil or vegetable oil and non-dairy milk. For lower sugar, reduce sugar to 2 tablespoons or use maple syrup/honey. Muffins taste even better the next day.
Nutrition
- Serving Size: 1 mini muffin
- Calories: 85
- Sugar: 5
- Sodium: 95
- Fat: 3.5
- Saturated Fat: 2
- Carbohydrates: 12
- Fiber: 1
- Protein: 2
Keywords: mini banana muffins, lunchbox snack, easy banana muffins, kid-friendly muffins, banana muffins for kids


