November had settled into that deep, gray quiet that feels less like weather and more like a held breath. The light was thin, the air smelled of wet leaves and woodsmoke, and everyone I knew was either sniffling or already down for the count. I was standing at my kitchen counter, staring at a bag of dried elderberries that had been sitting in my pantry since last winter, and I realized I was tired of waiting to feel bad before I did something about it.
That afternoon, I pulled out my biggest pot, filled it with water, and decided to make a batch of homemade elderberry syrup. Not because I was sick, but because I wanted to build a little armor around my family before the season really hit. There’s something grounding about watching purple liquid bubble and darken on the stove, knowing that every spoonful is a small act of care. It feels like the kitchen equivalent of putting on a warm sweater.
This isn’t a complicated recipe. It’s patient, mostly hands-off, and deeply satisfying in a way that store-bought bottles just can’t match. I’ve been making this version for years now, tweaking the spices and the sweetness until it felt exactly right. And honestly, I think the best immune support starts with something you’ve made yourself, with intention and maybe a little bit of ginger.
Why You’ll Love This Recipe
I’ve tested a lot of elderberry syrup recipes over the years, and this one is the version I keep coming back to. It’s not just about the ingredients—it’s about how they work together and how easy the whole process actually is.
- Simple Ingredients: You don’t need anything weird or hard to find. Dried elderberries, fresh ginger, cinnamon sticks, whole cloves, raw honey, and water. That’s it.
- Quick & Easy: The active time is maybe 10 minutes. The rest is just simmering and waiting, which is exactly what you want when you’re already feeling run down or just trying to stay ahead of the season.
- Perfect for Cold & Flu Season: This syrup is my go-to for the whole family. A spoonful a day for maintenance, or a little more when someone starts feeling off.
- Crowd-Pleaser: Even my kids take it without complaint. The honey and spices balance out the tartness of the berries beautifully.
- Unbelievably Effective: I’m not a doctor, but I can tell you that the winters I make this syrup are the winters we get through with fewer sick days. It’s comfort and protection in a jar.
What makes this recipe different from the store-bought stuff is the freshness and the control. You know exactly what’s in it, you can adjust the sweetness or spice to your taste, and there’s a deep satisfaction in pouring that deep purple syrup into a bottle and knowing you made it yourself. It’s not just another wellness trend—it’s an old remedy that actually works, and I’ve refined it until it tastes genuinely good.
What Ingredients You Will Need
This recipe uses simple, whole ingredients that come together to create a syrup that’s both effective and delicious. None of them are complicated, but each one plays a specific role in supporting your immune system and making this syrup taste like something you actually want to take.
- 1 cup dried elderberries (I prefer organic, and I usually get mine from a bulk spice shop or online. Make sure they’re dried, not fresh—fresh elderberries are toxic and must be cooked.)
- 4 cups cold water (Filtered is best, but tap water works fine if it tastes good to you.)
- 1 (3-inch) piece fresh ginger, sliced into thin rounds (no need to peel, just give it a good scrub. Ginger adds warmth and anti-inflammatory benefits.)
- 2 cinnamon sticks (Ceylon cinnamon is milder and sweeter, but cassia works just fine. Both add lovely warmth.)
- 1 teaspoon whole cloves (They’re potent, so don’t overdo it. A little goes a long way.)
- 1 cup raw honey (Local honey is ideal if you can find it—it may help with seasonal allergies too. Do not use honey for children under 1 year old.)
A quick note on the honey: I use raw, unfiltered honey because it retains more of its natural enzymes and beneficial properties. If you’re vegan, you can substitute maple syrup, though the flavor will be a bit different and it won’t have the same thickening effect. The honey also acts as a natural preservative, which helps the syrup last longer in the fridge.
For the elderberries, I’ve tried a few different brands and I keep coming back to Mountain Rose Herbs for consistency and quality. But honestly, any dried elderberry you can find will work. Just make sure they’re whole and dark purple, not dusty or faded.
Equipment Needed
You don’t need a fancy setup for this recipe, which is part of why I love it. Here’s what you’ll need:
- Medium to large saucepan or stockpot (A 4-quart pot is perfect. You need enough room for the berries to move around as they simmer.)
- Fine-mesh strainer or cheesecloth (I use a fine-mesh strainer lined with a double layer of cheesecloth for the clearest syrup. A nut milk bag also works great.)
- Glass measuring cup or large bowl (To catch the strained liquid.)
- Glass jars or bottles with tight-fitting lids (I use 8-ounce or 16-ounce swing-top bottles. Make sure they’re sterilized—just wash them in hot, soapy water or run them through the dishwasher.)
- Wooden spoon or spatula
- Funnel (Optional, but makes bottling much less messy.)
If you don’t have cheesecloth, you can use a clean dish towel or even a coffee filter in a pinch. The straining step is important because you want to remove all the berries and spices, but you don’t need a fancy setup to do it well.
Preparation Method
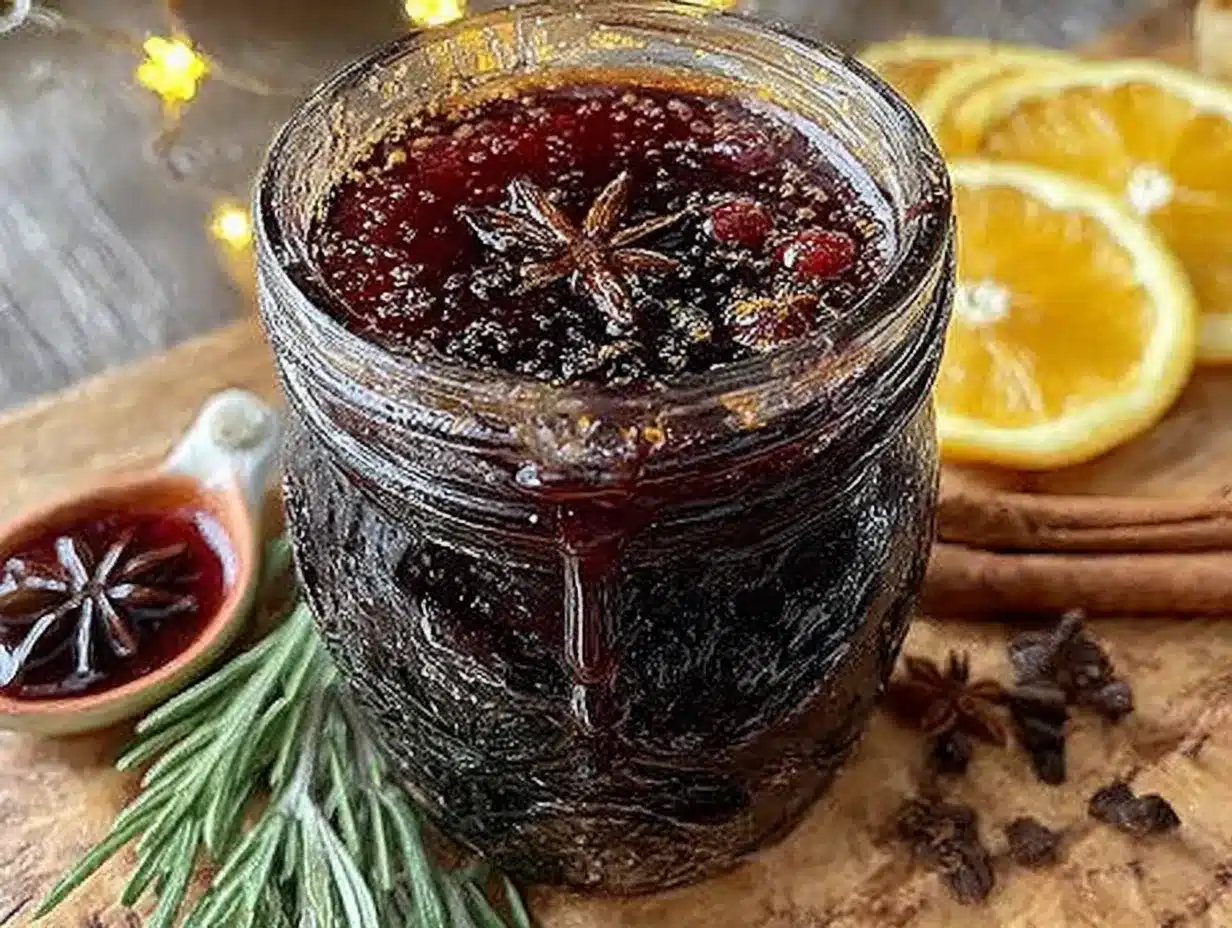
This is the part where the magic happens. The process is simple, but each step matters for getting the best flavor and potency.
- Combine the berries, water, and spices in your pot. Add the dried elderberries, sliced ginger, cinnamon sticks, and whole cloves to your saucepan. Pour in the 4 cups of cold water. Don’t skip the cold water—starting with cold water helps extract more goodness from the berries as the pot heats up.
- Bring to a boil, then reduce to a simmer. Set the pot over medium-high heat and bring everything to a rolling boil. As soon as it boils, reduce the heat to low so the liquid is just barely bubbling. You want a gentle simmer, not a vigorous boil. If you boil it too hard, you’ll evaporate too much water and concentrate the flavor in a way that can become bitter.
- Simmer for 30-45 minutes. Let the mixture simmer uncovered. You’ll start to smell the ginger and cinnamon warming up the kitchen, and the liquid will turn a deep, almost black-purple color. I usually let it go for about 40 minutes. The berries will look plump and slightly deflated, and the liquid should have reduced by about half. Don’t let it go too long or the cloves can make the syrup bitter.
- Remove from heat and let it cool slightly. Take the pot off the burner and let it sit for about 10-15 minutes. This makes it safer to handle and also helps the flavors settle. Don’t skip this step—straining hot liquid is a recipe for burns.
- Strain the mixture. Place your fine-mesh strainer (lined with cheesecloth if you have it) over a large glass measuring cup or bowl. Carefully pour the liquid through the strainer. Use the back of a spoon to gently press on the berries and extract as much liquid as possible. Don’t press too hard or you’ll push fine berry sediment through, which can make the syrup cloudy. I usually let it drip for a few minutes, then discard the spent berries and spices.
- Let the liquid cool to room temperature. This is important! If you add honey to hot liquid, you’ll destroy the beneficial enzymes and raw properties of the honey. Let the strained liquid sit on the counter until it’s completely cool to the touch. This usually takes about 30-45 minutes.
- Stir in the honey. Once the liquid is cool, pour in the 1 cup of raw honey and stir gently but thoroughly until the honey is completely dissolved. The syrup will look glossy and deep purple, with a beautiful amber tint from the honey. Taste it and adjust if you like—some people prefer a little more honey for sweetness, or a little less for a tarter syrup.
- Bottle the syrup. Using a funnel, pour the syrup into your sterilized glass jars or bottles. Leave about half an inch of headspace at the top. Seal tightly with the lids.
- Label and store. Write the date on the jar so you know when you made it. Store in the refrigerator. The syrup will keep for up to 3 months, though it rarely lasts that long in my house.
A couple of things I’ve learned the hard way: First, don’t rush the cooling step. I once added honey to lukewarm liquid and it was still too warm—the honey separated and the texture was weird. Second, if you want a thicker syrup, you can simmer it a little longer before straining, but keep in mind it will also be more concentrated in flavor. I prefer a thinner syrup that’s easier to pour and mix into tea or water.
Cooking Tips & Techniques
I’ve made this syrup more times than I can count, and I’ve definitely had a few batches that weren’t my best work. Here’s what I’ve learned so you don’t have to make the same mistakes.
Don’t over-simmer the cloves. Whole cloves are powerful little things. If you let them simmer too long, they can make the syrup taste medicinal and bitter. I’ve found that 30-40 minutes is the sweet spot. Any longer and the clove flavor starts to dominate everything else.
Use a heavy-bottomed pot. A thin pot can cause hot spots that burn the berries or make the syrup scorch on the bottom. I use a stainless steel pot with a thick bottom, and it distributes the heat evenly so everything simmers gently.
Strain twice for clarity. If you want a crystal-clear syrup, strain the liquid once through a fine-mesh strainer, then again through a cheesecloth-lined strainer. I usually don’t bother with the second strain because I don’t mind a little sediment, but if you’re bottling this as gifts, it looks prettier with a second strain.
Let the honey do its job. Raw honey is more than just a sweetener—it has natural antibacterial and antiviral properties. That’s why I never heat it above room temperature. If you’re using honey that’s crystallized, you can gently warm the jar in a bowl of warm water (not hot) to liquefy it before adding it to the syrup.
Scale up or down easily. This recipe doubles and triples beautifully. I often make a double batch at the start of cold season and freeze half in ice cube trays. Then I can pop out a cube and thaw it as needed. Just remember that the honey ratio stays the same—1 part honey to 4 parts liquid by volume.
Variations & Adaptations
One of the best things about this syrup is how easy it is to adapt. Here are some variations I’ve tried and loved.
Spiced Orange Elderberry Syrup: Add the zest of one orange and a few slices of fresh turmeric root to the simmering liquid. The orange brightens everything up, and turmeric adds an extra anti-inflammatory kick. I make this version when I feel like I need a little extra support.
Vegan Maple Elderberry Syrup: Substitute the honey with an equal amount of pure maple syrup. The flavor is a little more woodsy and less floral, but it’s still delicious. Maple syrup doesn’t have the same preservative qualities as honey, so this version will only keep for about 2-3 weeks in the fridge. Make smaller batches or freeze it.
Low-Sugar Elderberry Syrup: If you’re watching your sugar intake, you can reduce the honey to 1/2 cup. The syrup will be thinner and tarter, and it won’t last as long in the fridge (about 2 weeks). I’ve also tried using monk fruit sweetener, but the texture wasn’t quite right. Honey really is the best option here.
Elderberry Gummies: If you have kids who are picky about taking syrup, you can turn this into gummies. I have a whole post on healthy homemade elderberry gummies with raw honey that walks you through the process. They’re a huge hit with my kids and way better than store-bought vitamins.
Serving & Storage Suggestions
This syrup is incredibly versatile. Here’s how I use it and how to keep it fresh.
Daily Maintenance: For general immune support during cold season, I take 1 tablespoon (adults) or 1 teaspoon (children over 1 year) every morning. I just take it straight off the spoon, but you can also stir it into a glass of warm water or tea. If you’re feeling run down or you’ve been exposed to someone who’s sick, you can increase to 2-3 tablespoons a day.
In Drinks: Stir a tablespoon into hot tea, lemon water, or even sparkling water for a refreshing immune-boosting drink. It’s also lovely drizzled over yogurt, oatmeal, or pancakes. The flavor is fruity and spiced, like a grown-up fruit syrup.
Storage: Always keep the syrup in the refrigerator. The honey acts as a natural preservative, but the syrup is still perishable. It will keep for up to 3 months in a sealed glass jar. If you see any mold, fizzing, or off smells, toss it and make a fresh batch. That’s very rare if you use clean equipment and store it properly, but it can happen.
Freezing: This syrup freezes beautifully. Pour it into ice cube trays, freeze until solid, then pop the cubes into a freezer bag. Each cube is about 1 tablespoon, which makes it easy to thaw just what you need. Frozen cubes will keep for up to 6 months.
Flavor Development: The syrup actually tastes better after a day or two in the fridge. The spices continue to meld with the honey and berries, and the flavors become more rounded. So don’t worry if it tastes a little intense right after you make it—it will mellow out beautifully.
Nutritional Information & Benefits
I’m not a nutritionist, but I’ve done enough research and personal experimentation to feel confident about the benefits of this syrup.
Estimated Nutritional Values (per 1 tablespoon serving):
- Calories: 40-50
- Sugar: 8-10g (from honey)
- Vitamin C: 2-4% DV
- Antioxidants: High (from elderberries and spices)
Key Health Benefits:
- Elderberries are packed with antioxidants and flavonoids that support the immune system. Studies suggest they may help reduce the duration and severity of cold and flu symptoms.
- Ginger has anti-inflammatory properties and can help soothe sore throats and nausea.
- Cinnamon is rich in antioxidants and has antimicrobial properties.
- Raw honey contains natural enzymes and has been used for centuries to soothe coughs and support immunity.
Dietary Considerations: This recipe is naturally gluten-free, dairy-free, and soy-free. It’s also Whole30-compatible if you use a compliant honey. For children under 1 year, substitute honey with maple syrup or simply omit the sweetener and use the syrup within 1-2 weeks.
Potential Allergens: None of the ingredients are common allergens, but always check your spice sources for cross-contamination if you have severe allergies.
Conclusion
This homemade elderberry syrup has become a fall and winter staple in my kitchen, and I honestly don’t know what I’d do without it. It’s one of those recipes that feels like a small act of love—something you make not just for yourself, but for the people you care about. Every time I pull that deep purple jar out of the fridge and watch my kids take their spoonful without complaint, I’m reminded that the best remedies are often the simplest.
I’d love for you to try this recipe and make it your own. Adjust the spices, play with the sweetness, and find the version that works best for your family. And if you come up with a variation I haven’t tried, please share it in the comments below. I’m always looking for new ideas, and honestly, this community is full of the most creative home cooks I’ve ever met.
Here’s to a healthy, cozy season ahead. Grab your pot, put on some music, and let the simmering begin. You’ve got this.
Frequently Asked Questions
Can I use fresh elderberries instead of dried?
No, you should not use fresh elderberries for this recipe. Fresh elderberries contain a compound that can cause nausea and digestive upset if eaten raw or undercooked. Dried elderberries are safe because the drying process neutralizes that compound. If you have access to fresh elderberries, you can dry them yourself in a dehydrator or oven on the lowest setting, then use them in this recipe.
How long does homemade elderberry syrup last?
Stored properly in a sealed glass jar in the refrigerator, this syrup will last for up to 3 months. The honey acts as a natural preservative. If you see any signs of mold, fermentation (fizzing), or an off smell, discard the syrup and make a fresh batch. I always date my jars so I know exactly when I made them.
Can I give this syrup to my children?
Yes, for children over 1 year old. For kids ages 1-6, give 1 teaspoon daily for maintenance. For older children, 1 tablespoon is appropriate. Do not give this syrup (or any product containing honey) to children under 1 year old due to the risk of infant botulism. For babies under 1, you can make a version using maple syrup or simply omit the sweetener and use the syrup within 1-2 weeks.
Can I take elderberry syrup if I’m pregnant or nursing?
Many women safely take elderberry syrup during pregnancy and nursing, but you should always consult with your healthcare provider first. Elderberries are generally considered safe in food amounts, but there isn’t extensive research on concentrated herbal preparations during pregnancy. The spices in this recipe (ginger, cinnamon, cloves) are also generally safe in culinary amounts, but your doctor knows your specific health history best.
Why did my syrup turn out cloudy?
A cloudy syrup is usually caused by pressing too hard on the berries when straining, which pushes fine berry sediment through the strainer. It’s completely safe to consume and doesn’t affect the flavor or effectiveness. If you want a clearer syrup, strain the liquid through a fine-mesh strainer lined with a double layer of cheesecloth, and use a gentle hand when pressing the berries. You can also let the strained liquid sit in the fridge overnight, then carefully pour off the clear syrup, leaving the sediment behind.
Pin This Recipe!
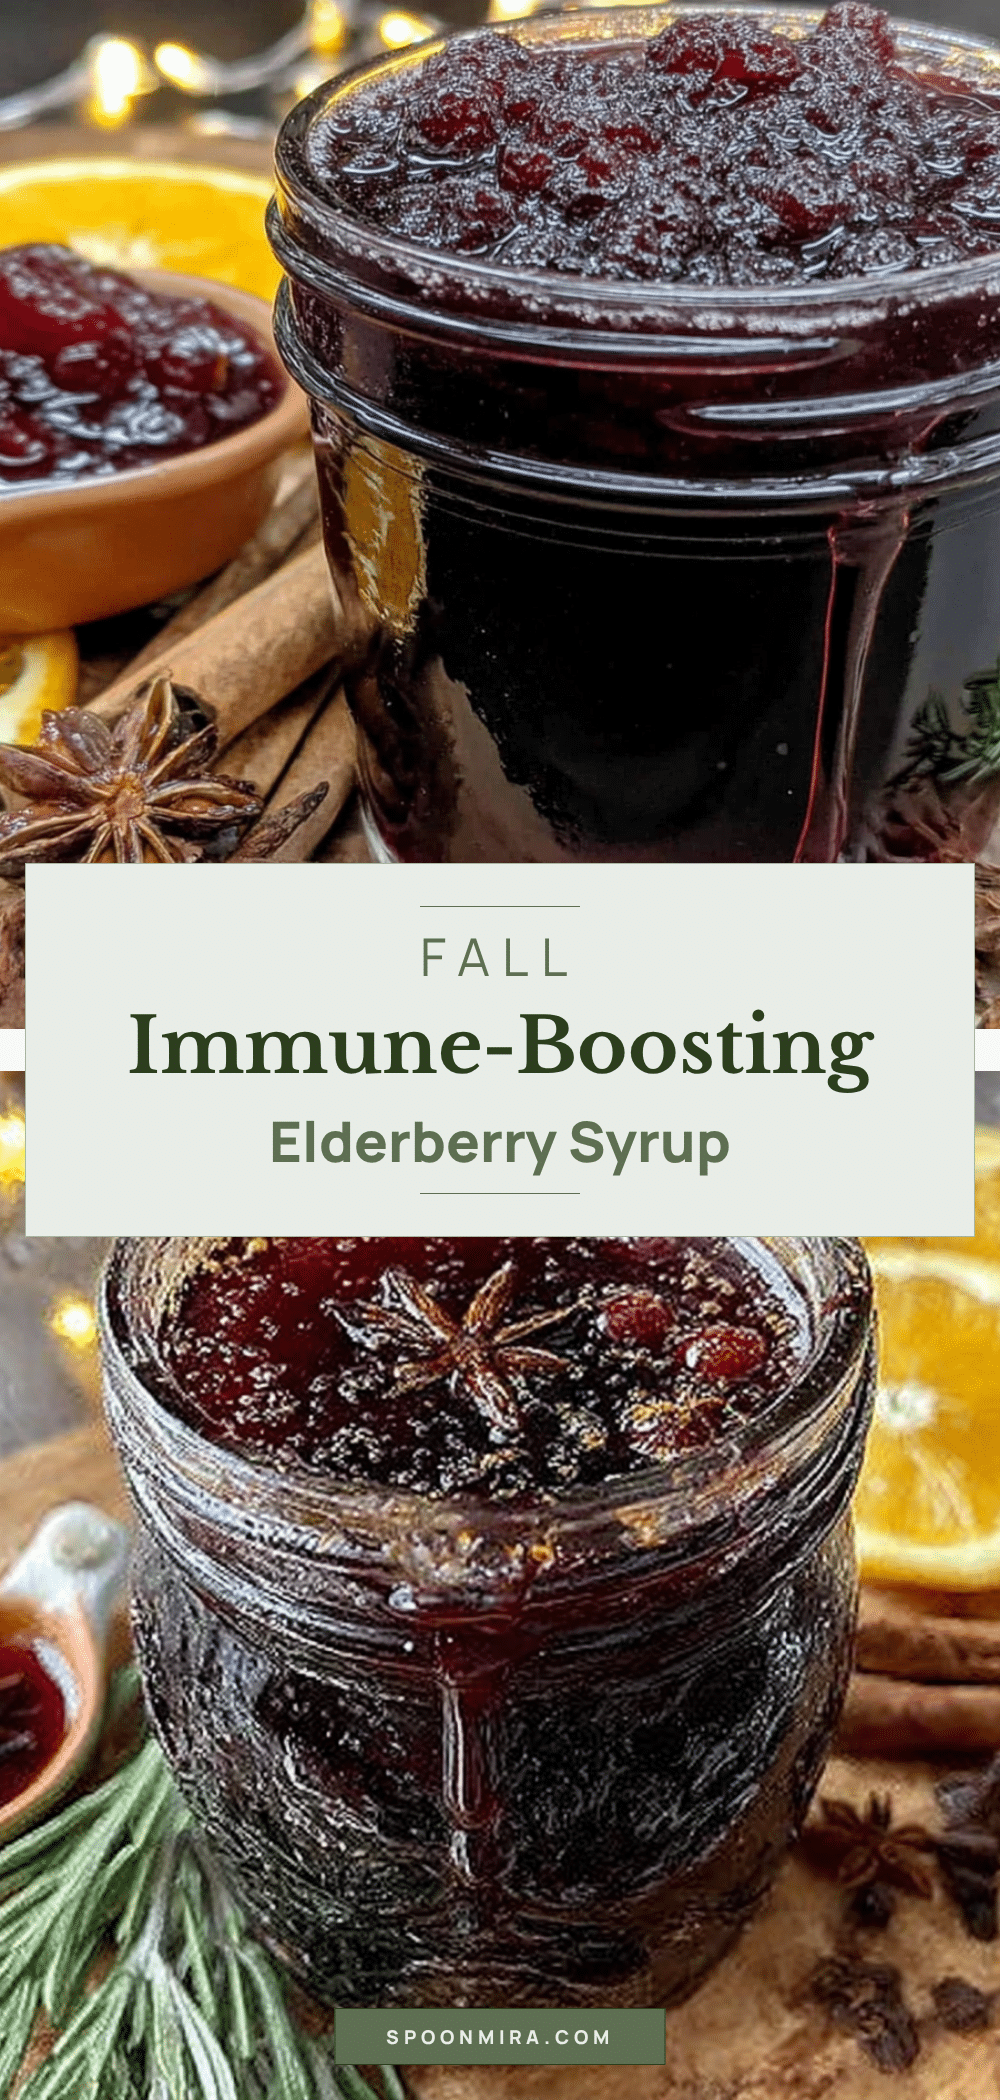
Homemade Elderberry Syrup: Easy Immune Boosting Recipe
This homemade elderberry syrup is a simple, hands-off recipe that builds immune support during cold and flu season. Made with dried elderberries, ginger, cinnamon, cloves, and raw honey, it’s a comforting and effective remedy the whole family will love.
- Prep Time: 10 minutes
- Cook Time: 40 minutes
- Total Time: 1 hour 30 minutes (including cooling)
- Yield: 4 servings 1x
- Category: Condiment
- Cuisine: American
Ingredients
- 1 cup dried elderberries (organic preferred)
- 4 cups cold water (filtered preferred)
- 1 (3-inch) piece fresh ginger, sliced into thin rounds (no need to peel)
- 2 cinnamon sticks (Ceylon or cassia)
- 1 teaspoon whole cloves
- 1 cup raw honey (local preferred; do not use for children under 1 year)
Instructions
- Combine the dried elderberries, sliced ginger, cinnamon sticks, whole cloves, and 4 cups cold water in a medium to large saucepan or stockpot.
- Bring to a rolling boil over medium-high heat, then reduce heat to low and simmer gently for 30-45 minutes, until the liquid has reduced by about half and turned deep purple.
- Remove from heat and let cool slightly for 10-15 minutes.
- Strain the mixture through a fine-mesh strainer lined with cheesecloth into a glass measuring cup or bowl. Gently press on the berries with the back of a spoon to extract liquid, but do not press too hard to avoid cloudiness.
- Let the strained liquid cool completely to room temperature (about 30-45 minutes).
- Stir in the raw honey until fully dissolved.
- Pour the syrup into sterilized glass jars or bottles using a funnel, leaving about 1/2 inch headspace. Seal tightly.
- Label with the date and store in the refrigerator for up to 3 months.
Notes
Do not use fresh elderberries; they are toxic and must be cooked. Dried elderberries are safe. Do not add honey to hot liquid; let it cool completely to preserve raw honey’s enzymes. For children under 1 year, substitute honey with maple syrup or omit sweetener and use within 1-2 weeks. The syrup can be frozen in ice cube trays for up to 6 months. For a thicker syrup, simmer longer before straining. For a clearer syrup, strain twice.
Nutrition
- Serving Size: 1 tablespoon
- Calories: 4050
- Sugar: 810
- Carbohydrates: 1012
Keywords: elderberry syrup, immune boosting, homemade, cold and flu, natural remedy, elderberry, honey, ginger, cinnamon


