I burned air fryer chicken thighs three times before I figured out what I was doing wrong. Not slightly-overcooked, eat-it-anyway burned. I mean smoke-alarm-going-off, kitchen-smells-like-a-campfire, why-did-I-even-bother burned. The first time, I packed them in too tight. The second time, I skipped drying the skin. The third time—honestly, I just got impatient and cranked the heat too high. Each failure taught me something, though. And somewhere between batch four and batch seven, these crispy air fryer chicken thighs with garlic butter finally came together.
Here’s the thing about chicken thighs—they’re forgiving. Dark meat stays juicy even when you mess up. But getting the skin actually crispy? That takes a little know-how. Not complicated know-how, just the right steps in the right order. Once I stopped treating my air fryer like a magic box and started treating it like a tiny convection oven with rules, everything changed.
These chicken thighs come out with skin so crunchy it shatters when you bite into it. The meat underneath stays tender and moist. And that garlic butter sauce drizzled over the top? It seeps into every crevice and makes the whole thing taste like something you’d pay too much for at a restaurant. I make these on Tuesday nights when I need dinner to feel special without actually trying that hard.
Why You’ll Love This Recipe
Let me tell you why these crispy air fryer chicken thighs with garlic butter have become my most-requested dinner. I’ve tested this recipe at least a dozen times across three different air fryer models, and it works every single time. Not just works—wows.
- Ready in Under 30 Minutes : From fridge to plate in about 25 minutes. That’s faster than delivery and way better tasting.
- Simple Pantry Ingredients : Chicken thighs, butter, garlic, and basic seasonings. You probably have everything except the chicken right now.
- Perfect for Busy Weeknights : No marinating required, no complicated techniques, no standing over a hot stove.
- Better Than Oven-Baked : The air fryer circulates heat so efficiently that the skin gets crispier than traditional oven methods in half the time.
- Naturally Low-Carb & Keto-Friendly : Zero breading, zero flour, zero carbs. Just protein and healthy fat.
- Family-Approved Across Generations : My picky nephew devours these, and my garlic-loving grandmother asked for the recipe.
What makes this version different from every other air fryer chicken recipe? Two things. First, the double-seasoning technique—seasoning under the skin AND on top. Second, the garlic butter finish that goes on after cooking so the garlic stays fragrant instead of burning. It sounds simple because it is. But simple done right beats complicated every time.
These chicken thighs are the kind of meal that makes you close your eyes after the first bite. The kind where you look at your partner across the table and just nod because words aren’t necessary. Comfort food that’s actually good for you, fast enough for a Tuesday, and impressive enough for company.
What Ingredients You Will Need
This recipe uses simple, wholesome ingredients to deliver bold flavor and satisfying texture without any fuss. Most of these are kitchen staples, which means you’re probably already halfway there.
For the Chicken Thighs:
- 4 bone-in, skin-on chicken thighs (about 1.5 pounds total) — Bone-in keeps the meat juicier during the high-heat cooking process. Look for thighs with the skin still attached and intact. If you can only find skinless, this recipe won’t work the same way—save those for a braise instead.
- 1 tablespoon olive oil — Helps the seasoning stick and encourages browning. Avocado oil works too if that’s what you have.
- 1 teaspoon kosher salt — I prefer Diamond Crystal for its clean flavor. If using table salt, reduce to ¾ teaspoon.
- ½ teaspoon black pepper — Freshly ground tastes noticeably better than pre-ground.
- 1 teaspoon garlic powder — Not the same as granulated garlic. Garlic powder dissolves more evenly into the seasoning.
- 1 teaspoon smoked paprika — Adds color and a subtle smokiness that pairs beautifully with the garlic butter. Regular paprika works but you’ll miss that depth.
- ½ teaspoon onion powder — Rounds out the savory notes without being aggressive.
- ¼ teaspoon cayenne pepper (optional) — Adds a tiny kick without making it spicy. Leave it out if you’re serving sensitive palates.
For the Garlic Butter Sauce:
- 3 tablespoons unsalted butter — Salted butter works too, just reduce the added salt slightly. I use Plugrà or Kerrygold for the best flavor.
- 4 cloves garlic, minced — Fresh garlic only here. The jarred stuff gets bitter when melted in butter. Take the extra 30 seconds to mince fresh cloves.
- 1 tablespoon fresh parsley, chopped — Adds freshness and color. Dried parsley won’t give you the same pop, but use 1 teaspoon if that’s all you have.
- ½ teaspoon red pepper flakes (optional) — For a little heat in the sauce. My husband adds extra to his portion.
- Pinch of salt — Just a tiny one to wake up the butter.
For Garnish (Optional but Recommended):
- Fresh lemon wedges — A squeeze of lemon right before eating cuts through the richness beautifully.
- Extra fresh parsley or chives — For that restaurant-style finish.
- Flaky sea salt — Maldon or similar. That final crunch of salt makes a surprising difference.
Ingredient Selection Tips: Look for chicken thighs that are roughly the same size so they cook evenly. I buy my chicken from a local farm when possible, but grocery store thighs work perfectly. If your thighs are on the smaller side, reduce cooking time by 2-3 minutes. For larger ones, add a couple minutes. The butter should be at room temperature so it melts evenly with the garlic without burning.
Equipment Needed
You don’t need a fancy kitchen to make these crispy air fryer chicken thighs with garlic butter. Here’s what you’ll actually use:
- Air Fryer — Any model works. I use a 5.8-quart Cosori, but I’ve tested this recipe in a Ninja, Instant Pot Vortex, and a cheap off-brand model. They all produced great results. The key is not overcrowding, regardless of size.
- Tongs — Silicone-tipped or metal, doesn’t matter. You need them for flipping the chicken without tearing the skin.
- Small Saucepan — For melting the garlic butter. A tiny one works best so the garlic doesn’t scorch.
- Paper Towels — Absolutely essential for drying the chicken skin. Don’t skip this step.
- Cutting Board — For resting the chicken after cooking. Letting it sit for a few minutes makes a difference.
- Chef’s Knife — For mincing garlic and chopping parsley. A sharp knife makes both tasks take about 30 seconds.
- Measuring Spoons — For the seasonings. Eyeballing works if you’ve made this before, but measure the first few times.
- Small Bowl — For mixing the dry seasoning blend before applying.
Budget-Friendly Alternatives: No air fryer? You can make these in a convection oven at 400°F on a wire rack set inside a baking sheet. The cooking time will be closer to 30-35 minutes. No wire rack? Just flip the chicken halfway through. No small saucepan? Melt the butter in a microwave-safe bowl in 15-second bursts.
Maintenance Tip: Clean your air fryer basket after every use. Built-up grease affects cooking performance and can cause smoking. Most baskets are dishwasher-safe, but hand-washing with warm soapy water extends their life.
Preparation Method
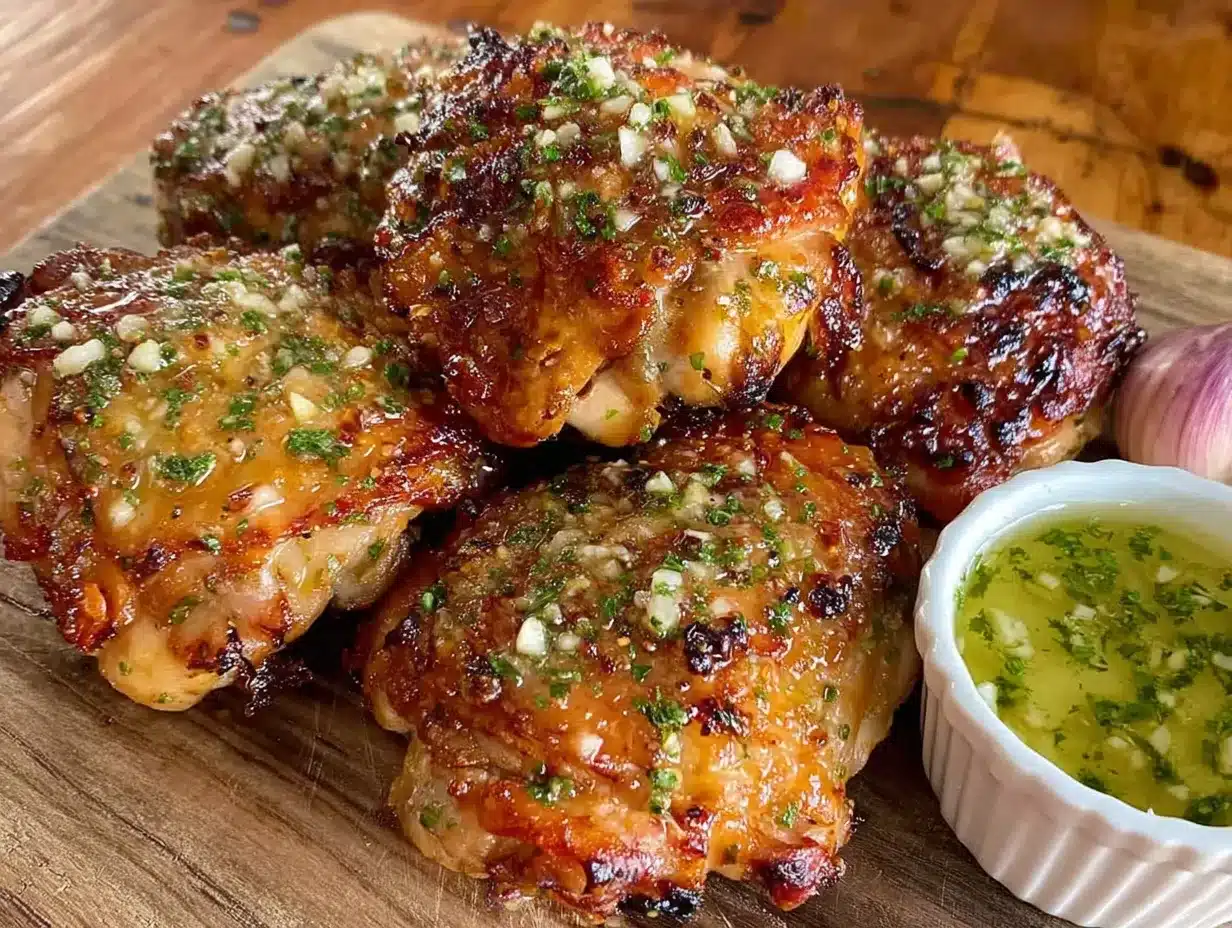
Let me walk you through this step by step. I’ve written these instructions based on exactly what I do in my own kitchen, so follow along and you’ll get perfect results.
- Pat the chicken thighs completely dry. This is the most important step and the one I messed up for years. Take each thigh and press it firmly with paper towels until no moisture remains on the surface. Get the skin especially dry. Moisture is the enemy of crispiness, and the air fryer needs dry skin to work its magic. If the paper towels get soaked, grab fresh ones and keep going. Your chicken should feel tacky, not wet.
- Season under the skin. Using your fingers, gently loosen the skin from the meat on each thigh. Don’t tear it—just create a pocket between the skin and the flesh. Take about half of your seasoning mixture and rub it directly onto the meat under the skin. This is the secret to flavorful chicken that tastes seasoned all the way through, not just on the surface.
- Season the outside. Rub the remaining seasoning all over the outside of the chicken thighs, including the skin. Don’t forget the underside. Drizzle the olive oil over the seasoned skin and rub it in gently. The oil helps the skin crisp up and prevents the seasoning from burning.
- Preheat your air fryer to 400°F (200°C). Most air fryers recommend a 3-5 minute preheat. I do 5 minutes to make sure the chamber is fully hot. A properly preheated air fryer gives you that immediate sizzle when the chicken hits the basket.
- Place the chicken thighs skin-side down in the air fryer basket. Leave at least ½ inch of space between each thigh. Air needs to circulate around every piece. If your air fryer is small, cook in batches. Crowding the basket steams the chicken instead of crisping it—I learned this the hard way with my first burned batch.
- Cook at 400°F for 12 minutes. Don’t open the basket during this time. Let the air fryer do its job. The skin will start rendering its fat and turning golden brown.
- Flip the chicken thighs. Using tongs, carefully turn each thigh over so the skin side is now facing up. Be gentle—the skin is getting crispy and can tear if you’re rough. If any seasoning fell off during cooking, don’t worry about it.
- Cook for another 8-12 minutes. The exact time depends on the size of your thighs. Start checking at 8 minutes. The chicken is done when the internal temperature reaches 175°F (80°C) when measured with an instant-read thermometer inserted into the thickest part without touching bone. The skin should be deep golden brown and crispy to the touch.
- While the chicken cooks, make the garlic butter. In a small saucepan over low heat, melt the butter. Add the minced garlic and cook for 30-45 seconds until fragrant. Do not let the garlic brown—it will turn bitter. Remove from heat immediately and stir in the parsley, red pepper flakes (if using), and a pinch of salt. Set aside.
- Let the chicken rest for 5 minutes. This is crucial. Transfer the cooked thighs to a cutting board or plate and let them sit undisturbed. Resting allows the juices to redistribute throughout the meat. Cut into them too soon and all those delicious juices run out onto the plate instead of staying in the chicken.
- Drizzle with garlic butter and serve. Place the rested chicken thighs on a serving platter. Spoon the garlic butter sauce generously over each thigh, making sure to get some on the crispy skin. The butter will soak into the crevices and pool around the bottom. Serve immediately with lemon wedges on the side.
Sensory Checkpoints: At step 6, you should hear a gentle sizzling sound. At step 8, the skin should look crackled and golden, and your kitchen should smell like roasted garlic and smoked paprika. The chicken should feel firm but give slightly when pressed. If the skin isn’t crispy enough after the full cooking time, add 2 more minutes and check again.
Cooking Tips & Techniques
After making these crispy air fryer chicken thighs with garlic butter more times than I can count, here’s what I’ve learned the hard way so you don’t have to.
Don’t Skip Drying the Skin. I cannot emphasize this enough. Water creates steam, steam prevents crisping. I once thought I dried them well enough and ended up with leathery skin. Now I use three or four paper towels per batch and press firmly. The skin should feel almost sticky when you’re done.
Let the Chicken Come to Room Temperature. Pull the thighs out of the fridge 15-20 minutes before cooking. Cold meat shocks the air fryer and leads to uneven cooking. Room temperature thighs cook more evenly and the skin crisps up faster.
Use an Instant-Read Thermometer. I know, I know, it’s another tool. But chicken thighs are forgiving enough that you can get away with eyeballing it. Still, a thermometer guarantees perfect doneness every time. Chicken thighs should reach 175°F, not 165°F like breasts. The higher temp breaks down connective tissue and makes the meat more tender.
Batch Cooking Strategy. If you’re cooking for a crowd, cook the chicken in batches and keep the finished pieces warm in a 200°F oven on a wire rack. Don’t stack them—stacking traps steam and ruins the crispy skin. The wire rack keeps air circulating underneath.
My Biggest Failure: I once tried to save time by not preheating the air fryer. The chicken took 6 extra minutes to cook, the skin never got properly crispy, and dinner was delayed by 20 minutes. Preheating isn’t optional—it’s essential. Set a timer if you tend to forget.
Multitasking Made Easy: While the chicken cooks, prep your side dishes. Roast some vegetables, make a quick salad, or throw together some rice. The garlic butter takes less than 2 minutes, so save that for the last few minutes of cooking time. This way everything finishes at the same time.
Variations & Adaptations
One of the best things about this recipe is how easily it adapts to different tastes and dietary needs. Here are some variations I’ve tried and loved.
Lemon Herb Version. Add the zest of one lemon to the seasoning mixture and substitute dried thyme for the smoked paprika. Finish with fresh lemon juice squeezed over the chicken along with the garlic butter. The brightness cuts through the richness beautifully. I make this version in spring and summer.
Spicy Honey Garlic. Add 1 tablespoon of honey and ½ teaspoon more cayenne to the garlic butter sauce. Drizzle it over the chicken after cooking, then sprinkle with flaky sea salt. The sweet-spicy-savory combination is addictive. My husband requests this version at least twice a month.
Herb and Parmesan Crust. After seasoning the chicken, sprinkle 2 tablespoons of finely grated Parmesan cheese over the skin before cooking. Add 1 teaspoon of dried Italian seasoning to the seasoning blend. The cheese melts into a crispy, savory crust that’s absolutely ridiculous. Just watch the cooking time—Parmesan can burn if left too long.
Bone-Out Adaptation. If you only have boneless, skin-on thighs, reduce the cooking time to 10 minutes total (5 minutes per side). The internal temperature should still reach 175°F. Boneless thighs cook faster and the skin won’t get quite as crispy, but it’s still delicious.
Dairy-Free Version. Substitute the butter with vegan butter or a high-quality olive oil mixed with minced garlic. The texture won’t be exactly the same, but the flavor is still fantastic. I’ve used Miyoko’s vegan butter with great results.
Air Fryer Chicken Drumsticks. This same method works beautifully for drumsticks. Use 6-8 drumsticks instead of thighs, increase cooking time to 15 minutes per side, and follow the same seasoning and garlic butter process. The skin on drumsticks gets especially crispy because of the higher surface area.
If you love crispy air fryer chicken recipes, you should definitely try my crispy air fryer boneless chicken thighs with honey mustard sauce for a completely different flavor profile. And for a fun appetizer, these crispy air fryer stuffed banana peppers with Italian sausage make an incredible side dish or game-day snack.
Serving & Storage Suggestions
These crispy air fryer chicken thighs with garlic butter are versatile enough to pair with almost anything. Here’s how I serve and store them.
Serving Temperature and Presentation. Serve the chicken hot, straight from the air fryer to the plate. Arrange the thighs on a platter with the crispy skin facing up. Drizzle the garlic butter over the top just before serving so the butter doesn’t make the skin soggy. Garnish with fresh parsley and lemon wedges on the side. The lemon is non-negotiable in my house—that squeeze of acid makes everything pop.
What to Serve Alongside. These chicken thighs pair beautifully with roasted vegetables like asparagus, broccoli, or Brussels sprouts. A simple green salad with lemon vinaigrette cuts through the richness. For starch lovers, mashed potatoes, rice pilaf, or crusty bread are perfect for soaking up the garlic butter. I personally love serving them with a side of easy oven-roasted cherry tomato sauce with fresh basil for a bright, acidic counterpoint.
Drink Pairings. A crisp white wine like Sauvignon Blanc or unoaked Chardonnay works beautifully. For beer drinkers, a light lager or pilsner won’t overwhelm the flavors. Non-alcoholic options include sparkling water with lemon or iced tea with a hint of mint.
Refrigerator Storage. Store leftover chicken in an airtight container in the refrigerator for up to 4 days. Keep the garlic butter separate if possible—store it in a small jar in the fridge. The chicken skin will soften during storage, but don’t worry, we’ll fix that when reheating.
Freezer Storage. Cooked chicken thighs freeze beautifully for up to 3 months. Wrap each thigh individually in plastic wrap, then place them in a freezer-safe bag. Squeeze out as much air as possible before sealing. Thaw overnight in the refrigerator before reheating.
Reheating for Maximum Crispiness. The air fryer is your best friend here. Reheat at 375°F for 3-4 minutes until the skin crisps back up and the internal temperature reaches 165°F. Do not use the microwave—it will turn the crispy skin into sad, rubbery leather. If you don’t have an air fryer, reheat in a 400°F oven on a wire rack for 8-10 minutes. The garlic butter can be gently rewarmed in the microwave or on the stovetop.
How Flavors Develop. Honestly, these chicken thighs taste even better the next day. The garlic butter seeps deeper into the meat overnight, and the seasonings meld together. I sometimes make a double batch just for leftovers. They’re incredible chopped up over a salad for lunch the next day.
Nutritional Information & Benefits
Here’s the nutritional breakdown for one serving (one chicken thigh with garlic butter sauce):
| Nutrient | Amount Per Serving |
|---|---|
| Calories | 385 |
| Protein | 32g |
| Fat | 28g |
| Saturated Fat | 10g |
| Carbohydrates | 2g |
| Fiber | 0g |
| Sugar | 0g |
| Sodium | 680mg |
| Vitamin A | 15% DV |
| Vitamin C | 4% DV |
| Calcium | 2% DV |
| Iron | 8% DV |
Health Benefits of Key Ingredients: Chicken thighs are rich in B vitamins, particularly B6 and B12, which support energy metabolism and brain function. They also provide selenium, an antioxidant that supports thyroid health. Garlic contains allicin, a compound with antimicrobial and anti-inflammatory properties. Butter from grass-fed cows contains conjugated linoleic acid (CLA), which has been linked to various health benefits.
Dietary Considerations: This recipe is naturally gluten-free, low-carb, keto-friendly, and Whole30-compatible. It contains dairy from the butter, but can be made dairy-free using vegan butter. The recipe is nut-free, egg-free, and soy-free. Always check your specific ingredients for potential allergens.
My Personal Wellness Perspective: I love that this recipe lets me enjoy crispy, indulgent-tasting chicken without any breading or deep frying. It fits perfectly into my balanced approach to eating—real food, cooked well, enjoyed without guilt. The protein keeps me full for hours, and the healthy fats support hormone function and nutrient absorption.
Conclusion
These crispy air fryer chicken thighs with garlic butter have earned a permanent spot in my weekly dinner rotation. They’re fast enough for a Tuesday, impressive enough for company, and forgiving enough for beginner cooks. The combination of shatteringly crispy skin, juicy meat, and fragrant garlic butter is genuinely hard to beat.
What I love most about this recipe is how customizable it is. Once you master the basic technique—dry the skin thoroughly, season under and on top, don’t overcrowd the basket—you can take it in any direction. Spicy, herby, cheesy, lemony. The possibilities are endless, and they all start with that same simple foundation.
I’d love to hear how these turn out for you. Did you try a variation? Serve them with something unexpected? Burn your first batch like I did? Drop a comment below and let me know. And if you’re looking for another quick, satisfying meal, check out my creamy one-pan garlic parmesan chicken with sun-dried tomatoes for another weeknight winner.
Until next time, happy cooking. And remember—pat those thighs dry!
Frequently Asked Questions
Can I use boneless skinless chicken thighs for this recipe?
You can, but you won’t get the crispy skin that makes this recipe special. Boneless skinless thighs cook faster (about 10-12 minutes total) and won’t have that shatteringly crunchy exterior. If you’re set on using them, I recommend my crispy air fryer boneless chicken thighs with honey mustard sauce instead—it’s designed specifically for that cut.
Why is my air fryer chicken skin not getting crispy?
Nine times out of ten, it’s because the skin wasn’t dried thoroughly enough before cooking. Moisture creates steam, and steam prevents crisping. Other common causes include overcrowding the basket (which traps steam), not preheating the air fryer, or cooking at too low a temperature. Make sure your air fryer hits 400°F and give those thighs plenty of space.
Can I make the garlic butter sauce ahead of time?
Absolutely. You can make the garlic butter up to 3 days in advance and store it in an airtight container in the refrigerator. Gently reheat it on the stovetop or in the microwave before drizzling over the cooked chicken. Just be careful not to overheat it—the garlic can turn bitter if it gets too hot.
How do I know when the chicken thighs are fully cooked?
The safest way is to use an instant-read thermometer. Insert it into the thickest part of the thigh without touching the bone. Chicken thighs should reach an internal temperature of 175°F (80°C). Unlike chicken breasts, thighs benefit from cooking to a slightly higher temperature—it breaks down connective tissue and makes the meat more tender.
Can I double this recipe for a larger crowd?
Yes, but you’ll need to cook in batches. Don’t try to cram more chicken into the air fryer basket than fits in a single layer with space between pieces. Cook the first batch, keep it warm in a 200°F oven on a wire rack, then cook the second batch. The wire rack prevents the bottom from getting soggy while it waits.
Pin This Recipe!
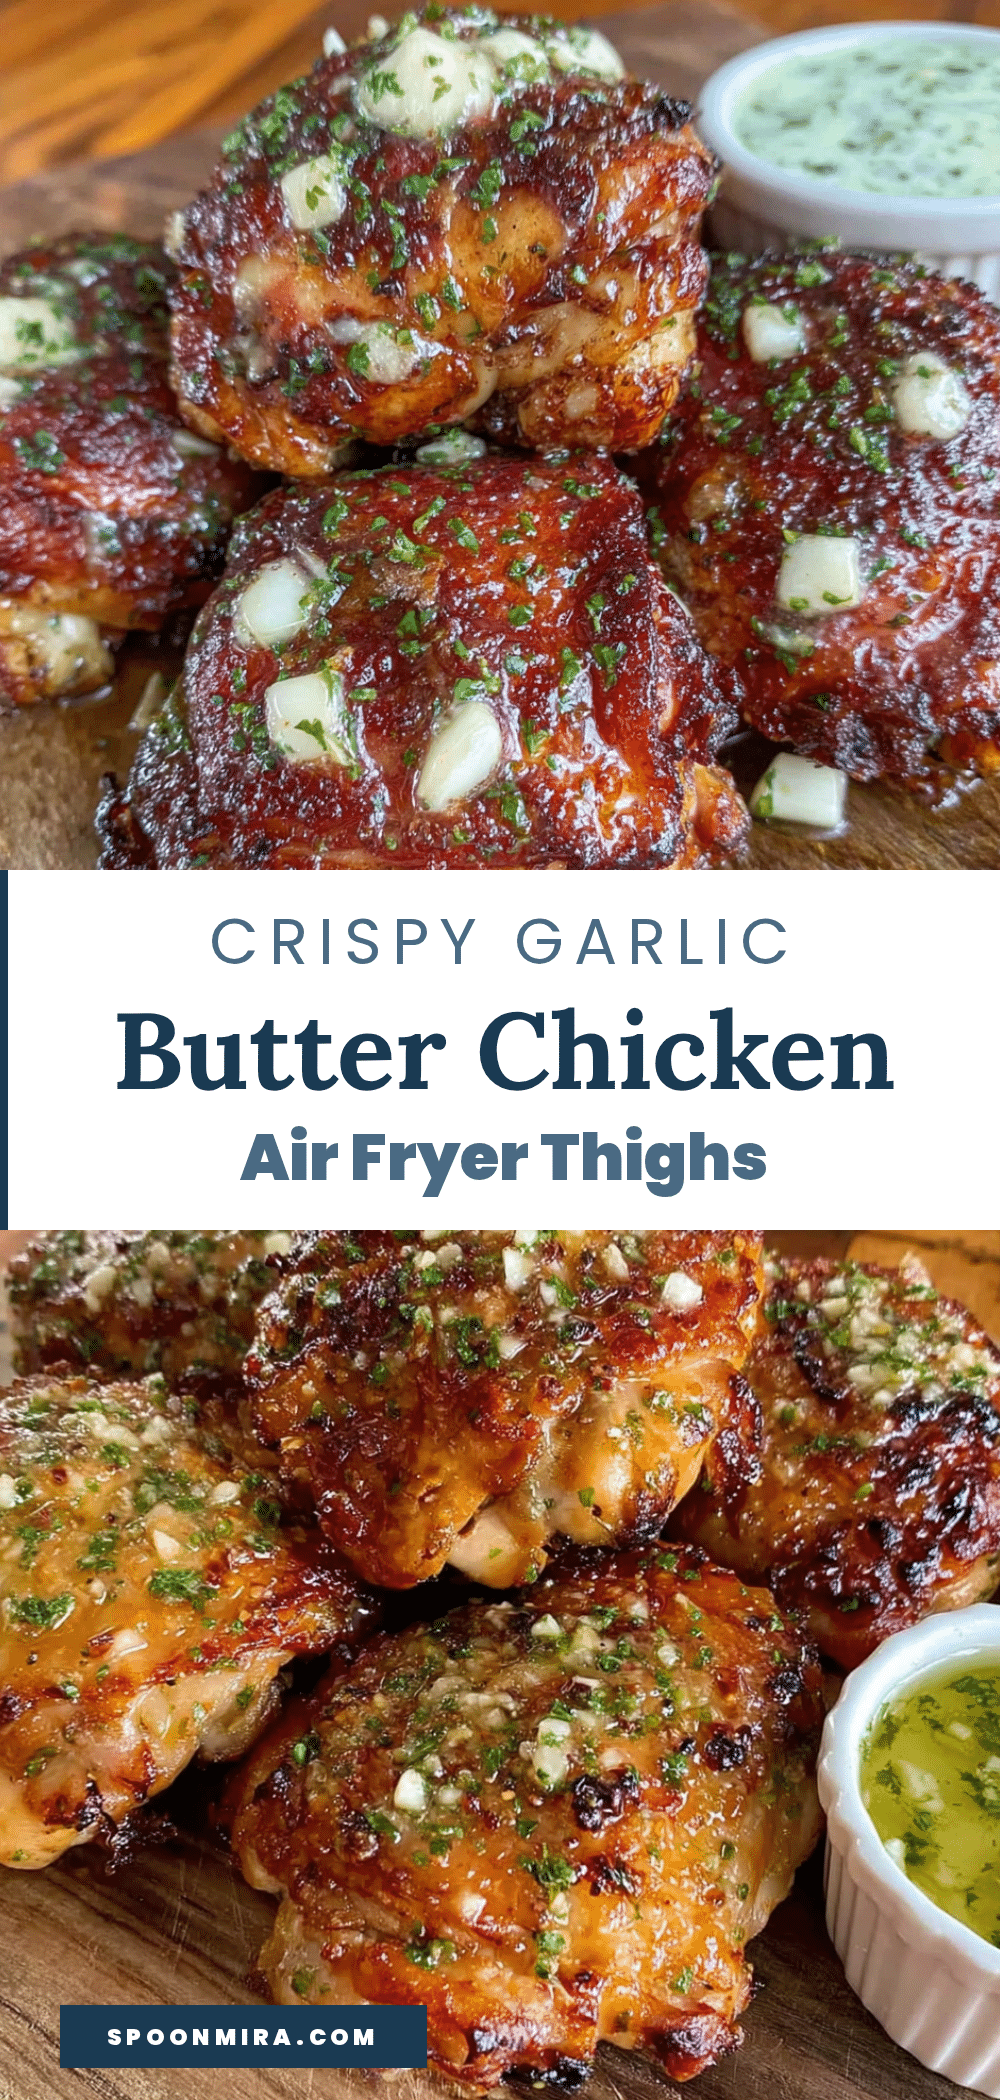
Crispy Air Fryer Chicken Thighs with Garlic Butter

These crispy air fryer chicken thighs with garlic butter come out with shatteringly crunchy skin, juicy meat, and a fragrant garlic butter sauce. Ready in under 30 minutes, this low-carb, keto-friendly recipe is perfect for busy weeknights and impressive enough for company.
- Prep Time: 10 minutes
- Cook Time: 20 minutes
- Total Time: 30 minutes
- Yield: 4 servings 1x
- Category: Main Course
- Cuisine: American
Ingredients
- 4 bone-in, skin-on chicken thighs (about 1.5 pounds total)
- 1 tablespoon olive oil
- 1 teaspoon kosher salt (Diamond Crystal preferred; reduce to ¾ teaspoon if using table salt)
- ½ teaspoon black pepper (freshly ground)
- 1 teaspoon garlic powder
- 1 teaspoon smoked paprika
- ½ teaspoon onion powder
- ¼ teaspoon cayenne pepper (optional)
- 3 tablespoons unsalted butter (room temperature)
- 4 cloves garlic, minced
- 1 tablespoon fresh parsley, chopped
- ½ teaspoon red pepper flakes (optional)
- Pinch of salt
- Fresh lemon wedges (for garnish, optional)
- Extra fresh parsley or chives (for garnish, optional)
- Flaky sea salt (for garnish, optional)
Instructions
- Pat the chicken thighs completely dry with paper towels until the skin feels tacky, not wet.
- Gently loosen the skin from the meat on each thigh to create a pocket. Rub about half of the seasoning mixture (salt, pepper, garlic powder, smoked paprika, onion powder, cayenne) directly onto the meat under the skin.
- Rub the remaining seasoning all over the outside of the chicken thighs, including the underside. Drizzle olive oil over the seasoned skin and rub in gently.
- Preheat the air fryer to 400°F (200°C) for 5 minutes.
- Place the chicken thighs skin-side down in the air fryer basket, leaving at least ½ inch of space between each piece. Do not overcrowd.
- Cook at 400°F for 12 minutes without opening the basket.
- Using tongs, carefully flip the chicken thighs so the skin side is facing up.
- Cook for another 8-12 minutes, until the internal temperature reaches 175°F (80°C) and the skin is deep golden brown and crispy.
- While the chicken cooks, make the garlic butter: In a small saucepan over low heat, melt the butter. Add minced garlic and cook for 30-45 seconds until fragrant. Do not let the garlic brown. Remove from heat and stir in parsley, red pepper flakes (if using), and a pinch of salt. Set aside.
- Let the chicken rest for 5 minutes on a cutting board or plate.
- Place the rested chicken thighs on a serving platter. Spoon the garlic butter sauce generously over each thigh. Serve immediately with lemon wedges on the side.
Notes
Don’t skip drying the skin—moisture prevents crisping. Let chicken come to room temperature 15-20 minutes before cooking for even results. Use an instant-read thermometer for perfect doneness (175°F). For batch cooking, keep finished pieces warm in a 200°F oven on a wire rack. Reheat leftovers in the air fryer at 375°F for 3-4 minutes to restore crispiness.
Nutrition
- Serving Size: 1 chicken thigh with
- Calories: 385
- Sodium: 680
- Fat: 28
- Saturated Fat: 10
- Carbohydrates: 2
- Protein: 32
Keywords: air fryer chicken thighs, crispy chicken thighs, garlic butter chicken, keto chicken, low carb chicken, weeknight dinner, air fryer recipe


