“Can we make cookies? Like, right now?” My seven-year-old stood in the kitchen doorway, still wearing her backpack, and I knew the usual excuses weren’t going to cut it. No softened butter. No time to chill dough. No energy for a big production. But I also knew that look — the one that says a warm cookie might be the only thing that turns a rough school day around.
So I said yes, and then I had to figure out how to actually pull it off. That’s how these quick small-batch chocolate chip cookies (no chilling) came to be. They’re the kind of recipe you make when you want the real deal — crisp edges, soft centers, melty chocolate — but you don’t want to commit to a whole batch or wait for dough to rest. Honestly, they saved me that afternoon, and they’ve been my go-to ever since.
There’s something about making just six cookies. It feels doable. Manageable. Like you’re treating yourself without going overboard. And the fact that there’s zero chilling involved? That’s the part that makes it stick. I’ve made these more times than I can count, and every single time, I’m surprised by how good they turn out with so little effort.
Why You’ll Love This Recipe
Let me tell you why this recipe has earned a permanent spot in my rotation — and why I think you’ll feel the same way once you try it.
- Ready in Under 30 Minutes : From the moment you decide you want cookies to the moment you’re biting into one, it’s about 25 minutes. No waiting around for butter to soften or dough to chill. Just mix, scoop, bake, and eat.
- Simple Ingredients You Already Have : Butter, sugar, an egg, flour, baking soda, salt, and chocolate chips. That’s it. No special trips to the store or obscure ingredients you’ll use once and forget about.
- Perfect for Small Cravings : This recipe makes exactly six cookies. Not two dozen that sit around getting stale, not a half-batch that’s awkward to scale — just enough for a little treat without the temptation of leftovers.
- No Chilling Required : I’ve tested this dough both ways — chilled and straight from the bowl — and honestly, the texture is basically identical. So skip the fridge step. Your cookies will still be thick, chewy, and perfectly golden.
- Kid-Approved and Stress-Free : My daughter helps me make these all the time. There’s nothing fussy about the method, and the payoff is immediate. It’s the kind of baking that feels more like play than work.
What makes these cookies different from every other chocolate chip cookie recipe out there? It’s the ratio. I played around with the butter-to-flour balance until I got that perfect middle ground — crispy around the edges but soft and almost gooey in the center. No spreading, no flat discs, no dry crumbly mess. Just a really good cookie that happens to be quick.
What Ingredients You Will Need
This recipe uses simple, everyday ingredients to deliver big flavor without any fuss. Here’s what you’ll need and why each one matters.
- Unsalted butter, melted (4 tablespoons / 57g) : Melting the butter is what makes this recipe so fast. No waiting for it to come to room temperature. Melted butter also gives the cookies a slightly chewier texture, which I personally love. If you only have salted butter, just skip the added salt later.
- Granulated sugar (3 tablespoons / 38g) : White sugar helps the cookies spread just enough and adds that slight crispness around the edges. It also contributes to browning, which is where all that buttery flavor comes through.
- Light brown sugar, packed (3 tablespoons / 43g) : Brown sugar brings moisture and a hint of molasses flavor. This is what keeps the centers soft and tender. I prefer light brown sugar here — dark brown can overpower the chocolate a bit, but it works in a pinch.
- One large egg yolk (about 1 tablespoon / 15g) : Just the yolk. No egg white. This is the secret to a rich, tender cookie without making the dough too wet. Save the white for scrambled eggs or add it to your morning omelet.
- Vanilla extract (1/2 teaspoon) : Pure vanilla extract is worth using here because there aren’t many ingredients to hide behind. It rounds out the sweetness and makes the chocolate taste even better. I like Nielsen-Massey or simply organic store brand.
- All-purpose flour (1/2 cup + 2 tablespoons / 80g) : Standard all-purpose flour works perfectly. Don’t pack it into your measuring cup — spoon it in and level it off for the most accurate measurement. Too much flour will make these cookies cakey instead of chewy.
- Baking soda (1/4 teaspoon) : Just enough to give the cookies a little lift without making them puff up too much. Make sure your baking soda is fresh — if it’s been sitting in your pantry for over a year, it might not work as well.
- Salt (1/4 teaspoon) : Salt isn’t optional here. It balances the sweetness and brings out the chocolate flavor. If you’re using salted butter, reduce this to a tiny pinch or skip it entirely.
- Semi-sweet chocolate chips (1/3 cup / 60g) : Semi-sweet is my sweet spot — not too sugary, not too bitter. You can use milk chocolate if you prefer a sweeter cookie, or dark chocolate if you like a more intense flavor. I’ve also used chopped chocolate bars, which melt into little puddles instead of staying in chip form. Both are delicious.
That’s everything. No cream cheese, no cornstarch, no weird additions. Just the basics, doing exactly what they’re supposed to do.
Equipment Needed
You don’t need a fancy kitchen to make these cookies. Here’s what you’ll actually use.
- Medium mixing bowl : Any bowl will work, but I prefer a ceramic or glass one because they don’t retain heat. If your bowl is warm, the butter might stay too liquid and affect the dough texture.
- Whisk : For combining the wet ingredients smoothly. A fork works in a pinch, but a whisk does a better job of incorporating the egg yolk without leaving streaks.
- Rubber spatula or wooden spoon : For folding in the flour and chocolate chips. A spatula is gentler and helps you scrape the sides of the bowl, which means less waste.
- Measuring cups and spoons : Accurate measurements matter in small-batch baking. Even a tablespoon too much flour can change the texture. Use dry measuring cups for dry ingredients and liquid measuring cups for — you guessed it — liquids.
- Baking sheet : A standard half-sheet pan works great. No need to grease it — the butter in the dough will prevent sticking. If your baking sheet is dark or non-stick, keep an eye on the cookies because they may brown faster.
- Parchment paper or silicone baking mat : Parchment paper makes cleanup effortless and helps the cookies bake evenly. Silicone mats are also great, though they can sometimes make cookies spread a tiny bit more.
- Cookie scoop or tablespoon : A 1.5-tablespoon cookie scoop gives you perfectly round, evenly sized cookies every time. If you don’t have one, just use a regular tablespoon and shape the dough balls with your hands.
- Cooling rack : Not strictly necessary, but it helps the cookies cool evenly without steaming on the bottom. If you don’t have one, transfer the cookies to a plate after a few minutes on the baking sheet.
I’ve made these cookies with just a bowl and a fork before — when we were camping, of all places — and they still turned out great. So don’t stress about having the perfect tools.
Preparation Method
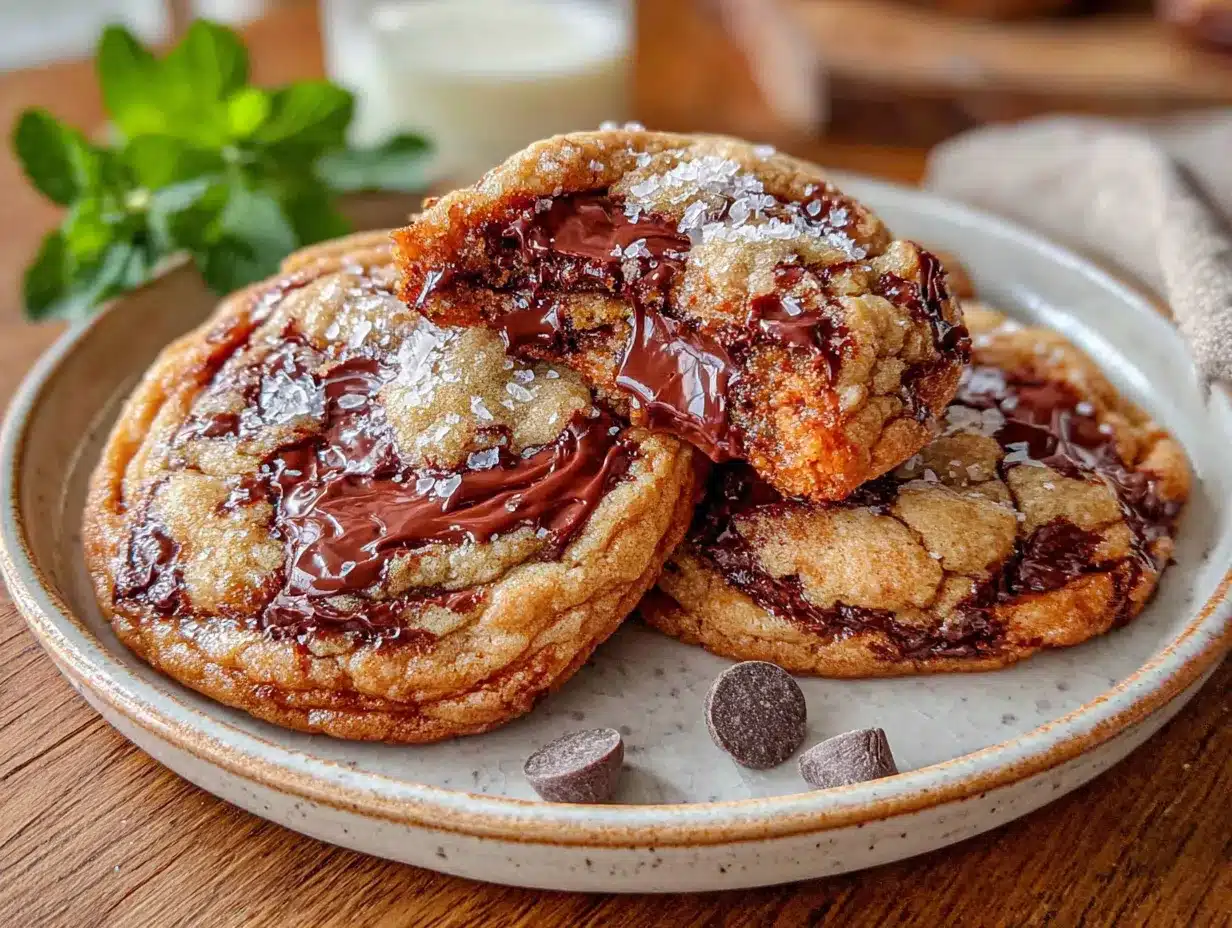
Here’s how to make these cookies step by step. I’ll include all the little details that make a difference.
- Preheat your oven to 350°F (175°C) and line a baking sheet with parchment paper. Do this first so the oven is ready when your dough is. It takes about 10 minutes for most ovens to reach temperature.
- Melt the butter in a small microwave-safe bowl or in a saucepan over low heat. If using the microwave, heat in 15-second bursts and stir in between. You want it fully melted but not hot — just warm enough that it’s liquid. Let it cool for a minute or two while you gather the other ingredients.
- In your medium mixing bowl, combine the melted butter, granulated sugar, and brown sugar. Whisk them together until the mixture looks smooth and slightly glossy. It should smell amazing already — that’s the butter and brown sugar doing their thing. Don’t worry if it looks a bit greasy at first; it will come together as you whisk.
- Add the egg yolk and vanilla extract. Whisk vigorously for about 30 seconds until everything is well combined and the mixture looks a little thicker and lighter in color. This step is important — it’s where the sugar starts to dissolve and the texture begins to develop.
- Sprinkle the baking soda and salt over the wet mixture and whisk them in. Make sure there are no lumps of baking soda hiding at the bottom of the bowl. I learned this the hard way after biting into a cookie that tasted like metal.
- Add the flour all at once. Switch to your rubber spatula or wooden spoon and fold the flour in gently. Stir just until you can’t see any more white streaks — about 10 to 15 strokes. Overmixing at this stage will make the cookies tough, so be gentle.
- Fold in the chocolate chips. Scrape the bottom and sides of the bowl to make sure everything is evenly distributed. If the dough seems a little dry in spots, that’s normal — just keep folding gently. The warmth from the butter will help it come together.
- Scoop the dough into 6 equal portions, about 1.5 tablespoons each. Place them on the prepared baking sheet, spacing them about 2 inches apart. They will spread a bit, but not too much. If you want extra-thick cookies, chill the dough balls for 10 minutes — but honestly, I usually skip this step and they turn out great.
- Bake for 9 to 11 minutes. At 9 minutes, the edges will be set and golden, but the centers will still look soft and slightly underdone. That’s exactly what you want. If you prefer crunchier cookies, go for 11 minutes. My sweet spot is 10 minutes — the edges are crisp, the centers are soft, and the bottoms are just barely golden.
- Let the cookies cool on the baking sheet for 5 minutes. This is crucial — they need this time to set up properly. If you try to move them too soon, they’ll fall apart. After 5 minutes, transfer them to a cooling rack or eat them right away. I won’t judge.
The smell in your kitchen right now should be absolutely incredible. That buttery, vanilla-y, chocolatey aroma is the official scent of “you made the right decision.”
Cooking Tips & Techniques
Over the many batches I’ve made, I’ve picked up a few tricks that make these cookies even better. Here are the ones that matter most.
Don’t overmix the dough. This is the number one mistake people make with small-batch cookies. Once the flour goes in, mix just until it disappears. Overmixing develops gluten, which makes cookies tough and cakey instead of tender and chewy. I speak from experience — I ruined a batch by getting too enthusiastic with my spatula.
Use a cookie scoop for even baking. When all your dough balls are the same size, they bake at the same rate. No more pulling out some cookies that are burnt and others that are still raw. A 1.5-tablespoon scoop is perfect for this recipe. If you don’t have one, use a measuring tablespoon and roll the dough into balls with your hands.
Press a few extra chocolate chips on top before baking. This is a little trick that makes the cookies look bakery-quality. Right after you scoop the dough, press 2 or 3 chocolate chips onto the surface of each ball. It guarantees that every cookie has visible chocolate on top, which makes them look gorgeous and ensures every bite has chocolate.
Watch the edges, not the center. Cookies continue to bake on the hot baking sheet after you pull them out of the oven. So when the edges look golden and set but the centers still look soft and slightly puffy, that’s your cue to take them out. If you wait until the centers look done, they’ll be overbaked and dry by the time they cool.
Let them cool properly. I know it’s tempting to grab a cookie right out of the oven, but those 5 minutes on the baking sheet are non-negotiable. The structure needs time to firm up. If you eat one too early, it will just crumble in your hand. Trust me, I’ve done it more times than I’d like to admit.
Variations & Adaptations
One of the best things about this recipe is how easy it is to customize. Here are some variations I’ve tried and loved.
Gluten-Free Version : Substitute the all-purpose flour with a 1-to-1 gluten-free baking flour blend. I’ve used King Arthur’s Measure for Measure blend with great results. The cookies might spread slightly more, so you can add an extra tablespoon of flour if needed. They won’t be quite as chewy, but they’ll still be delicious.
Double Chocolate Chip : Replace 1 tablespoon of the flour with unsweetened cocoa powder. Use dark chocolate chips instead of semi-sweet. The result is a rich, fudgy cookie that tastes like a brownie in cookie form. My daughter calls these “the really chocolate ones” and requests them constantly.
Add-In Options : Swap half the chocolate chips for white chocolate chips, chopped nuts, or even dried cherries. Toasted pecans are my personal favorite — they add a nice crunch and nutty flavor that pairs beautifully with the chocolate. Just make sure any add-ins are roughly the same size as chocolate chips so they distribute evenly.
Vegan Adaptation : Use melted coconut oil or vegan butter instead of dairy butter. Replace the egg yolk with 1 tablespoon of aquafaba (the liquid from a can of chickpeas) or a flax egg (1 tablespoon ground flaxseed mixed with 2.5 tablespoons water, let sit for 5 minutes). The texture will be slightly different — a bit more cakey — but still very tasty.
Spiced Version : Add 1/4 teaspoon of cinnamon and a pinch of nutmeg to the flour before mixing. This gives the cookies a warm, cozy flavor that’s perfect for fall. I made these for a Halloween party last year and they disappeared in minutes.
Serving & Storage Suggestions
These cookies are best enjoyed warm, straight from the oven, with a cold glass of milk or a hot cup of coffee. The contrast between the warm, melty chocolate and the crisp edges is pure magic.
If you’re serving them to guests, arrange them on a pretty plate and dust with a tiny bit of flaky sea salt — Maldon is my go-to. The salt crystals add a lovely crunch and enhance the chocolate flavor. It looks fancy but takes two seconds.
For storage, let the cookies cool completely, then place them in an airtight container at room temperature. They’ll stay fresh for up to 3 days. After that, they start to lose their texture and become more cakey. I usually just eat them all within 24 hours, so storage isn’t usually a problem.
To reheat, pop a cookie in the microwave for 10 to 15 seconds. It will taste almost as good as fresh-baked. You can also reheat them in a 300°F oven for 3 to 4 minutes if you want to restore the crisp edges.
These cookies also freeze beautifully. Place the baked and cooled cookies in a freezer-safe bag or container, separated by parchment paper. They’ll keep for up to 3 months. Thaw at room temperature for about 30 minutes, or reheat directly from frozen in the microwave for 20 seconds.
If you’re looking for something to serve alongside these cookies, try my easy 3-ingredient peanut butter energy balls for a no-bake treat that’s perfect for lunchboxes. Or, if you’re in the mood for another quick dessert, my easy fresh peach dump cake is a summer favorite that comes together just as fast.
Nutritional Information & Benefits
Here’s the estimated nutritional breakdown for one cookie (based on 6 cookies per batch):
| Nutrient | Amount per Cookie |
|---|---|
| Calories | 210 |
| Total Fat | 12g |
| Saturated Fat | 7g |
| Cholesterol | 45mg |
| Sodium | 170mg |
| Total Carbohydrates | 25g |
| Dietary Fiber | 1g |
| Sugars | 16g |
| Protein | 3g |
While these cookies aren’t exactly health food, they do have a few redeeming qualities. The dark chocolate contains antioxidants and may support heart health in moderation. The butter provides vitamin A and healthy fats. And because this recipe makes only six cookies, portion control is built right in — no need to resist a whole batch sitting on your counter.
For a healthier twist, you can swap half the all-purpose flour for whole wheat pastry flour, which adds fiber without making the cookies taste too dense. Or try my wholesome gluten-free zucchini bread for a veggie-packed treat that feels indulgent but has more nutritional value.
Conclusion
These quick small-batch chocolate chip cookies (no chilling) have become a staple in my kitchen for one simple reason: they work. They deliver that perfect combination of crispy edges and soft, gooey centers without any fuss, any waiting, or any complicated techniques. They’re the cookie you make when you need a little comfort, a little sweetness, and a little proof that good things don’t have to take a long time.
I love that this recipe is flexible enough to adapt to whatever you have on hand, reliable enough to count on every single time, and quick enough to satisfy even the most urgent cookie cravings. Whether you’re baking with your kids, treating yourself after a long day, or whipping up a last-minute dessert for unexpected guests, these cookies will not let you down.
So go ahead — preheat that oven, melt that butter, and make yourself six perfect cookies. You deserve them. And when you do, come back and let me know how they turned out. Did you add nuts? Use dark chocolate? Eat three before they even cooled? I want to hear about it all. Drop a comment below or tag me in your photos — I love seeing your kitchen victories.
Happy baking, friend. May your edges be crispy, your centers be soft, and your chocolate always be melty.
Frequently Asked Questions
Can I double this recipe?
Absolutely. Just double every ingredient and bake in batches. The method stays exactly the same. If you’re doubling, you might need to bake for an extra minute or two since the oven will have more cookies in it.
Why did my cookies spread too much?
This usually happens when the butter is too hot when you mix it, or when you use too little flour. Make sure your melted butter is just warm — not hot — and measure your flour correctly by spooning it into the cup and leveling it off.
Can I use margarine instead of butter?
You can, but the texture won’t be the same. Butter gives cookies their signature flavor and helps them spread properly. Margarine contains more water, which can make cookies spread too much and turn out flat. Stick with butter for the best results.
How do I make these cookies softer?
Bake them for 9 minutes instead of 10 or 11, and let them cool on the baking sheet for the full 5 minutes. You can also add an extra tablespoon of brown sugar, which adds moisture and helps keep the centers soft.
Can I make the dough ahead of time?
Yes! You can scoop the dough into balls, place them on a parchment-lined baking sheet, and freeze them for up to 3 months. Once frozen, transfer the dough balls to a freezer bag. Bake from frozen, adding 1 to 2 minutes to the baking time. This is my favorite trick for having fresh cookies on demand.
Pin This Recipe!
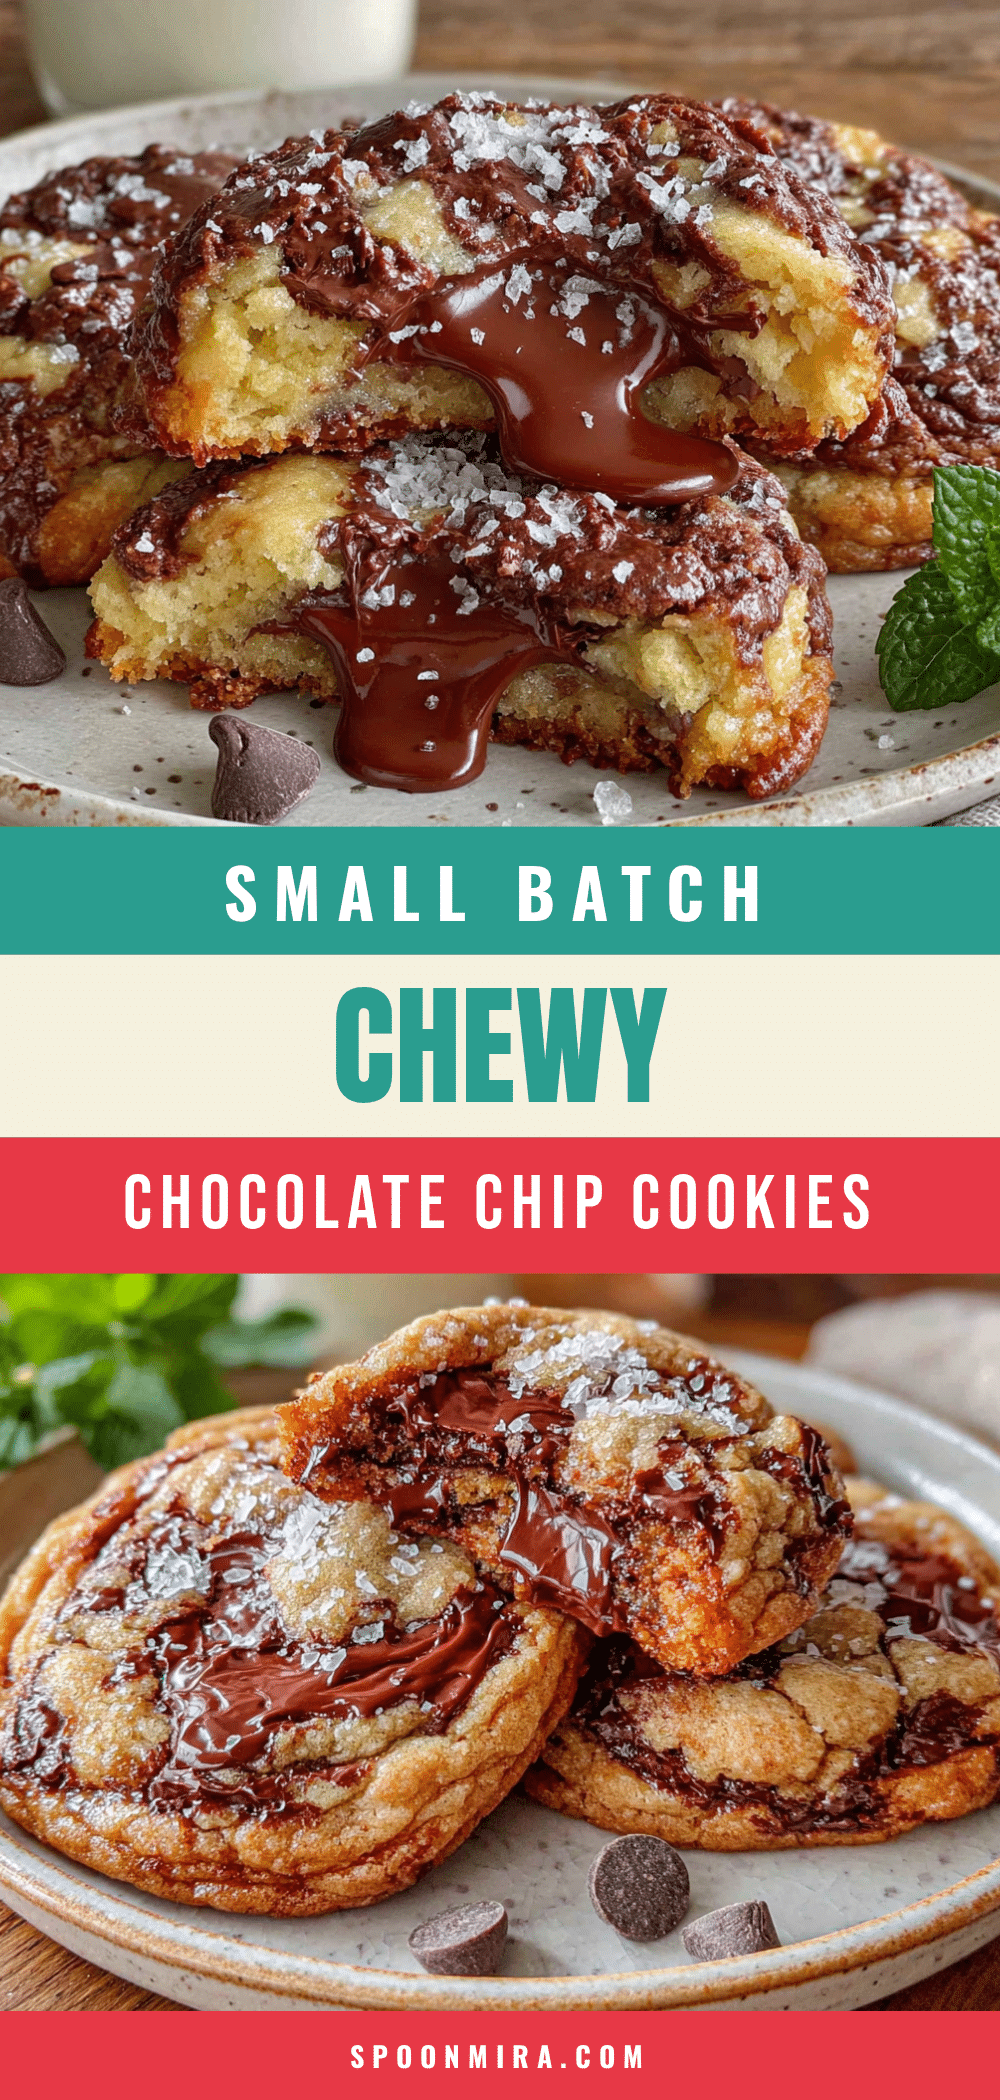
Quick Small-Batch Chocolate Chip Cookies (No Chilling)

These quick small-batch chocolate chip cookies require no chilling and deliver crisp edges, soft centers, and melty chocolate in under 30 minutes. Perfect for satisfying a sudden cookie craving without the fuss.
- Prep Time: 10 minutes
- Cook Time: 10 minutes
- Total Time: 25 minutes
- Yield: 6 cookies 1x
- Category: Dessert
- Cuisine: American
Ingredients
- 4 tablespoons (57g) unsalted butter, melted
- 3 tablespoons (38g) granulated sugar
- 3 tablespoons (43g) light brown sugar, packed
- 1 large egg yolk (about 1 tablespoon / 15g)
- 1/2 teaspoon vanilla extract
- 1/2 cup + 2 tablespoons (80g) all-purpose flour
- 1/4 teaspoon baking soda
- 1/4 teaspoon salt
- 1/3 cup (60g) semi-sweet chocolate chips
Instructions
- Preheat your oven to 350°F (175°C) and line a baking sheet with parchment paper.
- Melt the butter in a small microwave-safe bowl or saucepan over low heat. Let it cool for a minute or two.
- In a medium mixing bowl, combine the melted butter, granulated sugar, and brown sugar. Whisk until smooth and glossy.
- Add the egg yolk and vanilla extract. Whisk vigorously for about 30 seconds until the mixture is thicker and lighter in color.
- Sprinkle the baking soda and salt over the wet mixture and whisk until no lumps remain.
- Add the flour all at once. Fold gently with a rubber spatula or wooden spoon just until no white streaks remain (about 10-15 strokes).
- Fold in the chocolate chips until evenly distributed.
- Scoop the dough into 6 equal portions (about 1.5 tablespoons each) and place them on the prepared baking sheet, spacing them about 2 inches apart.
- Bake for 9 to 11 minutes, until edges are golden and set but centers still look soft.
- Let the cookies cool on the baking sheet for 5 minutes, then transfer to a cooling rack or serve warm.
Notes
For extra-thick cookies, chill the dough balls for 10 minutes before baking. Press a few extra chocolate chips on top before baking for a bakery look. Cookies can be stored in an airtight container at room temperature for up to 3 days, or frozen for up to 3 months.
Nutrition
- Serving Size: 1 cookie
- Calories: 210
- Sugar: 16
- Sodium: 170
- Fat: 12
- Saturated Fat: 7
- Carbohydrates: 25
- Fiber: 1
- Protein: 3
Keywords: small-batch cookies, chocolate chip cookies, no chill cookies, quick cookies, easy cookies, 6 cookies


