You know that moment when the ice cream drawer is empty, the craving hits hard, and the store-bought stuff just doesn’t cut it? I had been looking for a no-churn salted caramel ice cream that actually had that rich, deep caramel flavor without needing a machine or a culinary degree. For a while, I just accepted that homemade ice cream meant either hauling out the ice cream maker (which honestly lived in the back of my top cabinet) or settling for a sad, icy block of frozen cream that tasted more like sugar than caramel.
It wasn’t until a hot July afternoon, with a can of sweetened condensed milk staring at me from the pantry and a bag of good sea salt within reach, that I decided to stop searching and start experimenting. I wanted something that felt like the real deal—creamy, swirled with dark amber caramel, and balanced by those perfect little salt crystals that make your mouth water. The first batch was okay. The second was better. The third? That was the one I wrote down on a sticky note and stuck to my fridge. It’s been there ever since.
This no-churn method is honestly the easiest way to get that premium, scoop-shop texture at home. It’s the kind of recipe that feels like a secret, but it’s too good not to share. You don’t need an ice cream maker, you don’t need to babysit it, and you definitely don’t need to compromise on flavor.
Why You’ll Love This Recipe
This isn’t just another ice cream recipe. It’s the one that makes you wonder why you ever bothered with the store-bought tubs. Here’s why it works so well:
- No Machine Required: I mean it. No churning, no freezing bowls overnight, no attachments you can’t find. Just a mixer and a loaf pan.
- Simple Ingredients: Heavy cream, sweetened condensed milk, butter, sugar, and salt. That’s it. You probably have most of these in your kitchen right now.
- Perfect for Any Occasion: Whether you’re cooling off on a summer night, topping a warm slice of banana bread, or impressing dinner guests with a sundae bar, this ice cream delivers.
- Unbelievably Creamy: The texture is what gets everyone. It’s scoopable straight from the freezer, not rock hard, and it melts in your mouth like the good stuff from a parlor.
- You Control the Salt: Some like a whisper of salt, some want a full-on crunch. This recipe lets you dial it in exactly how you like it.
I’ve tested this with friends, family, and a few skeptical neighbors. Every single person asked for the recipe before they finished their bowl. That’s the kind of success you can count on.
What Ingredients You Will Need
This recipe uses simple, everyday ingredients that come together to create something truly special. No weird stabilizers or hard-to-find extracts here. Just honest, rich components that do the heavy lifting for you.
For the Salted Caramel Sauce
- 1 cup (200g) granulated sugar – White sugar is best here. It melts cleanly and gives you that beautiful amber color. Don’t use brown sugar for the caramel base; it can burn too easily.
- 6 tablespoons (85g) unsalted butter, cut into pieces – Use good quality butter. I prefer Kerrygold or Plugrà for the richest flavor. Let it come to room temperature before you start.
- 1/2 cup (120ml) heavy cream, at room temperature – This is important. Cold cream will seize the caramel and make it lumpy. Leave it out for 15 minutes before you start cooking.
- 1 teaspoon flaky sea salt – Maldon is my go-to. It has those big, delicate flakes that don’t dissolve completely. You’ll get little bursts of salt in every bite.
- 1 teaspoon vanilla extract – Pure, not imitation. It rounds out the caramel and makes it taste more complex.
For the Ice Cream Base
- 2 cups (480ml) heavy cream, cold – You need it straight from the fridge. The colder it is, the faster it whips up into stiff peaks.
- 1 can (14 ounces / 397g) sweetened condensed milk – Full fat, not evaporated milk. This is the secret to the no-churn texture. It adds sweetness and prevents ice crystals from forming.
- 1 teaspoon vanilla extract – Again, pure vanilla adds depth. Don’t skip it.
- Pinch of salt – Just a tiny bit to balance the sweetness of the condensed milk.
Optional Mix-Ins
- 1/2 cup (60g) chopped pecans or walnuts, toasted – Adds crunch and a nutty flavor that pairs beautifully with caramel.
- 1/2 cup (85g) dark chocolate chunks – Because chocolate and salted caramel are a classic duo.
- 1/4 cup (60ml) bourbon or dark rum – If you’re feeling fancy, add a splash to the caramel sauce for a grown-up version. It also helps keep the ice cream softer.
Equipment Needed
You don’t need a lot of fancy gear for this one. Here’s what you’ll need:
- Stand mixer or hand mixer – A stand mixer with the whisk attachment is easiest, but a hand mixer works perfectly fine. You just need to whip the cream to stiff peaks.
- Large mixing bowl – Make sure it’s clean and completely dry. Any grease or residue can stop your cream from whipping.
- Medium saucepan – For making the caramel. A light-colored pan is best so you can see the color of the sugar as it melts.
- Loaf pan (9×5 inch) or freezer-safe container – A standard loaf pan works great. You can also use a 2-quart freezer-safe dish with a lid.
- Parchment paper or plastic wrap – To line the pan and make it easy to lift the ice cream out later.
- Spatula – A rubber spatula for folding everything together gently.
- Candy thermometer (optional but helpful) – If you’re nervous about making caramel, a thermometer takes the guesswork out. You’re aiming for 235-240°F (113-116°C) for a soft caramel.
Preparation Method
Let’s get to the good part. This whole process takes about 20 minutes of active time, plus a few hours of freezing. Trust me, the wait is worth it.
Step 1: Make the Salted Caramel Sauce
Start by making your caramel. It’s easier than you think, but it does require your full attention for about 10 minutes. Place the granulated sugar in an even layer in your medium saucepan over medium heat. Don’t stir it yet. Just let it sit and start melting around the edges. After about 3-4 minutes, you’ll see the edges turning a light amber. Now you can gently swirl the pan (don’t stir with a spoon) to help the sugar melt evenly. It will look clumpy at first—that’s normal. Just keep swirling until it’s completely liquid and a deep amber color, like a shiny penny.
Once the sugar is fully melted and beautiful, immediately add the butter pieces. The mixture will bubble up and steam—don’t panic. Whisk it vigorously until the butter is completely melted and incorporated. This takes about 30 seconds. Now, slowly pour in the heavy cream while whisking constantly. Again, it will bubble up. Keep whisking until it’s smooth and glossy. Remove the pan from the heat and stir in the flaky sea salt and vanilla extract. Let the caramel cool in the pan for about 15 minutes, then transfer it to a heat-safe jar or bowl. Set it aside to cool completely to room temperature. You can speed this up by putting it in the fridge, but give it a stir every 10 minutes so it doesn’t separate.
Step 2: Whip the Cream
In your large mixing bowl, pour in the cold heavy cream. Using your stand mixer or hand mixer, whip the cream on medium-high speed until stiff peaks form. This means when you lift the whisk, the cream stands up in peaks that don’t flop over. Be careful not to over-whip, or you’ll end up with butter. It takes about 3-5 minutes with a stand mixer, a bit longer with a hand mixer.
Step 3: Combine the Base
In a separate bowl, whisk together the sweetened condensed milk, vanilla extract, and a pinch of salt until smooth. Now, take about a third of the whipped cream and gently fold it into the condensed milk mixture. This lightens the base and makes it easier to fold in the rest of the cream without deflating it. Add the remaining whipped cream and fold gently with a rubber spatula. Use a cutting motion (down through the middle, up over the top) and rotate the bowl as you go. Stop when you see no more streaks of white. It should look like a thick, airy mousse.
Step 4: Layer with Caramel
Line your loaf pan with parchment paper, leaving some overhang on the sides. Spoon about a third of the ice cream base into the pan and spread it evenly. Drizzle about a third of your cooled caramel sauce over the top. Use a knife or skewer to swirl it gently into the base—don’t overdo it, or you’ll lose the distinct ribbons. Repeat with another third of the base, another third of the caramel, and swirl again. Finish with the remaining base and the last of the caramel. If you’re adding any mix-ins like toasted pecans or chocolate chunks, sprinkle them between the layers as you go.
Step 5: Freeze
Cover the pan tightly with plastic wrap or a lid. Place it in the freezer for at least 6 hours, but overnight is best. The longer it freezes, the firmer and creamier it gets. Don’t peek and stir it—just let it do its thing.
Cooking Tips & Techniques
I’ve made this recipe more times than I can count, and I’ve learned a few things along the way. Here are my best tips to make sure yours turns out perfect every time.
- Don’t rush the caramel: I know it’s tempting to crank up the heat, but medium heat is your friend. High heat can burn the sugar before it melts, and burnt caramel tastes bitter, not sweet. If you see smoke, you’ve gone too far. Start over.
- Room temperature ingredients matter: The butter and cream need to be at room temperature when you add them to the hot sugar. Cold ingredients will cause the caramel to seize into a hard, lumpy mess. If you forget to take them out, you can warm the cream gently in the microwave for 10-15 seconds.
- Whip the cream to stiff peaks: This is non-negotiable for the no-churn texture. Soft peaks will give you a denser, icier result. You want the cream to hold its shape firmly. If you over-whip it and it starts to look grainy, you can add a tablespoon of cold cream and whisk gently to bring it back.
- Cool the caramel completely: Warm caramel will melt the whipped cream and ruin the texture. Let it cool to room temperature, then refrigerate it for 15-20 minutes if you’re in a hurry. It should be thick and syrupy but not hard.
- Use a light-colored pan for caramel: Dark pans make it hard to see the color of the sugar as it melts. A stainless steel or light-colored non-stick pan is ideal.
Variations & Adaptations
This recipe is incredibly versatile. Here are some of my favorite ways to switch it up.
- Chocolate Salted Caramel: Add 1/4 cup of unsweetened cocoa powder to the sweetened condensed milk before mixing. You’ll get a chocolate base with salted caramel swirls. It’s dangerous how good this is.
- Vegan Version: Substitute the heavy cream with full-fat coconut cream (chilled) and the sweetened condensed milk with a vegan version (like Nature’s Charm). Use coconut oil instead of butter in the caramel. It works surprisingly well, though the texture is slightly less creamy.
- Spiced Caramel: Add 1/2 teaspoon of cinnamon and a pinch of nutmeg to the caramel sauce as it cools. This is perfect for fall and pairs beautifully with a slice of pumpkin cheesecake bars.
- Boozy Bourbon Caramel: Stir in 2 tablespoons of bourbon or dark rum into the caramel sauce after it’s off the heat. The alcohol keeps the ice cream softer and adds a lovely warmth.
- Cookie Crunch: Crush up some ginger cookies or shortbread and fold them into the ice cream base before layering. The texture contrast is incredible.
Serving & Storage Suggestions
This ice cream is best served straight from the freezer. Let it sit at room temperature for 5-10 minutes before scooping to soften slightly. It makes scooping much easier and brings out the creamy texture.
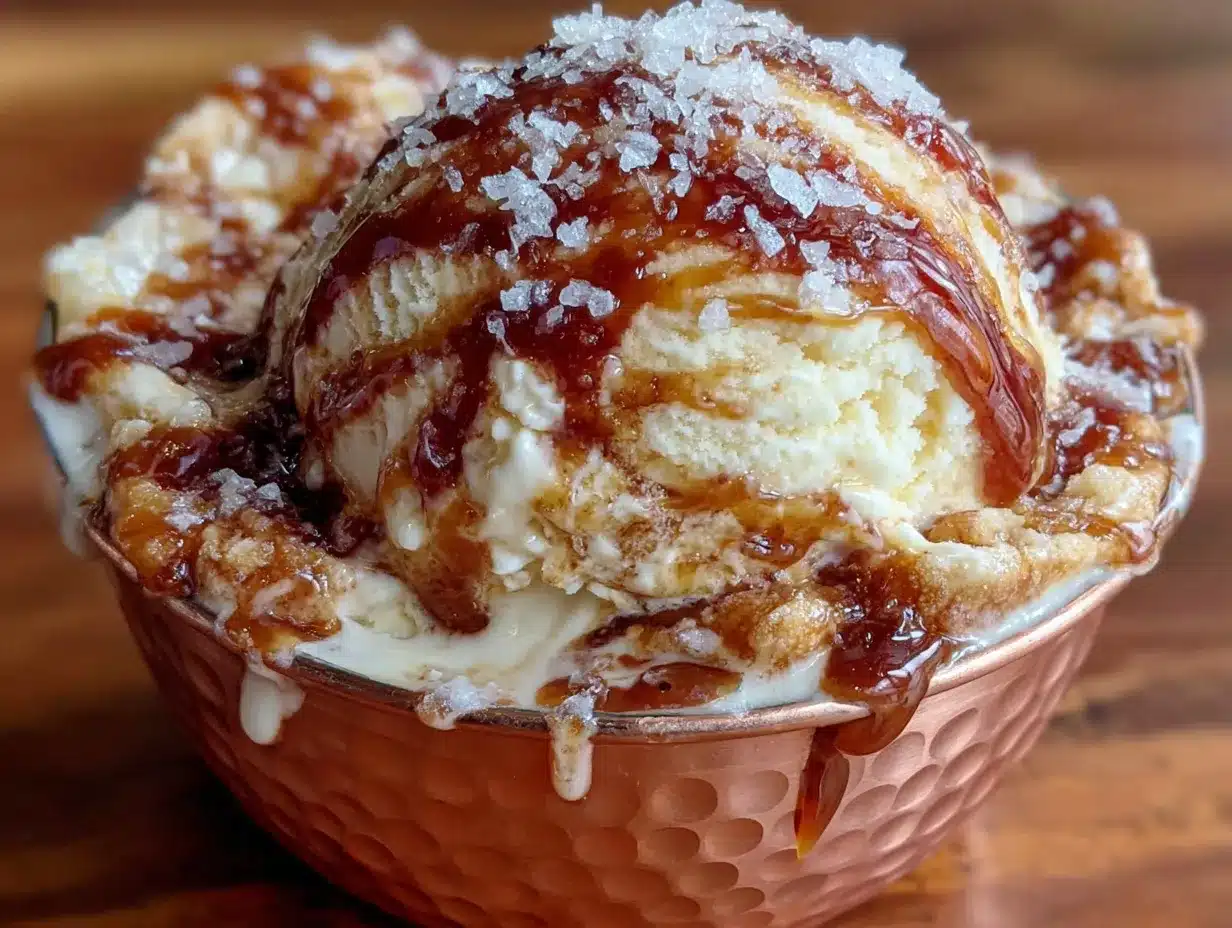
For serving, I love it in a simple bowl with a drizzle of extra caramel sauce and a sprinkle of flaky sea salt. It’s also fantastic on top of warm brownies, a slice of banana bread, or even alongside a slice of Neapolitan cake for a next-level dessert. You can also make ice cream sandwiches by scooping it between two soft chocolate chip cookies.
To store, keep the ice cream in your loaf pan or transfer it to an airtight container. Press a piece of plastic wrap directly onto the surface of the ice cream before sealing the lid. This prevents ice crystals from forming on top. It will keep well for up to 2 weeks in the freezer, though I doubt it will last that long. The flavor actually deepens after the first day, so it’s even better on day two.
If the ice cream gets too hard after a few days, let it sit on the counter for 10-15 minutes before scooping. You can also microwave the container for 10-15 seconds to soften it slightly.
Nutritional Information & Benefits
Let’s be real—this is a treat. But that doesn’t mean you can’t feel good about enjoying it in moderation. Here’s a rough estimate per serving (based on 12 servings):
- Calories: Approximately 380
- Fat: 26g
- Carbohydrates: 34g
- Protein: 4g
- Sugar: 30g
- Sodium: 180mg
The heavy cream provides a good dose of healthy fats, which help with satiety and nutrient absorption. The butter in the caramel adds vitamin A, and the sea salt provides trace minerals. Sweetened condensed milk is high in sugar, but it’s also a source of calcium and protein. If you’re watching your sugar intake, you can reduce the caramel sauce by half or use a sugar-free sweetened condensed milk alternative.
This recipe is naturally gluten-free and contains no artificial ingredients. For a lower-calorie version, you can use half-and-half instead of heavy cream, but the texture won’t be as rich and creamy.
Conclusion
This creamy no-churn salted caramel ice cream is the kind of recipe that makes you feel like a kitchen magician. It’s simple enough for a weeknight craving, but impressive enough to serve at a dinner party. The combination of rich, buttery caramel and flaky sea salt is timeless, and the no-churn method means anyone can make it, regardless of their equipment.
I love that this recipe doesn’t require any special skills or expensive tools. It’s just good ingredients, a little patience, and a lot of love. The first time you scoop into that creamy, swirled perfection, you’ll know exactly what I mean. It’s the kind of homemade treat that brings people together and makes ordinary moments feel special.
So go ahead—make a batch this weekend. Drizzle it over your favorite dessert, or just eat it straight from the pan (no judgment here). And when you do, come back and let me know how it turned out. I’d love to hear about your variations, your successes, and even your happy accidents. Happy scooping!
Frequently Asked Questions
Can I make this without an electric mixer?
Yes, you can whip the cream by hand using a whisk. It will take about 10-15 minutes of vigorous whisking, but it’s absolutely doable. Make sure the cream is very cold, and use a large bowl to give yourself room to work.
Why is my caramel grainy?
Grainy caramel usually happens when sugar crystals form during the melting process. To prevent this, make sure your pan and utensils are completely clean and free of any residue. You can also brush down the sides of the pan with a wet pastry brush to dissolve any stray crystals. If it still seizes, you can try reheating it gently with a splash of water and whisking until smooth.
How long does this ice cream need to freeze?
At least 6 hours, but overnight is best. The longer it freezes, the firmer and creamier it gets. If you’re in a rush, you can freeze it for 4 hours for a soft-serve consistency.
Can I use store-bought caramel sauce instead?
You can, but it won’t be the same. Homemade caramel has a deeper, more complex flavor and a better texture for swirling. Store-bought sauces are often thinner and sweeter. If you’re short on time, look for a high-quality jarred caramel, but I promise the homemade version is worth the extra 10 minutes.
How do I prevent ice crystals from forming?
Ice crystals happen when air gets into the mixture or when the ice cream isn’t stored properly. Pressing a piece of plastic wrap directly onto the surface of the ice cream before sealing the container helps a lot. Also, make sure your whipped cream is whipped to stiff peaks—this incorporates enough air to keep the texture smooth.
Pin This Recipe!
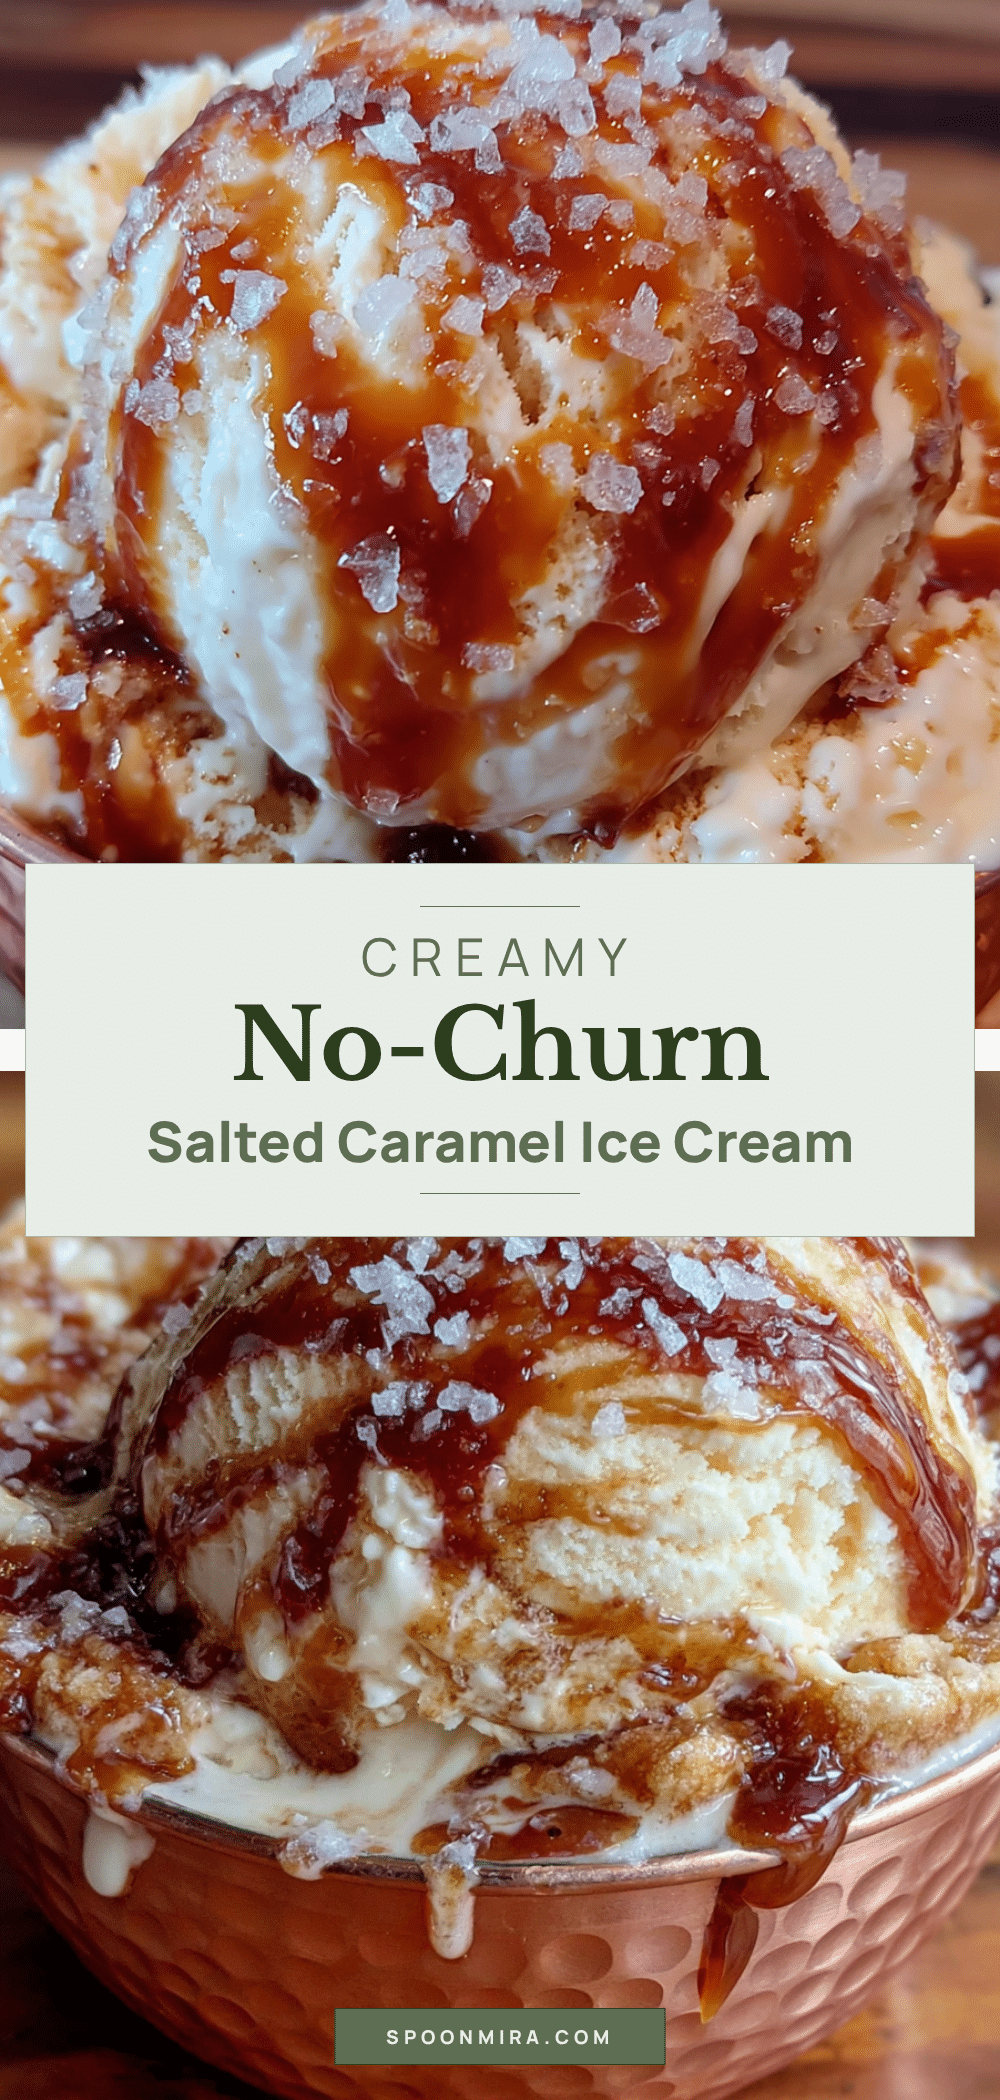
Creamy No-Churn Salted Caramel Ice Cream Recipe
This no-churn salted caramel ice cream is incredibly creamy and rich, with deep caramel flavor and perfect salt crystals. No ice cream maker required, just simple ingredients and a little patience.
- Prep Time: 20 minutes
- Cook Time: 10 minutes
- Total Time: 6 hours 30 minutes (including freezing)
- Yield: 12 servings 1x
- Category: Dessert
- Cuisine: American
Ingredients
- 1 cup (200g) granulated sugar
- 6 tablespoons (85g) unsalted butter, cut into pieces
- 1/2 cup (120ml) heavy cream, at room temperature
- 1 teaspoon flaky sea salt
- 1 teaspoon vanilla extract
- 2 cups (480ml) heavy cream, cold
- 1 can (14 ounces / 397g) sweetened condensed milk
- 1 teaspoon vanilla extract
- Pinch of salt
- 1/2 cup (60g) chopped pecans or walnuts, toasted (optional)
- 1/2 cup (85g) dark chocolate chunks (optional)
- 1/4 cup (60ml) bourbon or dark rum (optional)
Instructions
- Make the salted caramel sauce: Place granulated sugar in an even layer in a medium saucepan over medium heat. Let it melt without stirring for 3-4 minutes until edges turn light amber. Gently swirl the pan until sugar is completely liquid and deep amber. Immediately add butter pieces; whisk vigorously until melted and incorporated (about 30 seconds). Slowly pour in heavy cream while whisking constantly until smooth and glossy. Remove from heat and stir in flaky sea salt and vanilla extract. Let …
- Whip the cream: In a large mixing bowl, pour cold heavy cream. Using a stand mixer or hand mixer, whip on medium-high speed until stiff peaks form (3-5 minutes). Be careful not to over-whip.
- Combine the base: In a separate bowl, whisk together sweetened condensed milk, vanilla extract, and a pinch of salt until smooth. Fold about one-third of the whipped cream into the condensed milk mixture to lighten it. Then gently fold in the remaining whipped cream using a rubber spatula until no streaks remain and mixture looks like thick, airy mousse.
- Layer with caramel: Line a 9×5 inch loaf pan with parchment paper, leaving overhang. Spoon about one-third of the ice cream base into the pan and spread evenly. Drizzle about one-third of the cooled caramel sauce over the top and swirl gently with a knife or skewer. Repeat with another third of base, another third of caramel, and swirl again. Finish with remaining base and last of caramel. If using optional mix-ins, sprinkle them between layers.
- Freeze: Cover pan tightly with plastic wrap or a lid. Freeze for at least 6 hours, preferably overnight, until firm and creamy.
Notes
Don’t rush the caramel; use medium heat. Room temperature butter and cream prevent caramel from seizing. Whip cream to stiff peaks for best texture. Cool caramel completely before adding to cream. Use a light-colored pan for caramel to monitor color. For storage, press plastic wrap directly onto surface to prevent ice crystals. Let ice cream sit at room temperature 5-10 minutes before scooping.
Nutrition
- Serving Size: 1 serving
- Calories: 380
- Sugar: 30
- Sodium: 180
- Fat: 26
- Saturated Fat: 16
- Carbohydrates: 34
- Protein: 4
Keywords: no-churn ice cream, salted caramel, homemade ice cream, easy ice cream, no machine


