The first time I made this, I was staring at four sad-looking chicken breasts in my fridge, knowing they were destined for a dry, boring dinner. I had a lemon, some herbs that were about to wilt, and a stubborn refusal to reach for the takeout menu again. That night, I wanted something that felt like effort but didn’t actually require any. The kind of meal that makes you look like you know what you’re doing, even when you’re winging it completely.
I had been looking for a way to get that golden, shatter-crisp crust on baked chicken without standing over a skillet of splattering oil. Every method I tried either dried the meat out or left the skin soggy and pale. Honestly, I was starting to think crispy baked chicken was a myth reserved for restaurant kitchens. But I kept tweaking, testing, and scraping failed attempts into the trash.
This recipe is what finally worked. The trick is a simple marinade that does double duty—it tenderizes the meat while building flavor, and a smart coating technique creates that crust without frying. It took a few tries (and one particularly sad, rubbery breast that my dog politely refused), but this version? It delivers every single time.
The lemon and herb combo is bright without being sharp, and the chicken stays juicy right through the center. It’s the kind of recipe you make once, then immediately add to your regular rotation. No drama, no fuss, just really good chicken.
Why You’ll Love This Recipe
This isn’t just another chicken breast recipe. After years of testing (and eating my fair share of dry chicken), I can tell you this one is different. Here is why it works:
- Perfectly Crispy Without Frying — The coating technique creates a golden, crunchy crust using just your oven. No deep frying, no mess, no standing over a hot stove.
- Incredibly Juicy Every Time — The lemon herb marinade does more than add flavor. It helps lock moisture into the meat, so you never end up with that dreaded dry, stringy texture.
- Simple Pantry Ingredients — You probably have most of these already. Lemon, garlic, herbs, olive oil, breadcrumbs. No special trips to specialty stores.
- Ready in Under 40 Minutes — Active prep is about 10 minutes. The oven does the rest. Perfect for busy weeknights when you still want a real meal.
- Family Approved — My picky eaters devour this. Even my toddler, who usually inspects her food like a food critic, asks for seconds.
- Endlessly Customizable — Swap the herbs, change the citrus, adjust the seasoning. This recipe is a base for whatever you have on hand.
What makes this version stand out is the double-coating method. Most baked chicken recipes just brush on oil and hope for the best. Here, we use a light flour dusting before the breadcrumb coating. That extra layer creates a barrier that traps steam inside while the outside gets properly crispy. It is a small step that makes a huge difference.
I have tested this with different oven temperatures, rack positions, and coating combinations. This version is the sweet spot—crispy, juicy, and reliable enough for a Tuesday dinner but impressive enough for company.
What Ingredients You Will Need
This recipe uses simple, fresh ingredients to build big flavor without a complicated ingredient list. Everything is easy to find and most are probably already in your kitchen.
For the Lemon Herb Marinade
- 2 large lemons — You will need both the zest and the juice. Zest them before juicing for maximum flavor. (Fresh lemon makes a real difference here; bottled juice is too flat.)
- 3 tablespoons olive oil — Extra virgin works great, but regular olive oil is fine too. Adds richness and helps the coating brown.
- 4 cloves garlic, minced — Fresh garlic is non-negotiable here. The pre-minced stuff in jars lacks the punchy flavor this marinade needs.
- 1 tablespoon fresh parsley, chopped — Flat-leaf or curly both work. Adds a fresh, grassy note.
- 1 tablespoon fresh thyme leaves — Or 1 teaspoon dried if that is what you have. Thyme and lemon are best friends.
- 1 tablespoon fresh rosemary, finely chopped — Go easy on this one. Rosemary is strong and can overpower if you use too much.
- 1 teaspoon salt — I use kosher salt. It dissolves easily and seasons evenly.
- ½ teaspoon black pepper — Freshly ground is always better, but pre-ground works in a pinch.
For the Crispy Coating
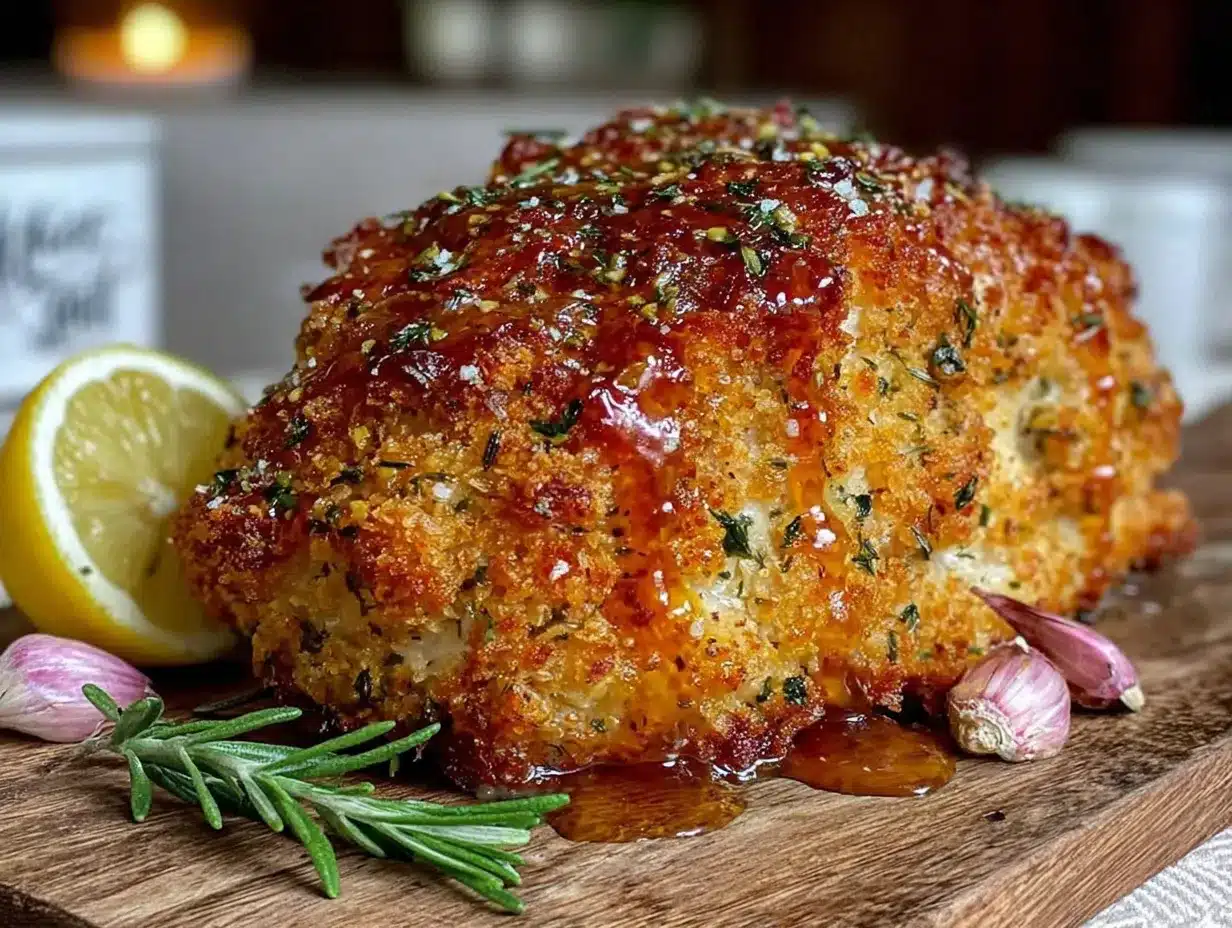
- ½ cup all-purpose flour — This light dusting helps the breadcrumbs stick and creates that crispy barrier. For a gluten-free option, use almond flour or a 1-to-1 gluten-free blend.
- 2 large eggs — The glue that holds the coating together. Room temperature eggs work best.
- 1 cup panko breadcrumbs — Regular breadcrumbs are too fine and won’t give you that shatter-crisp texture. Panko is the secret to the crunch. I prefer the Kikkoman brand for consistent results.
- ¼ cup grated Parmesan cheese — Adds savory depth and helps the browning. The pre-shredded stuff works, but freshly grated melts better and tastes more nutty.
- 1 teaspoon garlic powder — Not the same as fresh garlic. This adds a subtle background flavor to the crust.
- ½ teaspoon paprika — Smoked paprika adds a lovely warmth, but sweet paprika works too. Mostly for color and a tiny bit of depth.
- Cooking spray or melted butter — A light spray on top of the coated chicken helps the panko brown evenly. Don’t skip this step.
For Serving (Optional)
- Fresh lemon wedges — A squeeze of fresh lemon right before eating brightens everything up.
- Extra fresh herbs — A sprinkle of parsley or thyme makes it look restaurant-ready.
Ingredient Tip: If your chicken breasts are particularly thick (over 1 inch), consider butterflying them or pounding them to an even thickness. This ensures they cook evenly and the coating doesn’t burn before the center is done. I use a rolling pin covered in plastic wrap for this—works just as well as a meat mallet.
Equipment Needed
You do not need fancy equipment for this recipe. Here is what you will need:
- Baking sheet — A rimmed baking sheet works best. The rim catches any drips and prevents a mess in your oven.
- Wire rack — This is the real secret. Placing the chicken on a wire rack set inside the baking sheet allows hot air to circulate underneath, keeping the bottom crispy instead of soggy. If you do not have one, you can flip the chicken halfway through, but the rack method is much better.
- Three shallow bowls — For the flour, egg wash, and breadcrumb coating. Pie plates or wide soup bowls work perfectly.
- Meat mallet or rolling pin — For pounding chicken to even thickness. A heavy skillet also works in a pinch.
- Zester or microplane — For getting the lemon zest without the bitter white pith.
- Chef’s knife and cutting board — For mincing garlic and chopping herbs.
- Tongs — For moving the chicken through the coating stations without making a mess of your fingers.
Budget-Friendly Tip: If you do not own a wire rack, you can crinkle up aluminum foil into a makeshift rack. Just make sure the chicken is elevated slightly off the baking sheet. It is not perfect, but it works in a pinch.
Preparation Method
This method breaks down into three simple stages: marinating, coating, and baking. Follow these steps, and you will have the crispiest, juiciest baked chicken of your life.
Step 1: Prepare the Marinade
In a medium bowl, combine the lemon zest, lemon juice, olive oil, minced garlic, parsley, thyme, rosemary, salt, and pepper. Whisk until everything is well combined. The mixture should look like a slightly thick, fragrant dressing. Taste it—it should be bright and herbaceous with a good saltiness. If it tastes flat, add a pinch more salt.
Step 2: Marinate the Chicken
Place your chicken breasts in a large zip-top bag or a shallow dish. Pour the marinade over the chicken, making sure each piece is well coated. Seal the bag and massage the marinade into the meat for about 30 seconds. This is not just for show—it helps the flavors penetrate the surface. Refrigerate for at least 30 minutes, but 2 hours is better. Do not go over 4 hours, or the acid from the lemon will start to break down the proteins too much, making the chicken mealy. (I learned this the hard way during a particularly disappointing dinner.)
Step 3: Set Up Your Coating Station
About 15 minutes before you are ready to bake, preheat your oven to 400°F (200°C). Place a wire rack inside a rimmed baking sheet and spray it lightly with cooking spray. Set up three shallow bowls in an assembly line: first bowl with the flour, second bowl with the beaten eggs, third bowl with the panko, Parmesan, garlic powder, and paprika mixed together.
Step 4: Coat the Chicken
Remove the chicken from the marinade, letting any excess drip off. Pat the chicken dry with paper towels. This is important—excess moisture will make the coating slide off. Working one piece at a time, dredge the chicken in the flour, shaking off any excess. Dip it into the egg wash, letting the excess drip off. Finally, press it into the panko mixture, making sure it is completely coated on all sides. Place the coated chicken on the prepared wire rack.
Step 5: Bake to Perfection
Lightly spray the tops of the chicken with cooking spray or brush with melted butter. This helps the panko brown evenly. Bake for 20-25 minutes, depending on the thickness of your chicken. The internal temperature should reach 165°F (74°C) when measured with an instant-read thermometer inserted into the thickest part. If your chicken is on the thinner side, start checking at 18 minutes.
Step 6: Rest and Serve
Let the chicken rest on the wire rack for 5 minutes before serving. This allows the juices to redistribute throughout the meat. If you cut into it immediately, all those lovely juices will run out onto the cutting board, leaving you with dry chicken. Trust me on this one—patience pays off here.
Sensory Cue: When the chicken is done, the coating should be deep golden brown and sound slightly crunchy when you tap it with a fork. The kitchen will smell like lemon, garlic, and herbs—that unmistakable aroma of something really good about to happen.
Cooking Tips & Techniques
After making this recipe more times than I can count (including a few spectacular failures), here are the things I wish someone had told me from the start:
The Rack is Non-Negotiable
I know it is an extra dish to wash, but the wire rack is what makes the bottom of the chicken crispy instead of soggy. Without it, the chicken sits in its own juices and steams. If you do not have a rack, flip the chicken halfway through baking and use a paper towel to blot any moisture off the baking sheet before returning it to the oven.
Don’t Skip the Resting Time
I have ruined perfectly good chicken by slicing into it too soon. The resting period is not optional—it is essential. Those 5 minutes make the difference between juicy chicken and dry chicken. Set a timer if you have to.
Temperature Matters
400°F is the sweet spot. Any lower and the coating won’t crisp up properly. Any higher and the panko can burn before the chicken is cooked through. If your oven runs hot (like mine does), check the chicken at 18 minutes and rotate the pan halfway through.
Pat the Chicken Dry
This is the step people skip, and it shows. Wet chicken + flour = paste. Paste does not crisp. Take the extra 30 seconds to pat the chicken dry after marinating. Your taste buds will thank you.
Multitasking Strategy
While the chicken marinates, set up your coating station and preheat the oven. While the chicken bakes, make a quick side dish like roasted vegetables or a simple salad. I love serving this with a side of Greek chicken and rice bowls for a complete meal. The timing works out perfectly—the chicken rests while you plate everything else.
Variations & Adaptations
This recipe is a fantastic base, and I have tried several variations over the years. Here are my favorites:
Spicy Lemon Herb Chicken
Add ½ teaspoon of red pepper flakes to the marinade and ¼ teaspoon of cayenne pepper to the panko mixture. The heat pairs beautifully with the bright lemon. My husband requests this version constantly.
Gluten-Free Version
Swap the all-purpose flour for almond flour or a gluten-free all-purpose blend. Use gluten-free panko breadcrumbs (they are widely available now). The texture is slightly different—a bit more delicate—but still deliciously crispy. I tested this for a friend with celiac disease, and she gave it two thumbs up.
Dairy-Free Option
Skip the Parmesan cheese in the coating, or use a dairy-free nutritional yeast substitute. The flavor will be slightly less savory, but still good. You can also add an extra tablespoon of panko to make up for the volume.
Herb Swap
Use whatever fresh herbs you have on hand. Basil, oregano, dill, or chives all work beautifully. In the summer, I use a mix of basil and parsley from my garden. In the winter, dried herbs work fine—just use half the amount since dried herbs are more concentrated.
Air Fryer Method
This recipe adapts beautifully to the air fryer. Preheat your air fryer to 375°F (190°C). Cook the chicken in a single layer (do not overcrowd) for 12-15 minutes, flipping halfway through. The coating gets even crispier in the air fryer. I have a whole post on crispy air fryer chicken thighs that uses a similar technique if you want to try that cut instead.
Serving & Storage Suggestions
How to Serve
Serve the chicken hot, straight from the oven, with fresh lemon wedges on the side. A squeeze of lemon right before eating brightens the whole dish. I like to garnish with a sprinkle of fresh parsley or thyme for a pop of color.
This chicken pairs beautifully with almost any side dish. Some of my favorites include:
- Roasted asparagus or green beans
- A simple arugula salad with lemon vinaigrette
- Garlic mashed potatoes or roasted sweet potatoes
- Steamed rice or quinoa
For a complete weeknight dinner, I often serve this alongside creamy garlic parmesan chicken for a double-dose of comfort food—though that might be overkill for a regular Tuesday!
Storage Instructions
Store leftover chicken in an airtight container in the refrigerator for up to 4 days. The coating will soften slightly as it sits, but the flavor remains excellent. I often make extra on purpose for meal prep.
Reheating Tips
The best way to reheat this chicken is in the oven or air fryer. The microwave will make the coating soggy. To reheat, place the chicken on a wire rack set over a baking sheet and warm in a 350°F (175°C) oven for 10-12 minutes, or until heated through. In the air fryer, reheat at 350°F for 5-7 minutes. The coating will crisp back up beautifully.
Freezer Instructions
You can freeze the baked chicken for up to 3 months. Let it cool completely, then wrap each piece tightly in plastic wrap and place in a freezer bag. To thaw, transfer to the refrigerator overnight. Reheat using the oven or air fryer method above.
Flavor Development Note: The lemon and herb flavors actually mellow and blend together nicely overnight. Leftover chicken is excellent sliced cold over salads or tucked into sandwiches.
Nutritional Information & Benefits
This recipe is a solid choice for a balanced meal. Here is the approximate nutritional breakdown per serving (one chicken breast, without sides):
- Calories: 380-420
- Protein: 42-45g
- Fat: 16-18g
- Carbohydrates: 18-20g
- Fiber: 1-2g
- Sugar: 1-2g
Chicken breast is an excellent source of lean protein, which supports muscle repair and keeps you feeling full. The lemon provides a good dose of vitamin C, which supports immune function. Garlic has been studied for its potential anti-inflammatory and heart health benefits. Fresh herbs like parsley and thyme are packed with antioxidants and add flavor without extra sodium or fat.
This recipe is naturally low in sugar and can be made gluten-free or dairy-free with simple substitutions. It is also a great option for those following a high-protein or balanced macro diet. If you are watching your sodium, reduce the salt in the marinade to ½ teaspoon and skip the Parmesan cheese.
Frequently Asked Questions
Can I use chicken thighs instead of breasts?
Absolutely! Boneless, skinless chicken thighs work wonderfully with this recipe. They are more forgiving than breasts and stay juicy even if you overcook them slightly. Adjust the baking time to 22-28 minutes, or until the internal temperature reaches 175°F (80°C) for thighs.
Why is my coating not crispy?
The most common culprit is moisture. Make sure you pat the chicken dry after marinating, and do not skip the wire rack. Also, check your oven temperature—if it runs low, the coating will absorb oil instead of crisping up. Finally, make sure you are using panko breadcrumbs, not regular ones. Panko is larger and flakier, which creates better crunch.
Can I prepare this recipe ahead of time?
Yes, with some caveats. You can marinate the chicken up to 4 hours in advance. You can also coat the chicken and refrigerate it on the wire rack for up to 2 hours before baking. Any longer, and the coating can become soggy. I do not recommend freezing the coated chicken before baking—the texture suffers.
How do I know when the chicken is fully cooked?
The most reliable method is an instant-read thermometer. Insert it into the thickest part of the breast, avoiding the bone if using bone-in chicken. The safe internal temperature for chicken is 165°F (74°C). If you do not have a thermometer, cut into the thickest part—the juices should run clear, and there should be no pink remaining.
Can I make this recipe without eggs?
Yes. For an egg-free coating, use buttermilk or plain yogurt as the binder. The acid in these dairy products also helps tenderize the chicken. Alternatively, you can use a mixture of 2 tablespoons of olive oil and 1 tablespoon of water as a binder, though the coating will not stick quite as well.
Conclusion
This crispy baked chicken breast with lemon herb marinade has become a staple in my kitchen for good reason. It solves the problem of dry, boring chicken without requiring a deep fryer or a culinary degree. The marinade does the heavy lifting on flavor, while the simple coating technique delivers that satisfying crunch we all crave.
What I love most about this recipe is how adaptable it is. You can change the herbs based on what is in your garden, adjust the spice level to your family’s preference, or swap the protein entirely. It is the kind of recipe that builds confidence in the kitchen because it works every single time.
I would love to hear how this turns out for you. Did you try a different herb combination? Did your kids ask for seconds? Drop a comment below and let me know. And if you tweaked something brilliant, share that too—I am always looking for new ideas to try.
Here is to crispy chicken, bright flavors, and dinners that feel like a win. Happy cooking!
Pin This Recipe!
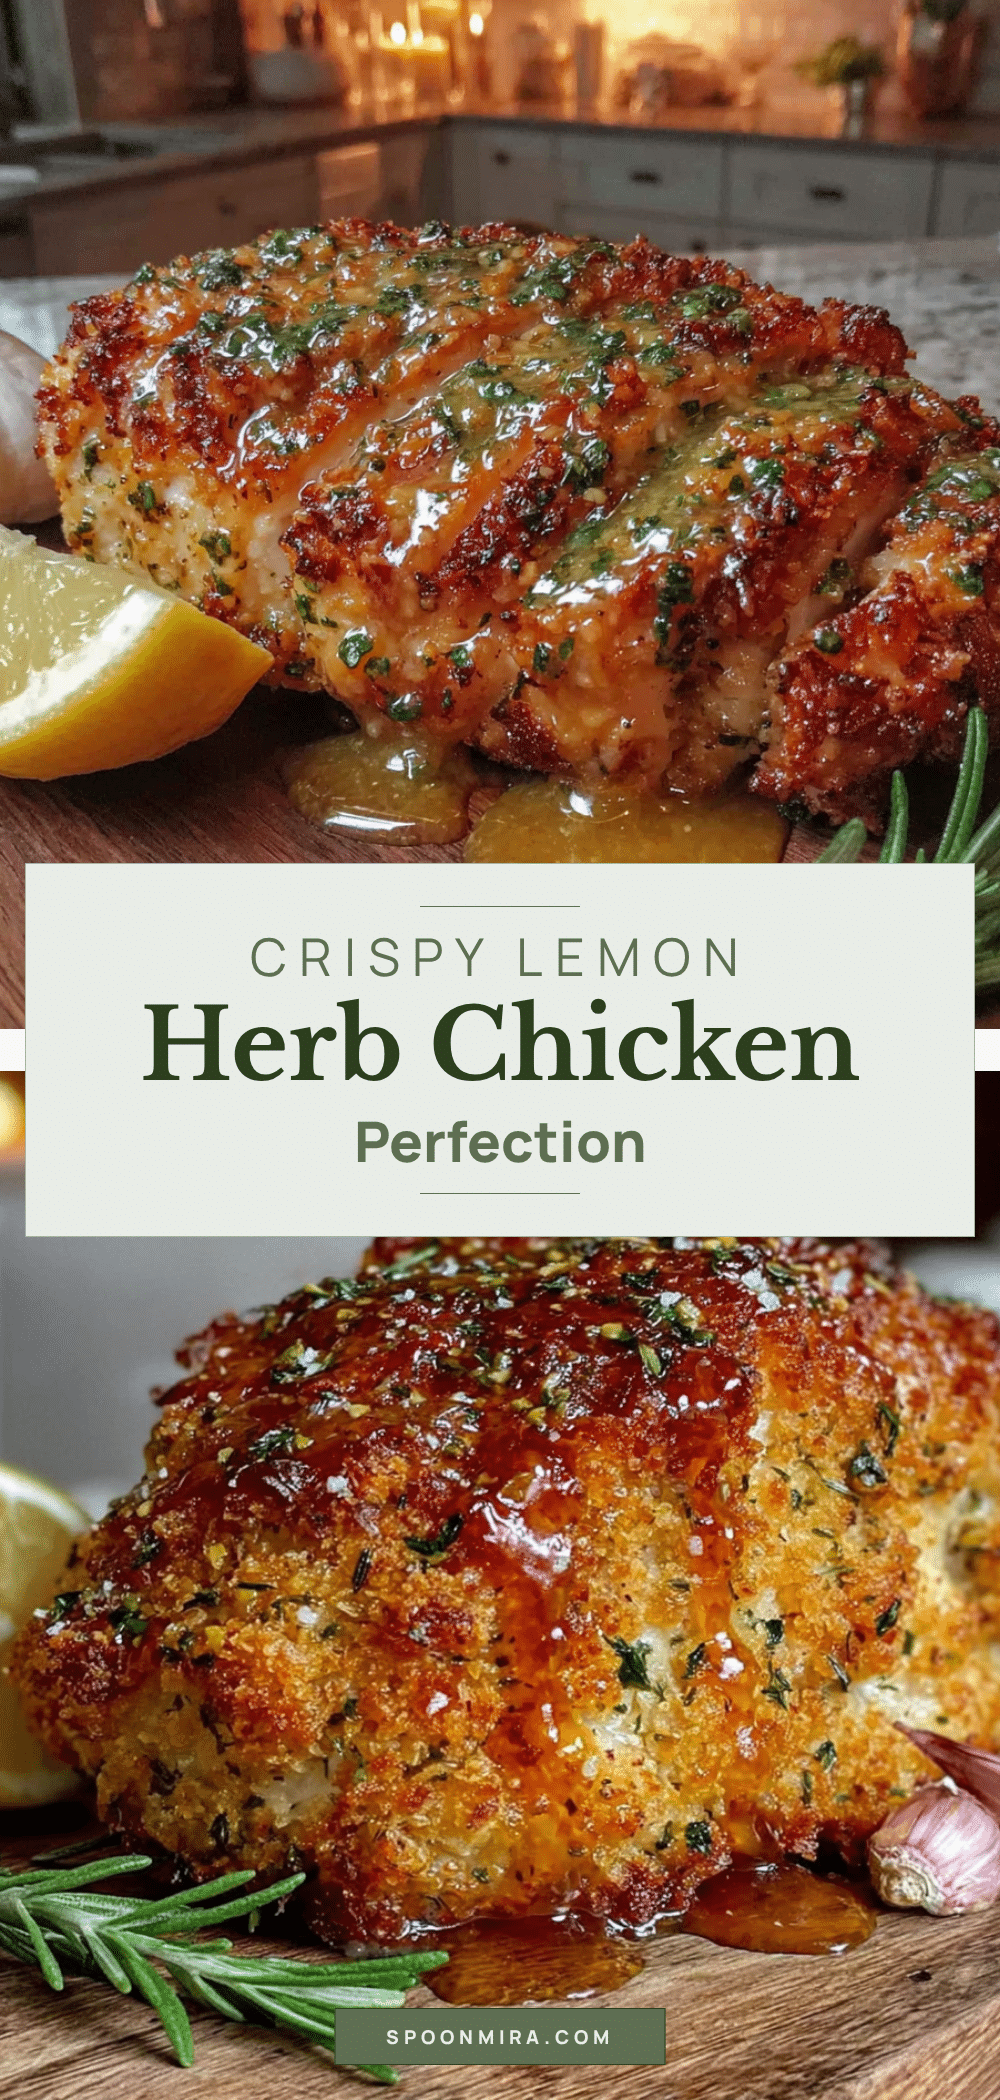
Best Crispy Lemon Herb Baked Chicken Breast Recipe

This recipe delivers perfectly crispy, juicy baked chicken breasts with a bright lemon herb marinade and a golden panko crust. Ready in under 40 minutes, it’s a simple, family-friendly dinner that feels impressive without the fuss.
- Prep Time: 15 minutes
- Cook Time: 25 minutes
- Total Time: 40 minutes
- Yield: 4 servings 1x
- Category: Main Course
- Cuisine: American
Ingredients
- 2 large lemons (zested and juiced)
- 3 tablespoons olive oil
- 4 cloves garlic, minced
- 1 tablespoon fresh parsley, chopped
- 1 tablespoon fresh thyme leaves
- 1 tablespoon fresh rosemary, finely chopped
- 1 teaspoon kosher salt
- ½ teaspoon black pepper, freshly ground
- ½ cup all-purpose flour
- 2 large eggs, beaten
- 1 cup panko breadcrumbs
- ¼ cup grated Parmesan cheese
- 1 teaspoon garlic powder
- ½ teaspoon paprika
- Cooking spray or melted butter (for topping)
- Fresh lemon wedges (for serving)
- Extra fresh herbs (for garnish)
Instructions
- Prepare the marinade: In a medium bowl, combine lemon zest, lemon juice, olive oil, minced garlic, parsley, thyme, rosemary, salt, and pepper. Whisk until well combined.
- Marinate the chicken: Place chicken breasts in a large zip-top bag or shallow dish. Pour marinade over chicken, seal, and massage for 30 seconds. Refrigerate for at least 30 minutes (up to 4 hours).
- Set up coating station: Preheat oven to 400°F (200°C). Place a wire rack inside a rimmed baking sheet and spray lightly with cooking spray. Set up three shallow bowls: first with flour, second with beaten eggs, third with panko, Parmesan, garlic powder, and paprika mixed together.
- Coat the chicken: Remove chicken from marinade, pat dry with paper towels. Dredge in flour, shake off excess. Dip in egg wash, let excess drip off. Press into panko mixture, coating all sides. Place on prepared wire rack.
- Bake: Lightly spray tops with cooking spray or brush with melted butter. Bake for 20-25 minutes, until internal temperature reaches 165°F (74°C).
- Rest and serve: Let chicken rest on wire rack for 5 minutes before serving. Serve with fresh lemon wedges and extra herbs.
Notes
For best results, use a wire rack to keep the bottom crispy. Pat chicken dry after marinating to ensure coating sticks. Do not marinate longer than 4 hours or the lemon acid will make the chicken mealy. Resting for 5 minutes after baking is essential for juicy meat.
Nutrition
- Serving Size: 1 chicken breast
- Calories: 400
- Sugar: 1.5
- Sodium: 650
- Fat: 17
- Saturated Fat: 4
- Carbohydrates: 19
- Fiber: 1.5
- Protein: 43
Keywords: crispy baked chicken, lemon herb chicken, baked chicken breast, easy chicken recipe, healthy chicken dinner


