I made a red, white, and blue berry trifle for a Labor Day party last year, and I forgot to chill it. Honest mistake, I just got distracted by the grill and the kids running around, and I served it at room temperature. The cream was soft, the berries were warm, and the whole thing collapsed into a soupy mess within ten minutes. It was still eaten, because let’s face it, nobody turns down boozy-soaked cake and cream, but it wasn’t the showstopper I had in mind. That failure taught me everything about why this dessert works. It is all about the chill, the layers, and the patience to let everything sit. This best red white and blue berry trifle is now my go-to for Labor Day, and I have never made the same mistake twice. It is the kind of dessert that looks like you spent hours fussing, but honestly, it is just assembly. You layer, you chill, you win. The first time I got it right, my sister-in-law asked for the recipe before she even finished her plate. That is the moment you know you have something good. So here it is, my perfected version of the best red white and blue berry trifle for an easy Labor Day dessert, born from a total flop.
Why You’ll Love This Recipe
This isn’t just another pretty dessert. This is the dessert that saves your holiday. After testing this recipe at three different barbecues, I can tell you exactly why it works. It is the kind of thing you can make the night before and not stress about on the day of the party.
- Quick & Easy : Comes together in about 20 minutes of active work. The hardest part is waiting for it to chill in the fridge.
- Simple Ingredients : You need a store-bought pound cake, fresh berries, and a few pantry staples. No fancy grocery trips needed.
- Perfect for Labor Day : It is red, white, and blue, so it matches the patriotic theme without being over-the-top. Great for potlucks, barbecues, and family gatherings.
- Crowd-Pleaser : Kids love the berries and cream, adults appreciate the lightness after a heavy meal. It always gets rave reviews.
- Unbelievably Delicious : The combination of creamy vanilla pudding, fresh berries, and soft cake is pure comfort food. It is light, refreshing, and just sweet enough.
What makes this version different from the rest is the way I layer the pudding. Most recipes use instant pudding mix with milk, which is fine, but I add a little cream cheese to the mix. It gives the cream layer a subtle tang that balances the sweetness of the berries and cake. It is a small tweak, but it makes a big difference. This recipe is not just good—it is the kind that makes you close your eyes after the first bite. It is comfort food reimagined for summer, and it is perfect for impressing guests without any stress.
What Ingredients You Will Need
This recipe uses simple, wholesome ingredients to deliver bold flavor and satisfying texture without the fuss. Most of these are pantry staples or easy to find at any grocery store.
- For the Berry Layer:
- 2 cups fresh strawberries, hulled and sliced (use ripe, red ones for best sweetness)
- 1 ½ cups fresh blueberries (look for firm, plump berries)
- 1 ½ cups fresh raspberries (handle gently, they are delicate)
- 2 tablespoons granulated sugar (helps draw out the berry juices)
- 1 tablespoon fresh lemon juice (brightens the flavor)
- For the Cream Layer:
- 1 (8-ounce) package cream cheese, softened (I recommend Philadelphia for best texture)
- ½ cup powdered sugar
- 1 teaspoon vanilla extract
- 2 cups cold heavy whipping cream
- ¼ cup granulated sugar
- For the Cake Layer:
- 1 (10.75-ounce) frozen pound cake, thawed and cut into 1-inch cubes (Sara Lee works great)
- ¼ cup berry juice or simple syrup (optional, for soaking the cake)
- For Garnish (optional):
- Fresh mint leaves
- Extra berries for the top
- Whipped cream rosettes
For the berries, I always buy extra because I snack on them while assembling. It is a hazard of the job. If strawberries are out of season, you can use frozen, but thaw and drain them well first. The lemon juice is key—it keeps the berries from tasting flat and helps the sugar dissolve. For the cream cheese, let it sit out for about 30 minutes before you start. Cold cream cheese makes lumpy cream, and nobody wants that.
Equipment Needed
You do not need much for this recipe. That is part of the beauty.
- Large trifle dish or glass bowl : A 4-quart dish works perfectly. You want something clear so the layers show. I use a vintage glass bowl I found at a thrift store for $3.
- Electric hand mixer or stand mixer : Whipping cream by hand is possible, but your arm will hate you. Use a mixer.
- Large mixing bowls : You need one for the cream and one for the berries.
- Sharp knife and cutting board : For slicing strawberries and cubing the cake.
- Rubber spatula : For folding the cream and scraping every last bit.
- Measuring cups and spoons : Accuracy matters, especially with the sugar.
If you do not have a trifle dish, a large glass mixing bowl works fine. Just make sure it is clear so the layers are visible. I have also used a wide mason jar for individual servings—super cute for parties.
Preparation Method
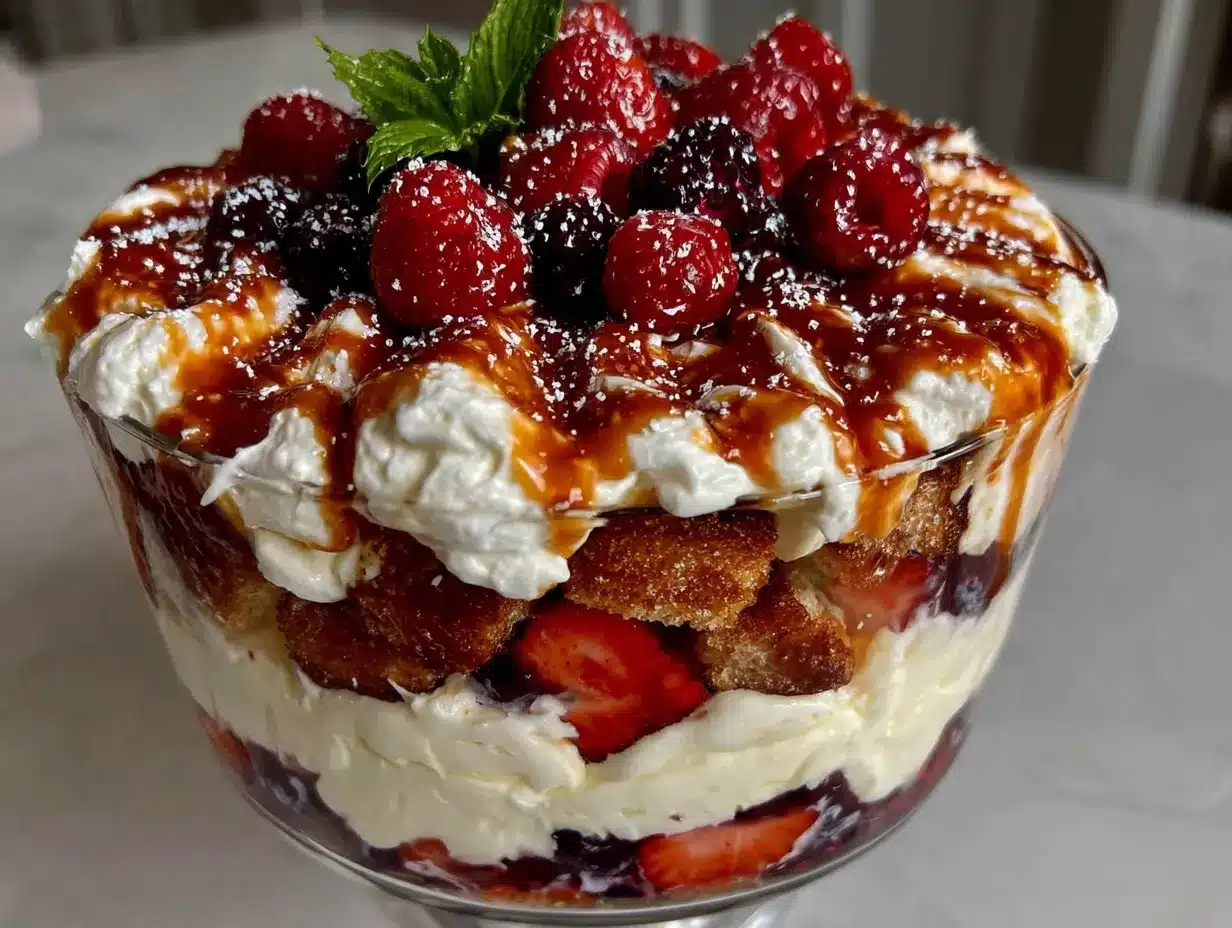
- Prep the berries (5 minutes): In a medium bowl, combine the sliced strawberries, blueberries, and raspberries. Add the 2 tablespoons of granulated sugar and the lemon juice. Gently toss to coat. Let the berries sit for about 10 minutes while you prepare the cream. This draws out their natural juices and creates a light syrup. You will see the liquid pooling at the bottom—that is flavor gold.
- Make the cream layer (10 minutes): In a large mixing bowl, beat the softened cream cheese with an electric mixer on medium speed until smooth and creamy, about 2 minutes. Add the powdered sugar and vanilla extract, and beat until combined, scraping down the sides as needed. In a separate bowl, whip the cold heavy cream and the ¼ cup of granulated sugar together until stiff peaks form. This takes about 3-4 minutes with a mixer. Be careful not to over-whip, or you will have butter.
- Fold it together (2 minutes): Gently fold the whipped cream into the cream cheese mixture using a rubber spatula. Do not stir—fold. You want to keep the air in the cream so the layers stay light and fluffy. The mixture should be smooth and thick, like a soft mousse.
- Assemble the first layer (3 minutes): Place a single layer of pound cake cubes in the bottom of your trifle dish. Use about one-third of the cubes. If you are using the optional berry juice or simple syrup, drizzle a little over the cake now. This keeps the cake moist and adds extra flavor.
- Add the berry layer (2 minutes): Spoon about one-third of the macerated berries and their juices over the cake cubes. Spread them evenly with the back of a spoon. You want the berries to reach the edges so every spoonful gets some fruit.
- Add the cream layer (2 minutes): Spoon about one-third of the cream mixture over the berries. Spread it gently to the edges, but do not press down. You want the cream to stay fluffy. Use an offset spatula if you have one.
- Repeat the layers (5 minutes): Add another layer of cake cubes, then berries, then cream. Repeat one more time until you have used all the ingredients. You should end with a cream layer on top. Reserve a few berries for garnish if you like.
- Chill (at least 4 hours): Cover the trifle with plastic wrap and refrigerate for at least 4 hours, preferably overnight. This is the most important step. The cake absorbs the berry juices and cream, and the flavors meld together. Do not skip this—I learned the hard way.
- Garnish and serve (5 minutes): Before serving, top with fresh mint leaves, extra berries, or whipped cream rosettes if desired. Serve cold. Spoon into bowls or glasses, making sure each serving gets all the layers.
A quick tip: If you are making this for a party, assemble it in the morning and let it chill all day. The longer it sits, the better it gets, up to about 24 hours. After that, the cake starts to get too soft.
Cooking Tips & Techniques
I have made this trifle about a dozen times now, and I have learned a few things the hard way. Here is what I wish someone had told me.
Do not over-whip the cream. I did this once, and the cream turned grainy and started separating. Stop when you see stiff peaks that hold their shape. If you go too far, add a tablespoon of cold cream and fold it in gently to bring it back.
Let the berries macerate properly. The 10-minute rest with sugar and lemon is not optional. It softens the berries and creates that beautiful syrup that soaks into the cake. If you skip this, the trifle will be dry and the berries will be tart.
Use cold cream. Warm cream will not whip properly. Keep the heavy cream in the fridge until the last minute. I even chill my mixing bowl for 10 minutes before whipping.
Layer evenly. I used to just dump ingredients in, and the layers were uneven. Take the time to spread each layer to the edges. It looks better and ensures every bite has cake, berries, and cream.
Chill is non-negotiable. I served a warm trifle once. Never again. The cream softens, the cake falls apart, and the whole thing becomes a puddle. Four hours minimum. Overnight is best.
Multitask wisely. While the berries macerate, make the cream. While the cream chills, cut the cake. This recipe is all about timing, and you can knock it out in 20 minutes if you work smart.
Variations & Adaptations
This recipe is forgiving, and I have tried a few twists over the years.
- Boozy version : Add 2 tablespoons of Grand Marnier or limoncello to the berry mixture. It adds a grown-up kick that is perfect for an adult party. I tried this for a Fourth of July barbecue, and it was a hit.
- Gluten-free option : Use a gluten-free pound cake or angel food cake. Most store-bought versions work well. Just check the label. The rest of the ingredients are naturally gluten-free.
- Dairy-free version : Substitute the heavy cream with full-fat coconut cream and use a dairy-free cream cheese alternative. The texture is slightly different, but it is still delicious. I tested this for a friend with dairy allergies, and she loved it.
- Seasonal swap : In fall, use sliced apples and pears with cinnamon instead of berries. In winter, try cranberries and orange zest. The method stays the same.
- Individual servings : Layer everything in small mason jars or wine glasses. Perfect for parties where people want their own portion. Plus, they look adorable.
My personal favorite variation is the boozy one. I made it for a Labor Day party last year, and my uncle asked for three servings. That is the highest compliment I can get.
Serving & Storage Suggestions
Serve this trifle cold, straight from the fridge. The layers are firm, the cream is set, and the cake is perfectly softened. Use a large spoon to scoop down through all the layers for each serving. It looks beautiful in a clear glass dish or individual cups.
For presentation, I like to top the final cream layer with a ring of alternating strawberries and blueberries around the edge. A few mint leaves in the center add a pop of green. It is simple but impressive.
This trifle pairs well with grilled meats, especially burgers and hot dogs. It is light enough to follow a heavy meal. I also love it with a glass of sweet iced tea or a crisp white wine like Sauvignon Blanc. If you are looking for a complete menu, try this after a meal of creamy crockpot crack chicken or smothered pork chops for a satisfying contrast.
Storage : Cover the trifle tightly with plastic wrap and refrigerate for up to 3 days. The flavors actually improve on day two. After that, the cake gets too soft. Do not freeze this dessert—the cream will separate when thawed, and the texture will be ruined.
Reheating : Do not reheat. This is a cold dessert. If it has been sitting out for more than 2 hours, refrigerate the leftovers promptly. The berries will start to release more juice, so it might be a little runny, but it is still good.
Over time, the cake absorbs more liquid, and the layers become softer. I actually prefer it on day two, when everything has melded together. It is like a berry pudding at that point.
Nutritional Information & Benefits
Here is an estimated nutritional breakdown per serving (based on 12 servings):
| Nutrient | Amount per Serving |
|---|---|
| Calories | 385 |
| Total Fat | 24g |
| Saturated Fat | 14g |
| Cholesterol | 95mg |
| Sodium | 210mg |
| Total Carbohydrates | 40g |
| Dietary Fiber | 4g |
| Sugars | 28g |
| Protein | 5g |
This dessert is not exactly health food, but it has some redeeming qualities. Berries are packed with antioxidants, vitamin C, and fiber. Strawberries support immune health, blueberries are great for brain function, and raspberries are high in fiber. The cream cheese adds calcium and protein. If you want to lighten it up, use low-fat cream cheese and reduce the sugar in the cream layer. For a lower-carb option, skip the pound cake and use a sugar-free angel food cake. This recipe contains dairy and gluten, so adjust accordingly for allergies.
From a wellness perspective, I love that this dessert feels indulgent but is made with real ingredients. No artificial colors or flavors. Just fruit, cream, and cake. It is a treat, but an honest one.
Conclusion
This best red white and blue berry trifle is the dessert you need for Labor Day. It is easy, beautiful, and forgiving. You can make it ahead, serve it to a crowd, and watch it disappear. I have made it for barbecues, potlucks, and family dinners, and it never fails. The combination of fresh berries, creamy filling, and soft cake is just right.
I love this recipe because it reminds me that simple food is often the best. You do not need fancy techniques or exotic ingredients. Just good fruit, good cream, and a little patience. The first time I got it right, I felt like I had unlocked a secret. Now I want you to have that same feeling.
Try this recipe for your next gathering. Customize it with your favorite berries or a splash of liquor. Make it your own. And when you do, come back and tell me how it went. I would love to hear about your version. Leave a comment below or tag me in your photos. Happy Labor Day!
Frequently Asked Questions
Can I use frozen berries for this trifle?
Yes, but thaw and drain them first. Frozen berries release a lot of liquid as they thaw, which can make the trifle watery. Pat them dry with paper towels before using. Fresh berries are better for texture and appearance, but frozen work in a pinch.
How far in advance can I make this trifle?
You can make it up to 24 hours in advance. In fact, I recommend it. The flavors meld together, and the cake softens perfectly. After 24 hours, the cake starts to break down, so do not make it more than a day ahead.
Can I use a different type of cake?
Absolutely. Angel food cake, sponge cake, or even vanilla cake cubes work well. Pound cake is my favorite because it holds its shape and absorbs the liquid without falling apart. If you use a lighter cake, reduce the soaking liquid.
Why did my cream layer turn out lumpy?
This usually happens when the cream cheese is too cold. Let it sit at room temperature for 30 minutes before beating. If it still looks lumpy, beat it on medium-high speed for an extra minute. You can also press it through a fine-mesh sieve to smooth it out.
Can I make this trifle dairy-free?
Yes. Use full-fat coconut cream instead of heavy cream and a dairy-free cream cheese alternative. The texture will be slightly different—coconut cream is thicker—but it still tastes great. Make sure to chill the coconut cream overnight before whipping for best results.
Pin This Recipe!
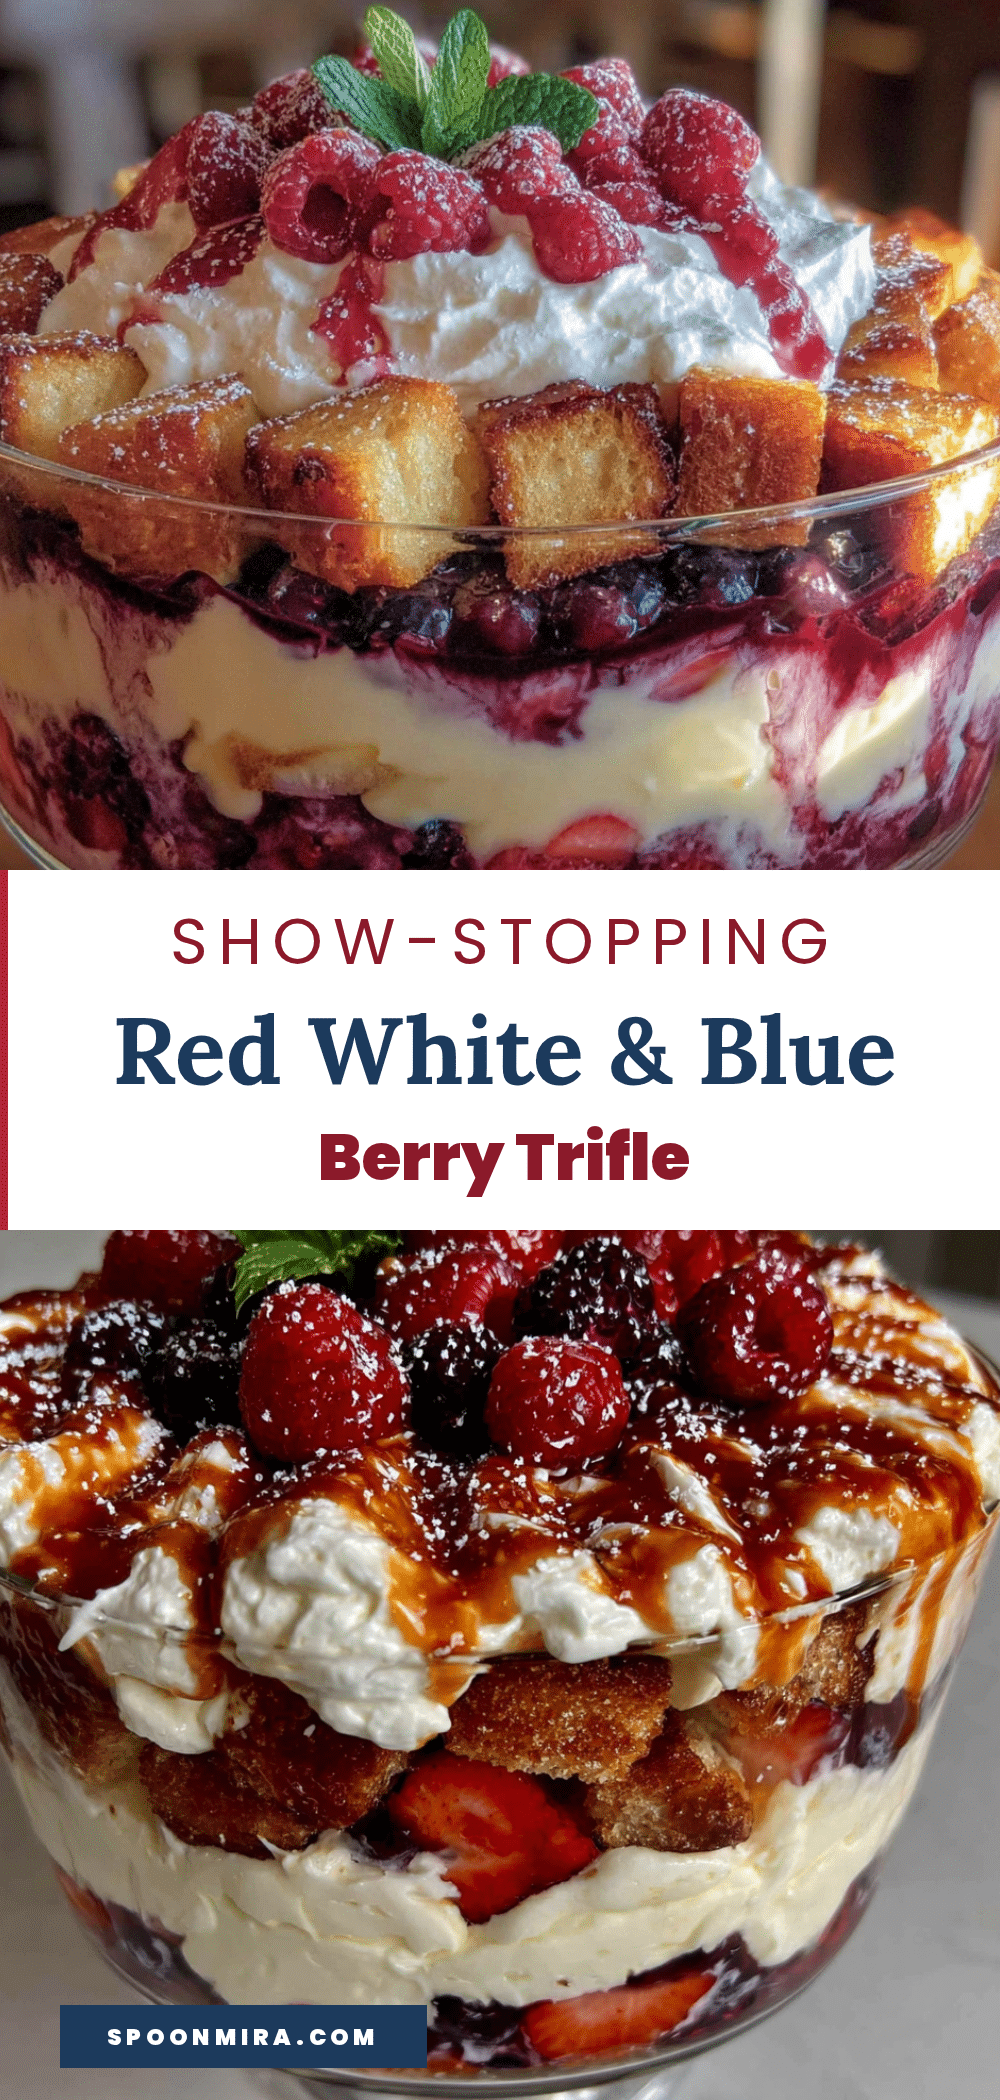
Best Red White and Blue Berry Trifle for an Easy Labor Day Dessert

This easy red, white, and blue berry trifle is the perfect patriotic dessert for Labor Day. Layers of fresh berries, creamy vanilla pudding, and soft pound cake come together in minutes for a showstopping treat that’s best made ahead.
- Prep Time: 20 minutes
- Cook Time: 0 minutes
- Total Time: 4 hours 20 minutes (includes chilling)
- Yield: 12 servings 1x
- Category: Dessert
- Cuisine: American
Ingredients
- 2 cups fresh strawberries, hulled and sliced
- 1 ½ cups fresh blueberries
- 1 ½ cups fresh raspberries
- 2 tablespoons granulated sugar
- 1 tablespoon fresh lemon juice
- 1 (8-ounce) package cream cheese, softened
- ½ cup powdered sugar
- 1 teaspoon vanilla extract
- 2 cups cold heavy whipping cream
- ¼ cup granulated sugar
- 1 (10.75-ounce) frozen pound cake, thawed and cut into 1-inch cubes
- ¼ cup berry juice or simple syrup (optional)
- Fresh mint leaves (for garnish, optional)
- Extra berries (for garnish, optional)
- Whipped cream rosettes (for garnish, optional)
Instructions
- Prep the berries: In a medium bowl, combine sliced strawberries, blueberries, and raspberries. Add 2 tablespoons granulated sugar and lemon juice. Gently toss to coat. Let sit for about 10 minutes to macerate.
- Make the cream layer: In a large mixing bowl, beat softened cream cheese with an electric mixer on medium speed until smooth and creamy, about 2 minutes. Add powdered sugar and vanilla extract, beat until combined. In a separate bowl, whip cold heavy cream and ¼ cup granulated sugar together until stiff peaks form, about 3-4 minutes.
- Fold it together: Gently fold the whipped cream into the cream cheese mixture using a rubber spatula. Do not stir—fold to keep the air in the cream.
- Assemble the first layer: Place a single layer of pound cake cubes in the bottom of a trifle dish (about one-third of the cubes). Drizzle with optional berry juice or simple syrup.
- Add the berry layer: Spoon about one-third of the macerated berries and their juices over the cake cubes. Spread evenly.
- Add the cream layer: Spoon about one-third of the cream mixture over the berries. Spread gently to the edges without pressing down.
- Repeat the layers: Add another layer of cake cubes, then berries, then cream. Repeat one more time until all ingredients are used, ending with a cream layer on top. Reserve a few berries for garnish if desired.
- Chill: Cover the trifle with plastic wrap and refrigerate for at least 4 hours, preferably overnight.
- Garnish and serve: Before serving, top with fresh mint leaves, extra berries, or whipped cream rosettes if desired. Serve cold.
Notes
Do not skip the chilling step—it allows the cake to absorb the berry juices and cream, melding the flavors. The trifle can be made up to 24 hours in advance. For a boozy version, add 2 tablespoons of Grand Marnier or limoncello to the berry mixture. For gluten-free, use a gluten-free pound cake or angel food cake. For dairy-free, substitute heavy cream with full-fat coconut cream and use dairy-free cream cheese.
Nutrition
- Serving Size: 1 serving (1/12 of r
- Calories: 385
- Sugar: 28
- Sodium: 210
- Fat: 24
- Saturated Fat: 14
- Carbohydrates: 40
- Fiber: 4
- Protein: 5
Keywords: berry trifle, red white and blue dessert, Labor Day dessert, easy trifle, patriotic dessert, no-bake dessert


