“These are the best pickles I’ve ever had.” My neighbor, a quiet man who keeps to himself, said it while holding a jar I’d handed him over the fence. Just that. No preamble. He’d taken one bite of a spear, and something shifted in his face. I’d been testing batches of crispy garlic dill refrigerator pickles for weeks, and honestly, I was getting a little tired of the sound of crunching in my own kitchen. But that comment? That was the one that made it all click.
It started because I had a bumper crop of pickling cucumbers from the farmer’s market and a deep, stubborn craving for the kind of cold, snappy pickles you get at a deli. You know the ones—ice cold, loud when you bite them, and so garlicky your breath is a weapon for hours. The ones that make a sandwich feel complete. I tried the traditional water bath canning method, which is great for shelf stability, but it always left the pickles a little soft for my taste. What I wanted was that almost watery, shatter-crisp texture that only comes from a cold brine and a patient wait in the fridge.
That’s how these crispy garlic dill refrigerator pickles were born. They aren’t just a quick recipe; they are a deliberate choice for texture. I found that the secret isn’t just the salt or the vinegar—it’s the ice bath and the specific timing of the garlic. This recipe is the result of a lot of trial and error, of too-soft spears and brine that was either too sweet or too sharp. And honestly? It was worth every crunchy, garlicky bite. This is the one I keep a constant supply of now, and I think you will too.
Why You’ll Love This Recipe
Let me tell you why these pickles are different. I’ve tested this method more times than I care to count, and I can say with confidence that this is the best version. It’s not just another recipe floating around the internet.
- Crispier Than Store-Bought: The secret is using an ice water bath before brining. This shocks the cucumbers and locks in that signature crunch. No more sad, limp pickles.
- Simple, Real Ingredients: You don’t need a pantry full of specialty items. Just cucumbers, garlic, fresh dill, vinegar, and salt. That’s it. No weird additives.
- Quick & Easy: The active prep time is about 15 minutes. The hardest part is waiting 24 hours for them to pickle. They are perfect for a weekend project that pays off all week.
- Perfect for Burgers & Sandwiches: These are the ultimate topping for a ham and cheese quesadilla pocket or a classic turkey club. They add that necessary acidic crunch.
- Crowd-Pleaser: I’ve brought these to barbecues and potlucks, and jars are always emptied first. People are genuinely surprised at how good a simple pickle can be.
What makes this recipe stand out is the balance. The garlic is present but not overwhelming, the dill is fresh and grassy, and the brine is tangy without being mouth-puckering. It’s the kind of pickle that makes you close your eyes after the first bite. Honestly, it is comfort food in its purest, crunchiest form.
What Ingredients You Will Need
This recipe uses a short list of simple ingredients to create something truly special. Each one plays a crucial role in building the perfect flavor and texture. Here is what you need to get started.
- Pickling Cucumbers (2 pounds): These are smaller, firmer, and have fewer seeds than regular slicing cucumbers. Look for Kirby or Persian cucumbers. If you can’t find them, use English cucumbers, but peel them partially to avoid bitterness. I prefer Kirby cucumbers for the best crunch.
- Fresh Garlic (6-8 cloves, smashed): Smashing the cloves releases more flavor than slicing. Use fresh garlic, not the pre-minced stuff in a jar. The flavor difference is massive. I like to use a little extra because I love garlic.
- Fresh Dill (1 large bunch): Use the fronds and the stems. The stems have a lot of flavor. Do not use dried dill for this recipe; it will taste flat and grassy. Fresh dill is non-negotiable for that classic deli taste.
- Distilled White Vinegar (1 cup): This provides the clean, sharp acidity that pickles need. You can use apple cider vinegar for a slightly fruitier note, but it will darken the brine. White vinegar keeps the brine clear and the pickles looking bright.
- Water (1 cup): Use filtered water if your tap water has a strong chlorine taste. It makes a difference in the final flavor of the brine.
- Kosher Salt (1 ½ tablespoons): Do not use table salt or fine sea salt, as they can make the brine cloudy and too salty. Kosher salt dissolves cleanly and gives the best flavor. I use Diamond Crystal brand.
- Sugar (1 tablespoon): This is optional, but a tiny bit of sugar balances the acidity of the vinegar and brings out the natural sweetness of the cucumbers. It doesn’t make the pickles sweet.
- Red Pepper Flakes (½ teaspoon, optional): For a tiny bit of heat. I add this to one jar and leave the other plain. It’s a nice variation if you like a little kick.
- Black Peppercorns (1 teaspoon): Whole peppercorns add a subtle warmth that ground pepper can’t replicate. They are a classic addition to a dill pickle brine.
- Mustard Seeds (1 teaspoon, optional): These add a lovely pop of texture and a mild, earthy flavor. They are a classic pickling spice.
Equipment Needed
The good news is you don’t need any fancy canning equipment for this recipe. A few basic kitchen tools will do the job perfectly.
- 2 (16-ounce) Glass Jars with Lids: Wide-mouth mason jars are ideal because they are easy to pack. You can also reuse pasta sauce jars, just make sure they are thoroughly cleaned. I like using Weck jars because the glass lids are pretty, but any jar works.
- Sharp Knife or Mandoline: For slicing the cucumbers into spears or chips. A mandoline gives you even slices, which means even pickling. If using a knife, just try to keep the spears uniform in size.
- Medium Saucepan: For heating the brine. A non-reactive saucepan (stainless steel or enameled) is best. Avoid aluminum, which can react with the vinegar and give the pickles a metallic taste.
- Large Bowl: For the ice water bath. You need a bowl big enough to hold the cucumber spears and a good amount of ice.
- Measuring Cups and Spoons: For precise measurements. Pickling is a science, so accuracy matters.
- Cutting Board: For prepping the cucumbers and garlic.
Preparation Method
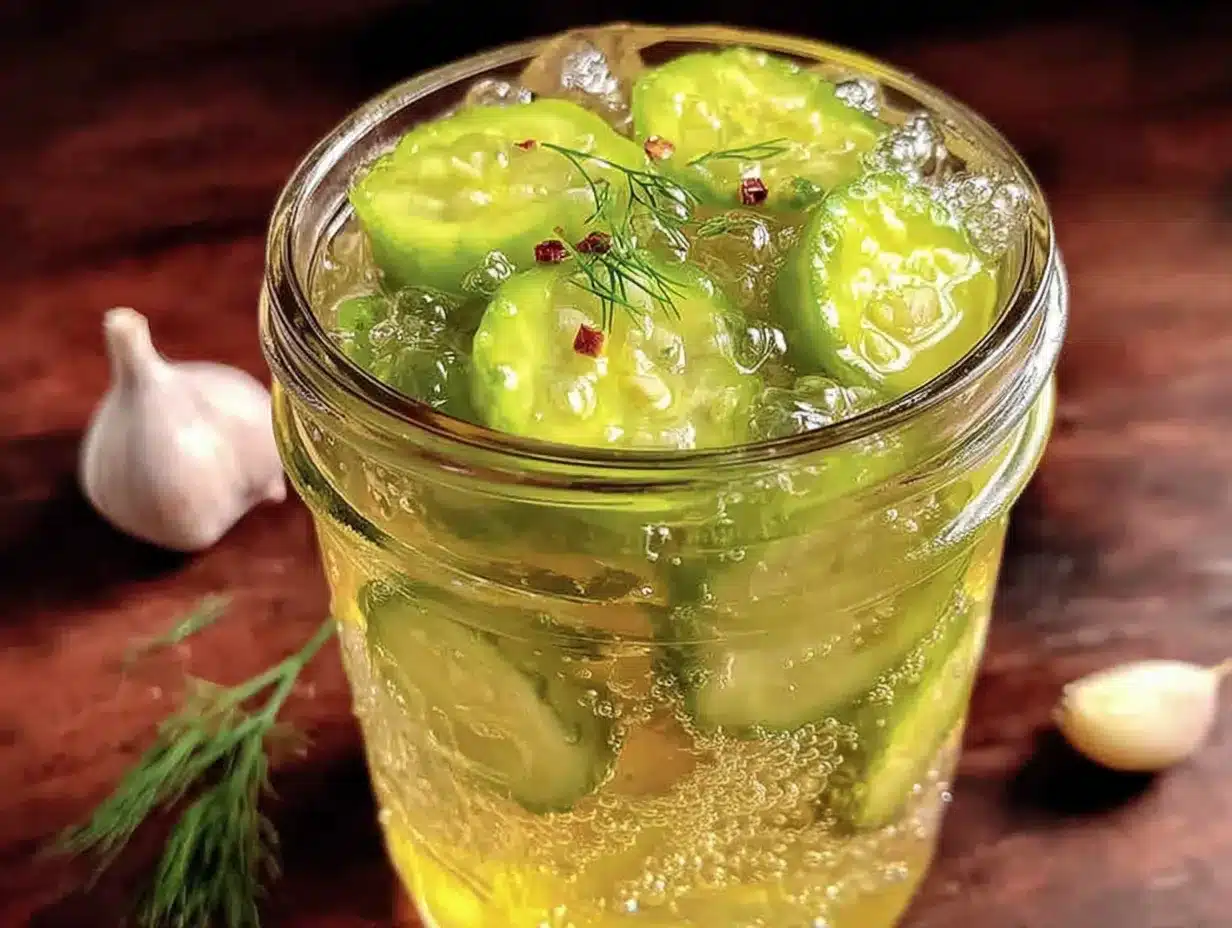
Follow these steps carefully, and you will have the crunchiest, most flavorful pickles you’ve ever made. The process is simple, but each step is important.
Step 1: Prepare the Cucumbers
Wash the cucumbers thoroughly to remove any dirt. Cut off the very tip of the blossom end (the end opposite the stem). This tip contains an enzyme that can make pickles soft. Trim about 1/8 inch off. Cut the cucumbers into spears (quarter them lengthwise) or into ¼-inch thick chips, depending on your preference. Place the cut cucumbers into a large bowl and cover them with ice and cold water. Let them sit for at least 1 hour. This is the secret to maximum crunch. The cold water firms up the cell walls.
Step 2: Make the Brine
While the cucumbers are soaking, combine the water, distilled white vinegar, kosher salt, and sugar in a medium saucepan. Bring the mixture to a boil over medium-high heat, stirring occasionally to dissolve the salt and sugar. Once it reaches a rolling boil, remove it from the heat and let it cool completely to room temperature. Do not pour hot brine over the cucumbers, as it will cook them and ruin the crunch.
Step 3: Pack the Jars
Drain the cucumbers from the ice water bath and pat them dry with a clean kitchen towel. You don’t want extra water diluting the brine. Divide the smashed garlic cloves, fresh dill sprigs, black peppercorns, and red pepper flakes (if using) evenly between the two jars. Tightly pack the cucumber spears or chips into the jars. Pack them in as snugly as you can without crushing them. This ensures they stay submerged in the brine.
Step 4: Add the Brine and Seal
Pour the cooled brine over the cucumbers, filling the jars to the very top. The cucumbers must be completely submerged. Use a spoon to press them down if any are floating. Place the lids on the jars and screw them on tightly. Gently shake the jars to distribute the spices.
Step 5: Refrigerate and Wait
Place the jars in the refrigerator immediately. Do not leave them out on the counter. The pickles need at least 24 hours to develop flavor, but 48 hours is even better. The flavor will continue to deepen over the next week. I find they hit their peak around day 5.
Cooking Tips & Techniques
Over the years, I’ve learned a few things the hard way. Here are my best tips to ensure your pickles turn out perfect every single time.
- Don’t Skip the Ice Bath: I once skipped this step because I was in a hurry, and the pickles were noticeably less crunchy. The ice bath is the single most important step for texture. Commit to it.
- Use the Right Salt: I made a batch with fine table salt once, and it was so salty it was almost inedible. Kosher salt is less dense, so it dissolves perfectly without oversalting. Stick with it.
- Smash, Don’t Slice, the Garlic: Smashing the garlic cloves releases their oils and flavor more effectively than slicing. It also infuses the brine faster. Use the flat side of your knife to give them a good whack.
- Pack the Jars Tightly: If the cucumbers are floating, they will turn soft and discolored where they are exposed to air. Pack them in as tightly as possible. If you have a little space at the top, you can add a small, clean grape leaf or a piece of horseradish root, which contains tannins that help keep pickles crisp.
- Be Patient: The hardest part is waiting. I know you want to try them immediately, but the flavor needs time to develop. Day 1 they are just salty cucumbers. Day 2 they start to taste like pickles. Day 3 and beyond, they are magic.
Variations & Adaptations
This recipe is a fantastic base for experimentation. Once you master the basic technique, you can adapt it to your taste. Here are a few of my favorite variations.
- Spicy Habanero Pickles: Add one whole habanero pepper (sliced in half, seeds removed if you want less heat) to each jar along with the other spices. The heat builds over time, and the fruity flavor of the habanero is incredible with the dill.
- Sweet Bread & Butter Style: Increase the sugar to ¼ cup and add 1 teaspoon of turmeric and ½ teaspoon of celery seed to the brine. This gives you that classic sweet and tangy bread and butter flavor. It is perfect for summer picnics alongside a fresh peach dump cake.
- Garlic Lovers’ Pickles: Double the garlic. Use 12-15 smashed cloves per batch. This is not for the faint of heart, but if you love garlic as much as I do, this is your version. The brine becomes almost syrupy with garlic flavor.
- Pickled Green Beans: Substitute the cucumbers with fresh green beans. Trim them to fit the jars and blanch them in boiling water for 1 minute before the ice bath. This is a fantastic way to use up a garden bounty. For a dedicated version, check out this recipe for crispy dilly green beans.
- Kosher-Style Dill: Add a few whole allspice berries and a small bay leaf to each jar. This adds a layer of complexity that is very reminiscent of classic New York deli pickles.
Serving & Storage Suggestions
These pickles are incredibly versatile. Here is how to serve them and keep them at their best.
Serving: Serve them ice cold straight from the fridge. They are the perfect garnish for a juicy burger, a grilled bratwurst, or a classic ham and cheese quesadilla pocket. They also make a fantastic snack on their own, especially on a hot summer day. I love chopping them up to add to tuna salad or potato salad for an extra crunch.
Storage: Store the jars in the refrigerator at all times. These are not shelf-stable pickles. They will keep for up to 2 months in the fridge, though they are usually gone long before that. The flavor will continue to develop and deepen over the first week, then plateau.
Re-brining: Once you finish a jar of pickles, don’t throw away the brine! You can use it to pickle a new batch of cucumbers or other vegetables like carrots, radishes, or red onions. Just add fresh garlic and dill to the old brine, pack in the new vegetables, and let it sit for 24 hours. The second batch is often even more flavorful.
Nutritional Information & Benefits
Pickles are a surprisingly healthy snack. Here is a rough nutritional breakdown for a serving of about 3 spears (60g).
- Calories: 10-15
- Carbohydrates: 2g
- Sodium: 350-400mg (varies based on salt)
- Vitamin K: A significant source, important for bone health.
Health Benefits: Pickles are low in calories and fat-free. They are a good source of vitamin K, which is essential for blood clotting and bone metabolism. The vinegar in the brine can help with blood sugar regulation after meals. Plus, the fermentation process (if you let them sit long enough) creates natural probiotics, which are excellent for gut health. Just be mindful of the sodium content if you are watching your salt intake. These pickles are naturally gluten-free, low-carb, and vegan.
Conclusion
These crispy garlic dill refrigerator pickles are more than just a condiment; they are a small, crunchy victory. They prove that you don’t need a complicated process or a pantry full of exotic ingredients to make something genuinely amazing. The first time you hear that snap and taste that fresh, garlicky dill flavor, you will understand why I was so obsessed.
I love this recipe because it is forgiving, adaptable, and always delivers. It is the kind of recipe you will make once and then immediately want to double. I encourage you to play with the spices, adjust the garlic to your liking, and make it your own. Please let me know in the comments how they turn out for you! What variation did you try? Did you add extra heat? I can’t wait to hear about your crunchy creations. Happy pickling!
Frequently Asked Questions (FAQs)
Can I use regular cucumbers instead of pickling cucumbers?
Yes, you can, but the texture will be different. Regular slicing cucumbers have a higher water content and larger seeds, which can make them less crunchy and more watery. If you use them, peel them partially and scrape out the seeds before slicing. English cucumbers are a good second choice.
How long do these pickles need to sit before they are ready?
You can taste them after 24 hours, but they will be very mild. They reach their best flavor and texture after 48 to 72 hours. The flavor continues to develop for up to a week. Be patient; it is worth the wait.
Why are my pickles soft or mushy?
Soft pickles are usually the result of skipping the ice water bath, using overripe cucumbers, or not removing the blossom end. Make sure you soak the cut cucumbers in ice water for at least an hour, and always trim the blossom end. Using a grape leaf or a piece of horseradish root in the jar can also help maintain crunch.
Can I reuse the brine for another batch?
Absolutely! Reusing brine is a great way to save time. Just add fresh garlic, dill, and cucumbers to the leftover brine. The second batch will often have a deeper, more complex flavor. You can reuse the brine one or two times before it becomes too diluted.
Do I need to sterilize the jars for this recipe?
No, you do not need to sterilize jars for refrigerator pickles. Because these pickles are stored in the fridge and not processed in a water bath, simple cleanliness is enough. Wash the jars and lids in hot, soapy water and rinse them well. That is all that is needed.
Pin This Recipe!
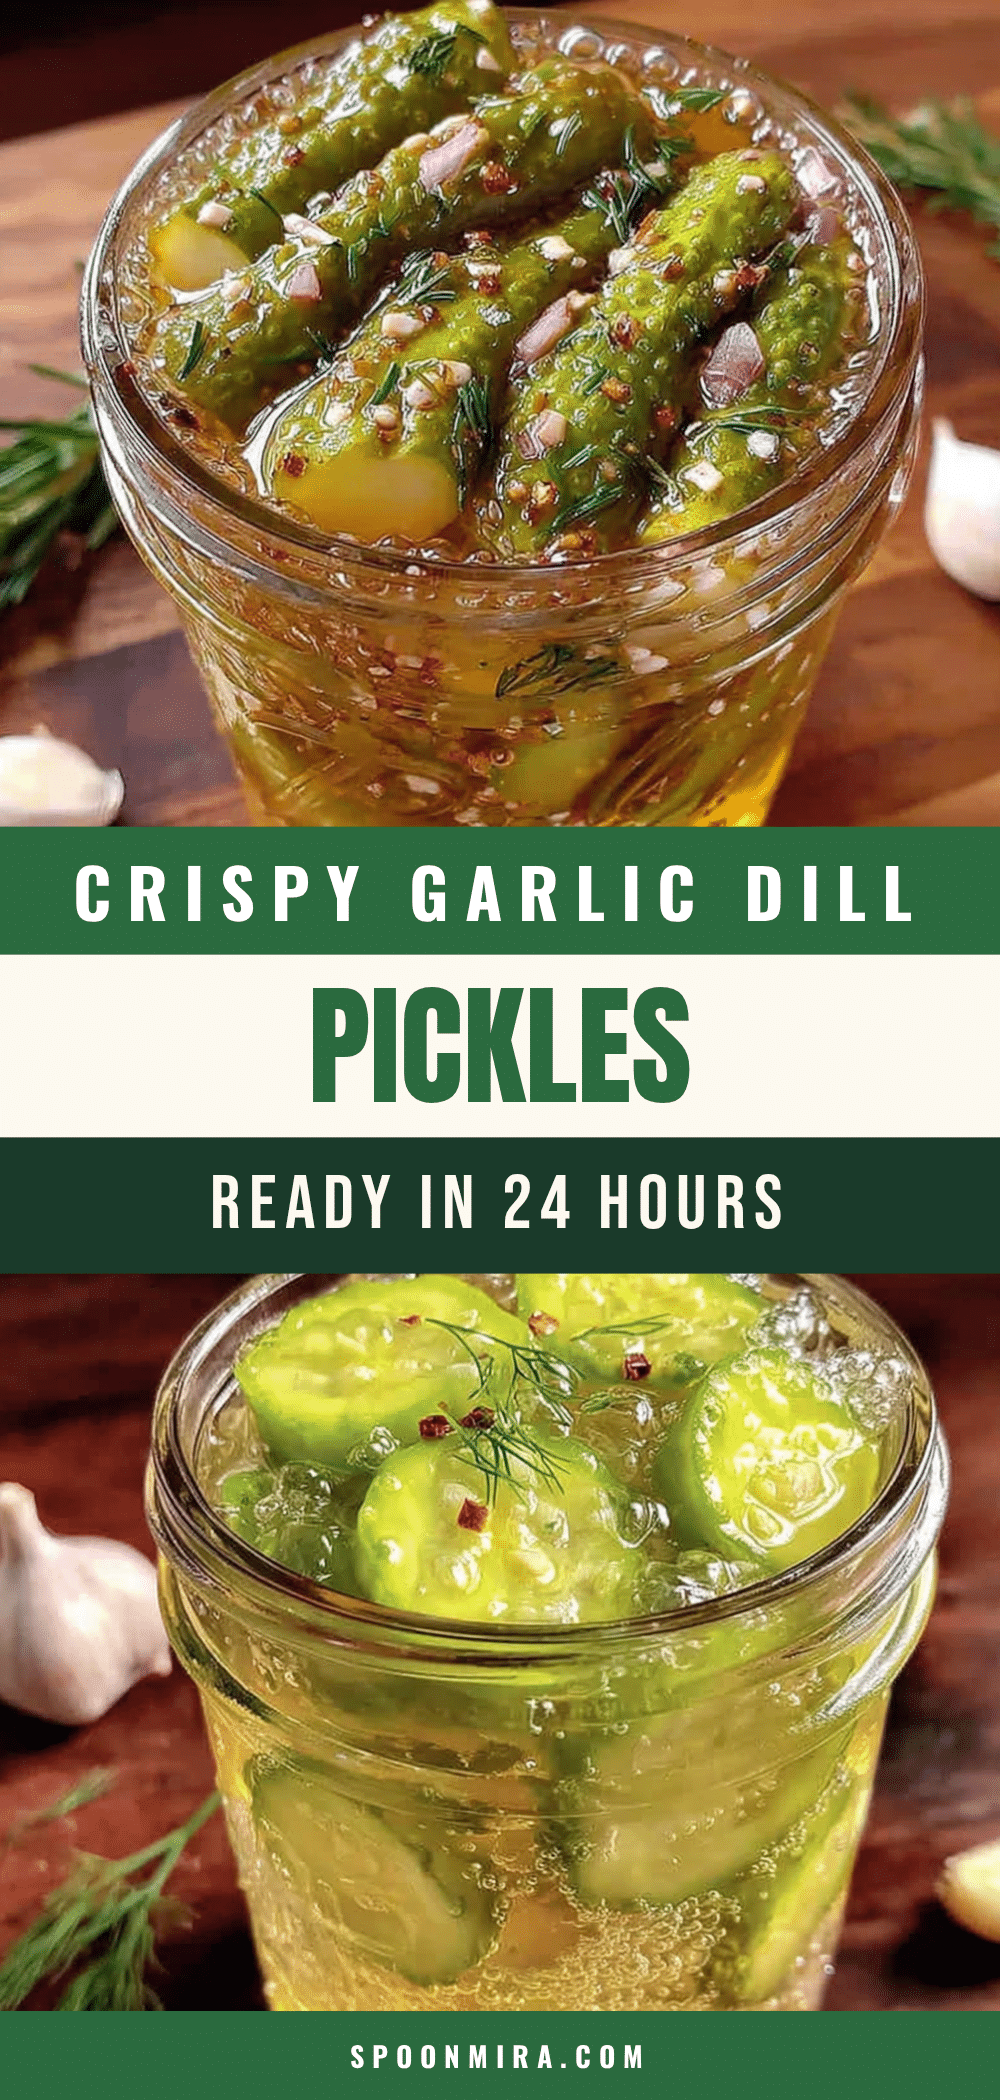
Crispy Garlic Dill Refrigerator Pickles: Best Easy Recipe

These crispy garlic dill refrigerator pickles are the ultimate crunchy, tangy, and garlicky snack. Made with simple ingredients and a quick ice bath for maximum crunch, they are perfect for burgers, sandwiches, or snacking straight from the jar.
- Prep Time: 15 minutes
- Cook Time: 5 minutes
- Total Time: 1 hour 20 minutes (plus 24-48 hours refrigeration)
- Yield: 2 (16-ounce) jars 1x
- Category: Condiment
- Cuisine: American
Ingredients
- 2 pounds pickling cucumbers (Kirby or Persian)
- 6–8 cloves fresh garlic, smashed
- 1 large bunch fresh dill
- 1 cup distilled white vinegar
- 1 cup water (filtered if possible)
- 1 ½ tablespoons kosher salt (Diamond Crystal recommended)
- 1 tablespoon sugar (optional)
- ½ teaspoon red pepper flakes (optional)
- 1 teaspoon black peppercorns
- 1 teaspoon mustard seeds (optional)
Instructions
- Wash cucumbers thoroughly. Cut off the blossom end (about 1/8 inch). Cut cucumbers into spears (quarter lengthwise) or ¼-inch thick chips. Place in a large bowl, cover with ice and cold water, and let sit for at least 1 hour.
- While cucumbers soak, combine water, vinegar, kosher salt, and sugar in a medium saucepan. Bring to a boil over medium-high heat, stirring to dissolve salt and sugar. Remove from heat and let cool completely to room temperature.
- Drain cucumbers from ice bath and pat dry with a clean kitchen towel. Divide smashed garlic, fresh dill sprigs, black peppercorns, and red pepper flakes (if using) evenly between two 16-ounce glass jars. Tightly pack cucumber spears or chips into jars.
- Pour cooled brine over cucumbers, filling jars to the very top. Ensure cucumbers are completely submerged. Place lids on jars and screw on tightly. Gently shake to distribute spices.
- Refrigerate immediately. Let pickles sit for at least 24 hours (48 hours is better) before eating. Flavor continues to develop over the next week, peaking around day 5.
Notes
Do not skip the ice bath; it is the key to maximum crunch. Use kosher salt, not table salt. Smash garlic cloves rather than slicing for better flavor. Pack jars tightly to keep cucumbers submerged. Be patient—flavor develops over 2-5 days. Reuse brine for a second batch with fresh garlic and dill.
Nutrition
- Serving Size: 3 spears (about 60g)
- Calories: 1015
- Sugar: 1
- Sodium: 350400
- Carbohydrates: 2
Keywords: refrigerator pickles, crispy pickles, garlic dill pickles, easy pickles, homemade pickles, no canning pickles


