It was a Tuesday night, and I had a craving for something warm and sweet that wouldn’t leave me with a week’s worth of leftovers. I had two apples sitting in the fruit bowl, a little past their prime for eating raw, and a pantry full of basic baking staples. That was it—no elaborate plan, no complicated recipe bookmarked. I just wanted a dessert that felt special but didn’t require a mixer or a trip to the store. Honestly, most single-serving or two-serving dessert recipes I had tried before were either too fussy or left me wanting more. I needed something that actually worked for two people, not a scaled-down version of a full cake. So I started playing around with the apples, hollowing them out and filling them with whatever I had on hand. The first batch was a little too dry, the second a little too sweet. But the third? That was the one. The apples softened perfectly, the filling caramelized into a buttery, spiced syrup, and the whole thing came together in under an hour. I remember sitting down with my husband, each of us with our own little apple, and feeling that quiet satisfaction of a recipe that just works. It wasn’t a showstopper for a crowd—it was a simple, personal treat for the two of us. And honestly, that made it taste even better.
Why You’ll Love This Recipe
These easy brown sugar cinnamon baked apples for two are the kind of dessert that feels like a hug in a bowl. They’re simple, forgiving, and incredibly satisfying. Here’s why they deserve a spot in your regular rotation:
- Perfectly Portioned: This recipe is designed for two people, so no more staring down a giant dish of leftovers. It’s the ideal ending to a cozy dinner for two.
- Minimal Effort, Maximum Flavor: With just a handful of ingredients and about 10 minutes of prep, you get a dessert that tastes like you spent hours in the kitchen. The oven does all the heavy lifting.
- Naturally Gluten-Free & Dairy-Friendly: The base recipe uses simple ingredients that are naturally gluten-free, and swapping in a dairy-free butter makes it work for almost any diet.
- Customizable to Your Pantry: Don’t have raisins? Use dried cranberries. Want a little crunch? Add walnuts or pecans. This recipe is a blank canvas for your favorite flavors.
- Unbelievably Comforting: The scent of cinnamon and brown sugar baking in the oven is pure nostalgia. These baked apples deliver that warm, spiced flavor with a soft, jammy texture that’s downright addictive.
I’ve tested this recipe with different apple varieties, different fillings, and different baking times. This version is the one that hits the sweet spot every single time. It’s not just another baked apple recipe—it’s the one that makes you close your eyes after the first bite and forget about everything else.
What Ingredients You Will Need
This recipe relies on a handful of pantry staples to create something truly special. Each ingredient plays a specific role, and I’ve included a few notes on how to choose the best ones for perfect results.
- 2 large apples (such as Honeycrisp, Fuji, or Granny Smith): The star of the show. You want apples that hold their shape during baking. Honeycrisp and Fuji are sweet and stay firm, while Granny Smith offers a tart contrast to the sweet filling. Avoid mealy varieties like Red Delicious, which can turn to mush. (I personally love Honeycrisp for their balance of sweet and tart, and they hold up beautifully.)
- ¼ cup packed light brown sugar: This is the main sweetener and the source of that deep, molasses-like flavor. Pack it firmly into the measuring cup for accuracy. Dark brown sugar works too, but it will give a slightly more intense, caramel-like flavor.
- 2 tablespoons unsalted butter, softened: Butter adds richness and helps the filling become a little gooey as it bakes. Make sure it’s softened to room temperature so it mixes easily with the other ingredients. You can use salted butter, but reduce the added salt in the filling to a pinch.
- ½ teaspoon ground cinnamon: The essential warm spice. Fresh cinnamon makes a difference here, so if your jar has been sitting in the pantry for a while, consider replacing it. You can also add a pinch of nutmeg or allspice for extra warmth.
- ¼ cup old-fashioned rolled oats: These add a lovely, chewy texture to the filling and help absorb some of the juices as the apples bake. Quick oats work in a pinch, but they’ll break down more and won’t provide the same texture. For a gluten-free option, use certified gluten-free oats.
- 2 tablespoons chopped walnuts or pecans (optional): A little crunch goes a long way. Toast them lightly in a dry pan before adding to the filling for even more flavor. This is entirely optional, but I almost always add them for texture.
- 2 tablespoons raisins or dried cranberries (optional): These little bursts of sweetness are a classic addition. They plump up during baking and add a nice chew. I love using dried cranberries for a slightly tart pop.
- ¼ cup apple cider or water: This is poured into the bottom of the baking dish to create steam, which helps the apples cook evenly and prevents them from drying out. Apple cider adds a lovely fruity depth, but plain water works perfectly fine.
- Pinch of salt: A tiny amount of salt balances the sweetness and enhances all the other flavors. Don’t skip it!
Equipment Needed
You don’t need any fancy gadgets for this recipe. Here’s what you’ll need:
- Small baking dish (around 8×8 inches or a similar size): A dish that’s just big enough to hold the two apples snugly is ideal. A small casserole dish, a gratin dish, or even a small cast-iron skillet works perfectly. (I use a small oval gratin dish that I picked up at a thrift store—it’s the perfect size for two.)
- Small mixing bowl: For combining the filling ingredients.
- Sharp knife and cutting board: For cutting the apples and chopping any nuts or dried fruit.
- Melon baller or small spoon: This makes coring the apples much easier. A teaspoon works in a pinch, but a melon baller is a game-changer for scooping out the core cleanly.
- Measuring cups and spoons: For accurate measurements.
If you don’t have a melon baller, just use a small paring knife to carefully cut around the core, then use a spoon to scoop out the seeds and any tough bits. It takes a little longer, but it works just fine.
Preparation Method
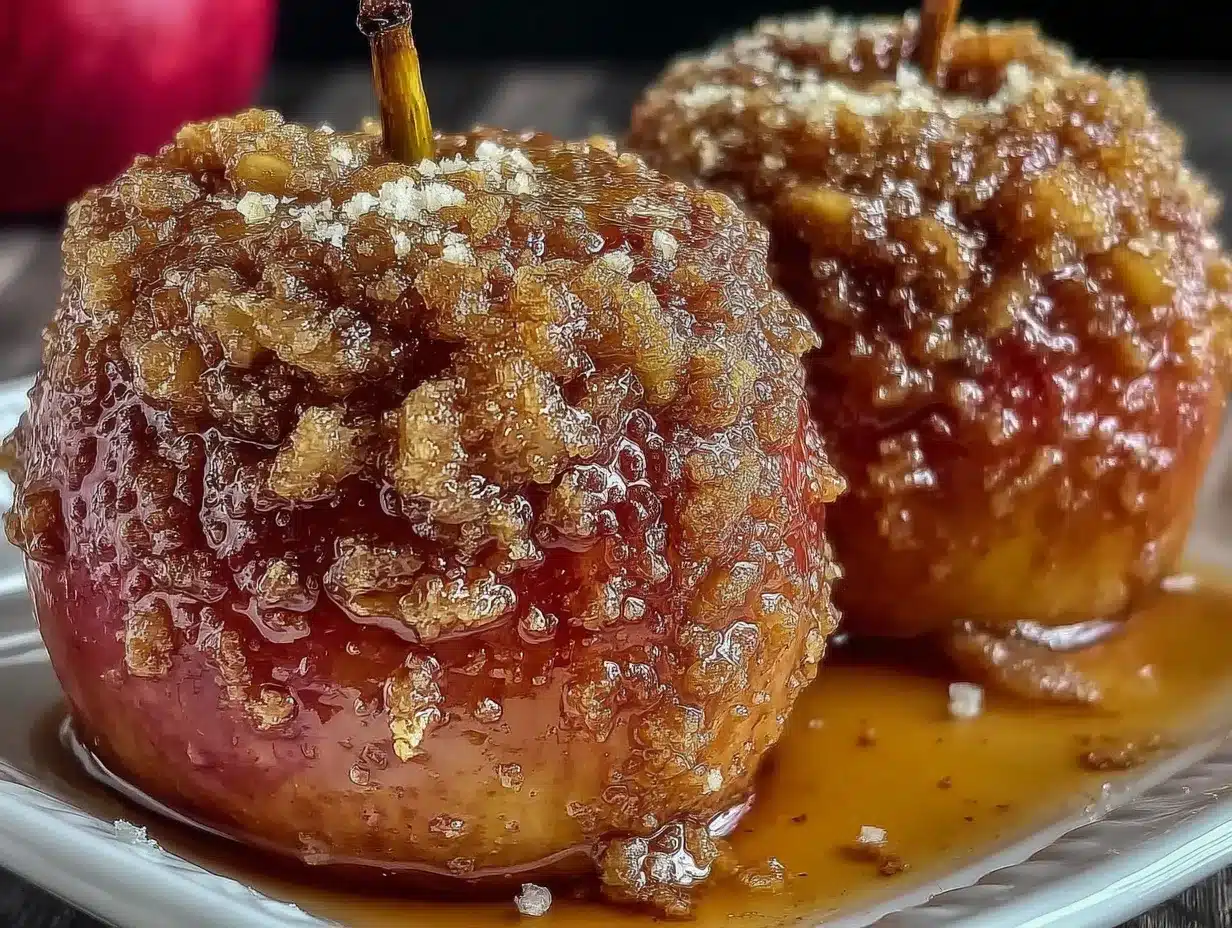
Follow these steps for perfectly baked apples every time. I’ve included some sensory cues and tips I’ve learned from making this recipe more times than I can count.
- Preheat your oven to 350°F (175°C). Getting the oven to the right temperature is important for even cooking. While it’s heating, you can prep the apples.
- Prepare the apples. Wash and dry the apples. Using a sharp knife, cut off the top ½ inch of each apple (the stem end). You’re creating a little “lid.” Set the tops aside. Now, use a melon baller or a small spoon to carefully scoop out the core of each apple, working from the top down. Be sure to remove all the seeds and the tough center membrane, but leave the bottom of the apple intact so the filling doesn’t leak out. The cavity should be about 1 to 1½ inches wide. (I’ve learned the hard way that if you cut through the bottom, the filling just melts into the dish, and you end up with a sad, hollow apple.)
- Make the filling. In the small mixing bowl, combine the packed brown sugar, softened butter, ground cinnamon, rolled oats, chopped nuts (if using), and dried fruit (if using). Add a tiny pinch of salt. Use a fork to mash everything together until it forms a crumbly, cohesive mixture. It should look like a slightly wet streusel. (The smell of the butter and brown sugar mixing with the cinnamon is already incredible at this point.)
- Fill the apples. Place the hollowed apples in the baking dish. Divide the filling evenly between the two apples, packing it down gently with the back of a spoon or your fingers. Don’t be afraid to mound it up a little—it will sink down as it bakes. Place the reserved apple tops back on the filling, like little hats.
- Add the liquid. Pour the apple cider or water into the bottom of the baking dish, being careful not to pour it directly over the apples. The liquid should come up about ¼ inch around the base of the apples. This creates steam and keeps the apples moist.
- Bake. Place the dish in the preheated oven and bake for 35 to 45 minutes. The exact time will depend on the size and variety of your apples. You’ll know they’re done when the apples are tender when pierced with a fork (they should offer a little resistance but not be hard), and the filling is bubbly and fragrant. The skin of the apples might also start to wrinkle slightly. (I start checking at the 30-minute mark with a fork. If it slides in easily, they’re done. If there’s still firmness, give them another 5-10 minutes.)
- Rest and serve. Carefully remove the baking dish from the oven (it will be hot!). Let the apples rest for 5 to 10 minutes. This allows the juices to settle and the filling to set slightly. Serve warm, spooning some of the syrupy pan juices over the top. A scoop of vanilla ice cream or a dollop of whipped cream is highly recommended!
Cooking Tips & Techniques
Over the years, I’ve had my share of baked apple mishaps. Here are a few tips to help you avoid the same pitfalls and get perfect results every time.
- Choose the right apple. This is the most important tip. You want an apple that holds its shape when baked. I’ve had great luck with Honeycrisp, Fuji, and Granny Smith. Avoid Red Delicious or McIntosh, as they tend to break down into applesauce. If you’re unsure, ask at your grocery store or farmers’ market—they love to help.
- Don’t overfill the cavity. It’s tempting to pack in as much filling as possible, but leave a little room. The filling expands slightly as it bakes, and if it’s too full, it can bubble over and create a mess in the bottom of the dish (though that mess is still delicious).
- Use a fork to test for doneness. A knife can sometimes cut through the apple too easily, making it seem done when it’s still a little firm in the center. A fork is a better tool for checking tenderness. It should slide in with gentle pressure.
- Let them rest. I know it’s hard to wait, but letting the apples rest for a few minutes after baking is crucial. The filling is molten hot right out of the oven, and the juices need a moment to settle. Plus, the apples themselves will be easier to handle.
- Make extra pan sauce. If you want a little more sauce to spoon over the apples, you can add an extra tablespoon of butter and a splash of apple cider to the pan before baking. The juices will combine and create a wonderful, syrupy sauce.
One time, I forgot to add the liquid to the bottom of the dish, and the apples came out dry and shriveled. It was a sad lesson, but it taught me the importance of that steam. Don’t skip it!
Variations & Adaptations
This recipe is incredibly versatile. Here are a few ways to change it up based on what you have on hand or what you’re craving.
- Dairy-Free Version: Simply swap the unsalted butter for a high-quality plant-based butter (like Miyoko’s or Earth Balance). The filling will still be rich and delicious.
- Nut-Free Version: Omit the walnuts or pecans entirely. You can replace them with additional oats or a tablespoon of sunflower seeds for a little crunch.
- Spiced-Up Version: Add ¼ teaspoon of ground ginger, a pinch of ground cloves, or a dash of cardamom to the filling for a more complex, chai-like flavor profile. A tiny pinch of black pepper can also enhance the warmth of the cinnamon.
- Maple Bourbon Version: Replace the brown sugar with 2 tablespoons of pure maple syrup and add 1 tablespoon of bourbon to the apple cider in the bottom of the dish. This creates an incredibly sophisticated, grown-up dessert.
- Fruit & Nut Swaps: Instead of raisins and walnuts, try dried cherries and chopped pecans, or dried apricots and sliced almonds. The possibilities are endless. I once made a version with dried figs and pistachios, and it was absolutely incredible.
If you love this kind of cozy, fruit-forward dessert, you’ll also enjoy our classic Southern peach cobbler for another warm, comforting treat.
Serving & Storage Suggestions
These baked apples are best served warm, right out of the oven. The contrast between the soft, tender apple and the warm, slightly crunchy filling is pure magic. Here’s how to make the most of them.
Serving: Place each baked apple in a small bowl or a shallow dish. Spoon some of the syrupy pan juices over the top. A scoop of vanilla bean ice cream is the classic pairing—the cold creaminess against the warm spiced apple is heavenly. A dollop of freshly whipped cream, a drizzle of heavy cream, or a spoonful of Greek yogurt also works beautifully. For a little extra crunch, sprinkle a few toasted pecans or a pinch of granola on top.
Storage: If you have any leftover baked apples (unlikely, but possible!), let them cool completely, then transfer them to an airtight container. They will keep in the refrigerator for up to 3 days. The texture will soften further, but the flavor will still be wonderful.
Reheating: To reheat, place the apple in a small oven-safe dish with a tablespoon of water or apple cider. Cover with foil and warm in a 300°F (150°C) oven for 10-15 minutes, or until heated through. You can also reheat them in the microwave in 30-second bursts, but the texture won’t be as good. I prefer the oven method for the best results.
These apples pair beautifully with a cozy fall meal. Try serving them after a bowl of our cozy fall harvest chicken and wild rice soup for the ultimate comforting dinner.
Nutritional Information & Benefits
While this is definitely a dessert, it does have some redeeming qualities. Apples are a great source of fiber and vitamin C, and the oats provide some whole-grain goodness. Here’s an approximate nutritional breakdown for one baked apple (using the recipe as written, with walnuts and raisins, and without ice cream):
- Calories: ~320
- Fat: ~14g
- Carbohydrates: ~52g
- Fiber: ~6g
- Sugar: ~38g
- Protein: ~4g
Dietary Considerations: This recipe is naturally gluten-free if you use certified gluten-free oats. It can easily be made dairy-free by using plant-based butter. It is vegetarian and contains no eggs. The main allergens are dairy (butter) and tree nuts (walnuts/pecans), which can be omitted or substituted.
I love that this dessert feels indulgent but is made from real, whole-food ingredients. It satisfies that sweet tooth without the processed stuff, and it makes you feel good about what you’re eating.
Conclusion
These easy brown sugar cinnamon baked apples for two are more than just a recipe—they’re a little moment of peace at the end of a long day. They’re simple enough for a Tuesday night but special enough for a date night or a holiday dinner. The warm, spiced aroma that fills your kitchen as they bake is worth the effort alone. I hope you give them a try and make them your own. Add your favorite nuts, swap in different dried fruits, or just enjoy them as written. The beauty of this recipe is its simplicity and how easily it adapts to what you love.
If you make these, I’d love to hear about it! Leave a comment below and let me know how they turned out, or share a photo on social media and tag me. Your feedback and creativity are what make this community so special. And if you’re looking for another simple, cozy dessert, don’t miss our cozy baked apple cider donuts with cinnamon sugar for another apple-inspired treat.
Happy baking, friends. I hope these little apples bring you as much warmth and comfort as they’ve brought me.
Frequently Asked Questions
Can I use any type of apple for this recipe?
For the best results, choose apples that hold their shape during baking, like Honeycrisp, Fuji, or Granny Smith. Softer apples like Red Delicious or McIntosh will turn mushy.
Can I make this recipe for just one person?
Absolutely! Simply halve all the filling ingredients and bake one apple in a small dish. The baking time may be slightly shorter, so start checking at the 25-minute mark.
Can I prepare these baked apples ahead of time?
You can core the apples and prepare the filling up to a day in advance. Store them separately in the refrigerator. When you’re ready to bake, fill the apples and follow the baking instructions. You may need to add 5-10 minutes to the baking time since the apples will be cold.
Can I bake these in an air fryer?
Yes! Preheat your air fryer to 325°F (160°C). Place the filled apples in an air fryer-safe dish with the liquid. Cook for 15-20 minutes, or until the apples are tender. Check them early, as air fryers can vary.
What can I use instead of oats in the filling?
If you don’t have rolled oats, you can use crushed graham crackers, crushed shortbread cookies, or even a tablespoon of almond flour for a different texture. The oats add chewiness, so the texture will change, but it will still be delicious.
Pin This Recipe!
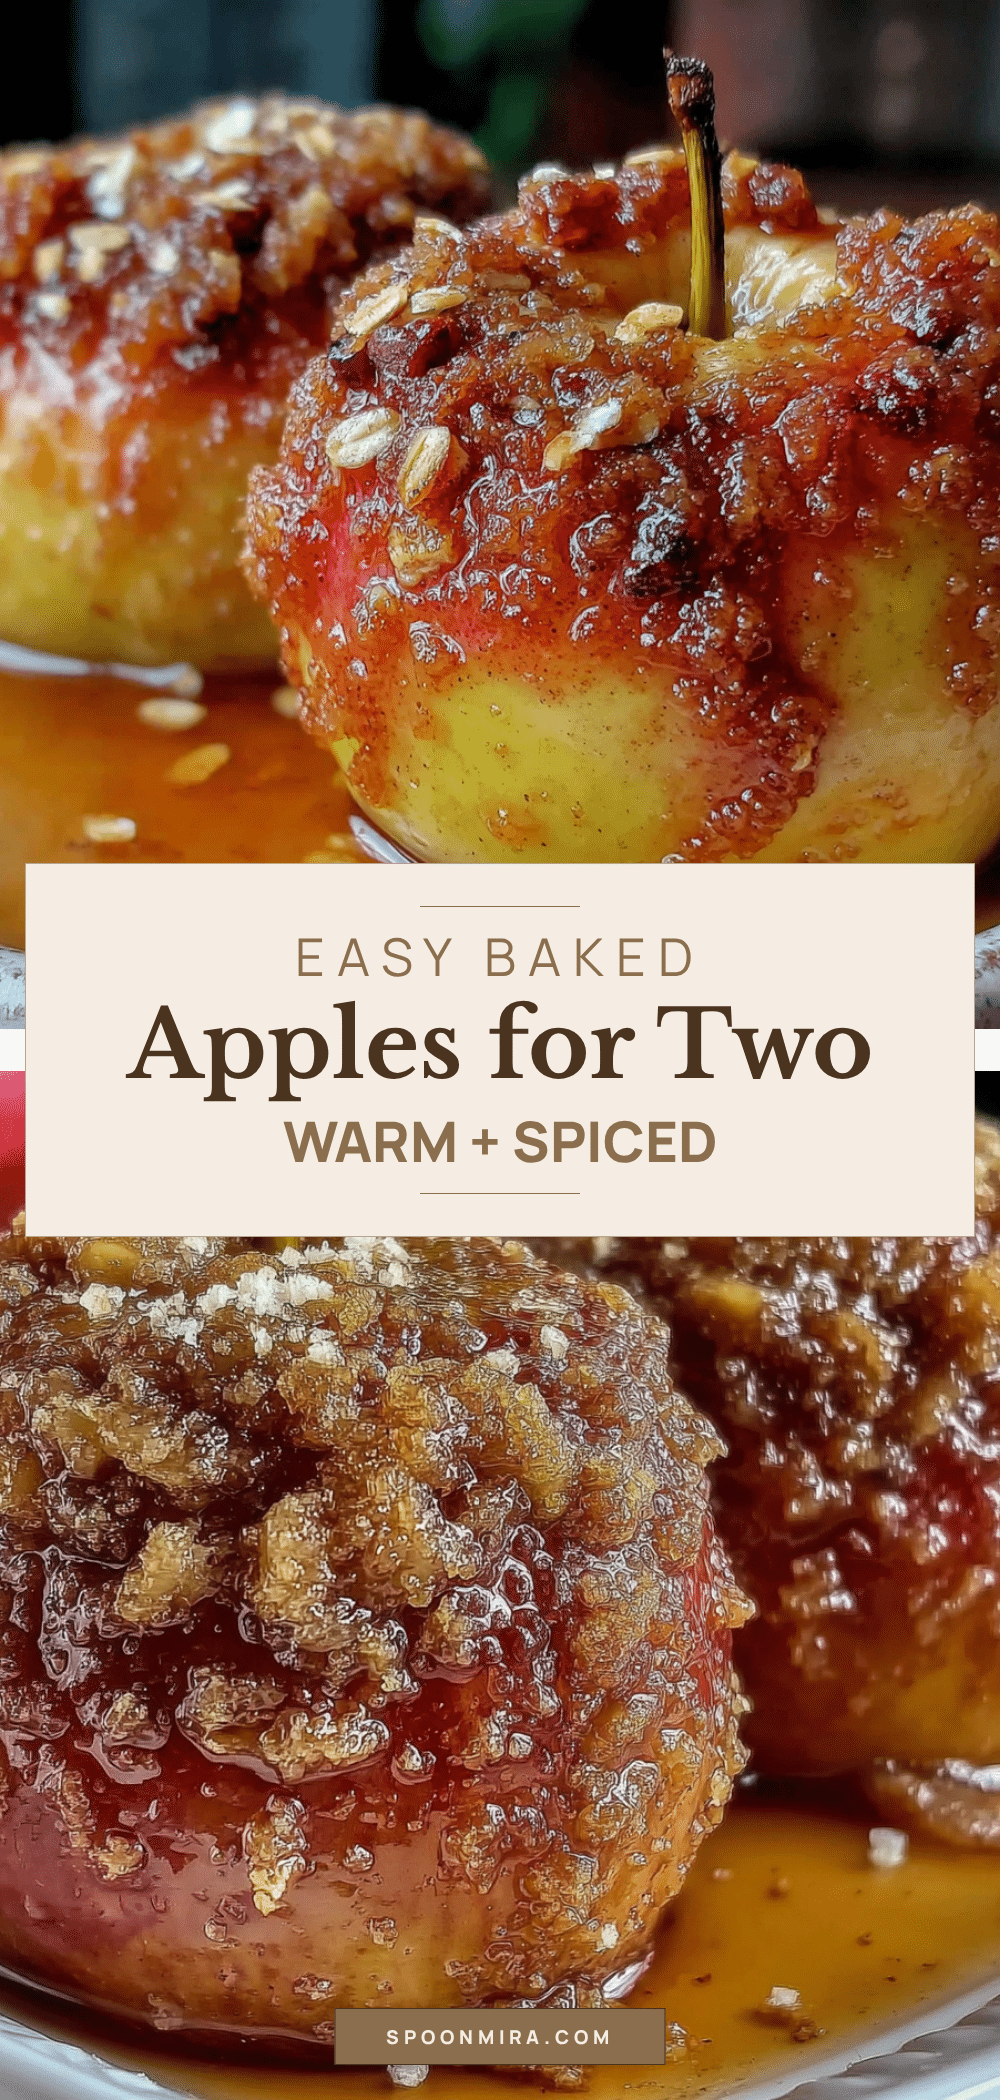
Easy Brown Sugar Cinnamon Baked Apples for Two

Perfectly portioned baked apples filled with a buttery brown sugar, cinnamon, and oat streusel. This simple, comforting dessert comes together in under an hour with minimal effort and is naturally gluten-free and easily dairy-free.
- Prep Time: 10 minutes
- Cook Time: 35-45 minutes
- Total Time: 45-55 minutes
- Yield: 2 servings 1x
- Category: Dessert
- Cuisine: American
Ingredients
- 2 large apples (such as Honeycrisp, Fuji, or Granny Smith)
- ¼ cup packed light brown sugar
- 2 tablespoons unsalted butter, softened
- ½ teaspoon ground cinnamon
- ¼ cup old-fashioned rolled oats
- 2 tablespoons chopped walnuts or pecans (optional)
- 2 tablespoons raisins or dried cranberries (optional)
- ¼ cup apple cider or water
- Pinch of salt
Instructions
- Preheat your oven to 350°F (175°C).
- Wash and dry the apples. Cut off the top ½ inch of each apple (the stem end) to create a lid. Set tops aside. Use a melon baller or small spoon to carefully scoop out the core, removing all seeds and the tough center membrane, but leaving the bottom intact so the filling doesn’t leak out. The cavity should be about 1 to 1½ inches wide.
- In a small mixing bowl, combine the packed brown sugar, softened butter, ground cinnamon, rolled oats, chopped nuts (if using), dried fruit (if using), and a tiny pinch of salt. Use a fork to mash everything together until it forms a crumbly, cohesive mixture.
- Place the hollowed apples in a small baking dish (around 8×8 inches or similar). Divide the filling evenly between the two apples, packing it down gently. Mound it up slightly if needed. Place the reserved apple tops back on the filling.
- Pour the apple cider or water into the bottom of the baking dish, being careful not to pour it directly over the apples. The liquid should come up about ¼ inch around the base of the apples.
- Bake for 35 to 45 minutes, until the apples are tender when pierced with a fork and the filling is bubbly and fragrant. Start checking at the 30-minute mark.
- Remove from the oven and let the apples rest for 5 to 10 minutes. Serve warm, spooning some of the syrupy pan juices over the top. A scoop of vanilla ice cream or a dollop of whipped cream is recommended.
Notes
Choose apples that hold their shape when baked, like Honeycrisp, Fuji, or Granny Smith. Avoid Red Delicious or McIntosh. Don’t overfill the cavity; leave a little room for expansion. Let the apples rest after baking to allow the filling to set. For extra sauce, add an extra tablespoon of butter and a splash of apple cider to the pan before baking.
Nutrition
- Serving Size: 1 baked apple
- Calories: 320
- Sugar: 38
- Sodium: 50
- Fat: 14
- Saturated Fat: 6
- Carbohydrates: 52
- Fiber: 6
- Protein: 4
Keywords: baked apples, brown sugar cinnamon, dessert for two, easy dessert, gluten-free dessert, fall dessert, apple recipe


