My sourdough starter, affectionately named “Bubbles,” was practically screaming at me from the counter. It was mid-October, a chilly Tuesday, and I had a half-can of pumpkin puree staring back at me from the fridge. Honestly, I was tired of the same old crusty loaves. I wanted something that tasted like fall feels—warm, spiced, and a little bit sweet.
So I threw caution (and a little bit of baking logic) to the wind. I swapped some of the water for pumpkin puree, tossed in a heavy hand of cinnamon and cloves, and crossed my fingers. The dough felt different—softer, almost velvety. It rose slower than usual, which made me nervous. But the smell that filled my kitchen while it baked? Pure magic.
That first slice, still warm and slathered with maple butter, was a revelation. The crust had that signature sourdough crackle, but the crumb was tender and kissed with autumn spice. It wasn’t just bread; it was a moment. And honestly, that’s the kind of recipe that sticks with you—the one you didn’t plan for, but you’re so glad you made.
Why You Will Love This Recipe
Let’s be real—baking sourdough can feel like a science experiment sometimes. But this Homemade Pumpkin Sourdough Bread with Maple Butter is different. It’s forgiving, it’s flavorful, and it makes your house smell like a cozy bakery.
- No Fussy Timeline : The pumpkin puree actually extends the fermentation window, so you have more flexibility with your schedule. Forget the rigid 4-hour bulk rise—this dough waits for you.
- Simple, Wholesome Ingredients : You probably already have flour, water, salt, and a starter. The pumpkin and spices are the only special additions, and they’re totally worth it.
- Perfect for Fall Gatherings : This bread is a showstopper on a Thanksgiving table or alongside a warm bowl of soup. It’s impressive without being complicated.
- That Maple Butter, Though : The maple butter is not an afterthought—it’s the co-star. Whipped with real maple syrup and a pinch of salt, it transforms every slice into a treat.
- Trusted by My Family : I’ve tested this recipe half a dozen times, tweaking the hydration and spice levels until it was just right. Even my picky eater, who usually shuns “weird bread,” asked for seconds.
This isn’t just another pumpkin bread recipe. It’s the one that makes you close your eyes after the first bite. The tangy sourdough perfectly balances the sweet pumpkin and warm spices, creating a depth of flavor you just can’t get with commercial yeast. It’s comfort food reimagined—healthier, more complex, and deeply satisfying.
What Ingredients You Will Need
This recipe uses simple, wholesome ingredients to create something truly special. Most of these are pantry staples, especially if you’re already a sourdough baker. The pumpkin and maple syrup add a seasonal twist that feels luxurious without being fussy.
For the Pumpkin Sourdough Bread
- Active sourdough starter (100g) — Make sure it’s bubbly and fed 4-6 hours before you start. A hungry starter won’t give you the rise you need.
- Bread flour (400g) — I prefer King Arthur for its consistent protein content. It gives the bread structure and a satisfying chew.
- Whole wheat flour (100g) — Adds a nutty depth that pairs beautifully with the pumpkin. You can use all-purpose if that’s all you have, but the texture will be slightly different.
- Pumpkin puree (150g) — Canned is perfectly fine here. Just make sure it’s 100% pure pumpkin, not pumpkin pie filling. Libby’s is my go-to brand.
- Water (200g) — Room temperature is best. The pumpkin adds moisture, so we use slightly less water than a standard sourdough loaf.
- Fine sea salt (10g) — Don’t skip this. Salt controls fermentation and enhances all the other flavors.
- Ground cinnamon (2 tsp) — The backbone of the spice blend.
- Ground ginger (1 tsp) — Adds a little warmth and zing.
- Ground nutmeg (½ tsp) — Freshly grated is amazing if you have it.
- Ground cloves (¼ tsp) — A little goes a long way. It’s potent but essential.
For the Maple Butter
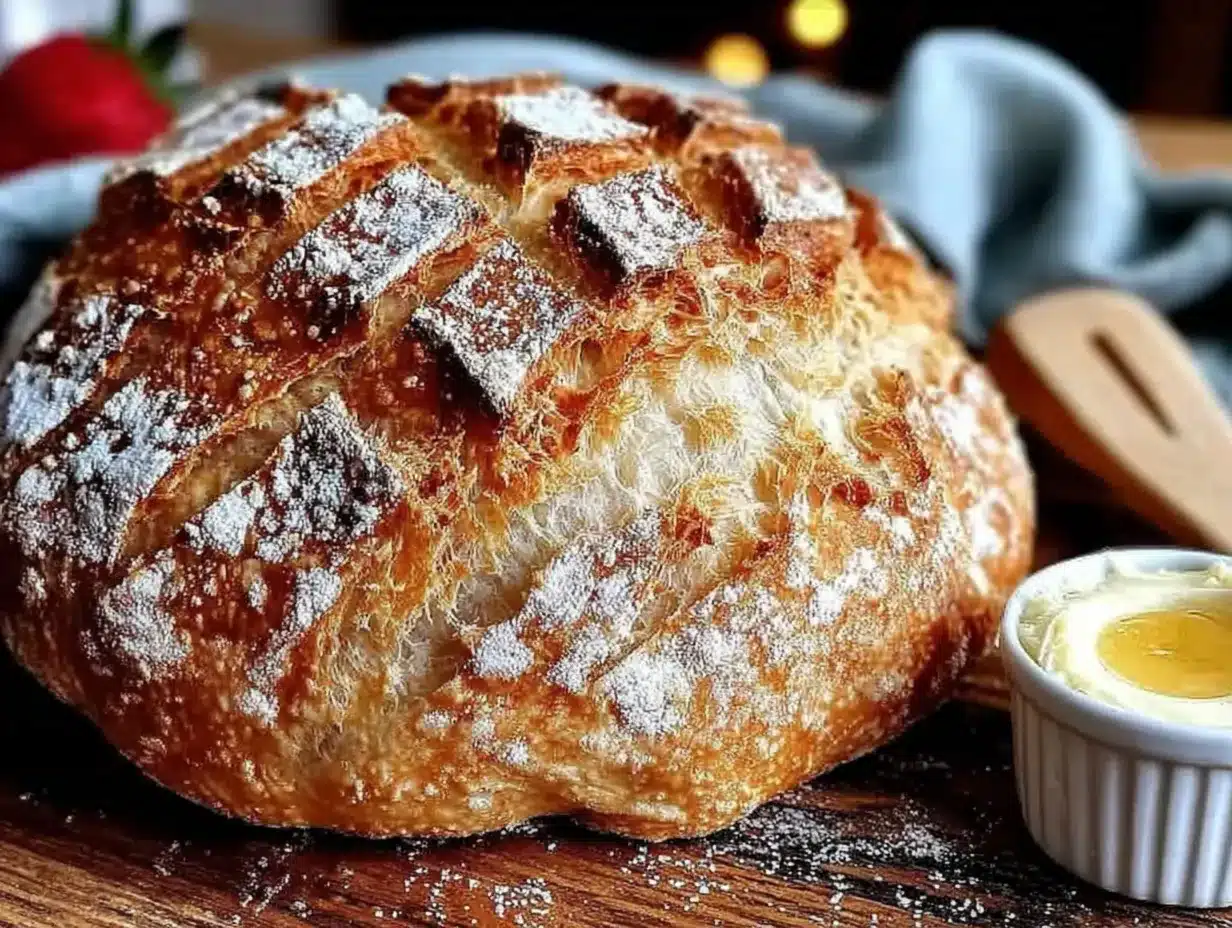
- Unsalted butter (½ cup, 1 stick) — Softened to room temperature. I use Kerrygold for its rich, creamy flavor.
- Pure maple syrup (3 tbsp) — Not pancake syrup! Real maple syrup makes a huge difference here. Grade A dark amber is my favorite.
- Flaky sea salt (a pinch) — Maldon is perfect. It cuts the sweetness and makes the butter addictive.
Substitution Notes : If you need a dairy-free option, use a high-quality vegan butter for the maple butter. For the bread, you can replace the whole wheat flour with an equal amount of bread flour, but the flavor will be less complex. And if you’re out of a specific spice, just add an extra ½ teaspoon of cinnamon—it’s the most forgiving spice in the mix.
I recommend using a kitchen scale for this recipe, especially for the flour and water. Measuring by volume can lead to a dough that’s too dry or too sticky, and with sourdough, precision really matters. Trust me, I’ve learned that the hard way!
Equipment Needed
You don’t need a professional bakery setup to make this bread, but a few key tools will make your life a whole lot easier.
- Kitchen scale (digital) — This is non-negotiable for consistent sourdough. A $15 scale from Amazon works perfectly.
- Large mixing bowl — Glass or ceramic is ideal. Avoid metal if you can, as it can sometimes react with the dough.
- Dutch oven (5-6 quart) — This creates the steam needed for a crispy, blistered crust. If you don’t have one, you can use a baking stone with a metal pan of boiling water on the bottom rack.
- Banneton proofing basket (or a bowl lined with a floured kitchen towel) — I love my oval banneton, but a simple colander works in a pinch.
- Bench scraper — Great for handling sticky dough and dividing it if you’re making two loaves.
- Razor blade or lame — For scoring the dough before baking. A sharp knife works too, but a lame gives you cleaner cuts.
- Parchment paper — Makes transferring the dough to the Dutch oven a breeze.
- Cooling rack — Essential for letting the bread cool properly. Slicing it too early will ruin the texture.
Budget-Friendly Tip : If you’re just starting out, skip the banneton and use a medium-sized mixing bowl lined with a well-floured tea towel. And if you don’t have a Dutch oven, you can bake the bread on a preheated baking sheet and place a metal pan of water on the rack below to create steam. It works, even if the crust isn’t quite as dramatic.
Preparation Method
This process takes about 24 hours from start to finish, but don’t let that scare you. Most of that time is hands-off fermentation while you go about your day. The actual active work is maybe 20 minutes total.
Step 1: Mix the Dough (10 minutes)
In a large bowl, combine the active sourdough starter with the water and pumpkin puree. Stir until mostly combined. Add the bread flour, whole wheat flour, and all the spices. Mix with your hand or a dough whisk until no dry bits remain. It will look shaggy and rough—that’s exactly what we want.
Cover the bowl with a damp towel or plastic wrap and let it rest for 30 minutes. This is called autolyse, and it gives the flour time to absorb the liquid, making the dough easier to work with later.
Step 2: Add the Salt (5 minutes)
After the rest, sprinkle the salt over the dough. Wet your hands slightly and pinch the dough, folding it over itself to incorporate the salt. It will feel sticky and a bit messy, but keep going until the salt is fully distributed. This takes about 2-3 minutes of gentle folding.
Cover and let the dough rest for another 30 minutes.
Step 3: Bulk Fermentation (6-8 hours at room temperature)
Now we start the stretch and folds. Every 30 minutes for the first 2 hours, wet your hands, grab one side of the dough, stretch it up, and fold it over the center. Rotate the bowl and repeat 3-4 times. This builds strength in the dough without kneading.
After the first 2 hours, let the dough rest. The total bulk fermentation time depends on your kitchen temperature. At 72°F (22°C), it takes about 6-7 hours. The dough should be puffy, jiggly, and about 50% larger than when you started. You should see small bubbles on the surface and along the sides of the bowl.
My Tip : If your kitchen is cold (below 68°F), the fermentation will take longer—maybe 8-10 hours. Don’t rush it. A slow, cold fermentation actually develops more flavor. I once let this dough go for 12 hours in a chilly kitchen, and it was the best loaf I ever made.
Step 4: Shape the Dough (5 minutes)
Lightly flour your work surface. Gently turn the dough out—try not to deflate it too much. Fold the top edge toward the center, then the bottom edge, then the sides, creating a tight ball. Flip it over so the seam is on the bottom. Using your hands, gently cup the dough and drag it toward you in small circular motions to create surface tension. You should see the top tighten and smooth out.
Place the dough seam-side up into your floured banneton or lined bowl. Cover with a towel or plastic wrap.
Step 5: Cold Proof (12-16 hours in the fridge)
This is the secret to deep flavor and an open crumb. Put the shaped dough in the refrigerator overnight. The cold slows down fermentation, allowing the flavors to develop without over-proofing. The dough will be ready to bake when it feels slightly springy but still holds a fingerprint when you poke it.
Warning : Don’t skip this step! I tried rushing it once and baked after only 4 hours in the fridge. The bread was flat and dense. The overnight rest is worth the wait.
Step 6: Bake (45 minutes)
Place your Dutch oven in the oven and preheat to 500°F (260°C). Let it heat for at least 30 minutes. When it’s screaming hot, carefully remove the Dutch oven. Flip the dough out onto a piece of parchment paper. Score the top with a razor blade—a simple slash down the center or a decorative pattern. Use the parchment paper as a sling to lower the dough into the Dutch oven.
Cover with the lid and bake for 25 minutes. Remove the lid and reduce the oven temperature to 450°F (230°C). Bake for another 20-25 minutes, until the crust is deep golden brown and the internal temperature reaches 200°F (93°C).
Cool completely on a wire rack before slicing—at least 2 hours. I know it’s hard to wait, but cutting into hot bread will give you a gummy, disappointing crumb.
Step 7: Make the Maple Butter (5 minutes)
While the bread is cooling, make the maple butter. In a small bowl, beat the softened butter with a fork or hand mixer until fluffy. Add the maple syrup and a pinch of flaky salt. Mix until smooth and creamy. That’s it! Store in the fridge, but let it come to room temperature before serving.
Cooking Tips & Techniques
I’ve made this recipe at least ten times, and I’ve picked up a few tricks along the way. Here’s what I wish I knew from the start.
Watch Your Hydration : Pumpkin puree is mostly water, but it also contains fiber and starch that absorb liquid differently. If your dough feels too sticky after the first stretch and fold, resist the urge to add more flour. It will firm up as the gluten develops. If it feels too stiff, you can add a tablespoon of water during the next stretch and fold.
The Fingerprint Test : This is how I check if my dough is properly proofed. Lightly flour your finger and poke the dough about half an inch deep. If it springs back slowly and leaves a small indent, it’s ready. If it springs back immediately, it needs more time. If it doesn’t spring back at all, you’ve over-proofed it—bake it anyway, it will still taste good, just denser.
Don’t Over-Score : I learned this the hard way. A deep, decisive slash is better than a shallow, hesitant one. The score should be about ¼ inch deep. If it’s too shallow, the bread will burst open in an unpredictable spot. If it’s too deep, the loaf might collapse. Aim for a confident, single motion.
Multitasking Strategy : I like to mix the dough in the morning before work. I do the stretch and folds during my lunch break, then shape it in the evening before bed. It bakes the next morning while I make coffee. The rhythm of it becomes second nature.
For more tips on working with fermented doughs, you might enjoy my Creamy Overnight Oats with Brown Sugar Cinnamon—it’s a different kind of fermentation, but the patience pays off in the same way.
Variations & Adaptations
One of the best things about this recipe is how customizable it is. Here are a few ways I’ve played with it over the years.
Add-In Variation: Toasted Pepitas & Dried Cranberries
After the first stretch and fold, gently fold in ½ cup of toasted pepitas and ½ cup of dried cranberries. The pepitas add a nutty crunch, and the cranberries give little bursts of tart sweetness. It’s my favorite holiday variation.
Dairy-Free Maple Butter
Use a high-quality vegan butter like Miyoko’s or Country Crock Plant Butter. The texture will be slightly softer, but the flavor is still incredible. Just make sure the butter is fully softened before whipping.
Whole Grain Swap
Replace the whole wheat flour with spelt or rye flour for a different flavor profile. Rye adds a deep, earthy note that pairs beautifully with the pumpkin and spices. Spelt gives a lighter, slightly nutty crumb.
Savory Version
Skip the cinnamon, ginger, nutmeg, and cloves. Instead, add 1 tablespoon of fresh rosemary, 1 teaspoon of cracked black pepper, and ½ cup of grated Parmesan cheese. Serve it alongside a hearty soup or stew. I love it with my Creamy Hatch Green Chile Corn Chowder—the combination is pure fall comfort.
Gluten-Free Adaptation
I’ll be honest—sourdough is tricky to make gluten-free. But if you need to try, use a gluten-free flour blend that includes xanthan gum, and reduce the water by 25%. The texture will be denser and more cake-like, but the flavor will still be lovely.
Serving & Storage Suggestions
This bread is best served warm, but it’s also incredible at room temperature. Here’s how to make the most of it.
Serving : Slice the bread about ¾ inch thick. Toast it lightly if you want a crispier crust, but honestly, it’s so good fresh that I often skip the toaster. Spread a generous layer of maple butter on top, and watch it melt into the warm crumb. It’s also fantastic alongside a bowl of soup or stew. The slight tang of the sourdough cuts through rich, creamy soups beautifully.
Storage : Store the bread cut-side down on a cutting board at room temperature for up to 2 days. For longer storage, wrap it tightly in plastic wrap and then in foil. Freeze for up to 3 months. To thaw, leave it at room temperature for a few hours, then reheat in a 350°F oven for 10 minutes to revive the crust.
Maple Butter Storage : Keep the maple butter in an airtight container in the fridge for up to 2 weeks. Let it sit at room temperature for 15 minutes before serving so it’s spreadable. The flavors actually deepen after a day or two in the fridge.
Reheating Tip : If you’re reheating a frozen slice, pop it directly in the toaster. It comes out crispy on the outside and soft on the inside—almost better than fresh.
For a sweet treat that uses similar fall flavors, try my Perfect Fall Pumpkin Spice Sheet Cake. It’s a different kind of pumpkin magic.
Nutritional Information & Benefits
While I’m not a nutritionist, I can share what I’ve learned about the ingredients in this bread. It’s a more wholesome option than many store-bought loaves.
Estimated Per Slice (1/12 of loaf, without maple butter) :
- Calories: 180
- Carbohydrates: 36g
- Protein: 6g
- Fat: 1g
- Fiber: 3g
- Sugar: 2g
Health Highlights :
- Pumpkin is packed with vitamin A and fiber. It supports eye health and digestion.
- Sourdough fermentation breaks down phytic acid, making the minerals in the flour more bioavailable. It also creates a lower glycemic index than regular bread, which means steadier energy levels.
- Whole wheat flour adds extra fiber and B vitamins compared to all-purpose flour alone.
- Maple syrup contains antioxidants and minerals like zinc and manganese, though it’s still sugar—so enjoy it in moderation.
Dietary Considerations : This recipe is vegetarian. To make it vegan, use the dairy-free butter option for the maple butter. It is not gluten-free, but I’ve included a gluten-free adaptation above. It contains wheat and dairy (in the maple butter).
Conclusion
This Homemade Pumpkin Sourdough Bread with Maple Butter has become a fall tradition in my kitchen, and I have a feeling it will become one in yours too. It’s the kind of recipe that feels special without being stressful—a warm, spiced loaf that fills your home with the scent of cinnamon and comfort.
I love how forgiving it is. Even on days when my starter isn’t at its peak, or when I accidentally let the bulk fermentation go a little long, the bread still turns out delicious. It’s a reminder that baking doesn’t have to be perfect to be wonderful.
I’d love to hear how it goes for you! Did you try a variation? Did your family love it as much as mine? Drop a comment below and share your experience. And if you’re looking for more cozy fall recipes, be sure to check out my Best Cast Iron Brown Sugar Peach Cobbler—it’s another one that disappears fast.
Happy baking, friends. Your kitchen is about to smell amazing.
Frequently Asked Questions
Can I use active dry yeast instead of sourdough starter?
Technically, yes, but it won’t be the same bread. If you want a pumpkin bread with commercial yeast, you’ll need to adjust the liquid and skip the long fermentation. The tangy, complex flavor of sourdough is hard to replicate. I’d recommend sticking with the starter for this recipe.
My dough is really sticky. What am I doing wrong?
Nothing! Pumpkin puree makes the dough feel wetter than a standard sourdough. Resist the urge to add extra flour. The dough will firm up as the gluten develops during the stretch and folds. Wet your hands before handling it, and you’ll be fine.
Can I bake this in a loaf pan instead of a Dutch oven?
Absolutely. Shape the dough into a log and place it in a greased 9×5 inch loaf pan for the final proof. Bake at 375°F (190°C) for 35-40 minutes. You won’t get the same crispy crust, but you’ll have a soft, sandwich-friendly loaf.
How do I know if my starter is active enough?
Your starter should be bubbly, doubled in size, and pass the “float test”—a small spoonful should float in a glass of water. Feed it 4-6 hours before you plan to mix the dough. If it’s sluggish, give it a few more feedings over a couple of days to strengthen it.
Can I make the maple butter ahead of time?
Yes, and I actually recommend it! The flavors meld together beautifully after a day in the fridge. Just take it out 15 minutes before serving to soften. It’s also amazing on pancakes, waffles, or even stirred into oatmeal.
Pin This Recipe!
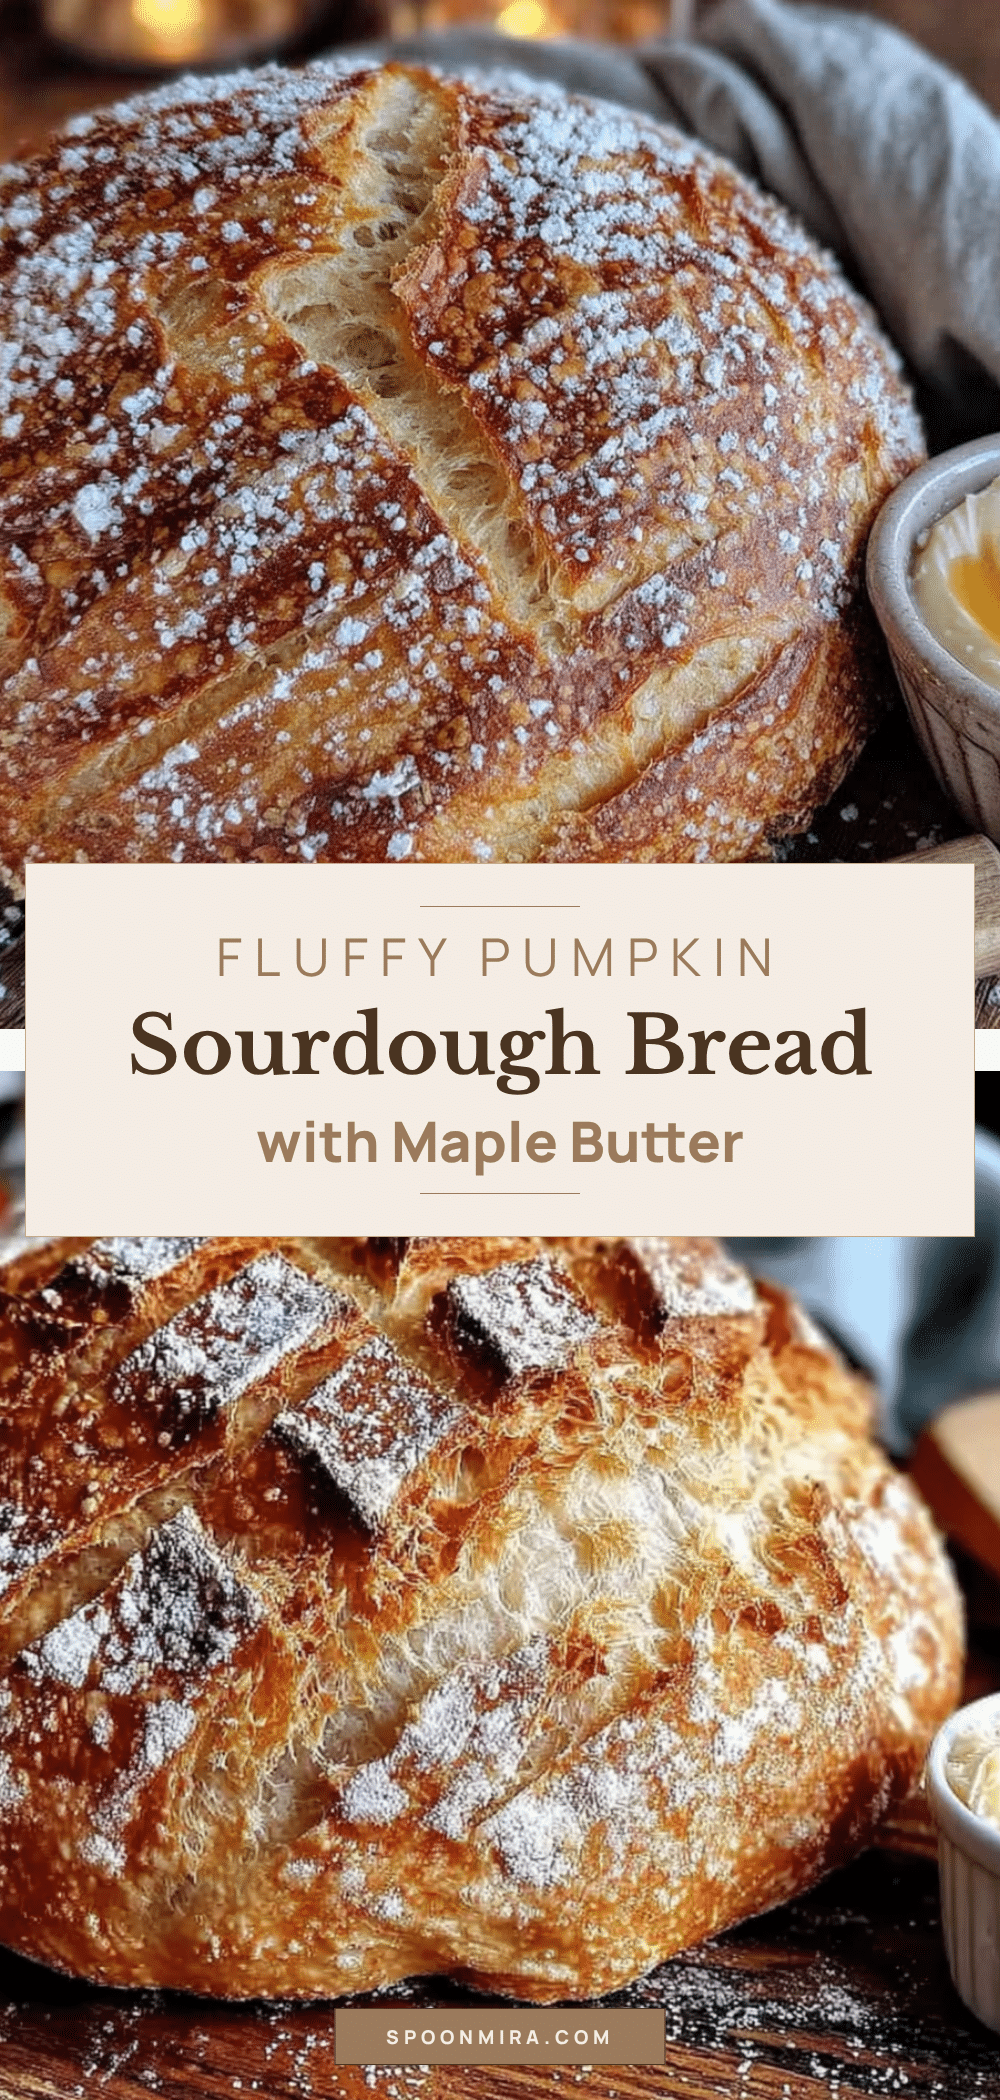
Easy Homemade Pumpkin Sourdough Bread Recipe + Maple Butter
A forgiving and flavorful sourdough bread infused with pumpkin puree and warm autumn spices, served with a whipped maple butter that transforms every slice into a cozy treat.
- Prep Time: 20 minutes
- Cook Time: 45 minutes
- Total Time: 24 hours (includes fermentation and proofing)
- Yield: 12 servings 1x
- Category: Bread
- Cuisine: American
Ingredients
- 100g active sourdough starter
- 400g bread flour
- 100g whole wheat flour
- 150g pumpkin puree
- 200g water, room temperature
- 10g fine sea salt
- 2 tsp ground cinnamon
- 1 tsp ground ginger
- ½ tsp ground nutmeg
- ¼ tsp ground cloves
- ½ cup (1 stick) unsalted butter, softened
- 3 tbsp pure maple syrup
- a pinch flaky sea salt
Instructions
- Mix the Dough: In a large bowl, combine the active sourdough starter with water and pumpkin puree. Stir until mostly combined. Add bread flour, whole wheat flour, and all spices. Mix until no dry bits remain. Cover and let rest for 30 minutes (autolyse).
- Add the Salt: Sprinkle salt over the dough. Wet your hands and pinch the dough, folding it over itself to incorporate the salt. Cover and rest for another 30 minutes.
- Bulk Fermentation: Perform stretch and folds every 30 minutes for the first 2 hours. Then let the dough rest for 6-8 hours at room temperature (72°F/22°C) until puffy, jiggly, and about 50% larger.
- Shape the Dough: Lightly flour your work surface. Gently turn out the dough. Fold top edge toward center, then bottom, then sides to create a tight ball. Flip seam-side down and cup the dough, dragging it toward you to create surface tension. Place seam-side up into a floured banneton or lined bowl.
- Cold Proof: Cover and refrigerate for 12-16 hours.
- Bake: Place Dutch oven in oven and preheat to 500°F (260°C) for at least 30 minutes. Carefully remove Dutch oven. Flip dough onto parchment paper, score the top, and lower into Dutch oven using parchment. Cover and bake 25 minutes. Remove lid, reduce oven to 450°F (230°C), and bake 20-25 minutes more until deep golden brown and internal temperature reaches 200°F (93°C). Cool completely on a wire rack for at least 2 hours.
- Make Maple Butter: In a small bowl, beat softened butter with a fork or hand mixer until fluffy. Add maple syrup and a pinch of flaky salt. Mix until smooth and creamy.
Notes
The pumpkin puree extends the fermentation window, giving flexibility. For a dairy-free option, use vegan butter for the maple butter. If your kitchen is cold, bulk fermentation may take 8-10 hours. Do not skip the cold proof for best flavor and crumb. Let bread cool completely before slicing to avoid gummy texture.
Nutrition
- Serving Size: 1 slice (1/12 of loa
- Calories: 180
- Sugar: 2
- Sodium: 390
- Fat: 1
- Carbohydrates: 36
- Fiber: 3
- Protein: 6
Keywords: pumpkin sourdough bread, sourdough bread recipe, pumpkin bread, maple butter, fall baking, homemade bread, sourdough with pumpkin


