I wasn’t expecting coffee-making advice from my son’s third-grade teacher, but there I was, volunteering at the school book fair, surrounded by cardboard displays and the smell of old paperback, listening to Mrs. Patterson describe exactly how to make a copycat Starbucks brown sugar oat milk shaken espresso. She was setting up the “New Arrivals” table, and I was alphabetizing fantasy novels, when she just started talking about how her kids beg for this drink every single morning. “It’s cheaper than the drive-thru,” she said, wiping dust off a hardcover, “and honestly, it tastes better.” I laughed and told her I’d been spending way too much at Starbucks lately. She pulled a crumpled sticky note from her pocket with measurements scribbled in purple pen. “Try it,” she said. “You’ll never go back.”
Let me tell you, she was right. I went home that afternoon, dug through my pantry, and found everything I needed. I mean, I had to borrow oat milk from a neighbor because I’d forgotten to grab some at the store—classic Tuesday move—but the first sip? I actually closed my eyes. It was that good. The brown sugar syrup came together in minutes, and the whole thing felt like a little victory.
Maybe you’ve been there, staring at the Starbucks app, trying to justify the $6 price tag for a drink that takes thirty seconds to make. I get it. That’s exactly why this recipe stuck with me. It’s not just about saving money, though that’s a big part of it. It’s about having that warm, cozy feeling of a caf�-quality drink right in your own kitchen, made exactly the way you like it. And honestly, it’s become a little ritual I look forward to every single day.
Why You’ll Love This Recipe
This isn’t just another copycat recipe you’ll try once and forget about. This is the one that becomes a permanent part of your morning routine. I’ve tested this version at least a dozen times, tweaking the ratios, trying different brands of oat milk, and even letting my kids be the taste testers. Here’s why this one wins every single time:
- Saves You Money: A single Starbucks shaken espresso costs around $6. This homemade version? About $1.50 per drink. That’s serious savings if you’re a regular.
- Simple Ingredients: You probably already have brown sugar, vanilla extract, and cinnamon in your pantry. Oat milk is easy to find at any grocery store.
- Kid-Friendly Fun: My kids love helping me shake the jar. It’s a great way to get them involved in the kitchen without any hot equipment.
- Perfect for Busy Mornings: It takes less than five minutes from start to finish. No waiting in line, no drive-thru.
- Customizable Sweetness: You control exactly how much brown sugar syrup goes in. Want it less sweet? Easy. Want an extra pump? Go for it.
- Crowd-Pleaser: I’ve served this at brunch and playdates, and everyone asks for the recipe. It’s that good.
What makes this recipe different from all the others online? It’s the technique. Most recipes just dump everything in a glass and stir. That’s fine, but it doesn’t give you that beautiful foam and perfectly mixed flavor. The shaking step is non-negotiable here. It aerates the espresso, creates a light froth, and blends the brown sugar syrup so every sip is consistent. Plus, I’ve figured out the exact ratio of ice to liquid so your drink stays cold without getting watery. This isn’t just a copycat—it’s an upgrade.
This recipe connects to something deeper than just caffeine. It’s about those small moments of joy in a busy day. That first sip when the world feels quiet and everything is right. It’s comfort in a glass, made faster and smarter than the original.
What Ingredients You Will Need
This recipe uses simple, everyday ingredients to create a drink that tastes like it came from a professional caf�. No fancy syrups or specialty items required. Everything here is easy to find and budget-friendly, which is exactly what you need when you’re feeding a family.
For the Brown Sugar Syrup:
- 1 cup brown sugar, packed (I prefer dark brown sugar for a deeper molasses flavor, but light works too)
- 1 cup water
- 1 teaspoon vanilla extract (pure vanilla makes a difference, but imitation works in a pinch)
- 1/2 teaspoon ground cinnamon (adds that warm, cozy note that makes this taste like fall all year round)
For the Espresso:
- 2 shots of espresso, about 2 ounces each (or 1/2 cup strong brewed coffee, cooled slightly)
- 2 tablespoons brown sugar syrup (adjust to your sweetness preference)
- 1 cup oat milk (I recommend Oatly Barista Edition or Califia Farms for the creamiest texture)
- Ice cubes (enough to fill your glass)
Optional Add-Ins:
- 1/4 teaspoon vanilla bean paste (for extra vanilla flavor without the alcohol taste of extract)
- A pinch of salt (balances the sweetness and enhances the coffee flavor)
- Whipped cream (because sometimes you deserve a treat)
Ingredient Tips:
For the oat milk, avoid the refrigerated cartons labeled “original” or “plain.” They’re too thin and watery for this drink. Look for barista blends or oat milks specifically designed for coffee. They have a higher fat content and emulsifiers that prevent curdling and create a better foam.
If you don’t have an espresso machine, don’t worry. You can use a Moka pot, an Aeropress, or even strong drip coffee. Just make sure it’s concentrated. Regular coffee will make the drink too watery.
For the brown sugar, dark brown sugar gives a richer, more caramel-like flavor that mimics the Starbucks version perfectly. If you only have light brown sugar, add an extra 1/4 teaspoon of molasses to get closer to that taste.
I’ve tried this with almond milk and coconut milk, and honestly, they don’t work as well. The texture is too thin, and the flavors don’t meld the same way. Stick with oat milk for the best results.
Equipment Needed
You don’t need any fancy barista tools for this recipe. Here’s what you’ll need:
- A mason jar or cocktail shaker (a 16-ounce jar with a tight-fitting lid works perfectly)
- A small saucepan (for making the brown sugar syrup)
- A measuring cup (for precise liquid measurements)
- A spoon or whisk (for stirring the syrup)
- A tall glass (for serving)
- A strainer (optional, for catching any undissolved sugar crystals)
If you don’t have a mason jar, any container with a secure lid will work. I’ve used a protein shaker bottle in a pinch, and it did the job. Just make sure the lid is on tight before you start shaking.
I bought a cheap cocktail shaker from a thrift store for $2, and it’s become my go-to for this recipe. It’s easier to hold and shake than a mason jar, plus it has a built-in strainer. But honestly, a jar works just fine.
For the espresso, if you don’t have a machine, a Moka pot is a great budget-friendly option. They’re around $20 and make excellent concentrated coffee. I’ve had mine for years, and it’s paid for itself many times over.
Preparation Method
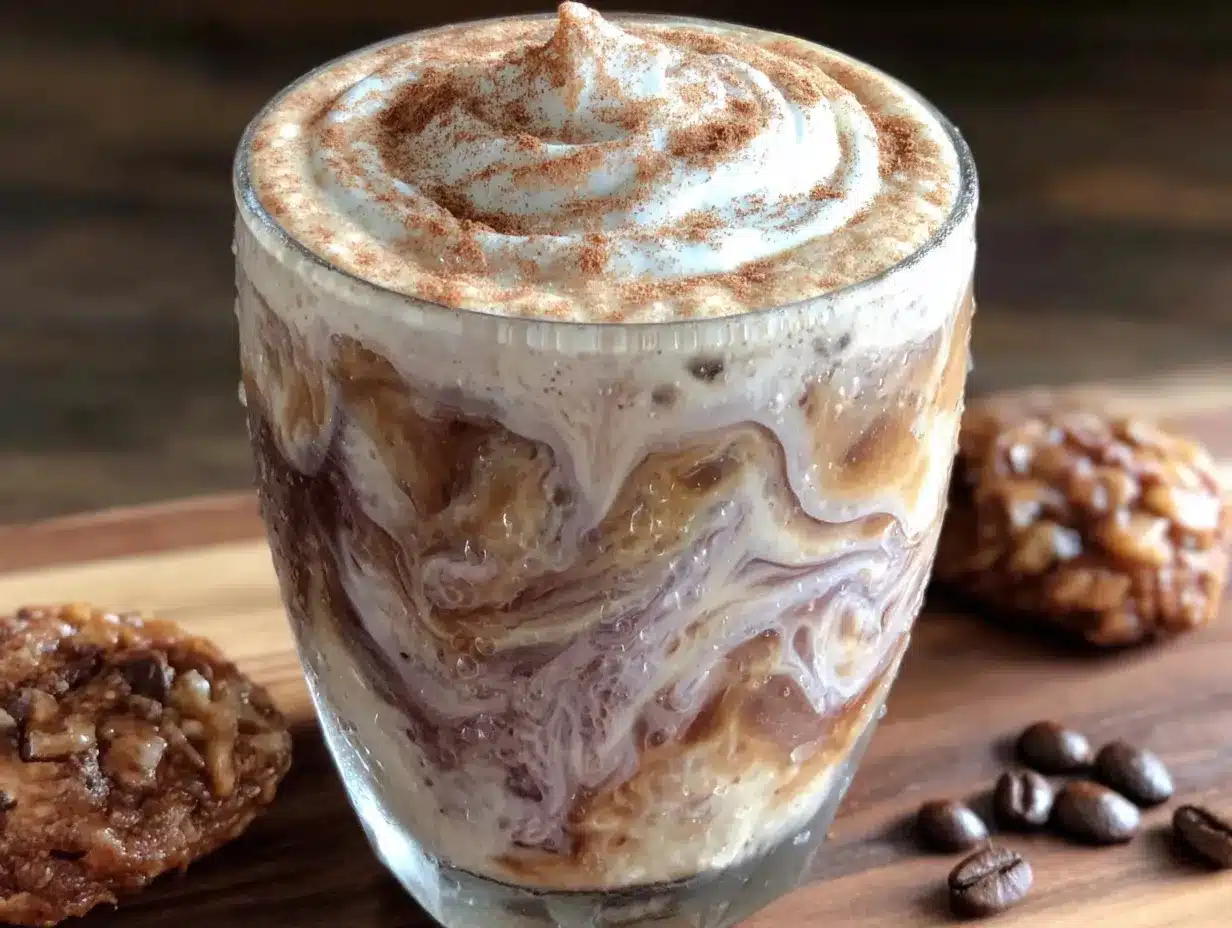
Let’s walk through this step by step. I’ll include all the little details I’ve learned from making this dozens of times.
Step 1: Make the Brown Sugar Syrup
In a small saucepan, combine 1 cup packed brown sugar and 1 cup water. Place it over medium heat and stir occasionally until the sugar completely dissolves. This takes about 3-4 minutes. You’ll see the mixture go from cloudy to clear as the sugar melts. Once it’s dissolved, remove it from the heat and stir in 1 teaspoon vanilla extract and 1/2 teaspoon ground cinnamon. Let it cool completely before using. This makes about 1 1/2 cups of syrup, which will last for weeks in the fridge.
Pro tip: Don’t let the syrup boil vigorously. A gentle simmer is all you need. Boiling can cause the sugar to crystallize, and you’ll end up with a grainy texture.
Step 2: Brew Your Espresso
Brew 2 shots of espresso, about 2 ounces each. If you’re using a Moka pot, fill the bottom chamber with water up to the valve, fill the filter basket with finely ground coffee, and screw on the top chamber. Place it over medium heat and listen for a gurgling sound. Once it starts bubbling, remove it from the heat. If you’re using an Aeropress, use the inverted method for a stronger brew.
Step 3: Combine Espresso and Syrup
In your mason jar or shaker, add 2 tablespoons of the brown sugar syrup. Pour in the hot espresso. The heat helps the syrup dissolve completely, so don’t skip this step. Give it a quick stir with a spoon to make sure everything is combined.
Step 4: Add Ice and Shake
Fill the jar about halfway with ice cubes. You want enough ice to chill the drink but not so much that there’s no room for shaking. Secure the lid tightly. Now, shake it vigorously for about 15-20 seconds. You’ll hear the ice clattering around, and the mixture will become frothy and light in color. This is where the magic happens.
Step 5: Pour Over Fresh Ice
Fill your serving glass with fresh ice cubes. Pour the shaken espresso mixture over the ice. Don’t skip this step—using fresh ice keeps your drink cold without diluting it.
Step 6: Add the Oat Milk
Slowly pour 1 cup of oat milk over the back of a spoon into the glass. This helps the milk layer nicely on top of the espresso, creating that beautiful gradient effect. If you want a fully mixed drink, just stir it with a straw.
Step 7: Enjoy Immediately
This drink is best enjoyed right away while the foam is still fluffy and the ice is fresh. Give it a stir if you want the milk fully incorporated, or sip it through a straw to get those distinct layers.
Troubleshooting Tip: If your drink tastes watery, you probably used too much ice or not enough espresso. Next time, use less ice or add an extra shot of espresso. If it’s too sweet, reduce the syrup to 1 1/2 tablespoons. If it’s not sweet enough, add another half tablespoon.
Cooking Tips & Techniques
I’ve made this drink so many times that I’ve learned a few tricks the hard way. Let me save you the trouble.
The Shaking Technique: Don’t be gentle with the shaking. You want to really work that mixture. Hold the jar with both hands and shake it like you mean it. The goal is to create microfoam, those tiny bubbles that make the drink feel velvety. If you shake too gently, you’ll just have slightly stirred coffee.
Temperature Matters: The espresso should be hot when you add it to the syrup. Cold espresso won’t dissolve the sugar properly, and you’ll end up with a gritty drink. If your espresso has cooled down, microwave it for 10 seconds before adding the syrup.
Ice Strategy: Use large ice cubes if you can. They melt slower than small cubes, keeping your drink cold without diluting it. I freeze water in silicone molds to make big cubes, and it makes a noticeable difference.
The First Time I Messed Up: I once forgot to add the syrup before shaking. I ended up with a jar of plain espresso and ice, and then I had to fish the ice out with a spoon to add the syrup. It was a mess. Now I always do the syrup first. Learn from my mistake.
Batch Prep: If you’re making this for a crowd or want to save time, make a big batch of brown sugar syrup and keep it in the fridge. It lasts for up to three weeks. You can also pre-measure the espresso and syrup into jars, so all you have to do in the morning is add ice and shake.
Consistency Tip: If you’re using a different brand of oat milk, the texture might vary. Some oat milks are thinner and won’t create as much foam. If that happens, try shaking the oat milk in a separate jar before adding it to the drink. It helps create a better texture.
Variations & Adaptations
This recipe is incredibly versatile. Here are some ways to change it up based on what you have on hand or what you’re in the mood for.
Dairy-Free Adaptation: This recipe is already dairy-free if you use oat milk. But if you want a different non-dairy milk, try cashew milk for a creamier texture or coconut milk for a tropical twist. Just remember, thinner milks won’t foam as well.
Seasonal Twist: In the fall, add 1/4 teaspoon pumpkin pie spice to the syrup along with the cinnamon. In the winter, try a peppermint version by adding 1/8 teaspoon peppermint extract to the syrup. In the summer, muddle a few fresh mint leaves in the bottom of the glass before adding the ice.
Lower Sugar Option: Use a sugar-free brown sugar substitute like Swerve Brown or Lakanto Golden. The texture will be slightly different, but the taste is surprisingly close. You can also reduce the syrup to 1 tablespoon for a less sweet drink.
Extra Caffeine Kick: Add an extra shot of espresso for a stronger coffee flavor. This is my go-to on days when I really need a boost. Just be careful not to overfill your shaker.
Flavor Variations: Try adding a splash of vanilla syrup along with the brown sugar syrup for a vanilla brown sugar combination. Or add a pinch of nutmeg or cardamom to the syrup for a spiced version. My personal favorite is adding a small dash of orange zest to the syrup—it sounds weird, but it’s amazing.
Iced Latte Version: If you don’t want to shake the espresso, you can skip that step and just pour the espresso and syrup over ice, then top with oat milk. It won’t be as frothy, but it’s still delicious and takes even less time.
Hot Version: For a warm drink, skip the ice and shake the espresso and syrup together without ice. Then heat the oat milk and pour it over the espresso mixture. It’s a cozy alternative for cold mornings.
Serving & Storage Suggestions
This drink is best served immediately, but here’s how to make the most of it.
Serving Temperature: Serve it cold over fresh ice. The contrast between the cold milk and the bold espresso is what makes this drink so satisfying. If you’re making it for a crowd, set up a “build your own” station with the espresso mixture, oat milk, and various syrups so everyone can customize their drink.
Presentation: Use a clear glass so you can see the beautiful layers. I like to use a 16-ounce tumbler with a straw. The straw makes it easy to sip from the bottom and get a mix of all the flavors.
What to Serve With It: This drink pairs perfectly with a simple breakfast like toast with avocado or a bowl of oatmeal. It’s also great alongside a pastry or muffin. My kids love it with a slice of banana bread.
Storage: The brown sugar syrup can be stored in an airtight container in the refrigerator for up to three weeks. The espresso mixture should be made fresh each time. Don’t try to store the finished drink—it will get watery and lose its foam.
Reheating: If you have leftover syrup that’s crystallized, just microwave it for 15-20 seconds and stir. It will dissolve again. Don’t microwave the finished drink—it’s meant to be cold.
Flavor Development: The syrup actually gets better after a day or two in the fridge. The flavors meld together, and the cinnamon becomes more pronounced. I always make a big batch of syrup on Sunday so it’s ready for the week.
Nutritional Information & Benefits
Here’s the approximate nutritional breakdown for one serving (using 2 tablespoons of syrup and 1 cup of oat milk):
| Nutrient | Amount |
|---|---|
| Calories | 190 |
| Total Fat | 4g |
| Saturated Fat | 0.5g |
| Carbohydrates | 36g |
| Sugar | 28g |
| Fiber | 2g |
| Protein | 3g |
| Caffeine | 150mg |
Health Benefits: Oat milk is a great source of beta-glucans, a type of soluble fiber that can help lower cholesterol and support heart health. It’s also naturally free of lactose and nuts, making it a good option for people with allergies. Brown sugar contains small amounts of minerals like calcium and iron, though it’s still sugar, so enjoy in moderation.
Dietary Considerations: This recipe is naturally dairy-free, vegan, and nut-free (if you use oat milk). It can be made gluten-free by ensuring your oat milk is certified gluten-free, as some brands process oats in facilities that also process wheat.
Allergen Warning: Oat milk is generally safe for most people, but if you have celiac disease, look for certified gluten-free oat milk. Some people with gluten sensitivity react to oats even if they’re labeled gluten-free.
My Personal Perspective: I love that this drink feels like a treat but doesn’t derail my healthy eating goals. It’s a reasonable indulgence that fits into a balanced lifestyle. And honestly, making it at home means I can control exactly what goes into it—no weird additives or excessive sugar.
Conclusion
This homemade Starbucks brown sugar oat milk shaken espresso is more than just a copycat recipe. It’s a little daily ritual that saves you money, tastes incredible, and brings a moment of calm to your morning. Whether you’re a busy parent trying to avoid the drive-thru line or just someone who loves a good coffee drink, this recipe is for you.
I encourage you to make it your own. Adjust the sweetness, try different milk alternatives, or experiment with new flavors. That’s the beauty of homemade—you’re in control. And honestly, there’s something special about knowing exactly what’s in your cup.
I’d love to hear how this turns out for you! Leave a comment below and let me know if your kids loved shaking the jar as much as mine did. Share your favorite variations, and don’t forget to tag me in your photos. Happy sipping!
Frequently Asked Questions
Can I make this without an espresso machine?
Absolutely! You can use a Moka pot, an Aeropress, or even strong brewed coffee. Just make sure it’s concentrated. If using drip coffee, use half the amount of water you normally would for a stronger brew.
How long does the brown sugar syrup last?
Stored in an airtight container in the refrigerator, the syrup will last for up to three weeks. If you see any mold or off smells, toss it and make a fresh batch.
Can I use regular milk instead of oat milk?
Yes, but the texture will be different. Whole milk will create a creamier drink, while skim milk will be thinner. Oat milk is recommended because it mimics the Starbucks version best, but any milk will work.
Is this drink safe for kids?
The caffeine content is about 150mg per serving, which is similar to a standard cup of coffee. For kids, you can make a “steamer” version by skipping the espresso and just shaking oat milk with the brown sugar syrup and ice. It’s delicious and caffeine-free.
Can I make this ahead of time for meal prep?
You can make the syrup ahead of time, but the finished drink should be made fresh. The espresso mixture loses its foam and gets watery if it sits. I recommend making the syrup on Sunday and then assembling the drink each morning.
Pin This Recipe!
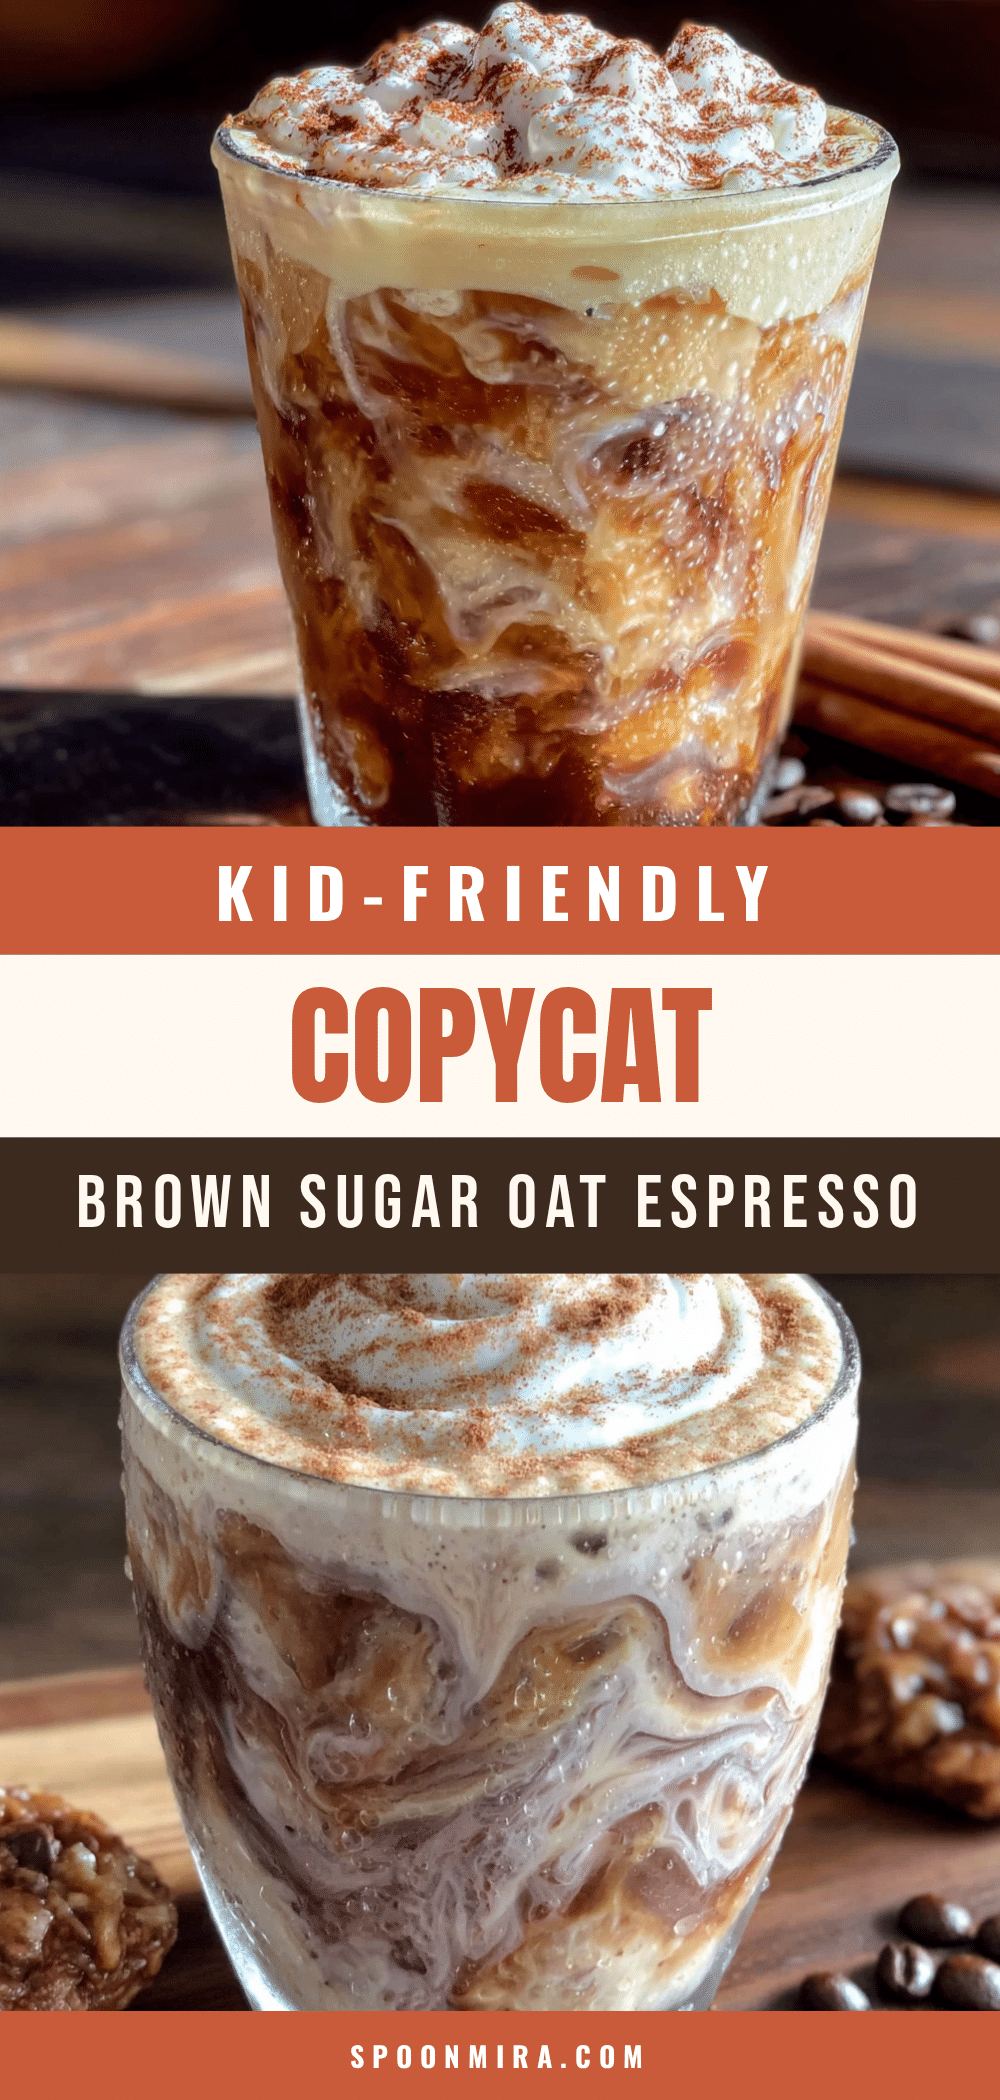
Easy Homemade Starbucks Brown Sugar Oat Milk Espresso

This copycat Starbucks brown sugar oat milk shaken espresso is a quick, budget-friendly morning ritual that tastes better than the drive-thru version. Made with simple ingredients and a special shaking technique, it delivers a perfectly frothy, customizable coffee drink in under five minutes.
- Prep Time: 5 minutes
- Cook Time: 5 minutes
- Total Time: 10 minutes
- Yield: 1 serving 1x
- Category: Beverages
- Cuisine: American
Ingredients
- 1 cup brown sugar, packed
- 1 cup water
- 1 teaspoon vanilla extract
- 1/2 teaspoon ground cinnamon
- 2 shots of espresso, about 2 ounces each (or 1/2 cup strong brewed coffee, cooled slightly)
- 2 tablespoons brown sugar syrup (adjust to taste)
- 1 cup oat milk (preferably barista edition)
- Ice cubes (enough to fill your glass)
- 1/4 teaspoon vanilla bean paste (optional)
- A pinch of salt (optional)
- Whipped cream (optional)
Instructions
- Make the Brown Sugar Syrup: In a small saucepan, combine 1 cup packed brown sugar and 1 cup water. Place over medium heat and stir occasionally until the sugar completely dissolves, about 3-4 minutes. Remove from heat and stir in 1 teaspoon vanilla extract and 1/2 teaspoon ground cinnamon. Let cool completely.
- Brew Your Espresso: Brew 2 shots of espresso (about 2 ounces each). If using a Moka pot or Aeropress, follow the manufacturer’s instructions for a strong brew.
- Combine Espresso and Syrup: In a mason jar or cocktail shaker, add 2 tablespoons of the brown sugar syrup. Pour in the hot espresso and stir briefly to combine.
- Add Ice and Shake: Fill the jar about halfway with ice cubes. Secure the lid tightly and shake vigorously for 15-20 seconds until frothy and light in color.
- Pour Over Fresh Ice: Fill a serving glass with fresh ice cubes. Pour the shaken espresso mixture over the ice.
- Add the Oat Milk: Slowly pour 1 cup of oat milk over the back of a spoon into the glass to create layers. Stir if desired.
- Enjoy Immediately: Serve right away while the foam is still fluffy. Stir or sip through a straw.
Notes
For best results, use barista edition oat milk (like Oatly or Califia Farms) for creaminess and foam. Dark brown sugar gives a richer flavor. If the drink tastes watery, reduce ice or add an extra shot of espresso. The brown sugar syrup can be stored in the refrigerator for up to 3 weeks.
Nutrition
- Serving Size: 1 drink (about 16 ou
- Calories: 190
- Sugar: 28
- Fat: 4
- Saturated Fat: 0.5
- Carbohydrates: 36
- Fiber: 2
- Protein: 3
Keywords: brown sugar oat milk shaken espresso, Starbucks copycat, homemade espresso, iced coffee, oat milk coffee, easy coffee recipe


