That first sticky-sweet smell of peanut butter and honey mixing together in a warm bowl — the kind that clings to your kitchen for hours — still takes me straight to my college dorm room. I was a sophomore, living on instant ramen and sheer determination, when a friend’s mom sent her back with a Tupperware container full of these chewy, no-bake granola bars. One bite, and I knew I had found my people. They weren’t fancy. They weren’t complicated. But they were easy no-bake peanut butter protein granola bars, and they solved my biggest problem: how to eat something real between classes without setting foot in the dining hall.
I begged for the recipe, and after a few failed attempts (too crumbly, too sticky, too sweet), I figured out the exact balance that works. Now, years later, these bars have become my go-to for everything from pre-workout fuel to afternoon slumps. They’re the kind of snack that doesn’t pretend to be dinner, but honestly, they’ve saved me from skipping meals more times than I can count. Let me show you how to make them — no oven required, no fancy equipment, just pure, honest snacking.
Why You’ll Love This Recipe
Let’s be real — finding a healthy snack that actually tastes good and doesn’t require a culinary degree is rare. These bars check every box. They come together in under 15 minutes (plus chilling time), use ingredients you probably already have, and somehow manage to be both satisfying and good for you. I’ve tested this recipe at least a dozen times, tweaking the ratios until the texture was just right — chewy but not crumbly, sweet but not cloying.
- Quick & Easy: No oven, no stovetop, no fuss. You mix, press, and chill. That’s it.
- Simple Ingredients: Peanut butter, honey, oats, protein powder, and a few mix-ins. Nothing weird or hard to find.
- Perfect for Busy Lives: Whether you’re rushing out the door, packing school lunches, or need a post-gym refuel, these bars are ready when you are.
- Crowd-Pleaser: Kids love them, adults love them, and even the pickiest eaters will ask for seconds.
- Unbelievably Delicious: The combination of creamy peanut butter, sticky honey, and crunchy oats creates a texture that’s pure comfort food — but without the guilt.
What makes these bars different from every other recipe out there? It’s the protein powder. I use a vanilla or unflavored whey or plant-based protein, which adds a subtle richness and helps bind everything together. No weird aftertaste, no chalky texture — just a perfectly balanced bite that keeps you full for hours. This isn’t just another granola bar recipe; it’s the one I make every single week without fail.
What Ingredients You Will Need
This recipe uses simple, wholesome ingredients to deliver bold flavor and satisfying texture without the fuss. Most of these are pantry staples, which means you can whip up a batch whenever the craving hits.
- Peanut butter (1 cup / 240g): Use creamy, natural peanut butter for best results. I prefer brands like Justin’s or Smucker’s Natural — they have the perfect consistency without added sugar or hydrogenated oils. If your peanut butter is too runny, the bars won’t hold together well.
- Honey (½ cup / 170g): Raw honey adds natural sweetness and helps bind the bars. You can substitute maple syrup for a vegan option, though the texture will be slightly softer.
- Rolled oats (2 cups / 180g): Old-fashioned rolled oats work best here. Quick oats can make the bars too mushy, and steel-cut oats are too hard. Stick with rolled oats for that perfect chewy texture.
- Protein powder (½ cup / 60g): Vanilla or unflavored protein powder is ideal. I’ve used both whey and plant-based (like Orgain or Garden of Life) with great results. Avoid collagen powder — it won’t provide the same binding.
- Chia seeds (2 tablespoons): These little guys add fiber, omega-3s, and help absorb moisture. They’re optional but highly recommended for texture and nutrition.
- Dark chocolate chips (⅓ cup / 60g): Mini chocolate chips distribute more evenly, but regular ones work too. Use dairy-free if needed.
- Salt (¼ teaspoon): A pinch of salt balances the sweetness and enhances the peanut butter flavor. Don’t skip it!
- Optional mix-ins: Dried cranberries, chopped nuts, shredded coconut, or flaxseed meal — feel free to customize based on what you have on hand.
Equipment Needed
You don’t need a lot of fancy tools for this recipe, which is part of its charm. Here’s what you’ll need:
- Large mixing bowl — any size works, just make sure it’s big enough to mix everything without spilling.
- Spatula or wooden spoon — for stirring the sticky mixture. A silicone spatula makes cleanup easier.
- 8×8-inch baking dish — this is the perfect size for thick bars. You can use a 9×9-inch dish for slightly thinner bars.
- Parchment paper — essential for easy removal. Trust me, don’t skip this step.
- Measuring cups and spoons — for accuracy, especially with the peanut butter and honey.
- Small saucepan or microwave-safe bowl — to warm the peanut butter and honey mixture.
- Refrigerator — for chilling the bars. Patience is key here!
If you don’t have an 8×8 dish, a loaf pan works in a pinch — just press the mixture thinner and adjust chilling time. I’ve also used a 9-inch pie plate with good results, though the bars will be round (obviously).
Preparation Method
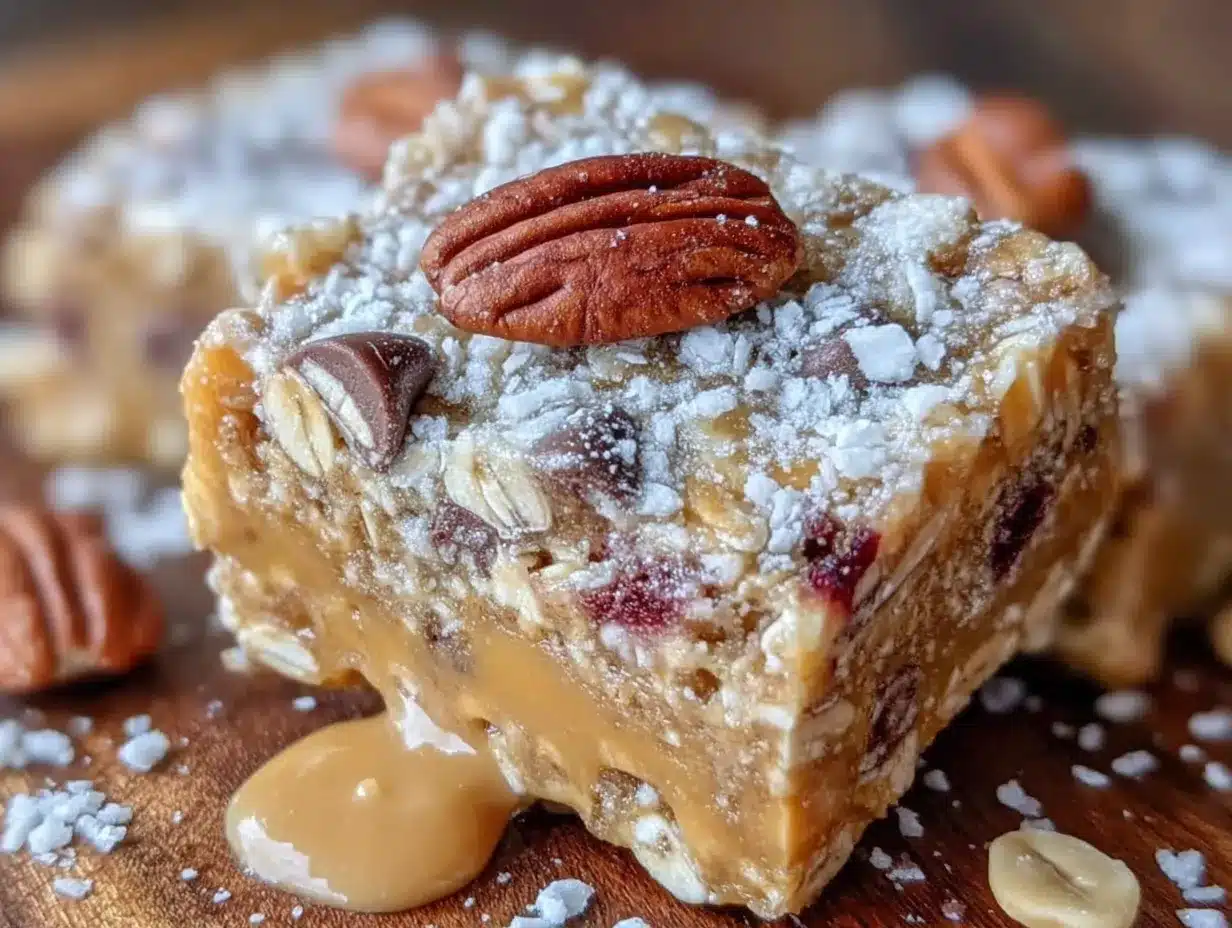
Here’s the step-by-step process. It’s almost embarrassingly simple, but I’ll walk you through every detail so your bars turn out perfect every time.
- Line your baking dish. Cut a piece of parchment paper to fit the bottom and sides of your 8×8-inch dish, leaving a little overhang on two sides. This will act as handles to lift the bars out later. Set aside.
- Warm the wet ingredients. In a small saucepan over low heat (or in a microwave-safe bowl in 20-second bursts), combine 1 cup peanut butter and ½ cup honey. Stir until smooth and fully combined. The mixture should be warm but not hot — you don’t want to cook the oats. If it’s too thick, add a teaspoon of warm water and stir.
- Mix the dry ingredients. In a large mixing bowl, combine 2 cups rolled oats, ½ cup protein powder, 2 tablespoons chia seeds, and ¼ teaspoon salt. Stir with a fork to break up any clumps in the protein powder.
- Combine wet and dry. Pour the warm peanut butter-honey mixture over the dry ingredients. Add ⅓ cup dark chocolate chips. Stir with a spatula until everything is evenly coated. The mixture will look crumbly at first, but keep folding — it will come together into a thick, sticky dough. If it seems too dry, add a tablespoon of warm water or a splash of milk (dairy or plant-based).
- Press firmly into the dish. Transfer the mixture to your lined baking dish. Using the back of a spatula or your hands (lightly dampened with water to prevent sticking), press the mixture down as firmly and evenly as possible. This step is crucial — loose pressing leads to crumbly bars. Really lean into it.
- Chill for at least 2 hours. Place the dish in the refrigerator and let it set for a minimum of 2 hours. Overnight is even better. The bars need time to firm up so they hold their shape when cut.
- Cut into bars. Once fully chilled, use the parchment overhang to lift the entire block out of the dish. Place it on a cutting board and use a sharp knife to cut into 12 even bars (3 rows by 4 rows). For cleaner cuts, wipe the knife between slices.
- Store properly. Transfer the bars to an airtight container, separating layers with parchment paper if stacking. They’ll keep in the fridge for up to 2 weeks — but honestly, they never last that long in my house.
Pro tip: If the mixture feels too sticky to press, wet your hands slightly with cold water. This prevents sticking without adding extra moisture to the bars.
Cooking Tips & Techniques
I’ve made these bars more times than I can count, and I’ve learned a few things the hard way. Here are my best tips for success:
- Don’t overheat the peanut butter and honey. If the mixture gets too hot, it can make the oats mushy and affect the texture. Warm it just until it’s fluid and easy to stir — about 30 seconds in the microwave or 2 minutes on the stovetop.
- Use a kitchen scale for accuracy. Measuring peanut butter and honey by weight (240g and 170g, respectively) ensures consistent results every time. Volume measurements can vary depending on how packed the spoon is.
- Press, press, press. I cannot stress this enough. If you don’t press the mixture firmly into the dish, the bars will fall apart when you cut them. Use the bottom of a measuring cup or a glass to really compact it.
- Chill completely before cutting. I once tried to cut the bars after only 45 minutes, and it was a disaster. Be patient — 2 hours minimum, 4 hours is better. Overnight chilling gives you the cleanest cuts.
- Add mix-ins strategically. If you’re adding dried fruit or nuts, fold them in gently to avoid crushing them. Chocolate chips should be added last so they don’t melt from the warmth of the peanut butter mixture.
One mistake I made early on was using natural peanut butter that was too oily. The bars turned out greasy and wouldn’t set properly. Now I always stir my natural peanut butter well before measuring, and if it seems too runny, I refrigerate it for 10 minutes first. Lesson learned!
Variations & Adaptations
These bars are incredibly flexible. Here are some of my favorite ways to switch them up:
- Vegan version: Substitute the honey with maple syrup or agave nectar. Use a plant-based protein powder (pea or brown rice protein works great). The bars will be slightly softer, so chill them for an extra hour.
- Nut-free option: Swap the peanut butter for sunflower seed butter or tahini. The flavor will be different but still delicious. Make sure to use a certified nut-free protein powder if allergies are a concern.
- Low-carb / keto adaptation: Replace the oats with unsweetened shredded coconut and chopped nuts (almonds, pecans). Use a sugar-free protein powder and a low-carb sweetener like monk fruit honey. The texture will be crunchier but still satisfying.
- Flavor twist: Add 1 teaspoon of cinnamon or pumpkin pie spice for a warm, cozy flavor. In the summer, I sometimes add 2 tablespoons of freeze-dried strawberry powder for a fruity kick.
- Chocolate lover’s version: Swap the vanilla protein powder for chocolate protein powder and add an extra ¼ cup of chocolate chips. You can also drizzle melted dark chocolate over the top before chilling for a fancy finish.
I once made a batch with almond butter and dried cherries, and it was honestly better than any store-bought bar I’ve ever had. Don’t be afraid to experiment — that’s half the fun.
Serving & Storage Suggestions
These bars are best enjoyed cold or at room temperature. I love grabbing one straight from the fridge on a hot afternoon — the chewy texture is incredibly satisfying. If you prefer a softer bar, let it sit out for 5-10 minutes before eating.
For serving, I like to cut each bar in half for a smaller snack, especially for kids. They pair beautifully with a glass of cold milk, a cup of coffee, or even a smoothie. If you’re packing them for school lunches, wrap each bar individually in parchment paper and secure with a twist tie — it keeps them fresh and makes them easy to grab.
Storage: Keep the bars in an airtight container in the refrigerator for up to 2 weeks. You can also freeze them for up to 3 months. To freeze, place the bars in a single layer on a baking sheet and freeze for 1 hour, then transfer to a freezer-safe bag or container. Thaw in the refrigerator overnight or at room temperature for 15-20 minutes.
One thing I’ve noticed is that the flavors actually deepen after a day or two in the fridge. The oats absorb the peanut butter and honey, making the bars even more cohesive and flavorful. So don’t worry if they seem a little soft on day one — they’ll be perfect by day two.
If you’re looking for other easy snack ideas, you might love these easy 3-ingredient peanut butter energy balls — they’re just as simple and perfect for when you need a quick bite. For busy mornings, these quick egg muffin cups are a lifesaver. And if you’re planning school lunches, these easy turkey pinwheel bento boxes pair perfectly with a granola bar for a balanced meal.
Nutritional Information & Benefits
Per bar (based on 12 servings):
- Calories: 245
- Protein: 10g
- Carbohydrates: 28g
- Fiber: 4g
- Sugar: 14g
- Fat: 11g
- Saturated Fat: 2.5g
- Sodium: 95mg
These bars are packed with protein from the peanut butter and protein powder, making them an excellent post-workout snack or midday pick-me-up. The oats provide slow-release carbohydrates for sustained energy, while the chia seeds add fiber and omega-3 fatty acids. Dark chocolate chips offer antioxidants (and a little mood boost, let’s be honest).
If you’re watching your sugar intake, you can reduce the honey to ⅓ cup and add an extra tablespoon of peanut butter to compensate. The bars will be less sweet but still delicious. For a lower-fat option, use powdered peanut butter (reconstituted with water) in place of regular peanut butter — though the texture will be less rich.
These bars are naturally gluten-free (use certified gluten-free oats if needed), and with the vegan substitutions mentioned above, they can easily be dairy-free and egg-free as well. Always check your protein powder label for potential allergens.
Conclusion
These easy no-bake peanut butter protein granola bars are proof that healthy snacking doesn’t have to be complicated or boring. They’re quick to make, endlessly customizable, and genuinely delicious — the kind of snack that makes you feel good about what you’re eating. Whether you’re a busy parent, a student, or just someone who loves a good homemade treat, these bars will become a staple in your kitchen.
I’d love to hear how yours turn out! Did you add any fun mix-ins? Did your kids love them? Drop a comment below and share your creations — I read every single one. And if you found this recipe helpful, please share it with a friend who needs a little more ease in their snack game. Happy snacking, friends.
Frequently Asked Questions
Can I use crunchy peanut butter instead of creamy?
Absolutely! Crunchy peanut butter adds a nice texture and works just as well. Just make sure it’s natural (no added sugar or oils) for the best consistency.
Why are my bars falling apart?
This usually happens for one of three reasons: not pressing the mixture firmly enough, not chilling them long enough, or using a peanut butter that’s too runny. Next time, press harder and chill for at least 3 hours.
Can I make these without protein powder?
Yes! Simply replace the protein powder with an equal amount of rolled oats or oat flour. The bars will be less protein-dense but still delicious and satisfying.
How long do these bars stay fresh at room temperature?
They’re best kept in the refrigerator, but they can sit at room temperature for up to 2 days. After that, they may become too soft or sticky. If you’re taking them on the go, pack them in a cooler bag.
Can I double this recipe?
Definitely! Double all ingredients and press the mixture into a 9×13-inch baking dish. Increase chilling time to at least 3-4 hours to ensure they set properly.
Pin This Recipe!
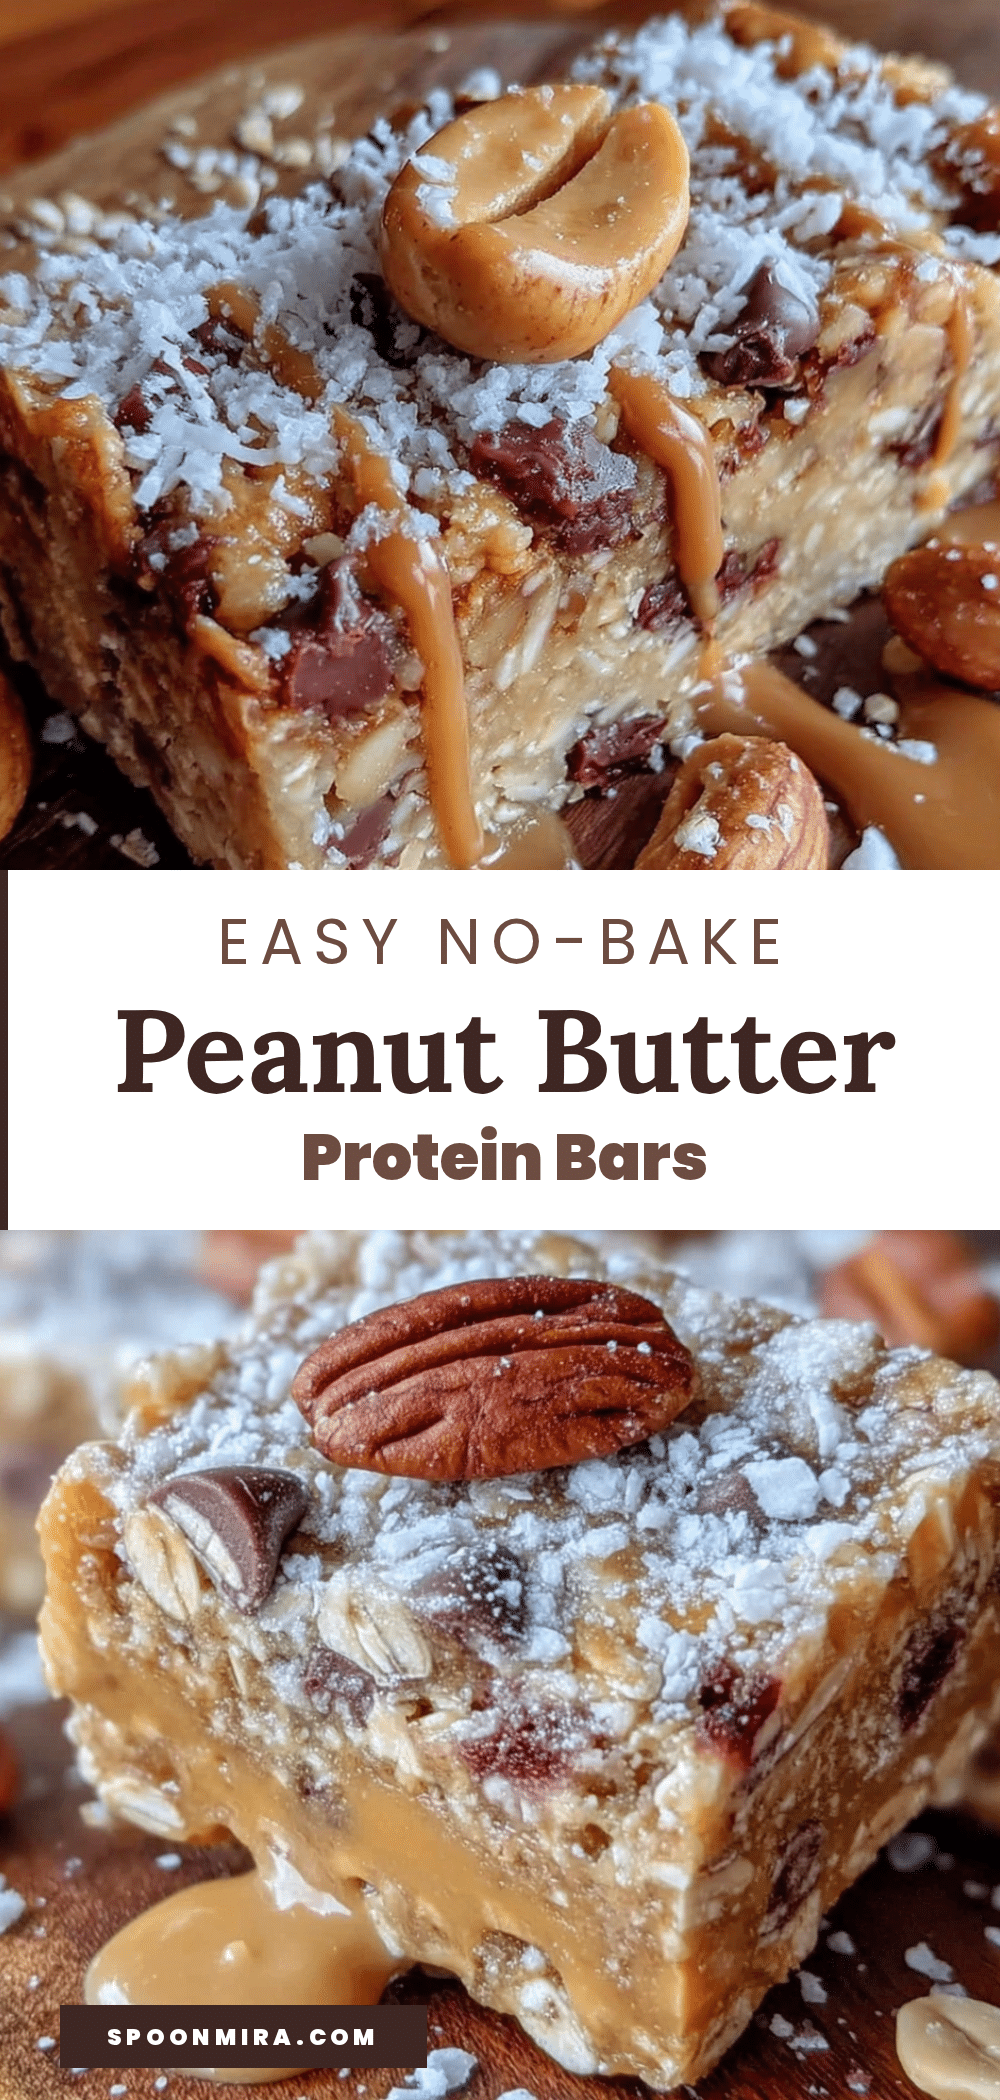
Easy No-Bake Peanut Butter Granola Bars – Best Healthy Snack
These easy no-bake peanut butter protein granola bars are the perfect healthy snack. Made with simple ingredients like peanut butter, honey, oats, and protein powder, they come together in under 15 minutes and are endlessly customizable.
- Prep Time: 15 minutes
- Cook Time: 0 minutes
- Total Time: 2 hours 15 minutes (includes chilling)
- Yield: 12 bars 1x
- Category: Snack
- Cuisine: American
Ingredients
- 1 cup (240g) creamy natural peanut butter
- ½ cup (170g) raw honey
- 2 cups (180g) rolled oats
- ½ cup (60g) vanilla or unflavored protein powder (whey or plant-based)
- 2 tablespoons chia seeds
- ⅓ cup (60g) dark chocolate chips (mini preferred)
- ¼ teaspoon salt
- Optional mix-ins: dried cranberries, chopped nuts, shredded coconut, flaxseed meal
Instructions
- Line an 8×8-inch baking dish with parchment paper, leaving overhang on two sides for easy removal.
- In a small saucepan over low heat (or microwave in 20-second bursts), warm 1 cup peanut butter and ½ cup honey until smooth and combined. Do not overheat.
- In a large mixing bowl, combine 2 cups rolled oats, ½ cup protein powder, 2 tablespoons chia seeds, and ¼ teaspoon salt. Stir to break up clumps.
- Pour the warm peanut butter-honey mixture over the dry ingredients. Add ⅓ cup dark chocolate chips. Stir until evenly coated and a thick, sticky dough forms. If too dry, add 1 tablespoon warm water or milk.
- Transfer mixture to the lined dish. Press firmly and evenly using the back of a spatula or damp hands. This step is crucial for bars that hold together.
- Refrigerate for at least 2 hours, preferably overnight, until firm.
- Lift the block out using parchment overhang. Cut into 12 even bars (3×4 rows) with a sharp knife, wiping the blade between cuts.
- Store in an airtight container in the refrigerator for up to 2 weeks, or freeze for up to 3 months.
Notes
Press the mixture firmly into the dish to prevent crumbly bars. Chill for at least 2 hours before cutting. For cleaner cuts, wipe the knife between slices. The bars can be stored in the refrigerator for up to 2 weeks or frozen for up to 3 months. If the mixture is too sticky to press, dampen your hands with cold water.
Nutrition
- Serving Size: 1 bar
- Calories: 245
- Sugar: 14
- Sodium: 95
- Fat: 11
- Saturated Fat: 2.5
- Carbohydrates: 28
- Fiber: 4
- Protein: 10
Keywords: no-bake granola bars, peanut butter protein bars, healthy snack, easy granola bars, homemade granola bars, no-bake snack, protein bars


