“You can’t just stack cookies and call it a cake, Mom.” That’s what my then-seven-year-old said, hands on her hips, staring at the glass dish I was sliding into the fridge. She was absolutely serious. And honestly? She had a point. I mean, I was literally just stacking chocolate graham crackers, slapping some homemade whipped cream between them, and tossing a handful of mini marshmallows on top. It felt almost like cheating. But then, about four hours later, I pulled that dish out, cut a perfect little square, and handed it to her. She took one bite, closed her eyes, and said, “Okay. This is better than real cake.” And that was the moment this Easy No-Bake S’mores Icebox Cake became a permanent resident in my kitchen. It wasn’t planned, you know? It was just one of those sticky summer afternoons where turning on the oven felt like a personal attack. We had a box of graham crackers, a bag of marshmallows, and a pint of heavy cream that needed using up. I remembered those old icebox cake recipes my grandma used to make—the ones with chocolate wafers and whipped cream that turned into this incredible, cake-like texture after sitting overnight. And I thought, why not s’mores? It’s the same lazy energy, just in dessert form. This isn’t a fancy recipe. It’s the kind you make when you want something that tastes like a campfire but feels like air conditioning. It’s for the days when you need dessert to be impressive without the stress. Honestly, it might be the best 5-minute dessert you’ll ever make. And yes, it counts as cake.
Why You’ll Love This Recipe
This isn’t just another no-bake dessert. This is the one that makes people do a double-take. You layer a few ingredients, let the fridge do the heavy lifting, and suddenly you have a dessert that looks like you spent hours on it. But you didn’t. And that’s the beauty of it.
- Quick & Easy: It takes about 5 minutes of active prep. Seriously. If you can spread whipped cream and break a graham cracker in half, you can make this cake.
- Simple Ingredients: You probably already have everything in your pantry. Graham crackers, chocolate bars, marshmallows, and heavy cream. No weird specialty items required.
- Perfect for Summer: No oven needed. No stove required. This is the ideal dessert for those sweltering days when you want something cold, creamy, and completely satisfying.
- Crowd-Pleaser: Kids love it because it tastes like a campfire treat. Adults love it because it’s nostalgic and surprisingly elegant. It disappears fast at potlucks and barbecues.
- Unbelievably Delicious: The graham crackers soften into a tender, cake-like layer while the whipped cream sets into a light mousse. The chocolate stays melty in your mouth, and the marshmallows add that classic s’mores chew. It’s comfort food, reimagined.
What makes this recipe different? It’s the texture. Most no-bake cakes use pudding or condensed milk, which can be heavy. This version uses lightly sweetened whipped cream, which keeps the whole thing airy and fresh. The graham crackers don’t get soggy—they get soft. It’s the kind of dessert that makes you close your eyes after the first bite. It’s simple, but it feels special.
What Ingredients You Will Need
This recipe uses simple, pantry-friendly ingredients to deliver that classic campfire flavor without ever striking a match. Each component plays a specific role in creating the perfect texture and taste.
- Graham Crackers (about 18 full sheets): These form the structural layers of the cake. They absorb moisture from the cream and soften into a tender, cake-like texture. I prefer the classic Honey Maid brand for their consistent texture and subtle sweetness. You can use gluten-free graham crackers if needed—just check the package size as they can be smaller.
- Heavy Whipping Cream (2 cups / 480 ml): This is the heart of the cake. It creates the light, mousse-like filling. Do not substitute with Cool Whip if you want the best texture—homemade whipped cream is worth the extra minute. Make sure it’s very cold for the best volume.
- Powdered Sugar (3 tablespoons / 24 g): A small amount stabilizes the whipped cream and adds just a hint of sweetness. It dissolves instantly, leaving no grittiness.
- Vanilla Extract (1 teaspoon): Enhances the flavor of the cream and rounds out the chocolate. Use pure vanilla extract if you have it—it makes a subtle but real difference.
- Semi-Sweet Chocolate Bars (4 oz / 115 g): You want good-quality chocolate here. I like using Ghirardelli or Lindt bars. Skip the chocolate chips—they contain stabilizers that prevent them from melting smoothly against the cream. You’ll chop the bar into small shards and pieces.
- Mini Marshmallows (1 cup / about 50 g): They add that classic s’mores chewiness and a little bit of sweetness in every bite. Regular marshmallows cut into quarters work too, but mini ones distribute more evenly.
Optional Additions: A pinch of flaky sea salt on top before serving really makes the chocolate pop. You can also add a tablespoon of unsweetened cocoa powder to the whipped cream for an extra chocolatey version.
Equipment Needed
You don’t need a fancy kitchen to pull this off. Here’s what you’ll need:
- 8×8-inch Baking Dish or Loaf Pan: An 8×8 square dish works perfectly for this size. A 9×5 loaf pan also works and gives you taller slices. Glass or ceramic is best because it chills evenly.
- Electric Mixer or Whisk: A hand mixer makes whipping cream effortless. You can also use a stand mixer with the whisk attachment. If you’re feeling ambitious, a wire whisk and some elbow grease will work too—it just takes about 5 minutes of vigorous whisking.
- Large Mixing Bowl: Make sure it’s very cold for the best whipped cream. Pop it in the freezer for 10 minutes before you start.
- Spatula: For spreading the cream evenly between layers.
- Cutting Board and Knife: For chopping the chocolate into shards. A serrated knife works best for clean cuts.
- Plastic Wrap or Lid: To cover the dish while it chills.
A tip from experience: if you don’t have an electric mixer, a food processor with the whisk attachment can work in a pinch. Just pulse carefully and watch it—cream can turn to butter in seconds.
Preparation Method
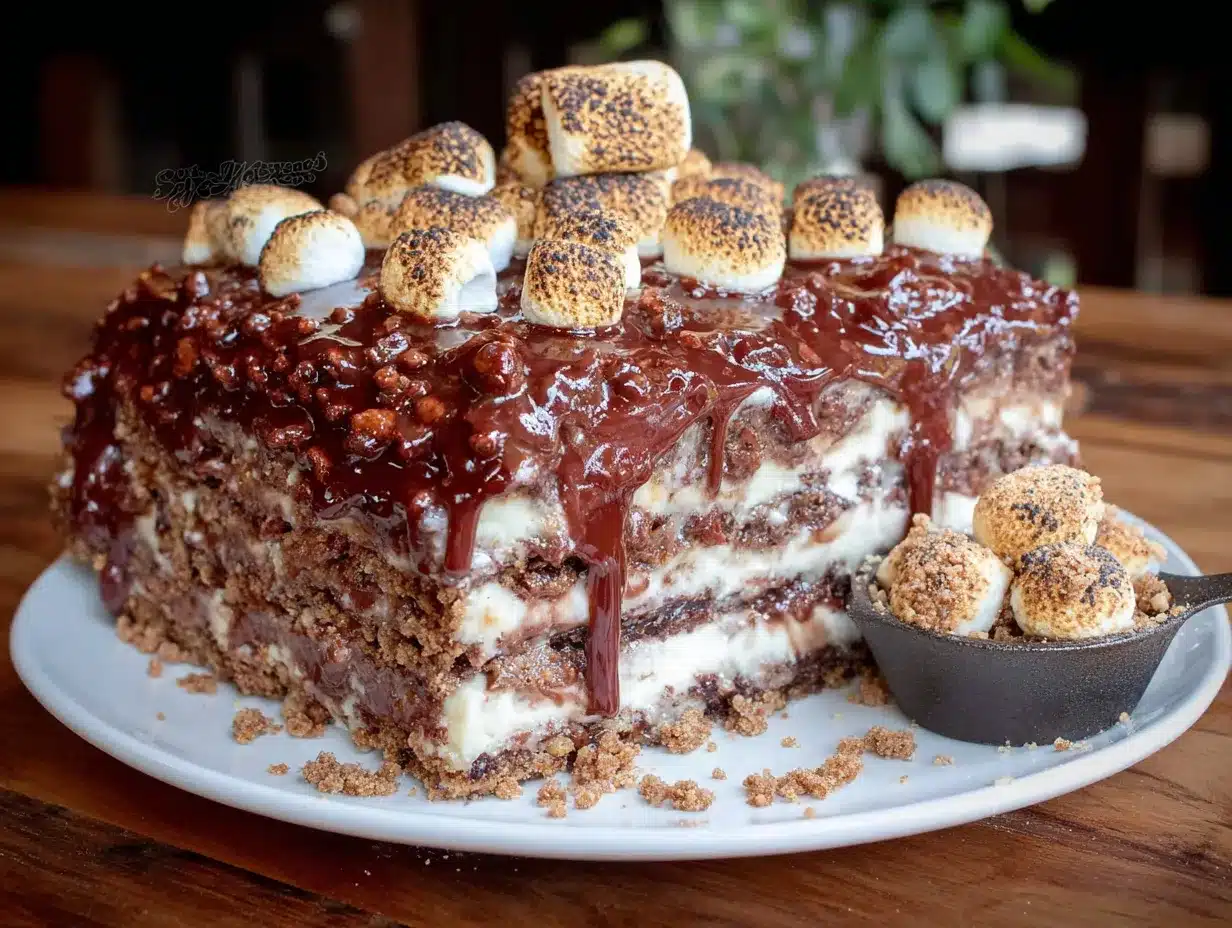
This is where the magic happens. Follow these steps, and you’ll have a dessert that looks like you spent hours on it. I promise it’s easier than it sounds.
- Make the Whipped Cream (2 minutes): Pour the cold heavy cream, powdered sugar, and vanilla extract into your cold mixing bowl. Beat on medium-high speed until soft peaks form—this takes about 1-2 minutes with a hand mixer. You want the cream to be thick enough to hold its shape but still soft and pillowy. Be careful not to over-whip, or you’ll end up with butter. Tip: If you accidentally over-whip and it starts to look grainy, add a tablespoon of cold cream and gently fold it in.
- Prepare the Chocolate (1 minute): Place your chocolate bar on a cutting board. Using a sharp knife, chop it into small shards and pieces. Some can be fine crumbs, and some can be bigger chunks—that’s the texture you want. Set aside about 2 tablespoons for the top garnish.
- Start Layering (2 minutes): Spread a very thin layer of whipped cream on the bottom of your 8×8 dish. This helps the first layer of graham crackers stick. Place a single layer of graham crackers on top, breaking them as needed to fit. You’ll need about 6 full sheets per layer, broken into squares that cover the bottom completely.
- Build the Layers (2 minutes): Spread about 1/3 of the remaining whipped cream evenly over the graham crackers. Sprinkle with about 1/3 of the chopped chocolate and 1/3 of the mini marshmallows. Repeat this process: another layer of graham crackers, another layer of cream, chocolate, and marshmallows. You should get about 3 full layers of graham crackers. Note: Don’t press down on the graham crackers—they’ll soften on their own in the fridge.
- Top It Off (1 minute): For the final layer, spread the remaining whipped cream over the top. Sprinkle with the reserved chocolate shards and a few extra mini marshmallows. If you want a prettier presentation, you can toast the top marshmallows with a kitchen torch for 10-15 seconds—just watch them carefully so they don’t burn.
- Chill (4 hours minimum, overnight ideal): Cover the dish tightly with plastic wrap and refrigerate for at least 4 hours. Overnight is better—the graham crackers need time to fully soften and absorb the cream. The cake will be sliceable after 4 hours, but it’s even more tender after 8-12 hours. Sensory cue: When it’s ready, the top should feel firm to the touch, and the layers should hold together when you cut a slice.
A personal tip: I like to make this the night before I plan to serve it. It’s one less thing to think about on party day, and the texture is always perfect. Plus, the flavors meld together beautifully overnight.
Cooking Tips & Techniques
I’ve made this cake more times than I can count, and I’ve learned a few things along the way. Here are the tips that make the difference between a good icebox cake and a great one.
- Don’t Skip the Cold Bowl: Whipped cream is finicky. If your bowl or cream isn’t cold enough, it won’t whip properly. Pop your bowl and beaters in the freezer for 10 minutes before you start. It’s a small step that makes a big difference.
- Watch the Whipping: Under-whipped cream won’t hold the layers together, and over-whipped cream turns into butter. You want soft peaks—the cream should hold its shape when you lift the beater, but the peak should droop slightly. It should look like a thick, luscious cloud.
- Don’t Overthink the Layers: The graham crackers don’t need to be perfect. Break them to fit, and don’t worry if there are small gaps. The cream will fill them in, and no one will notice once it’s chilled.
- Toast the Marshmallows Carefully: If you’re using a kitchen torch, keep the flame moving. Hold it about 2 inches away from the marshmallows and toast in short bursts. You want golden brown, not black. If you don’t have a torch, you can broil the top for 30-60 seconds—just watch it like a hawk.
- Let It Rest Before Slicing: This is the hardest part. The cake needs at least 4 hours in the fridge to set properly. If you cut it too early, it will be a sloppy mess. Patience pays off here. Use a sharp knife and wipe it clean between cuts for the neatest slices.
I once rushed this cake for a last-minute dinner party. I only let it chill for 2 hours, and let me tell you—it was a delicious but very messy situation. The layers slid apart, and it looked more like a deconstructed dessert than a cake. Lesson learned. Give it the time it needs.
Variations & Adaptations
This recipe is incredibly forgiving. Once you have the basic method down, you can play around with flavors and textures. Here are some of my favorite variations.
- Peanut Butter S’mores Icebox Cake: Add 1/4 cup of creamy peanut butter to the heavy cream before whipping. It adds a rich, nutty flavor that pairs beautifully with the chocolate. You can also sprinkle chopped peanut butter cups between the layers instead of regular chocolate.
- Mint Chocolate Version: Use chocolate mint graham crackers if you can find them, or add 1/2 teaspoon of peppermint extract to the whipped cream. Top with crushed Andes mints for a cool, refreshing twist. This is especially good after a heavy meal.
- Vegan & Dairy-Free Option: Use coconut cream (the solid part from a can of full-fat coconut milk) instead of heavy cream. Whip it the same way—it works beautifully. Use vegan graham crackers and dairy-free chocolate. The texture will be slightly different, but it’s still delicious.
- Berry S’mores Cake: Add a layer of fresh raspberries or sliced strawberries between the cream layers. The tartness of the berries cuts through the sweetness of the marshmallows and chocolate. It’s a lovely summer variation.
- Gluten-Free Adaptation: Simply swap the graham crackers for your favorite gluten-free version. I’ve tested this with Schär brand, and it works perfectly. The texture is slightly crumblier, but the cake still sets beautifully.
My personal favorite variation is the peanut butter one. I made it for a friend’s birthday, and she said it was the best dessert she’d had all year. I’m not one to argue with a compliment like that.
Serving & Storage Suggestions
This cake is best served cold, straight from the fridge. The texture is perfect when it’s well-chilled—creamy, tender, and refreshing.
Serving Suggestions:
- Cut into squares or rectangles using a sharp knife. Wipe the knife clean between cuts for neat edges.
- Serve on chilled plates for the best experience.
- A dollop of extra whipped cream on top is never a bad idea.
- A drizzle of warm chocolate sauce or caramel sauce takes it over the top.
- A glass of cold milk or a cup of hot coffee is the perfect beverage pairing.
Storage Instructions:
- Cover the dish tightly with plastic wrap or a lid. Store in the refrigerator for up to 3 days.
- The cake actually gets better after the first day as the flavors meld together. It’s at its peak around the 24-hour mark.
- You can freeze this cake! Wrap the entire dish (or individual slices) tightly in plastic wrap, then in foil. Freeze for up to 1 month. Thaw in the refrigerator overnight before serving. The texture will be slightly softer after freezing, but it’s still delicious.
- Do not leave the cake at room temperature for more than 30 minutes. The whipped cream will start to soften and lose its structure.
One thing I love about this cake is how the flavors develop. On day two, the chocolate seems richer, the marshmallows are perfectly chewy, and the graham crackers have fully softened into something almost pudding-like. It’s a dessert that keeps giving.
Nutritional Information & Benefits
Let’s be honest—this is a treat, not a health food. But that doesn’t mean it can’t fit into a balanced lifestyle. Here’s a rough estimate for one serving (based on 9 servings per cake):
| Nutrient | Per Serving |
|---|---|
| Calories | ~320 |
| Total Fat | 22g |
| Saturated Fat | 13g |
| Carbohydrates | 29g |
| Sugar | 18g |
| Protein | 3g |
| Calcium | 6% DV |
Health Benefits (in moderation):
- Dark chocolate is rich in antioxidants and can support heart health when consumed in reasonable amounts.
- Heavy cream contains fat-soluble vitamins A, D, E, and K.
- Graham crackers provide a small amount of whole grains and fiber.
- This dessert is naturally nut-free (if you use standard graham crackers) and can be easily adapted for gluten-free or dairy-free diets.
I’m not a nutritionist, but I believe in balance. This cake is for the days when you want something indulgent and satisfying. It’s not about guilt—it’s about joy. And honestly, a little joy is good for you.
Conclusion
This Easy No-Bake S’mores Icebox Cake is everything I want in a summer dessert: simple, cold, and completely delicious. It takes five minutes to put together, uses ingredients I always have on hand, and somehow manages to taste like a campfire and a fancy bakery all at once. It’s the kind of recipe that makes you look like a hero without breaking a sweat.
I love this cake because it’s forgiving. You can mess up the layers, use whatever chocolate you have, and it still turns out perfectly. It’s a recipe that invites creativity. So go ahead—add your favorite toppings, try a new flavor combination, make it your own. That’s the beauty of cooking (and eating).
If you make this cake, I’d love to hear about it. Leave a comment below and tell me how it turned out. Did you try a variation? Did your kids love it? Did you eat the whole thing in one sitting? No judgment here. And don’t forget to share this recipe with a friend who needs a little summer sweetness in their life. Happy no-baking!
Frequently Asked Questions
Can I use Cool Whip instead of homemade whipped cream?
You can, but I don’t recommend it. Homemade whipped cream has a much lighter, airier texture that’s essential for this cake. Cool Whip is denser and can make the cake feel heavy. If you’re in a pinch, thawed Cool Whip will work, but the texture won’t be as good.
How long does this cake need to chill?
At least 4 hours, but overnight is best. The graham crackers need time to soften and absorb the cream. If you cut it too early, the layers will slide apart. Patience is key here.
Can I make this cake in a different size dish?
Absolutely. A 9×5 loaf pan works well and gives you taller slices. A 9×9 square dish will give you thinner layers. Just adjust the number of graham cracker layers accordingly—you’ll need about 4-5 layers in a loaf pan and 2-3 in a larger dish.
How do I get clean slices?
Use a sharp knife and wipe it clean between each cut. You can also run the knife under hot water and dry it before slicing—the heat helps cut through the cream cleanly. For the neatest slices, chill the cake for a full 8 hours or overnight.
Can I add other toppings?
Yes! Crushed graham crackers, extra chocolate shavings, toasted coconut, or a drizzle of caramel sauce are all great options. Fresh berries add a nice tart contrast. Just add them right before serving so they don’t get soggy.
Pin This Recipe!
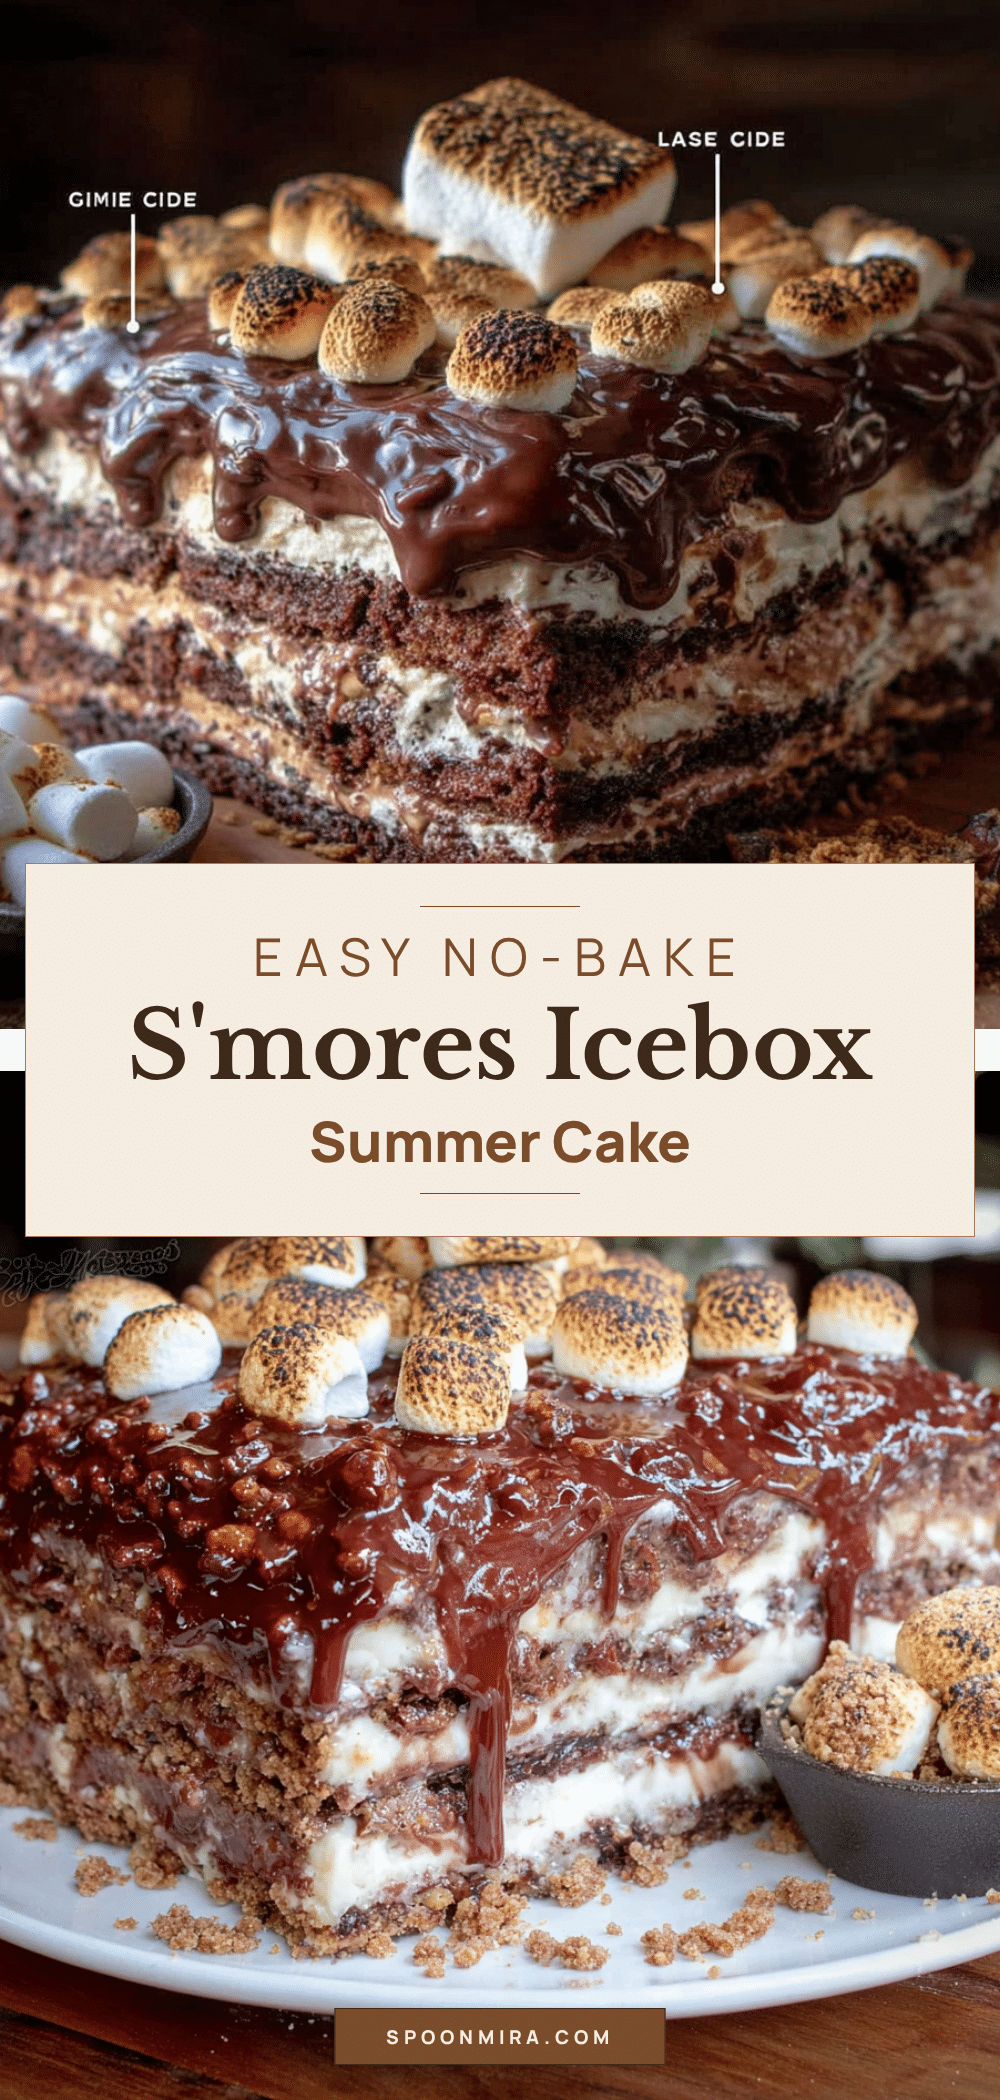
Easy No-Bake Smores Icebox Cake: Best 5-Minute Dessert
This easy no-bake s’mores icebox cake layers chocolate graham crackers, homemade whipped cream, chocolate shards, and mini marshmallows for a cool, creamy, campfire-inspired dessert that comes together in just 5 minutes of active prep.
- Prep Time: 5 minutes
- Cook Time: 0 minutes
- Total Time: 4 hours 5 minutes (includes chilling)
- Yield: 9 servings 1x
- Category: Dessert
- Cuisine: American
Ingredients
- 18 full sheets graham crackers (about 6 oz / 170 g)
- 2 cups heavy whipping cream (480 ml)
- 3 tablespoons powdered sugar (24 g)
- 1 teaspoon vanilla extract
- 4 oz semi-sweet chocolate bar (115 g), chopped into shards
- 1 cup mini marshmallows (about 50 g)
- Optional: flaky sea salt for topping
Instructions
- Make the whipped cream: In a cold mixing bowl, beat heavy cream, powdered sugar, and vanilla extract on medium-high speed until soft peaks form, about 1-2 minutes.
- Prepare the chocolate: Chop the chocolate bar into small shards and pieces. Set aside about 2 tablespoons for garnish.
- Start layering: Spread a thin layer of whipped cream on the bottom of an 8×8-inch baking dish. Place a single layer of graham crackers on top, breaking to fit as needed (about 6 full sheets per layer).
- Build the layers: Spread about 1/3 of the remaining whipped cream over the graham crackers. Sprinkle with 1/3 of the chopped chocolate and 1/3 of the mini marshmallows. Repeat with two more layers of graham crackers, cream, chocolate, and marshmallows.
- Top it off: Spread the remaining whipped cream over the top. Sprinkle with reserved chocolate shards and a few extra mini marshmallows. Optionally, toast the top marshmallows with a kitchen torch for 10-15 seconds.
- Chill: Cover tightly with plastic wrap and refrigerate for at least 4 hours, preferably overnight. The cake is ready when the top feels firm and slices hold together.
Notes
For best texture, chill overnight. The graham crackers soften into a tender, cake-like layer. If you don’t have a kitchen torch, you can broil the top marshmallows for 30-60 seconds, watching carefully. The cake can be frozen for up to 1 month; thaw overnight in the refrigerator before serving.
Nutrition
- Serving Size: 1 square (1/9 of cak
- Calories: 320
- Sugar: 18
- Sodium: 150
- Fat: 22
- Saturated Fat: 13
- Carbohydrates: 29
- Fiber: 1
- Protein: 3
Keywords: no-bake dessert, s'mores, icebox cake, summer dessert, easy dessert, 5-minute dessert, graham cracker cake, whipped cream cake


