My husband took a bite, chewed for a second, and then just stared at the slice in his hand. “Wait,” he said, looking at the mixing bowl still sitting in the sink. “You didn’t use the mixer for this?” He asked me that three mornings in a row, each time with the same confused, pleased expression. And honestly, that’s the best review this Easy One-Bowl Pumpkin Banana Bread has ever gotten.
I wasn’t trying to be clever that first time. It was a Tuesday, the baby was napping (fingers crossed), and I had two sad, spotty bananas on the counter next to half a can of pumpkin puree from a previous batch of perfect brown butter pumpkin bars. I needed something bake-able, but the thought of hauling out the stand mixer felt like too much. So I just grabbed a fork and a big bowl. No mixer, no fuss, just a quick stir and into the oven it went.
What came out of the oven was honestly better than any fussy loaf I’d made before. The texture was incredibly tender—almost velvety—with that perfect moist crumb you chase after in fall baking. The pumpkin and banana flavors just melt together, each bite tasting like a cozy sweater for your mouth. It’s not dry, it’s not dense, it’s just… right.
This is the kind of recipe that makes you feel like you’ve got a secret. It’s so simple you almost don’t believe it will work, but then it does. And it works beautifully. You can trust that.
Why You’ll Love This Recipe
Let me tell you why this loaf has earned a permanent spot in my fall rotation. It’s not just another pumpkin bread—it’s the one I reach for when I need something reliable and ridiculously good.
- One Bowl, No Mixer: This is the star of the show. You just need one large bowl and a whisk or fork. Less dishes, less effort, more time for sipping your coffee while it bakes.
- Perfectly Moist Every Time: The combination of pumpkin puree and mashed banana creates a texture that’s almost pudding-like in its tenderness. I’ve tested this with different brands of pumpkin and varying banana ripeness, and it holds up beautifully.
- Simple Pantry Ingredients: You probably have everything you need right now. No trips to a specialty store for weird flours or obscure extracts. Just good, honest baking staples.
- Double the Flavor, Zero the Fuss: Pumpkin and banana are a flavor match made in autumn heaven. The banana adds natural sweetness and moisture, while the pumpkin brings that earthy, warm depth we all crave when the leaves start turning.
- Kid-Approved and Company-Worthy: I’ve served this to toddlers who smeared it all over their faces and to my mother-in-law who asked for the recipe. It’s universally loved, which is rare and wonderful.
This isn’t just a recipe; it’s a solution. It’s for the mornings when you want the house to smell like fall but you don’t have the energy for a production. It’s for the afternoons when you need a quick treat to go with your tea. It’s comfort, made simple.
Ingredients You Will Need
This recipe uses simple, wholesome ingredients to deliver that perfect fall flavor without any complicated steps. Everything comes together in harmony, so each ingredient plays an important role.
- 1 ½ cups (188g) all-purpose flour: The backbone of the bread. I use unbleached all-purpose flour for the best texture. Spoon it into your measuring cup and level it off—don’t scoop directly from the bag, or you’ll end up with too much flour and a dry loaf.
- 1 teaspoon baking soda: This is our leavening agent. It reacts with the acidity from the banana and pumpkin to help the bread rise. Make sure it’s fresh—if it doesn’t fizz when you drop a bit in vinegar, get a new box.
- ½ teaspoon baking powder: Gives a little extra lift for a lighter crumb. I’ve forgotten it before, and the bread was noticeably denser.
- 1 teaspoon ground cinnamon: The warm, cozy spice that defines fall baking. I prefer a good-quality cinnamon like Saigon or Ceylon for a more aromatic flavor.
- ½ teaspoon ground nutmeg: Freshly grated if you have it—it makes a world of difference. But pre-ground works just fine in a pinch.
- ½ teaspoon ground ginger: Adds a gentle warmth that complements the pumpkin beautifully. Don’t skip it—it’s the secret to that “what is that amazing flavor?” moment.
- ¼ teaspoon ground cloves: Just a pinch for depth. Too much can overpower, so stick to the measurement.
- ½ teaspoon salt: Don’t skip the salt! It balances the sweetness and enhances all the other flavors. I use fine sea salt.
- 2 large eggs, room temperature: Room temperature eggs blend more evenly into the batter, creating a smoother texture. If you’re in a hurry, place them in a bowl of warm water for 5 minutes.
- ½ cup (100g) packed brown sugar: Light or dark brown sugar works. Dark brown sugar will give a deeper, more molasses-like flavor. Pack it firmly into your measuring cup.
- ¼ cup (50g) granulated sugar: Adds a bit of sweetness and helps with browning. I’ve tried reducing the sugar, and the bread is still good but less sweet—adjust to your taste.
- ½ cup (120ml) pumpkin puree: Not pumpkin pie filling! Make sure you grab 100% pure pumpkin puree. I like Libby’s for its consistent texture, but store brands work too.
- 1 cup mashed ripe bananas: That’s about 2 large or 3 medium very ripe bananas. The riper, the better—those spotty, almost-black bananas are perfect. They add natural sweetness and moisture.
- ⅓ cup (80ml) vegetable oil: Or any neutral-flavored oil like canola or avocado oil. Oil keeps the bread incredibly moist. Melted coconut oil works too, just make sure it’s cooled slightly.
- 1 teaspoon vanilla extract: Pure vanilla extract adds a lovely warmth. Imitation vanilla works in a pinch, but pure is better for flavor depth.
Optional add-ins: ½ cup chopped walnuts, pecans, or chocolate chips. I often toss in a handful of moist zucchini banana bread with walnuts-style walnuts for extra crunch.
Equipment Needed
The beauty of this recipe is that you don’t need much. Here’s what you’ll want to have on hand:
- One large mixing bowl: Any bowl will do—glass, ceramic, or stainless steel. I use a standard 4-quart mixing bowl, which gives me plenty of room to stir without flinging batter everywhere.
- A whisk or a fork: That’s it for mixing. I prefer a whisk for the dry ingredients to aerate them a bit, but a fork works just fine for the wet ingredients.
- A 9×5-inch loaf pan: This is the standard size. If you use an 8×4-inch pan, your bread will be taller and可能需要 a few extra minutes of baking time. I love my glass loaf pan because I can see the browning on the sides.
- Parchment paper: Not strictly necessary, but it makes lifting the loaf out so much easier. I cut a strip that hangs over the long sides of the pan like handles.
- Measuring cups and spoons: For accurate measurements. A kitchen scale is even better for precision, but cups work great.
- A cooling rack: Essential for even cooling. If you let the bread cool in the pan, the bottom can get soggy from trapped steam.
- A toothpick or skewer: For testing doneness. If it comes out clean or with just a few moist crumbs, your bread is ready.
That’s it. No stand mixer, no hand mixer, no food processor. Just your hands, a bowl, and a bit of patience while it bakes.
Preparation Method
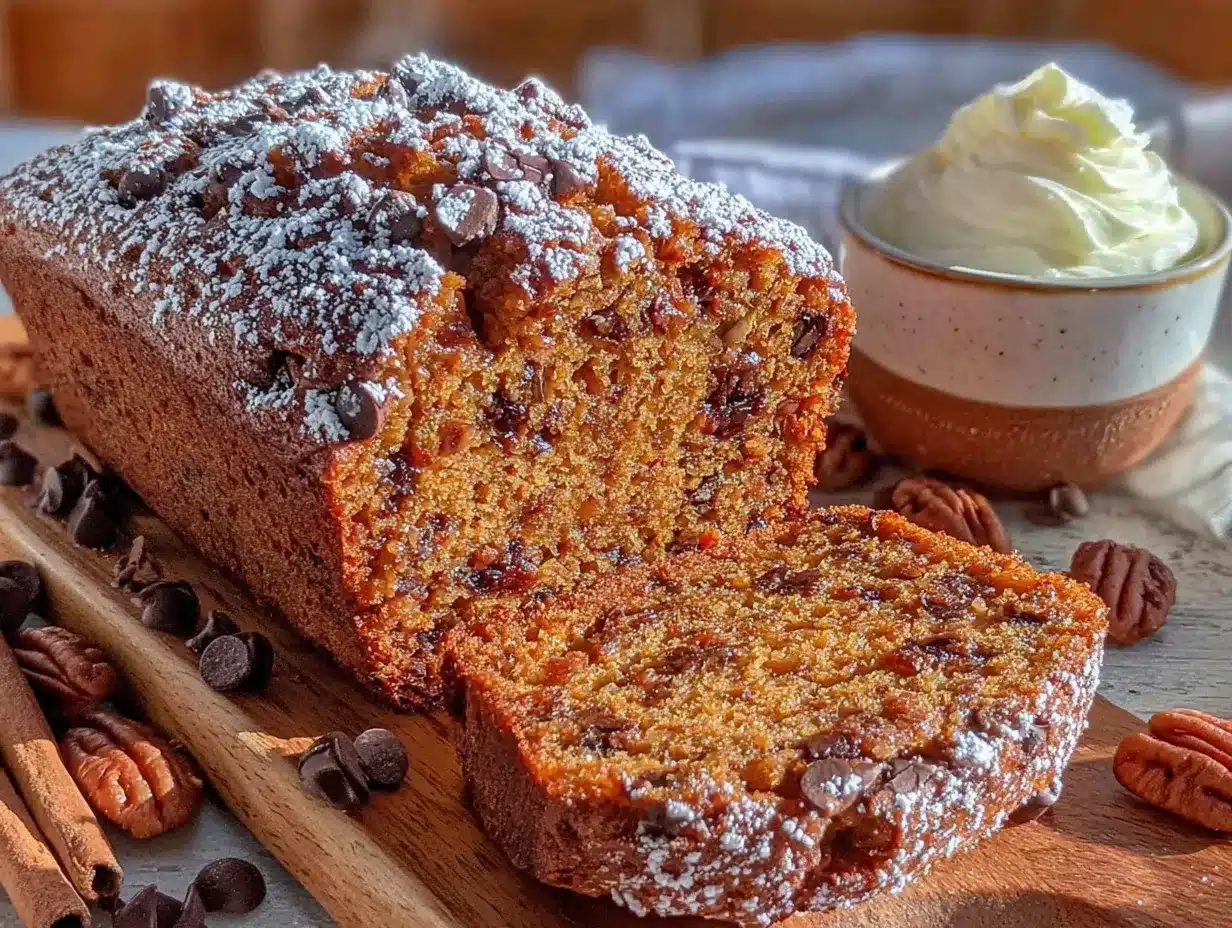
Let’s walk through this step by step. It’s incredibly straightforward, but I’ll share a few little tricks I’ve picked up along the way.
- Preheat and Prep: First things first, preheat your oven to 350°F (175°C). Grease your 9×5-inch loaf pan with butter or non-stick spray, or line it with parchment paper, leaving some overhang on the long sides. This makes lifting the finished bread out a breeze.
- Mash the Bananas: In your large mixing bowl, mash the ripe bananas with a fork until they’re mostly smooth. A few small lumps are totally fine—they add a nice texture to the finished bread. You want about 1 cup of mashed banana.
- Combine the Wet Ingredients: To the same bowl with the mashed bananas, add the pumpkin puree, vegetable oil, brown sugar, granulated sugar, eggs, and vanilla extract. Whisk everything together until it’s smooth and well combined. Don’t overmix—just until the sugars are mostly dissolved and the mixture looks homogenous. It will be a beautiful, creamy orange color.
- Mix the Dry Ingredients: Now, add the flour, baking soda, baking powder, cinnamon, nutmeg, ginger, cloves, and salt right on top of the wet mixture. Yes, all in the same bowl! Use your whisk or fork to gently stir the dry ingredients together on top of the wet mixture before you fully incorporate them. This little step ensures the spices and leaveners are evenly distributed without having to use a separate bowl.
- Fold It All Together: Gently fold the dry ingredients into the wet ingredients using a spatula or your whisk. Stir just until you no longer see streaks of flour. A few small lumps are okay—overmixing will develop the gluten and make your bread tough. We want it tender, not chewy. If you’re adding walnuts, pecans, or chocolate chips, fold them in at this point.
- Pour and Smooth: Pour the batter into your prepared loaf pan. Use your spatula to spread it evenly into the corners and smooth the top. Give the pan a gentle tap on the counter to release any air bubbles.
- Bake to Perfection: Place the pan in the preheated oven and bake for 50-60 minutes. Start checking at the 50-minute mark. The bread is done when a toothpick inserted into the center comes out clean or with just a few moist crumbs attached. The top should be a deep golden brown and cracked beautifully. If the top is browning too quickly (after about 40 minutes), tent it loosely with aluminum foil.
- Cool Completely: Let the bread cool in the pan on a wire rack for about 10-15 minutes. Then, using the parchment paper handles, lift it out of the pan and transfer it to the wire rack to cool completely. This is the hardest part—waiting! But slicing into warm bread can make it crumble. Patience, my friend.
Sensory Cue: Your kitchen will smell like a pumpkin spice dream. The bread will be puffed and golden, with a lovely domed top that may have a few cracks—that’s a sign of a good loaf!
Cooking Tips & Techniques
I’ve made this bread more times than I can count, and I’ve learned a few things the hard way. Here are my best tips for guaranteed success.
- Don’t Overmix: This is the number one mistake. Once you add the flour, mix gently and just until combined. Overmixing develops gluten, which makes the bread tough and dense instead of tender and soft. A few streaks of flour are okay—they’ll disappear as you fold.
- Use Super Ripe Bananas: The spottier, the better. Green or yellow bananas won’t mash well and won’t provide enough sweetness or moisture. If your bananas aren’t ripe enough, you can speed things up by baking them (unpeeled) at 300°F for 15-20 minutes until they’re soft and dark.
- Room Temperature Ingredients Matter: Cold eggs can seize up the batter, making it harder to mix evenly. Let your eggs sit out for 30 minutes before you start. If you forget, place them in a bowl of warm (not hot) water for 5-10 minutes.
- Check Your Baking Soda: Baking soda loses potency over time. To test it, drop a small amount into a bowl of vinegar. If it fizzes vigorously, it’s good to go. If it barely reacts, buy a new box. Flat baking soda means flat bread.
- Measure Flour Correctly: Spoon the flour into your measuring cup and level it off with a knife. Scooping directly from the bag packs the flour down, leading to up to 25% more flour and a dry, crumbly loaf.
- The Toothpick Test: Don’t rely solely on the timer. Ovens vary, and even the color of your loaf pan can affect baking time. Insert a toothpick into the center—if it comes out clean, it’s done. If it’s wet with batter, give it another 5 minutes and test again.
Variations & Adaptations
This recipe is a fantastic base for customization. Here are a few ways I’ve played with it over the years.
- Chocolate Chip Pumpkin Banana Bread: Fold in ½ cup of semi-sweet or dark chocolate chips. The little pockets of melted chocolate are pure heaven. My kids go absolutely crazy for this version.
- Nutty Crunch: Add ½ cup of toasted walnuts or pecans. Toasting them first (in a dry pan over medium heat for 2-3 minutes) really brings out their flavor. I love the textural contrast against the soft crumb.
- Gluten-Free Option: Substitute the all-purpose flour with a good quality 1:1 gluten-free baking flour blend (one that contains xanthan gum). I’ve used Bob’s Red Mill with great success. The texture is slightly more delicate, but still delicious.
- Vegan Adaptation: Replace the eggs with two “flax eggs” (2 tablespoons ground flaxseed mixed with 6 tablespoons water, let sit for 5 minutes to gel). Use a plant-based milk if needed, but the recipe is already dairy-free if you use oil! The texture will be a bit denser, but the flavor is spot on.
- Spice It Up: Not a fan of cloves? Swap it for ¼ teaspoon of allspice or cardamom. Or add a pinch of black pepper—it sounds weird, but it actually enhances the pumpkin flavor in a subtle way.
- Mini Loaves or Muffins: Pour the batter into a greased mini loaf pan or a muffin tin. Mini loaves will bake for about 25-30 minutes, and muffins for 18-22 minutes. Adjust the time and check with a toothpick.
Serving & Storage Suggestions
This bread is wonderful in so many ways. Here’s how I like to serve and store it.
Serving: I love it best slightly warm, with a generous pat of salted butter melting into the crumb. It’s also fantastic toasted the next day—the edges get a little crispy while the inside stays soft. For a real treat, spread a thin layer of cream cheese or a drizzle of honey on top. It pairs beautifully with a cup of hot coffee, a chai latte, or a glass of cold milk.
Storage: Once completely cool, wrap the loaf tightly in plastic wrap or aluminum foil, or store it in an airtight container. It will stay moist and delicious at room temperature for up to 4 days. I actually think it tastes even better on the second day—the flavors have time to meld and deepen.
Freezing: This bread freezes like a dream. Slice it (or leave it whole), wrap it tightly in plastic wrap, then again in foil, and place it in a freezer-safe bag. It will keep for up to 3 months. To thaw, just leave a slice on the counter for about 30 minutes, or pop it in the toaster straight from frozen for a warm, quick breakfast.
Reheating: For that just-baked experience, warm individual slices in the microwave for about 15-20 seconds, or in a toaster oven at 300°F for 5-7 minutes. The aroma will fill your kitchen all over again.
Nutritional Information & Benefits
While this is definitely a treat, it does have some redeeming qualities. Here’s a rough estimate per slice (based on 10 slices).
- Calories: ~250-280 kcal
- Fat: 10-12g
- Carbohydrates: 38-42g
- Fiber: 2-3g
- Sugar: 20-24g
- Protein: 4-5g
- Vitamin A: High (from pumpkin)
- Potassium: Moderate (from banana)
Health Highlights: Pumpkin is packed with Vitamin A and antioxidants, which are great for your immune system and eye health. Bananas provide potassium, which supports healthy blood pressure. And using oil instead of butter keeps the saturated fat content lower than traditional quick breads. It’s not health food, but it’s a more balanced indulgence—one you can feel pretty good about enjoying.
Dietary Considerations: This recipe is naturally dairy-free (if you use oil) and can easily be made gluten-free or vegan with the substitutions above. It contains eggs, wheat (gluten), and potentially nuts depending on your add-ins.
FAQs
Can I use frozen bananas?
Absolutely! Thaw them completely first, then drain off any excess liquid that separates. The thawed bananas will be very soft and almost liquidy, which is perfect for mashing. Just be aware they might add a bit more moisture, so your bread could need an extra 5 minutes of baking time.
Why did my bread sink in the middle?
This usually happens for one of two reasons: the bread was underbaked, or the oven door was opened too early. Try not to open the oven for the first 40 minutes of baking. Also, make sure your baking soda and baking powder are fresh—old leaveners lose their oomph and can’t support the rise.
Can I use pumpkin pie filling instead of pumpkin puree?
I wouldn’t recommend it. Pumpkin pie filling has added sugar and spices, which will throw off the balance of your recipe. It also often contains thickeners that can change the texture. Stick with 100% pure pumpkin puree for the best results.
How do I know when the bread is fully baked?
The best test is the toothpick test. Insert a toothpick or a thin skewer into the very center of the loaf. If it comes out clean or with just a few moist crumbs clinging to it, it’s done. If it’s wet with batter, it needs more time. The top should also be a deep golden brown and spring back lightly when touched.
Can I double this recipe?
Yes, you can easily double it! Just use a larger bowl and mix everything as directed. You can bake it in two 9×5-inch loaf pans, or one large 10-inch bundt pan (baking time will be longer, around 60-70 minutes). Just keep an eye on it and use the toothpick test to determine doneness.
Conclusion
This Easy One-Bowl Pumpkin Banana Bread is more than just a recipe—it’s a little act of self-care. It’s the kind of baking that doesn’t feel like work. It’s messy and simple and forgiving, and it fills your home with the unmistakable scent of autumn. I love that I can make it with my toddler “helping,” because there’s almost no way to mess it up.
I hope you give this a try, whether you’re a seasoned baker or someone who’s never made bread from scratch. Customize it with your favorite add-ins, slice it thick, and enjoy every single bite. And if you do make it, I’d love to hear about it. Drop a comment below and tell me how it turned out, or share your own twist on the recipe. Happy baking, friends!
Pin This Recipe!
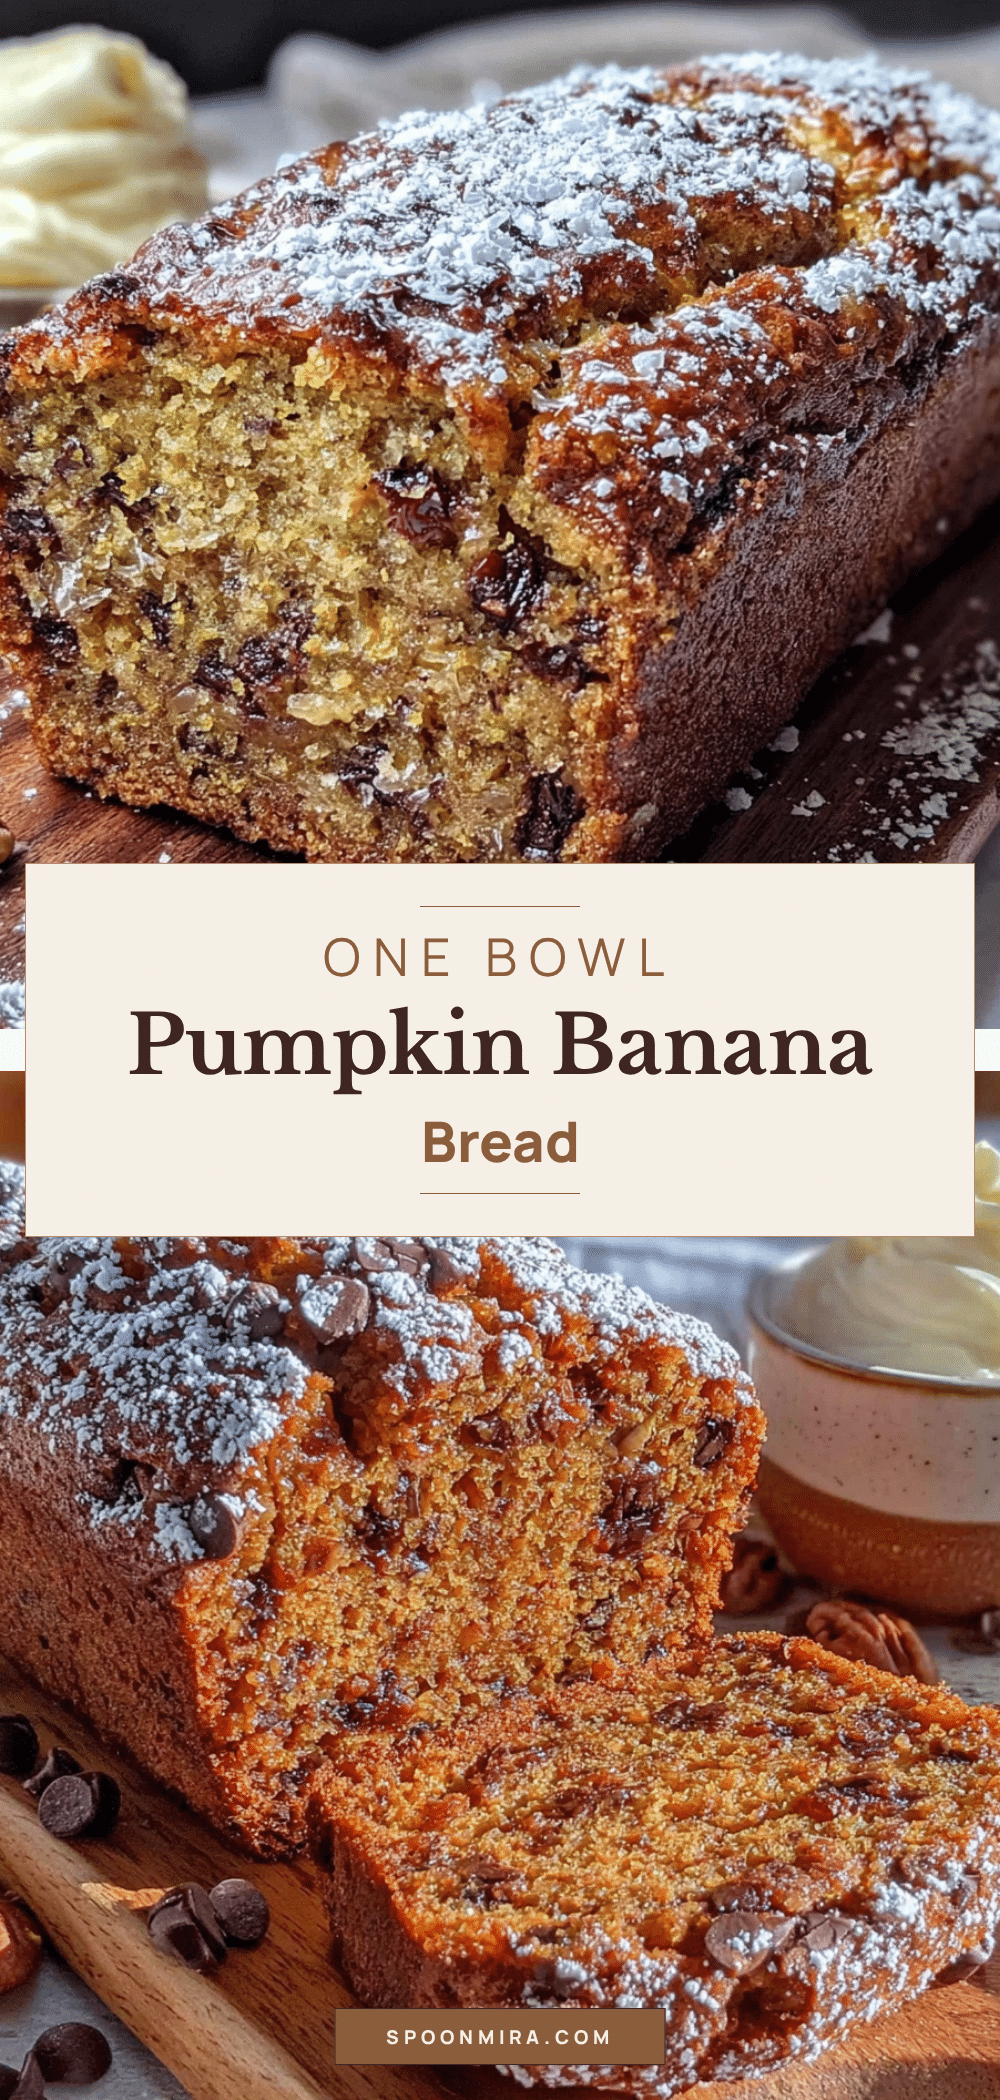
Easy One-Bowl Pumpkin Banana Bread (No Mixer)
This incredibly moist and tender pumpkin banana bread comes together in one bowl with no mixer needed. The perfect fall treat that’s simple, forgiving, and packed with cozy pumpkin spice flavor.
- Prep Time: 15 minutes
- Cook Time: 55 minutes
- Total Time: 1 hour 10 minutes
- Yield: 10 servings 1x
- Category: Quick Bread
- Cuisine: American
Ingredients
- 1 ½ cups (188g) all-purpose flour
- 1 teaspoon baking soda
- ½ teaspoon baking powder
- 1 teaspoon ground cinnamon
- ½ teaspoon ground nutmeg
- ½ teaspoon ground ginger
- ¼ teaspoon ground cloves
- ½ teaspoon salt
- 2 large eggs, room temperature
- ½ cup (100g) packed brown sugar
- ¼ cup (50g) granulated sugar
- ½ cup (120ml) pumpkin puree
- 1 cup mashed ripe bananas (about 2 large or 3 medium)
- ⅓ cup (80ml) vegetable oil
- 1 teaspoon vanilla extract
- ½ cup chopped walnuts, pecans, or chocolate chips (optional)
Instructions
- Preheat your oven to 350°F (175°C). Grease a 9×5-inch loaf pan with butter or non-stick spray, or line it with parchment paper, leaving some overhang on the long sides.
- In a large mixing bowl, mash the ripe bananas with a fork until mostly smooth. A few small lumps are fine.
- To the same bowl, add the pumpkin puree, vegetable oil, brown sugar, granulated sugar, eggs, and vanilla extract. Whisk until smooth and well combined.
- Add the flour, baking soda, baking powder, cinnamon, nutmeg, ginger, cloves, and salt on top of the wet mixture. Gently stir the dry ingredients together on top before fully incorporating them.
- Gently fold the dry ingredients into the wet ingredients using a spatula or whisk. Stir just until no streaks of flour remain. Do not overmix. If using add-ins, fold them in now.
- Pour the batter into the prepared loaf pan. Spread evenly and smooth the top. Tap the pan gently on the counter to release air bubbles.
- Bake for 50-60 minutes, or until a toothpick inserted into the center comes out clean or with just a few moist crumbs. If the top browns too quickly, tent loosely with aluminum foil after about 40 minutes.
- Let the bread cool in the pan on a wire rack for 10-15 minutes. Then lift it out using the parchment paper handles and transfer to the wire rack to cool completely before slicing.
Notes
Don’t overmix the batter once flour is added to keep the bread tender. Use super ripe, spotty bananas for best sweetness and moisture. Room temperature eggs blend more evenly. Check baking soda freshness by testing with vinegar. For gluten-free, use a 1:1 gluten-free flour blend with xanthan gum. For vegan, replace eggs with flax eggs (2 tbsp ground flaxseed + 6 tbsp water). Bread tastes even better on the second day. Store at room temperature for up to 4 days or freeze for up to 3 months.
Nutrition
- Serving Size: 1 slice
- Calories: 265
- Sugar: 22
- Sodium: 280
- Fat: 11
- Saturated Fat: 1.5
- Carbohydrates: 40
- Fiber: 2.5
- Protein: 4.5
Keywords: pumpkin banana bread, one bowl banana bread, easy pumpkin bread, no mixer banana bread, fall baking, pumpkin recipe, banana bread recipe


