My son asked for the same thermos pasta three days in a row without being prompted, and honestly, I didn’t even know what to say. The first time I packed it, I was just trying to use up leftover butter and a half-box of Parmesan that was taking up space in the fridge. I wasn’t trying to create anything special—just something warm that wouldn’t get soggy by lunchtime. But when he came home and said, “Mom, can you make that pasta again? The one with the cheese?” I knew I had stumbled onto something.
This Easy Thermos Butter Parmesan Pasta for School Lunch came from a very real place: a Tuesday morning where I had zero energy and even fewer ideas. I needed something fast, something warm, and something that would actually hold up in a thermos for hours without turning into a gluey mess. The butter gives it that silky richness you’d normally get from heavy cream, and the Parmesan—real Parmesan, not the powdery stuff—brings a salty, nutty depth that kids actually love. It’s not fancy. It’s not complicated. It’s just good, and it works.
There’s something about watching your kid actually finish their lunch that hits different. Not just eat it, but enjoy it. Ask for it. That’s the kind of recipe that sticks around in your weekly rotation, and this one has earned its spot in ours. If you’ve been looking for a school lunch that comes back empty, this might just be it.
Why You’ll Love This Recipe
Let me tell you why this butter Parmesan pasta has become my go-to for school lunches. I’ve tested it through cold mornings, rushed mornings, and mornings where I barely had five minutes to pack a lunch. Every single time, it delivers.
- Quick & Easy : From start to finish, this comes together in under 15 minutes. That’s faster than most drive-thrus, and way more satisfying.
- Simple Ingredients : You only need pasta, butter, Parmesan cheese, salt, and pasta water. That’s it. No cream, no complicated sauces, no specialty items.
- Perfect for School Lunches : This pasta stays warm in a thermos for hours without getting mushy. The butter creates a natural barrier that keeps the pasta from absorbing too much moisture.
- Crowd-Pleaser : My picky eater asked for seconds. My neighbor’s kids asked for the recipe. It’s that kind of universal appeal.
- Unbelievably Delicious : The combination of warm butter and sharp Parmesan creates this creamy, savory coating that’s way more than the sum of its parts. It’s comfort food in its purest form.
What makes this recipe different from other thermos pastas is the technique. Most recipes tell you to dump sauce on pasta and hope for the best. But I’ve learned that the secret is in how you emulsify the butter and cheese with a little pasta water. It creates a sauce that clings to every noodle without being heavy or greasy. This isn’t just another pasta recipe—it’s the one that actually works for lunch.
I love this recipe because it solves a real problem. You know that feeling when you open a lunchbox at the end of the day and find half the food uneaten? This pasta comes back empty. Every time. And honestly, as a parent, that’s the win we all need.
What Ingredients You Will Need
This recipe uses simple, everyday ingredients to create something genuinely delicious. No fancy grocery trips required—you probably have everything in your kitchen right now.
- Pasta (8 oz / 225 g) – I recommend short pasta shapes like rotini, fusilli, penne, or farfalle. The ridges and curves hold onto the sauce beautifully. My personal favorite is rotini because it stays separate and doesn’t clump. Avoid long pasta like spaghetti—it’s harder to eat from a thermos and tends to tangle.
- Unsalted Butter (4 tablespoons / 56 g) – Use good quality unsalted butter here. Salted butter works in a pinch, but you’ll want to reduce the added salt. I prefer Kerrygold or any European-style butter for its richness, but regular store-brand works fine too.
- Freshly Grated Parmesan Cheese (1/2 cup / 50 g) – This is non-negotiable. Pre-shredded Parmesan has anti-caking agents that prevent it from melting smoothly. Buy a block of real Parmigiano-Reggiano and grate it yourself. The difference in texture and flavor is massive. For a more budget-friendly option, Grana Padano works beautifully.
- Salt (1 teaspoon / 5 g) – Use kosher salt for the pasta water. The pasta absorbs salt as it cooks, which seasons it from the inside out. Don’t skip this step.
- Pasta Water (1/2 cup / 120 ml) – This is the secret ingredient. The starchy water helps emulsify the butter and cheese into a silky sauce. Reserve it before you drain the pasta.
- Black Pepper (optional, to taste) – A pinch of freshly ground black pepper adds a gentle warmth. Skip it if your kids are sensitive to spice.
For ingredient selection, here’s what I’ve learned through trial and error: use a pasta that has some texture. Smooth pasta like elbow macaroni tends to clump together in a thermos, while shapes with ridges stay separate and coated. I’ve tested this with whole wheat pasta too—it works, but the texture is slightly firmer. If you’re gluten-free, brown rice pasta or chickpea pasta both hold up well, though chickpea pasta has a stronger flavor that might not appeal to all kids.
One more thing about the Parmesan—splurge on the real stuff. I know it’s tempting to grab the green can, but it really does make a difference. The pre-grated stuff doesn’t melt the same way, and you’ll end up with a grainy texture instead of that smooth, creamy coating. A good block of Parmesan will last for weeks in the fridge, so it’s worth the investment.
Equipment Needed
You don’t need much for this recipe, which is part of why I love it. Here’s what you’ll need:
- Large Pot (4-6 quart / 4-6 liter) – For boiling the pasta. Make sure it’s big enough that the pasta has room to move around.
- Colander – For draining the pasta. Nothing fancy needed.
- Measuring Cups and Spoons – For accuracy. I’ve made this enough times to eyeball it, but measuring helps when you’re first starting out.
- Box Grater or Microplane – For grating the Parmesan. A microplane gives you that fine, fluffy texture that melts instantly. A box grater works too, just use the fine side.
- Liquid Measuring Cup – To reserve the pasta water. A glass measuring cup is easiest.
- Large Mixing Bowl – For tossing the pasta with butter, cheese, and water. You need enough room to stir without spilling.
- Thermos (10-16 oz / 300-475 ml) – A wide-mouth thermos is easiest for filling and eating. I use a Stanley or Thermos brand, but any insulated container works. Preheat it with hot water for 5 minutes before filling for best results.
- Tongs or Wooden Spoon – For stirring and serving.
If you don’t have a thermos, an insulated food jar works just as well. I’ve also packed this in a regular container for lunch at home, and it’s still delicious cold. But for school lunches, the thermos is really the way to go.
Preparation Method
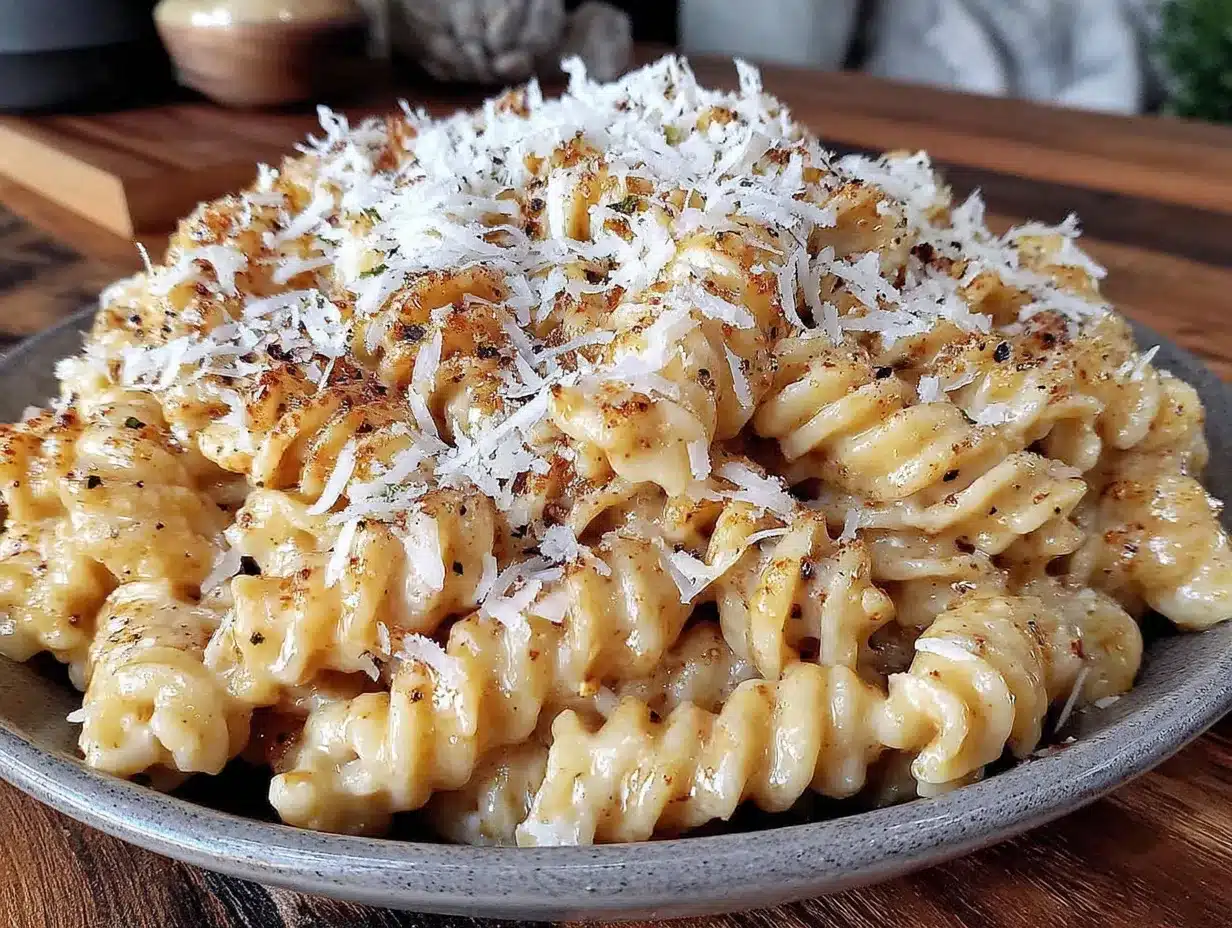
Let me walk you through this step by step. I’ve made this pasta so many times that I could do it in my sleep, but I’ll share every detail so you get perfect results on your first try.
Step 1: Bring a large pot of salted water to a rolling boil.
Fill your pot with about 4 quarts (3.8 liters) of water. Add 1 tablespoon of kosher salt—yes, it seems like a lot, but most of it stays in the water. The salt seasons the pasta from the inside, which makes a huge difference in the final flavor. Bring it to a full, vigorous boil over high heat.
Step 2: Cook the pasta until al dente.
Add your 8 ounces (225 g) of pasta to the boiling water. Stir immediately to prevent sticking. Cook according to package directions, but check it a minute before the suggested time. You want it al dente—firm to the bite but cooked through. Overcooked pasta gets mushy in the thermos. For rotini, this is usually about 8-9 minutes. For penne, about 10-11 minutes.
Step 3: Reserve 1 cup (240 ml) of pasta water before draining.
Right before you drain the pasta, use a liquid measuring cup to scoop out about 1 cup of the starchy pasta water. This is liquid gold for your sauce. Set it aside. Then drain the pasta in your colander. Don’t rinse it—you want that starch to help the sauce cling.
Step 4: Return the pasta to the pot or transfer to a large bowl.
I like to use a large mixing bowl for this step because it gives me room to toss everything evenly. If you’re using the pot, make sure it’s off the heat so the butter doesn’t burn.
Step 5: Add the butter and toss until melted.
Add 4 tablespoons (56 g) of unsalted butter to the hot pasta. Toss gently with tongs or a wooden spoon until the butter is completely melted and every piece of pasta is coated. The heat from the pasta will melt the butter in about 30 seconds. You should see a glossy sheen on each noodle.
Step 6: Add the grated Parmesan and toss again.
Sprinkle 1/2 cup (50 g) of freshly grated Parmesan over the buttered pasta. Toss to combine. The cheese will start to melt from the residual heat. Don’t worry if it looks a little clumpy at first—the next step fixes that.
Step 7: Add pasta water, 1 tablespoon at a time, and toss.
Here’s where the magic happens. Add 2-3 tablespoons of your reserved pasta water and toss vigorously. The starch in the water helps emulsify the butter and cheese into a smooth, silky sauce. Add more water if needed—you’re looking for a consistency where every piece of pasta is coated but not swimming in liquid. For most batches, 1/4 to 1/3 cup (60-80 ml) is perfect.
Step 8: Season with salt and pepper to taste.
Taste the pasta. Add a pinch of salt if needed—the Parmesan is already salty, so go easy. Add a few cracks of black pepper if you like. Toss once more to distribute.
Step 9: Preheat your thermos.
While the pasta is cooking, fill your thermos with boiling water and let it sit for 5 minutes. This step is crucial for keeping the pasta warm until lunchtime. A cold thermos will suck the heat right out of your food.
Step 10: Fill the thermos and seal immediately.
Empty the hot water from your thermos. Spoon the warm pasta directly into the thermos, packing it gently but not compressing it. Fill it to the top to minimize air space—less air means less heat loss. Seal the lid immediately.
That’s it. Your Easy Thermos Butter Parmesan Pasta for School Lunch is ready to go. The whole process takes about 15 minutes from start to finish, and most of that is just waiting for water to boil.
Cooking Tips & Techniques
I’ve made every mistake you can imagine with this recipe, so let me save you the trouble. Here are the tips I’ve learned the hard way.
Don’t overcook the pasta. This is the most common mistake. Pasta continues to cook slightly in the thermos, so if you cook it to fully tender, it’ll be mushy by lunchtime. Cook it al dente—firm to the bite—and it’ll be perfect after a few hours in the thermos.
Reserve more pasta water than you think you need. I always save a full cup even though I only use a few tablespoons. The extra gives you room to adjust the consistency. If your pasta seems dry after sitting for a minute, add another splash of water and toss. The starch in the water helps re-emulsify the sauce.
Grate your cheese fresh. I cannot stress this enough. Pre-shredded Parmesan is coated with cellulose and other anti-caking agents that prevent it from melting smoothly. You’ll end up with a grainy, clumpy mess instead of that silky sauce. Spend the two minutes grating a block of real Parmesan. It’s worth it.
Preheat your thermos with boiling water. This is the number one tip for keeping food hot. A cold thermos will drop the temperature of your pasta by 20 degrees in the first five minutes. Preheat it while you’re cooking, and your pasta will still be warm at lunchtime. I’ve tested this side by side, and the difference is dramatic.
Use room temperature butter. If you have time, let your butter sit out for 15 minutes before starting. Cold butter takes longer to melt and can cool down the pasta too much. If you forget (I do, constantly), cut the butter into small cubes so it melts faster.
Work quickly once the pasta is cooked. The whole butter-cheese-water process should take less than 2 minutes. If you dawdle, the pasta cools down and the cheese won’t melt properly. Have everything measured and ready before you drain the pasta.
Don’t rinse the pasta. I know it’s tempting to rinse off the starch, especially if you’re used to making cold pasta salad. But for this recipe, you want that starch. It’s what helps the sauce cling to the pasta and gives it that creamy texture. Trust the process.
Variations & Adaptations
One of the best things about this recipe is how easy it is to adapt. Here are some variations I’ve tried and loved.
Add Protein: For a more filling lunch, add some protein. I’ve mixed in diced cooked chicken, small meatballs, or even leftover rotisserie chicken. Just toss it in with the pasta before adding the butter and cheese. The extra protein helps keep kids full through the afternoon. If you’re looking for another protein-packed lunch idea, these easy mini turkey and cheese pinwheels are a great companion for a balanced lunchbox.
Add Vegetables: Sneak in some veggies by adding steamed broccoli florets, frozen peas, or finely chopped spinach. Add them to the pasta during the last minute of cooking so they warm through without getting mushy. The butter and cheese coating helps mask the veggie flavor for picky eaters.
Make it Dairy-Free: Use vegan butter and nutritional yeast instead of Parmesan. Nutritional yeast has a cheesy, nutty flavor that works surprisingly well. The texture won’t be exactly the same, but it’s still delicious. Use 2-3 tablespoons of nutritional yeast to start, then adjust to taste.
Add Herbs: A sprinkle of dried parsley, basil, or oregano adds a subtle flavor boost. I sometimes add a pinch of dried basil when I’m feeling fancy. Fresh herbs work too, but add them right before serving so they don’t wilt.
Make it Gluten-Free: Use your favorite gluten-free pasta. Brown rice pasta holds up best in the thermos. Cook it according to package directions, but be careful not to overcook it—gluten-free pasta gets mushy faster than regular pasta.
Add a Protein Boost: For an even heartier lunch, stir in a spoonful of cottage cheese or Greek yogurt along with the Parmesan. It adds protein and makes the sauce even creamier. I’ve done this for my teenager who needs extra fuel for after-school sports, and he never noticed the difference.
Try Different Cheeses: While Parmesan is classic, you can experiment with other hard cheeses. Pecorino Romano adds a sharper, saltier flavor. Asiago is milder and creamier. Gouda adds a smoky note. Just make sure to grate it fresh.
Serving & Storage Suggestions
This pasta is designed to be served warm from a thermos, but there are a few tricks to make sure it’s at its best.
For School Lunches: Pack the thermos as close to lunchtime as possible. If you’re making it the night before, cool the pasta completely before refrigerating, then reheat it in the microwave for 1-2 minutes before filling the thermos. The pasta will stay warm for 4-5 hours in a good thermos.
Serving Temperature: This pasta is best served warm, but it’s also surprisingly good at room temperature. If your kid forgets to eat it until afternoon, don’t worry—it’s still delicious cold. The butter and cheese coating keeps it from drying out.
What to Serve With It: This pasta pairs beautifully with a side of fresh fruit, baby carrots, or cucumber slices. For a complete lunch, add a protein energy ball for extra staying power. A small container of yogurt or a cheese stick rounds out the meal nicely.
Storage: Leftover pasta can be stored in an airtight container in the refrigerator for up to 3 days. The texture will change slightly as the pasta absorbs the sauce, but it’s still tasty. To reheat, add a splash of water or milk and microwave for 30-60 seconds, stirring halfway through.
Freezing: I don’t recommend freezing this pasta. The texture of the cheese sauce changes when frozen and thawed, becoming grainy and separated. It’s best made fresh.
How Flavors Develop: Interestingly, this pasta tastes even better after sitting for a few hours. The flavors meld together, and the butter and cheese penetrate the pasta more deeply. That’s why it’s so perfect for thermos lunches—it actually improves with time.
Nutritional Information & Benefits
Here’s the estimated nutritional breakdown for one serving (about 1 cup / 240 ml) of this Easy Thermos Butter Parmesan Pasta:
| Nutrient | Amount per Serving |
|---|---|
| Calories | 380-420 |
| Total Fat | 18-22 g |
| Saturated Fat | 11-13 g |
| Cholesterol | 45-55 mg |
| Sodium | 450-550 mg |
| Total Carbohydrates | 40-45 g |
| Dietary Fiber | 2-3 g |
| Sugars | 1-2 g |
| Protein | 10-12 g |
| Calcium | 150-200 mg |
This pasta provides a good balance of carbohydrates for energy, protein for satiety, and fat for flavor and fullness. The Parmesan cheese is an excellent source of calcium, which is essential for growing bones and teeth. A single serving provides about 15-20% of the daily calcium needs for a school-age child.
The butter, while high in saturated fat, also contains fat-soluble vitamins A, D, E, and K. When eaten in moderation as part of a balanced diet, it’s perfectly fine. The pasta provides complex carbohydrates for sustained energy throughout the school day.
For dietary considerations, this recipe is vegetarian and can be made gluten-free with the right pasta. It contains dairy from both the butter and cheese, so it’s not suitable for those with dairy allergies. If you need a dairy-free version, try the nutritional yeast variation mentioned earlier.
Conclusion
This Easy Thermos Butter Parmesan Pasta for School Lunch has become a staple in our house for good reason. It’s fast, it’s simple, and it actually works. No more uneaten lunches coming home at the end of the day. No more worrying about whether your kid is getting enough to eat. Just warm, comforting pasta that tastes like you put way more effort into it than you actually did.
I love this recipe because it solves a real problem without adding more stress to your morning routine. It’s the kind of recipe that makes you feel like you’ve got this whole school lunch thing figured out. And honestly, we all deserve that feeling.
Try it this week. Customize it with whatever you have on hand—add some veggies, throw in some protein, or keep it simple. It’s hard to mess up, and even the “mistakes” are delicious. If you make it, I’d love to hear how it went. Drop a comment below and let me know what your kids thought. Did they ask for it three days in a row too? I wouldn’t be surprised.
Happy lunch packing, friends. You’ve got this.
Frequently Asked Questions
Q: Can I use salted butter instead of unsalted?
A: Yes, you can. Just reduce or skip the added salt in the recipe. The Parmesan is already quite salty, so taste before adding more salt.
Q: How long will this pasta stay warm in a thermos?
A: In a preheated thermos, the pasta will stay warm for 4-5 hours. For best results, fill the thermos with boiling water for 5 minutes before adding the pasta.
Q: Can I make this pasta the night before?
A: Yes, but the texture will be slightly different. Cook the pasta, toss with butter and cheese, and refrigerate in an airtight container. In the morning, reheat in the microwave for 1-2 minutes, add a splash of water to loosen the sauce, and fill your preheated thermos.
Q: What’s the best pasta shape for thermos lunches?
A: Short, textured pasta like rotini, fusilli, penne, or farfalle work best. They hold sauce well and don’t clump together. Avoid long pasta like spaghetti or angel hair.
Q: Can I freeze this pasta for later?
A: I don’t recommend freezing. The cheese sauce can become grainy and separated when thawed. It’s best made fresh or stored in the refrigerator for up to 3 days.
Q: How can I add more protein to this lunch?
A: Stir in diced cooked chicken, small meatballs, or leftover rotisserie chicken along with the butter and cheese. You can also add a spoonful of cottage cheese or Greek yogurt for extra protein. For another protein-packed option, try these ham and cheese quesadilla pockets in your lunch rotation.
Pin This Recipe!
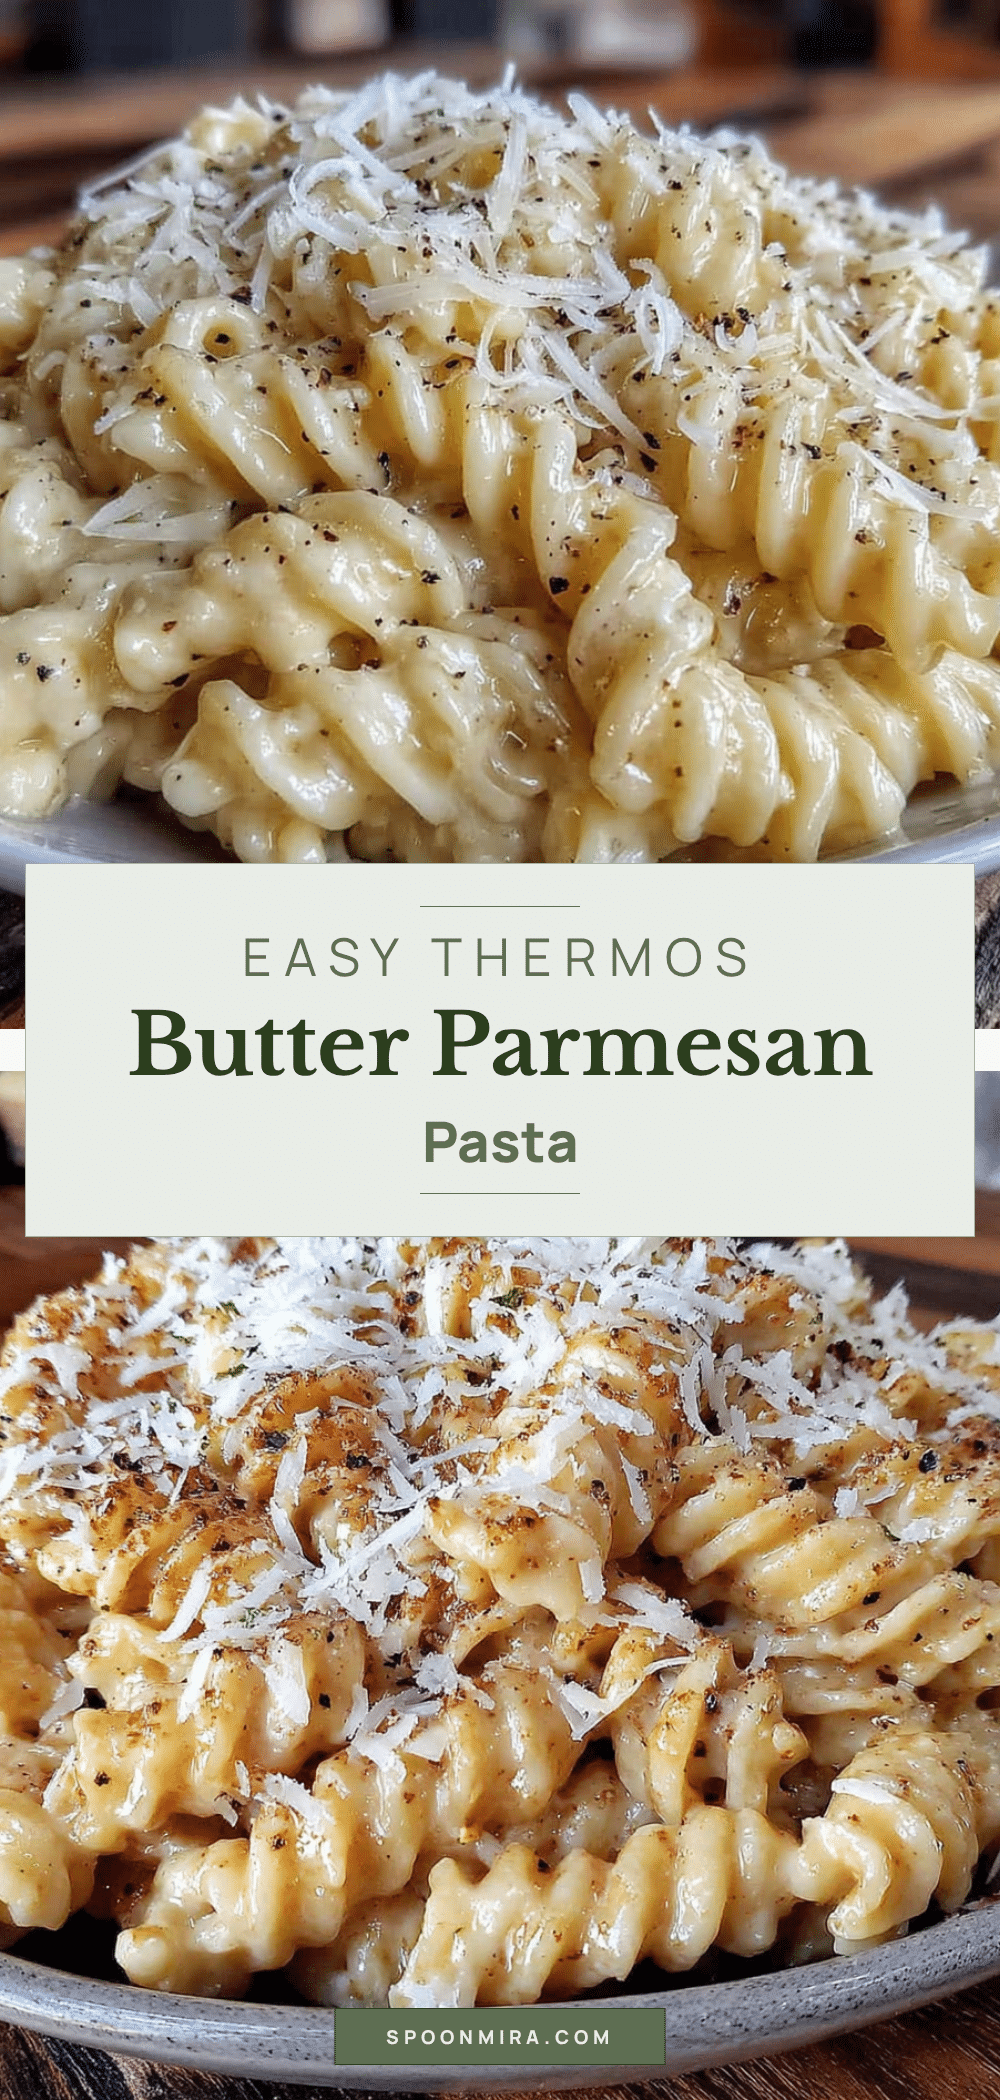
Easy Thermos Butter Parmesan Pasta: Best School Lunch

A quick and simple butter Parmesan pasta that stays warm in a thermos for hours, perfect for school lunches. Made with just a few ingredients, this creamy, savory pasta is a crowd-pleaser that comes back empty every time.
- Prep Time: 5 minutes
- Cook Time: 10 minutes
- Total Time: 15 minutes
- Yield: 4 servings 1x
- Category: Main Course
- Cuisine: Italian
Ingredients
- 8 oz (225 g) short pasta (rotini, fusilli, penne, or farfalle)
- 4 tablespoons (56 g) unsalted butter
- 1/2 cup (50 g) freshly grated Parmesan cheese
- 1 teaspoon (5 g) kosher salt (for pasta water)
- 1/2 cup (120 ml) reserved pasta water
- Black pepper to taste (optional)
Instructions
- Bring a large pot of salted water to a rolling boil.
- Cook the pasta until al dente according to package directions.
- Reserve 1 cup (240 ml) of pasta water before draining. Drain the pasta (do not rinse).
- Return the pasta to the pot or transfer to a large bowl.
- Add the butter and toss until melted and every piece is coated.
- Add the grated Parmesan and toss to combine.
- Add pasta water, 1 tablespoon at a time, tossing vigorously until a smooth, silky sauce forms (about 1/4 to 1/3 cup / 60-80 ml).
- Season with salt and pepper to taste.
- Preheat the thermos by filling it with boiling water for 5 minutes.
- Empty the thermos, fill with warm pasta, seal immediately, and pack for lunch.
Notes
Cook pasta al dente to avoid mushiness in the thermos. Reserve more pasta water than needed for adjusting consistency. Grate Parmesan fresh for best melting. Preheat thermos with boiling water for 5 minutes to keep pasta warm. Work quickly once pasta is cooked to ensure cheese melts properly. Do not rinse pasta.
Nutrition
- Serving Size: 1 cup (240 ml)
- Calories: 400
- Sugar: 1.5
- Sodium: 500
- Fat: 20
- Saturated Fat: 12
- Carbohydrates: 42
- Fiber: 2.5
- Protein: 11
Keywords: thermos pasta, school lunch, butter parmesan pasta, easy pasta recipe, kid-friendly lunch


