Last Tuesday, my neighbor across the hall knocked on my door holding a loaf pan wrapped in a slightly stained kitchen towel. She’d seen me hauling bags of overripe bananas from the grocery store the day before and, without saying much, just handed me the pan. “Try this,” she said. “It’s the one I make when I don’t want to feel heavy after breakfast.” That was it. She was gone before I could even ask her name.
I unwrapped it in my kitchen, and honestly, the smell alone made me forgive myself for the three bananas I’d let go brown on the counter. This wasn’t just banana bread. It was the kind of banana bread that feels like a hug but doesn’t leave you sluggish. The texture was perfect—moist, tender, with a crumb that held together without being dense. And it was sweet enough to satisfy a craving without that sugar crash an hour later.
I spent the next week tweaking it. I swapped out the refined sugar for a touch of maple syrup, cut the butter in half with Greek yogurt, and tested it three times to make sure it wasn’t a fluke. The result is this Healthy One-Bowl Banana Bread. No mixer needed, no fuss, and it comes together in about ten minutes of active work. You know that feeling when you find a recipe that just works? This is it. Maybe you’ve been there—standing in your kitchen, staring at sad bananas, wishing for something that feels both wholesome and indulgent. This bread is that answer.
Why You’ll Love This Recipe
I’ve tested a lot of banana bread recipes over the years. Some are too dry. Some are basically cake in disguise. This one hits the sweet spot between healthy and genuinely delicious. Here’s why it stands out:
- Quick & Easy: Comes together in under 10 minutes of prep. No mixer, no complicated steps. Just one bowl and a spatula.
- Simple Ingredients: You probably have everything in your pantry right now. No weird flours or hard-to-find sweeteners.
- Perfect for Busy Mornings: Slice it up for breakfast, pack it for a snack, or enjoy it as a light dessert. It fits into real life.
- Crowd-Pleaser: My kids devour it. My workout buddies ask for the recipe. Even my dad, who swears by traditional banana bread, went back for seconds.
- Unbelievably Moist: The secret is Greek yogurt and ripe bananas working together. You get that tender crumb without a ton of oil or butter.
What makes this recipe different from the rest? It’s the balance. I’ve dialed in the sweetness so you don’t miss the sugar, and the texture is spot-on because of the yogurt. Plus, it’s forgiving. You can swap in whole wheat flour, add chocolate chips, or toss in some walnuts, and it still turns out great. This isn’t just another banana bread—it’s the version you’ll actually make again and again.
Honestly, this recipe makes me close my eyes after the first bite. It’s comfort food reimagined—healthier, faster, but with the same soul-soothing satisfaction. Perfect for impressing guests without stress, or turning a simple Tuesday into something memorable.
What Ingredients You Will Need
This recipe uses simple, wholesome ingredients to deliver bold flavor and satisfying texture without the fuss. Most of these are pantry staples, which makes this perfect for those days when you need a quick bake.
Dry Ingredients
- 1 ½ cups (180g) whole wheat flour (or all-purpose flour if you prefer a lighter texture; I like King Arthur Flour for consistent results)
- 1 teaspoon baking soda (make sure it’s fresh—this is what gives the bread its rise)
- ½ teaspoon baking powder (adds extra lift, especially if your bananas aren’t super ripe)
- ½ teaspoon salt (balances the sweetness and enhances the banana flavor)
- 1 teaspoon ground cinnamon (adds warmth; you can skip it or swap for nutmeg)
Wet Ingredients
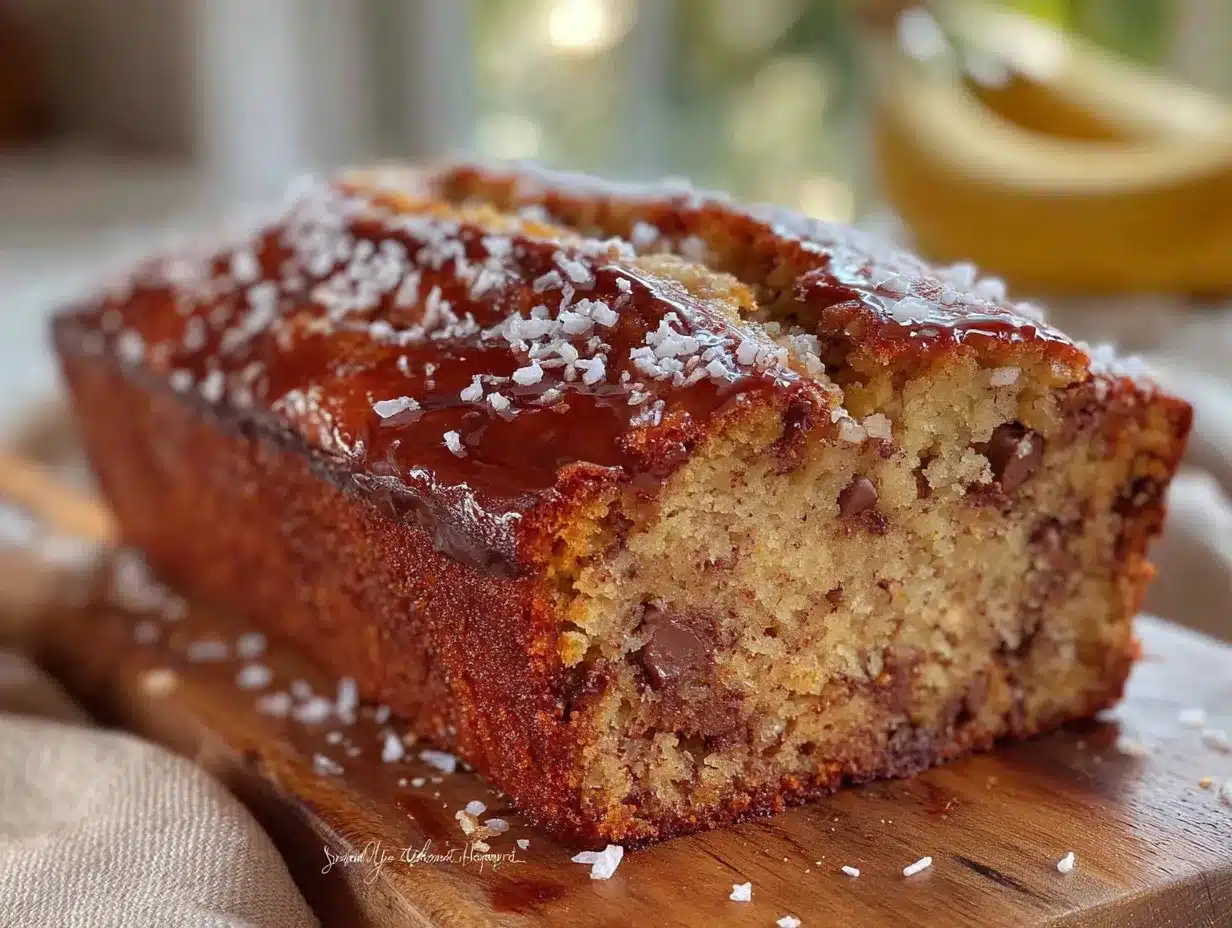
- 3 medium ripe bananas, mashed (about 1 ½ cups; the riper, the better—those brown spots mean more natural sweetness)
- ⅓ cup (80ml) maple syrup (or honey; adds sweetness without refined sugar)
- ¼ cup (60g) plain Greek yogurt (full-fat or 2% works best for moisture; dairy-free works too)
- ¼ cup (60ml) melted coconut oil (or any neutral oil like avocado oil; olive oil will add a slight flavor)
- 2 large eggs, room temperature (helps everything blend smoothly; flax eggs work for a vegan version)
- 1 teaspoon vanilla extract (pure vanilla makes a difference, but imitation works in a pinch)
Optional Add-Ins
- ½ cup (60g) chopped walnuts or pecans (adds crunch and healthy fats)
- ¼ cup (45g) dark chocolate chips (because sometimes you need chocolate; I like Enjoy Life brand for dairy-free)
Ingredient Selection Tip: For the best texture, use bananas that are heavily speckled with brown spots. They’re sweeter and mash more easily. If your bananas are still yellow, you can speed up ripening by baking them at 300°F for 15 minutes until the skins darken.
Substitution Guidance: For a gluten-free option, use a 1:1 gluten-free baking flour blend. For a dairy-free version, swap Greek yogurt with coconut yogurt or unsweetened applesauce. If you’re out of maple syrup, honey or agave work perfectly.
Equipment Needed
You don’t need much for this recipe, which is part of the beauty. Here’s what you’ll need:
- Large mixing bowl (any bowl works, but a wide one makes mashing easier)
- Wooden spoon or spatula (for mixing; a whisk works too, but don’t overmix)
- 9×5-inch loaf pan (if you don’t have one, an 8×4-inch pan works—just bake a few minutes longer)
- Parchment paper (optional but recommended for easy removal; I’ve forgotten it before and it still came out fine with greasing)
- Fork or potato masher (for mashing bananas; I prefer a fork because it gives me more control)
- Measuring cups and spoons (a kitchen scale is even better for accuracy)
- Cooling rack (helps the bread cool evenly; a wire rack is ideal, but a cutting board works in a pinch)
Budget-Friendly Tip: If you don’t have a loaf pan, you can bake this in a 9-inch round cake pan or even muffin tins. Just adjust the baking time—muffins take about 15-18 minutes.
Preparation Method
This is where the magic happens. Follow these steps, and you’ll have a moist, tender loaf every single time.
- Preheat your oven to 350°F (175°C). Grease your loaf pan with a little oil or line it with parchment paper, leaving some overhang on the sides for easy lifting. I’ve forgotten to grease before, and let’s just say it was a sticky situation. Don’t skip this step.
- Mash the bananas. In your large mixing bowl, add the three ripe bananas. Use a fork or potato masher to mash them until smooth. You want some small lumps for texture, but no big chunks. This should take about 30 seconds. (If your bananas are super ripe, they’ll mash almost instantly.)
- Add the wet ingredients. To the mashed bananas, add the maple syrup, Greek yogurt, melted coconut oil, eggs, and vanilla extract. Whisk or stir with your spatula until everything is combined and smooth. The mixture should look glossy and smell amazing. Don’t worry if there are a few tiny lumps—they’ll bake out.
- Mix the dry ingredients separately. In a small bowl (or if you’re feeling brave, directly on top of the wet mixture), combine the whole wheat flour, baking soda, baking powder, salt, and cinnamon. Stir them together with a fork to distribute the leavening agents evenly. This prevents pockets of baking soda in your bread—trust me, nobody wants a bitter bite.
- Combine wet and dry. Add the dry ingredients to the wet mixture. Use a spatula to fold everything together gently. Stir just until you no longer see streaks of flour. A few streaks are okay—overmixing will make your bread tough. This step should take about 20 seconds of gentle folding. (I once got distracted and mixed too vigorously; the bread came out dense and chewy. Learn from my mistake.)
- Fold in add-ins (optional). If you’re using walnuts, chocolate chips, or both, gently fold them in now. Save a handful to sprinkle on top for a pretty finish.
- Pour the batter into the prepared loaf pan. Use your spatula to spread it evenly. Tap the pan on the counter a couple of times to release any air bubbles. If you’re adding a topping, sprinkle those reserved nuts or chocolate chips over the surface now.
- Bake for 45-55 minutes. Place the pan on the center rack of your oven. Bake until the top is golden brown and a toothpick inserted into the center comes out clean or with a few moist crumbs. If the top is browning too quickly after 30 minutes, tent it loosely with aluminum foil. My oven runs hot, so I usually check at the 45-minute mark. Every oven is different, so start checking around 40 minutes if yours runs hot.
- Cool in the pan for 10 minutes. This allows the bread to set and makes it easier to remove. Then, lift it out using the parchment paper overhang and transfer to a wire rack. Let it cool completely before slicing—about 1 hour. I know it’s tempting, but slicing warm banana bread can make it crumble. Patience pays off here.
Cooking Tips & Techniques
After making this bread more times than I can count, I’ve picked up a few tricks that make a real difference.
Don’t overmix the batter. This is the number one mistake I see. When you overmix, you develop the gluten in the flour, which makes the bread tough and rubbery. Stir just until combined. A few lumps are your friend.
Use room temperature ingredients. Cold eggs or yogurt can seize up the coconut oil, leading to a lumpy batter. Let your eggs sit out for 15-20 minutes before starting. If you forget, place them in a bowl of warm water for 5 minutes.
Check for doneness with a thermometer. If you have an instant-read thermometer, the internal temperature should be around 200°F (93°C) when the bread is done. This is more reliable than the toothpick test, especially if you have a deep loaf.
Let it cool completely. I once cut into this bread after 20 minutes because I couldn’t wait. The center was still slightly gummy, and the slices fell apart. Cooling allows the steam to redistribute and the crumb to set. Trust the process.
Toast leftovers for a treat. If you have slices the next day, pop them in the toaster for a few minutes. The edges get crispy, and the inside stays soft. It’s a whole new experience.
Double the recipe for a crowd. This bread freezes beautifully, so I often make two loaves at once. Just bake them on separate racks, swapping positions halfway through for even browning.
Variations & Adaptations
One of the best things about this recipe is how flexible it is. Here are some variations I’ve tried and loved:
Vegan Banana Bread
Replace the eggs with two flax eggs (2 tablespoons ground flaxseed mixed with 6 tablespoons water, let sit for 5 minutes). Use dairy-free yogurt and coconut oil. The texture is slightly denser but still delicious.
Gluten-Free Version
Swap the whole wheat flour with a 1:1 gluten-free baking blend. I’ve used Bob’s Red Mill with great results. Add an extra tablespoon of yogurt to compensate for the drier texture of gluten-free flours.
Chocolate Lover’s Twist
Replace ¼ cup of the flour with unsweetened cocoa powder. Fold in ½ cup dark chocolate chips. This version tastes like dessert but still has the wholesome base.
Nut-Free Option
Skip the walnuts and add pumpkin seeds or sunflower seeds for crunch. Or just leave out the add-ins entirely—the bread is still fantastic on its own.
Spiced Variation
Add ¼ teaspoon nutmeg, ¼ teaspoon ground ginger, and a pinch of cloves along with the cinnamon. This gives it a warm, chai-like flavor that’s perfect for fall.
Personal Variation: My favorite version includes ½ cup of shredded zucchini (squeezed dry) and a handful of chopped pecans. It makes the bread even more moist, and you get a little extra veggie in there without tasting it.
Serving & Storage Suggestions
This banana bread is incredibly versatile when it comes to serving. Here’s how I enjoy it:
Serving Temperature: Serve at room temperature or slightly warm. If you want to warm it up, pop a slice in the microwave for 10-15 seconds or toast it lightly. A pat of butter or a drizzle of honey takes it over the top.
Presentation Ideas: Slice into thick pieces and arrange on a wooden board. Dust with a little powdered sugar if you’re feeling fancy. For brunch, serve alongside fresh fruit and a dollop of Greek yogurt.
Complementary Dishes: This bread pairs beautifully with a cup of coffee or a chai latte. For a more substantial breakfast, serve with scrambled eggs and fresh berries.
Storage Instructions: Store leftover bread in an airtight container at room temperature for up to 3 days. If your kitchen is warm, refrigerate it to prevent mold—it will keep for up to a week in the fridge.
Freezer Tips: This bread freezes like a dream. Wrap the cooled loaf tightly in plastic wrap, then in foil, and freeze for up to 3 months. To thaw, leave it on the counter overnight. You can also freeze individual slices for quick breakfasts—just grab one and pop it in the toaster.
Flavor Development: Honestly, this bread tastes even better on day two. The flavors meld together, and the texture becomes even more moist. If you can resist eating it all on day one, you’re in for a treat.
Nutritional Information & Benefits
Here’s an approximate nutritional breakdown per slice (based on 10 slices, without add-ins):
- Calories: 190
- Fat: 7g
- Carbohydrates: 30g
- Fiber: 3g
- Sugar: 14g (naturally occurring from bananas and maple syrup)
- Protein: 5g
Health Benefits: This recipe is packed with wholesome ingredients. Bananas are rich in potassium and vitamin B6, which support heart health and energy levels. Greek yogurt adds protein and probiotics for gut health. Whole wheat flour provides fiber for steady energy, and cinnamon has anti-inflammatory properties. Using maple syrup instead of refined sugar means you get trace minerals like zinc and manganese.
Dietary Considerations: This recipe is naturally vegetarian. With the modifications mentioned above, it can be made vegan, gluten-free, or dairy-free. It’s lower in sugar than traditional banana bread, making it a great option for those watching their intake.
Potential Allergens: Contains wheat (gluten), eggs, and dairy. Adjust as needed for your dietary needs.
Conclusion
This Healthy One-Bowl Banana Bread has become a staple in my kitchen for good reason. It’s the kind of recipe that fits into real life—quick enough for a weekday morning, wholesome enough to feel good about, and delicious enough to satisfy any craving. Whether you’re a seasoned baker or someone who’s never made banana bread before, this recipe is forgiving and rewarding.
I love that I can customize it based on what I have in my pantry. Some weeks it’s studded with chocolate chips, other weeks it’s packed with walnuts. It always turns out moist, tender, and perfectly sweet. That first loaf my neighbor handed me changed how I think about banana bread—it showed me that healthy doesn’t have to mean boring.
Now I’d love to hear from you! Have you tried this recipe? What variations did you make? Drop a comment below and let me know how it turned out. Don’t forget to share this post with a friend who’s sitting on a bunch of overripe bananas. Happy baking!
Frequently Asked Questions
Can I use frozen bananas in this recipe?
Absolutely! Thaw frozen bananas completely, then drain off any excess liquid before mashing. They’ll be super soft and extra sweet, which works perfectly in this bread.
Why did my banana bread sink in the middle?
This usually happens if the batter is overmixed or if the oven temperature is too low. Make sure your oven is properly preheated and avoid opening the door during the first 30 minutes of baking.
Can I reduce the sugar even more?
Yes, you can cut the maple syrup down to ¼ cup if your bananas are very ripe and spotty. The bread will be less sweet, but still delicious. You can also add a sugar-free sweetener like stevia, but the texture may change slightly.
How do I know when the banana bread is fully baked?
Insert a toothpick into the center of the loaf. If it comes out clean or with a few moist crumbs (not wet batter), it’s done. The internal temperature should be around 200°F (93°C) if using a thermometer.
Can I make this into muffins instead of a loaf?
Yes! Grease a 12-cup muffin tin and divide the batter evenly. Bake at 350°F for 15-18 minutes, or until a toothpick inserted into a muffin comes out clean. This is great for portion control and quick breakfasts.
Pin This Recipe!
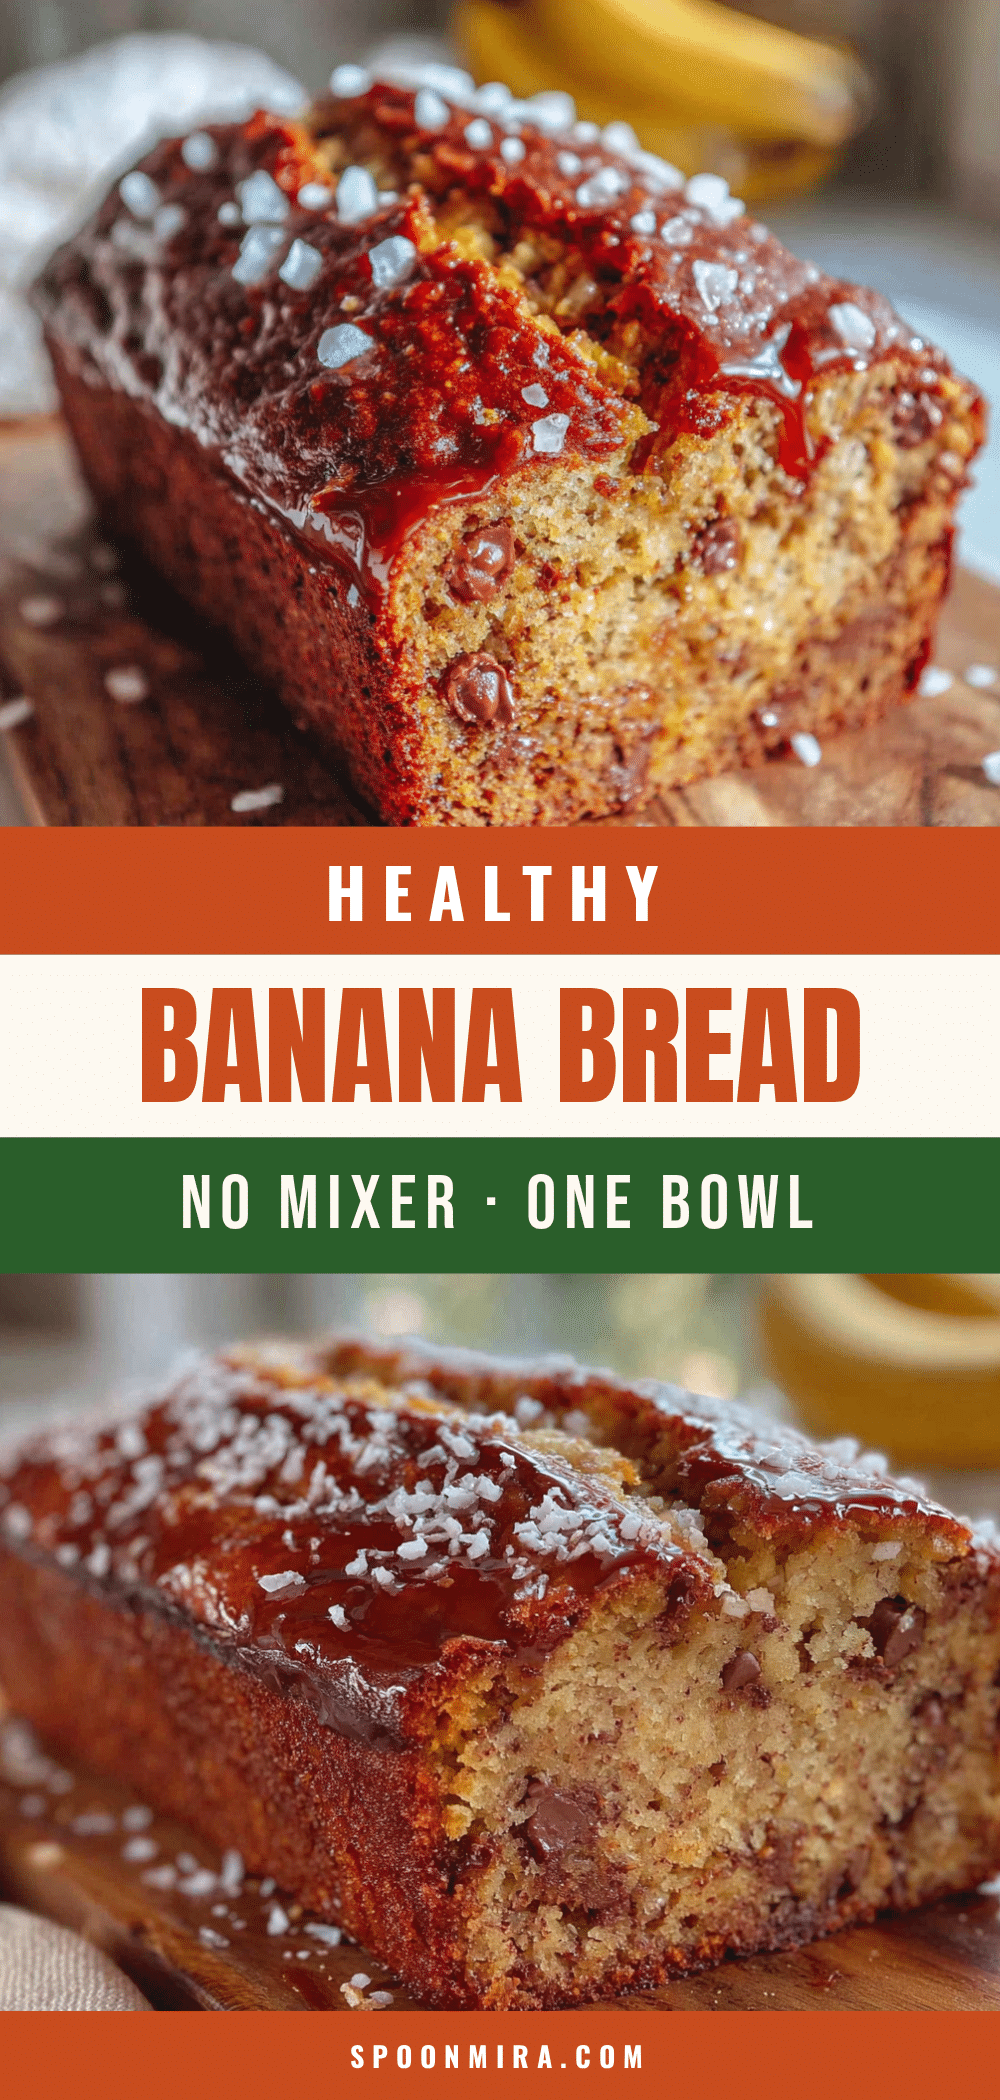
Healthy One-Bowl Banana Bread: Easy & Moist
This healthy banana bread is moist, tender, and perfectly sweet, made with whole wheat flour, Greek yogurt, and maple syrup. It comes together in one bowl with no mixer needed, making it a quick and wholesome breakfast or snack.
- Prep Time: 10 minutes
- Cook Time: 50 minutes
- Total Time: 1 hour 10 minutes
- Yield: 10 servings 1x
- Category: Breakfast
- Cuisine: American
Ingredients
- 1 ½ cups (180g) whole wheat flour
- 1 teaspoon baking soda
- ½ teaspoon baking powder
- ½ teaspoon salt
- 1 teaspoon ground cinnamon
- 3 medium ripe bananas, mashed (about 1 ½ cups)
- ⅓ cup (80ml) maple syrup
- ¼ cup (60g) plain Greek yogurt
- ¼ cup (60ml) melted coconut oil
- 2 large eggs, room temperature
- 1 teaspoon vanilla extract
- ½ cup (60g) chopped walnuts or pecans (optional)
- ¼ cup (45g) dark chocolate chips (optional)
Instructions
- Preheat your oven to 350°F (175°C). Grease your loaf pan with a little oil or line it with parchment paper, leaving some overhang on the sides for easy lifting.
- In your large mixing bowl, add the three ripe bananas. Use a fork or potato masher to mash them until smooth. You want some small lumps for texture, but no big chunks.
- To the mashed bananas, add the maple syrup, Greek yogurt, melted coconut oil, eggs, and vanilla extract. Whisk or stir with your spatula until everything is combined and smooth.
- In a small bowl, combine the whole wheat flour, baking soda, baking powder, salt, and cinnamon. Stir them together with a fork to distribute the leavening agents evenly.
- Add the dry ingredients to the wet mixture. Use a spatula to fold everything together gently. Stir just until you no longer see streaks of flour. A few streaks are okay—overmixing will make your bread tough.
- If you’re using walnuts, chocolate chips, or both, gently fold them in now. Save a handful to sprinkle on top for a pretty finish.
- Pour the batter into the prepared loaf pan. Use your spatula to spread it evenly. Tap the pan on the counter a couple of times to release any air bubbles.
- Bake for 45-55 minutes. Place the pan on the center rack of your oven. Bake until the top is golden brown and a toothpick inserted into the center comes out clean or with a few moist crumbs. If the top is browning too quickly after 30 minutes, tent it loosely with aluminum foil.
- Cool in the pan for 10 minutes. Then, lift it out using the parchment paper overhang and transfer to a wire rack. Let it cool completely before slicing—about 1 hour.
Notes
For the best texture, use bananas that are heavily speckled with brown spots. They’re sweeter and mash more easily. If your bananas are still yellow, you can speed up ripening by baking them at 300°F for 15 minutes until the skins darken. Don’t overmix the batter to avoid a tough bread. Let the bread cool completely before slicing to prevent crumbling. This bread tastes even better on day two.
Nutrition
- Serving Size: 1 slice
- Calories: 190
- Sugar: 14
- Sodium: 200
- Fat: 7
- Saturated Fat: 3
- Carbohydrates: 30
- Fiber: 3
- Protein: 5
Keywords: banana bread, healthy banana bread, one bowl banana bread, whole wheat banana bread, easy banana bread, moist banana bread


