The school bake sale was in four hours and I’d completely forgotten. My daughter, Lily, had reminded me three times that week, but between work deadlines and a teething toddler, the caramel apple crisp idea I’d pinned months ago was still just a picture on my phone. Everyone else would be bringing those perfectly frosted cupcakes from the fancy bakery downtown, or elaborate cookie platters that looked like they belonged in a magazine. I had a single cast iron skillet, two sad apples rolling around in the fruit bowl, and a pantry that was honestly looking pretty bare. Let’s just say panic was setting in.
I started pulling things out of the cupboard—oats, flour, brown sugar—and realized I had just enough to make a tiny dessert for two. Not exactly bake sale material. But I figured, you know what, I’d make it for us as a consolation prize for my mom fail. I chopped those apples, tossed them with cinnamon and a pinch of nutmeg, and threw together a crumb topping without even measuring. The whole thing came together in maybe fifteen minutes, and into the oven it went. I honestly didn’t think much of it—it was a last-ditch, throw-it-together situation.
When the timer went off, the kitchen smelled incredible. That buttery, cinnamon-y, caramelized smell that just makes you feel like everything is going to be okay. I pulled the skillet out, and it was bubbling and golden and honestly looked like a little piece of comfort. I let it cool for a minute, then scooped some into a bowl for Lily after school. She took one bite, looked at me with those big eyes, and said, “Mom, this is better than the cupcakes.” And you know that feeling when your kid says something like that? It just melts you. I ended up bringing the whole skillet to the bake sale anyway, and it sold within five minutes. Someone even asked for the recipe. The pan was empty, my kid was happy, and I learned that sometimes the best things come from a little bit of chaos and a whole lot of necessity. That’s the story of this easy cast iron caramel apple crisp for two, and honestly, I haven’t stopped making it since.
Why You’ll Love This Recipe
This isn’t just another apple crisp recipe. This is the one you’ll turn to when you need a warm, comforting dessert that feels special without requiring a trip to the store or an hour of prep. It’s designed for real life—for busy weeknights, for quiet evenings, for those moments when you just want something sweet without the fuss of a whole pie. Here is why this recipe works so well for families like yours.
- Perfectly Portioned for Two: No more leftovers that sit in the fridge for a week. This cast iron caramel apple crisp is made in a small skillet, giving you just enough for two generous servings. It’s ideal for date night at home, a treat for you and your little helper, or a cozy dessert after the kids go to bed.
- Uses Pantry Staples: You likely already have everything you need. Oats, flour, brown sugar, butter, and apples are all common ingredients. The caramel sauce is a simple homemade version that uses ingredients you probably have on hand, or you can use store-bought to save even more time.
- Kid-Approved and Picky Eater Friendly: The sweet, buttery topping and soft, caramelized apples are a guaranteed hit with kids. The texture is familiar and comforting, and the flavor is sweet without being overwhelming. My own kids, who usually push apples away, gobble this up.
- Quick and Easy: From start to finish, this dessert comes together in under 45 minutes. Most of that time is hands-off baking, giving you a chance to clean up or just relax. It’s the kind of recipe that feels like a win even on a hectic Tuesday.
- Budget-Friendly: This recipe uses simple, affordable ingredients. You don’t need any fancy equipment or expensive specialty items. It’s a smart way to use up apples that are starting to get a little soft, and it delivers way more flavor than the cost of ingredients would suggest.
What sets this recipe apart is the cooking method. Using a cast iron skillet gives the apples a chance to caramelize beautifully on the bottom, creating a rich, almost jammy layer that you just don’t get from a baking dish. The edges of the crisp get extra crunchy, while the center stays tender and soft. It’s a texture contrast that makes every bite interesting. Plus, the skillet goes from oven to table beautifully, which means less cleanup and a pretty presentation. Honestly, it’s the kind of dessert that makes you feel like you’ve done something special, even when you’ve barely tried. And that, my friend, is the kind of win we all need.
What Ingredients You Will Need
This recipe keeps things simple. It uses everyday ingredients to create a dessert that tastes anything but ordinary. The key is using good quality butter and fresh apples, as those two ingredients really carry the flavor. Here is everything you will need for this easy cast iron caramel apple crisp for two.
- For the Apple Filling:
- 2 medium apples (about 300g total), peeled, cored, and sliced (I recommend Honeycrisp or Granny Smith for a good balance of sweet and tart)
- 2 tablespoons (25g) granulated sugar
- 1 tablespoon (8g) all-purpose flour
- 1 teaspoon ground cinnamon
- 1/4 teaspoon ground nutmeg (freshly grated is best, but pre-ground works fine)
- 1 tablespoon (15ml) lemon juice (fresh squeezed adds a nice brightness)
- 1/4 cup (60ml) caramel sauce, homemade or store-bought (I like using a good quality jarred sauce for convenience)
- For the Crisp Topping:
- 1/2 cup (45g) old-fashioned rolled oats (not instant, as they get mushy)
- 1/4 cup (30g) all-purpose flour
- 1/4 cup (50g) packed light brown sugar
- 1/4 cup (55g) cold unsalted butter, cut into small cubes
- 1/2 teaspoon ground cinnamon
- 1/4 teaspoon salt (this balances the sweetness perfectly)
- For Serving (Optional but Recommended):
- Vanilla ice cream or whipped cream
- Extra caramel sauce for drizzling
A few notes on ingredients. For the apples, I personally prefer Honeycrisp because they hold their shape well during baking and have a natural sweetness that means you can use a little less sugar. Granny Smith apples are also excellent because their tartness cuts through the sweet caramel and brown sugar. You can mix them for a more complex flavor. If you only have one type, either will work beautifully. The lemon juice is not just for flavor—it prevents the apples from browning and adds a subtle tang that brightens the whole dish. Don’t skip it.
For the butter, make sure it is cold when you cut it into the topping. This is crucial for a crumbly, streusel-like texture. If the butter is too soft, the topping will become more of a paste than a crumble. I use unsalted butter so I can control the salt level, but if you only have salted, just reduce the added salt in the topping to a pinch. The caramel sauce is a star here. You can absolutely use a good quality store-bought version—I often use the one from Trader Joe’s or a local brand—but if you have a few extra minutes, making your own is surprisingly easy and adds a deep, buttery flavor that is hard to beat.
Equipment Needed
You don’t need a lot of fancy equipment for this recipe, which is part of its charm. Here is what you will need to make this easy cast iron caramel apple crisp for two.
- 6-inch Cast Iron Skillet: This is the star of the show. A small skillet is perfect for a two-serving dessert. If you don’t have a 6-inch one, you can use an 8-inch skillet, but the crisp will be thinner and may bake a little faster. A small oven-safe baking dish or ramekin will also work in a pinch, but you won’t get the same caramelization on the bottom.
- Mixing Bowls: You will need one medium bowl for the apple filling and another small bowl for the topping. Nothing fancy here—any bowls you have will do.
- Chef’s Knife and Cutting Board: For peeling, coring, and slicing the apples. A good sharp knife makes this job much easier and safer.
- Measuring Cups and Spoons: For accurate measurements. I recommend using dry measuring cups for the flour, oats, and sugar, and a liquid measuring cup for the caramel sauce.
- Pastry Cutter or Fork: For cutting the cold butter into the topping ingredients. A pastry cutter makes the job quick and easy, but two forks or even your fingertips will work. Just work quickly so the butter doesn’t warm up too much.
- Spatula or Spoon: For stirring the apple filling and spreading the topping. A rubber spatula is great for scraping every last bit of topping into the skillet.
If you are new to using a cast iron skillet, don’t be intimidated. They are incredibly durable and actually become more non-stick with use. Just make sure your skillet is well-seasoned before you start. If it’s not, you can give it a quick coat of oil and heat it in the oven for a few minutes. A well-seasoned skillet will release the crisp easily and give you those beautiful caramelized edges. If you don’t own a cast iron skillet, this is a great excuse to get one. They are affordable, last a lifetime, and are perfect for desserts like this one.
Preparation Method
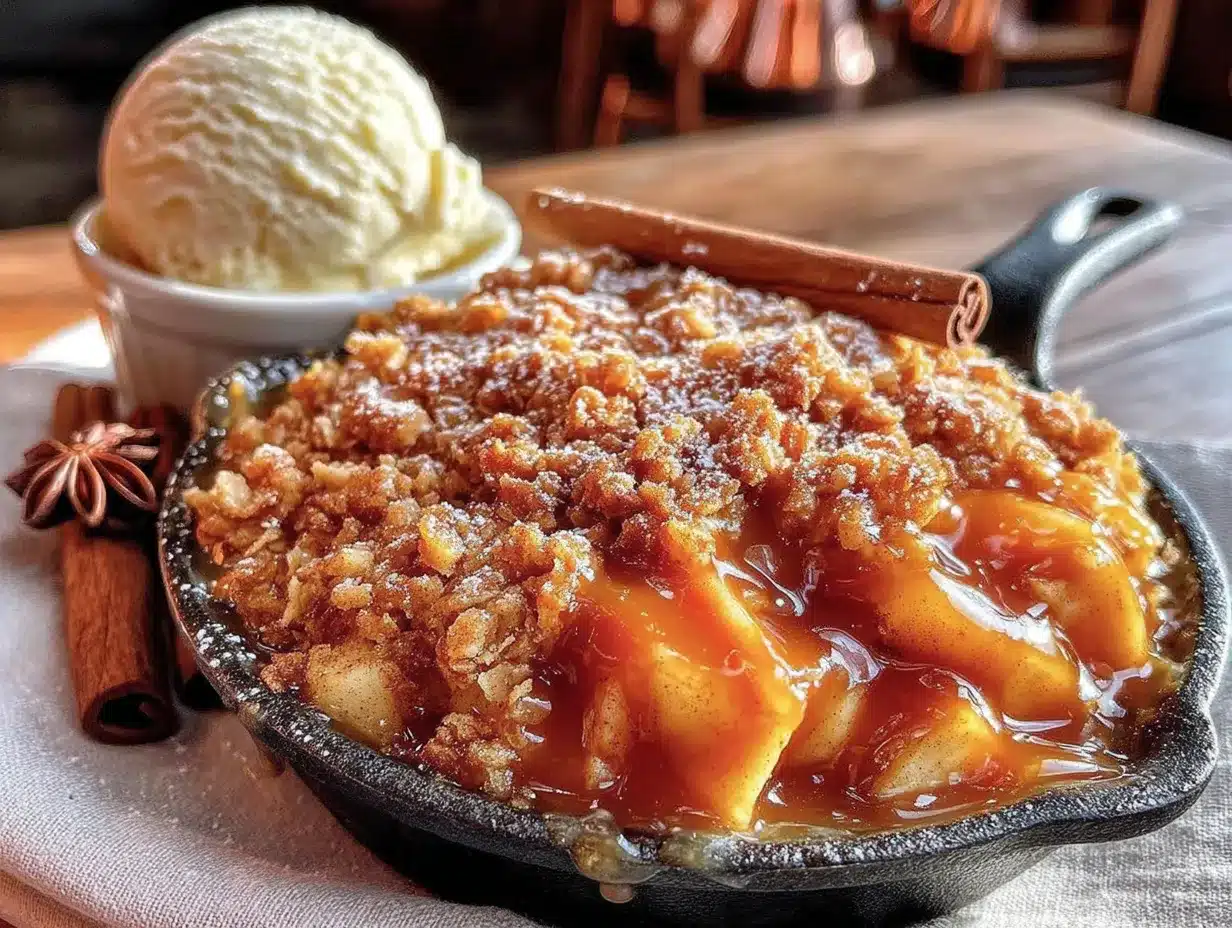
Making this easy cast iron caramel apple crisp for two is a straightforward process. Follow these steps, and you will have a warm, comforting dessert on the table in no time. I’ve included some personal tips and sensory cues to help you along the way.
- Preheat your oven to 375°F (190°C). While the oven is heating, place your 6-inch cast iron skillet inside to warm up. This helps the apples start cooking immediately when they hit the pan, giving you better caramelization. Just be careful—the skillet will be hot.
- Prepare the apples. Peel, core, and slice your apples into roughly 1/4-inch thick slices. You want them to be even so they cook at the same rate. I like to cut them into half-moons, but any shape works. Place the sliced apples in a medium mixing bowl.
- Make the apple filling. To the bowl of apples, add the granulated sugar, flour, cinnamon, nutmeg, and lemon juice. Toss everything together with a spatula or your hands until the apples are evenly coated. You should see the sugar and flour starting to dissolve and create a light syrup. Let the mixture sit for a minute or two while you make the topping. This resting time allows the apples to release a little juice, which will create a lovely sauce as they bake.
- Make the crisp topping. In a small bowl, combine the rolled oats, all-purpose flour, packed brown sugar, cinnamon, and salt. Stir with a fork to distribute everything evenly. Add the cold butter cubes to the bowl. Using a pastry cutter, two forks, or your fingertips, cut the butter into the dry ingredients until the mixture resembles coarse crumbs. You want some pea-sized pieces of butter remaining—this is what creates those wonderful crispy, buttery clusters. Work quickly so the butter stays cold. If the mixture starts to feel warm, pop it in the fridge for a few minutes.
- Assemble the crisp. Carefully remove the hot skillet from the oven using an oven mitt. Place it on a heat-safe surface. Spoon the caramel sauce over the bottom of the skillet, spreading it around a bit. Then, pour the apple mixture into the skillet, spreading it into an even layer. The apples will sizzle slightly as they hit the hot pan and caramel—this is a good sign. Sprinkle the crisp topping evenly over the apples. Don’t press it down; just let it fall naturally. You want some of the apples to peek through.
- Bake the crisp. Place the skillet in the preheated oven and bake for 25 to 30 minutes. At the 20-minute mark, check on it. The topping should be golden brown and the apples should be bubbling up around the edges. If the topping is browning too quickly, you can loosely tent the skillet with aluminum foil for the last 5 to 10 minutes. The crisp is done when the apples are tender when pierced with a fork and the filling is thick and bubbly.
- Cool and serve. Remove the skillet from the oven and place it on a cooling rack. Let it cool for at least 10 to 15 minutes before serving. This resting time is important—it allows the filling to set up a bit so it doesn’t run all over the plate. The crisp will still be warm, which is exactly how you want it. Serve directly from the skillet, topped with a scoop of vanilla ice cream or a dollop of whipped cream, and an extra drizzle of caramel sauce if you’re feeling fancy.
One thing I’ve learned the hard way: don’t skip the cooling step. The first time I made this, I was so excited I dug in right away, and the filling was so runny it basically turned into apple soup. It still tasted amazing, but the texture was all wrong. Giving it that 10 to 15 minutes makes a world of difference. The filling thickens up into a beautiful, jammy consistency that clings to every bite of the crisp topping.
Cooking Tips & Techniques
Over the years, I’ve made this easy cast iron caramel apple crisp for two more times than I can count. I’ve learned a few things along the way—some from successes, some from spectacular failures. Here are my best tips to help you get it right every time.
Don’t Overwork the Topping. When you are cutting the butter into the dry ingredients, the goal is a crumbly texture, not a dough. If you overmix, the butter will warm up and incorporate too much, resulting in a dense, pasty topping instead of those lovely crispy clusters. Stop as soon as the mixture looks like coarse sand with a few pea-sized butter pieces. If your kitchen is warm, you can even chill the topping for 10 minutes before sprinkling it on the apples.
Use a Mix of Apple Varieties. For the best flavor and texture, use two different types of apples. A sweet apple like Honeycrisp or Fuji pairs beautifully with a tart apple like Granny Smith. The sweet apple breaks down a little more, creating a soft, saucy base, while the tart apple holds its shape better, giving you tender slices that still have some structure. This contrast makes every bite more interesting.
Watch Your Oven. All ovens are different, and baking times can vary. Start checking your crisp at the 20-minute mark. You are looking for a golden-brown topping and bubbly filling. If the topping is browning too quickly but the apples aren’t tender yet, cover the skillet loosely with foil and continue baking. This will prevent the topping from burning while the apples finish cooking. I learned this the hard way when I walked away and ended up with a blackened topping and raw apples.
Let the Skillet Do the Work. The beauty of using a cast iron skillet is that it retains heat incredibly well. Preheating the skillet before adding the apples gives you a head start on caramelization. When the apples hit the hot pan, they start cooking immediately, which helps create that deep, caramelized flavor on the bottom. Just be careful when handling the hot skillet—always use a thick oven mitt.
Make It Your Own. This recipe is a great base for customization. If you like a little extra crunch, add a handful of chopped pecans or walnuts to the topping. If you want a hint of warmth, add a pinch of ground ginger or cardamom to the apple filling. You can even swap the caramel sauce for maple syrup for a different flavor profile. The possibilities are endless, and that’s what makes cooking fun.
Variations & Adaptations
One of the best things about this easy cast iron caramel apple crisp for two is how adaptable it is. Whether you have dietary restrictions, different tastes in your household, or just want to switch things up, there are plenty of ways to make this recipe your own. Here are some of my favorite variations.
Gluten-Free Version: This is an easy swap. Simply replace the all-purpose flour in both the filling and the topping with a gluten-free all-purpose flour blend. I’ve had great results with Bob’s Red Mill 1-to-1 Baking Flour. Make sure your oats are certified gluten-free as well, as oats are often processed in facilities that also handle wheat. The texture will be slightly different—a bit more crumbly—but it will still be delicious and satisfying.
Vegan Adaptation: To make this dessert vegan, substitute the butter with a high-quality vegan butter stick (like Earth Balance or Miyoko’s). Make sure your caramel sauce is also vegan—many store-bought versions are, but it’s worth checking the label. Use a dairy-free vanilla ice cream or coconut whipped cream for serving. The topping will still crisp up nicely, and the apples will be just as tender and flavorful.
Spiced Apple Crisp: For a warmer, more complex flavor, add a pinch of ground ginger, cardamom, and allspice to the apple filling. You can also add a tablespoon of bourbon or dark rum to the filling for an adult twist. The alcohol will cook off during baking, leaving behind a rich, warm flavor that pairs beautifully with the caramel and apples. This is my go-to version for a cozy fall evening.
Berry Apple Crisp: If you have some fresh or frozen berries on hand, toss a handful into the apple filling before baking. Raspberries, blueberries, or chopped strawberries all work wonderfully. The berries will burst and create pockets of tart, jammy goodness throughout the crisp. This is a great way to use up berries that are starting to get soft. Just be aware that frozen berries will add a little extra liquid to the filling, so you may need to bake it for an extra 5 minutes.
Individual Ramekins: If you don’t have a small cast iron skillet, you can make this recipe in two 6-ounce ramekins or oven-safe bowls. Divide the apple filling and topping evenly between the ramekins, place them on a baking sheet to catch any drips, and bake for 20 to 25 minutes. The baking time will be slightly shorter, so keep an eye on them. This is a fun way to serve the dessert for a special occasion, and each person gets their own little personal crisp.
Serving & Storage Suggestions
This easy cast iron caramel apple crisp for two is best served warm, straight from the oven. The contrast between the hot, bubbly filling and the cold, creamy ice cream is simply unbeatable. Here are some serving and storage tips to help you enjoy it at its best.
Serving Suggestions: A scoop of vanilla ice cream is the classic pairing, and for good reason. The cold, creamy texture balances the warm, sweet crisp perfectly. If you want to mix it up, try a scoop of salted caramel, cinnamon, or even butter pecan ice cream. A dollop of freshly whipped cream is a lighter alternative that still adds a lovely richness. For an extra touch, drizzle a little more caramel sauce over the top and sprinkle with a pinch of flaky sea salt. The salt enhances the sweetness and adds a sophisticated finish.
Storage Instructions: If you have any leftovers (which is rare in my house!), let the crisp cool completely to room temperature. Cover the skillet tightly with aluminum foil or plastic wrap, or transfer the leftovers to an airtight container. Store in the refrigerator for up to 3 days. The topping will lose some of its crispness as it sits, but the flavor will still be delicious.
Reheating Methods: To reheat, place the skillet in a preheated 350°F (175°C) oven for 10 to 15 minutes, or until warmed through. This will help restore some of the crispness to the topping. You can also reheat individual portions in the microwave for 30 to 60 seconds, but the topping will be softer. If you are reheating from frozen, let the crisp thaw in the refrigerator overnight, then reheat in the oven as directed.
Freezing Instructions: This crisp freezes surprisingly well. Assemble the crisp completely but do not bake it. Wrap the skillet tightly in a layer of plastic wrap, then a layer of aluminum foil. Freeze for up to 3 months. When you are ready to bake, you can bake it directly from frozen. Add about 10 to 15 minutes to the baking time, and cover the top with foil for the first half of baking to prevent the topping from burning. This is a great make-ahead option for unexpected guests or a busy weeknight.
Flavor Development: Interestingly, the flavors of this crisp actually deepen and meld together after a day in the refrigerator. The apples become even more tender and the caramel flavor becomes more pronounced. While I prefer it fresh from the oven, leftovers make a fantastic cold breakfast treat or a quick dessert the next day. Don’t judge—it’s basically fruit and oats!
Nutritional Information & Benefits
While this easy cast iron caramel apple crisp for two is definitely a treat, it does offer some nutritional benefits, especially compared to other desserts. Here is a general estimate of the nutritional information per serving (one half of the recipe, without ice cream or extra caramel sauce).
| Nutrient | Amount Per Serving |
|---|---|
| Calories | 410 |
| Total Fat | 18g |
| Saturated Fat | 11g |
| Cholesterol | 45mg |
| Sodium | 210mg |
| Total Carbohydrates | 62g |
| Dietary Fiber | 5g |
| Sugars | 40g |
| Protein | 3g |
Please note that these values are estimates and can vary based on the specific brands and ingredients you use. The apples provide a good source of dietary fiber, particularly pectin, which is great for digestive health. They also contain vitamin C and various antioxidants, especially if you leave the peels on (though the texture is better with peeled apples for this recipe). The oats in the topping offer soluble fiber, which can help with heart health and keeping you feeling full. The butter and brown sugar are the main sources of fat and sugar, so this is definitely a dessert to enjoy in moderation. But honestly, life is about balance, and a warm, homemade dessert made with real ingredients is always a good choice for the soul.
Conclusion
This easy cast iron caramel apple crisp for two has become a staple in my kitchen for good reason. It is simple, forgiving, and delivers a dessert that feels way more special than the effort it requires. Whether you are making it for a quiet night in, a small celebration, or just because you have two apples that need using up, this recipe always delivers. The combination of tender, caramelized apples, a buttery, crunchy topping, and that irresistible caramel sauce is pure comfort in a skillet.
I love that this recipe adapts to whatever you have on hand and whatever mood you are in. You can dress it up with ice cream and extra sauce, or keep it simple with just a fork. It is the kind of dessert that makes you slow down and enjoy the moment, and in our busy lives, that is a gift. I hope you make this recipe your own, tweak it to fit your family’s tastes, and create your own happy memories around it.
If you make this kid-approved caramel apple crisp, I would love to hear about it. Leave a comment below and let me know how it turned out, what variations you tried, or if your kids gave it the thumbs up. Share a photo on Pinterest or Instagram and tag me—I love seeing your creations. And if you have a favorite dessert that you make for your family, tell me about that too. Let’s keep sharing the joy of simple, delicious food. Happy baking, friend.
Frequently Asked Questions
Can I use a different type of apple?
Absolutely. While Honeycrisp and Granny Smith are my top recommendations, you can use almost any apple variety. Gala, Fuji, Braeburn, or Pink Lady all work well. Just keep in mind that sweeter apples will result in a sweeter filling, while tart apples will provide more balance. If you use a very soft apple like McIntosh, it may break down more during baking, creating a saucier filling.
Can I make this recipe without a cast iron skillet?
Yes, you can. If you don’t have a small cast iron skillet, use a small oven-safe baking dish, a 6-inch pie plate, or two individual ramekins. The baking time may vary slightly, so start checking for doneness around the 20-minute mark. The caramelization on the bottom won’t be as pronounced as with a cast iron skillet, but the dessert will still be delicious.
Can I double this recipe?
Definitely. To serve four people, simply double all the ingredients and use an 8-inch or 9-inch cast iron skillet or a similar-sized baking dish. You will need to increase the baking time by about 10 to 15 minutes. Keep an eye on the topping—if it starts browning too quickly, tent it with foil. The crisp is done when the apples are tender and the filling is bubbly.
How do I make homemade caramel sauce?
Making caramel sauce at home is easier than you might think. In a small saucepan, melt 1/2 cup of granulated sugar over medium heat, swirling the pan occasionally, until it turns a deep amber color. Carefully whisk in 2 tablespoons of butter and 1/4 cup of heavy cream (the mixture will bubble up). Add a pinch of salt and let it cool slightly. That is it. Store any leftovers in the refrigerator for up to two weeks.
Can I prepare this dessert ahead of time?
Yes, you can assemble the crisp a few hours ahead of time and keep it in the refrigerator before baking. To do this, prepare the apple filling and the topping separately. Store the filling in the refrigerator and the topping in the freezer. When you are ready to bake, simply assemble the crisp in the skillet and add about 5 to 10 minutes to the baking time to account for the cold ingredients. You can also freeze the unbaked crisp for up to 3 months, as described in the storage section.
Pin This Recipe!
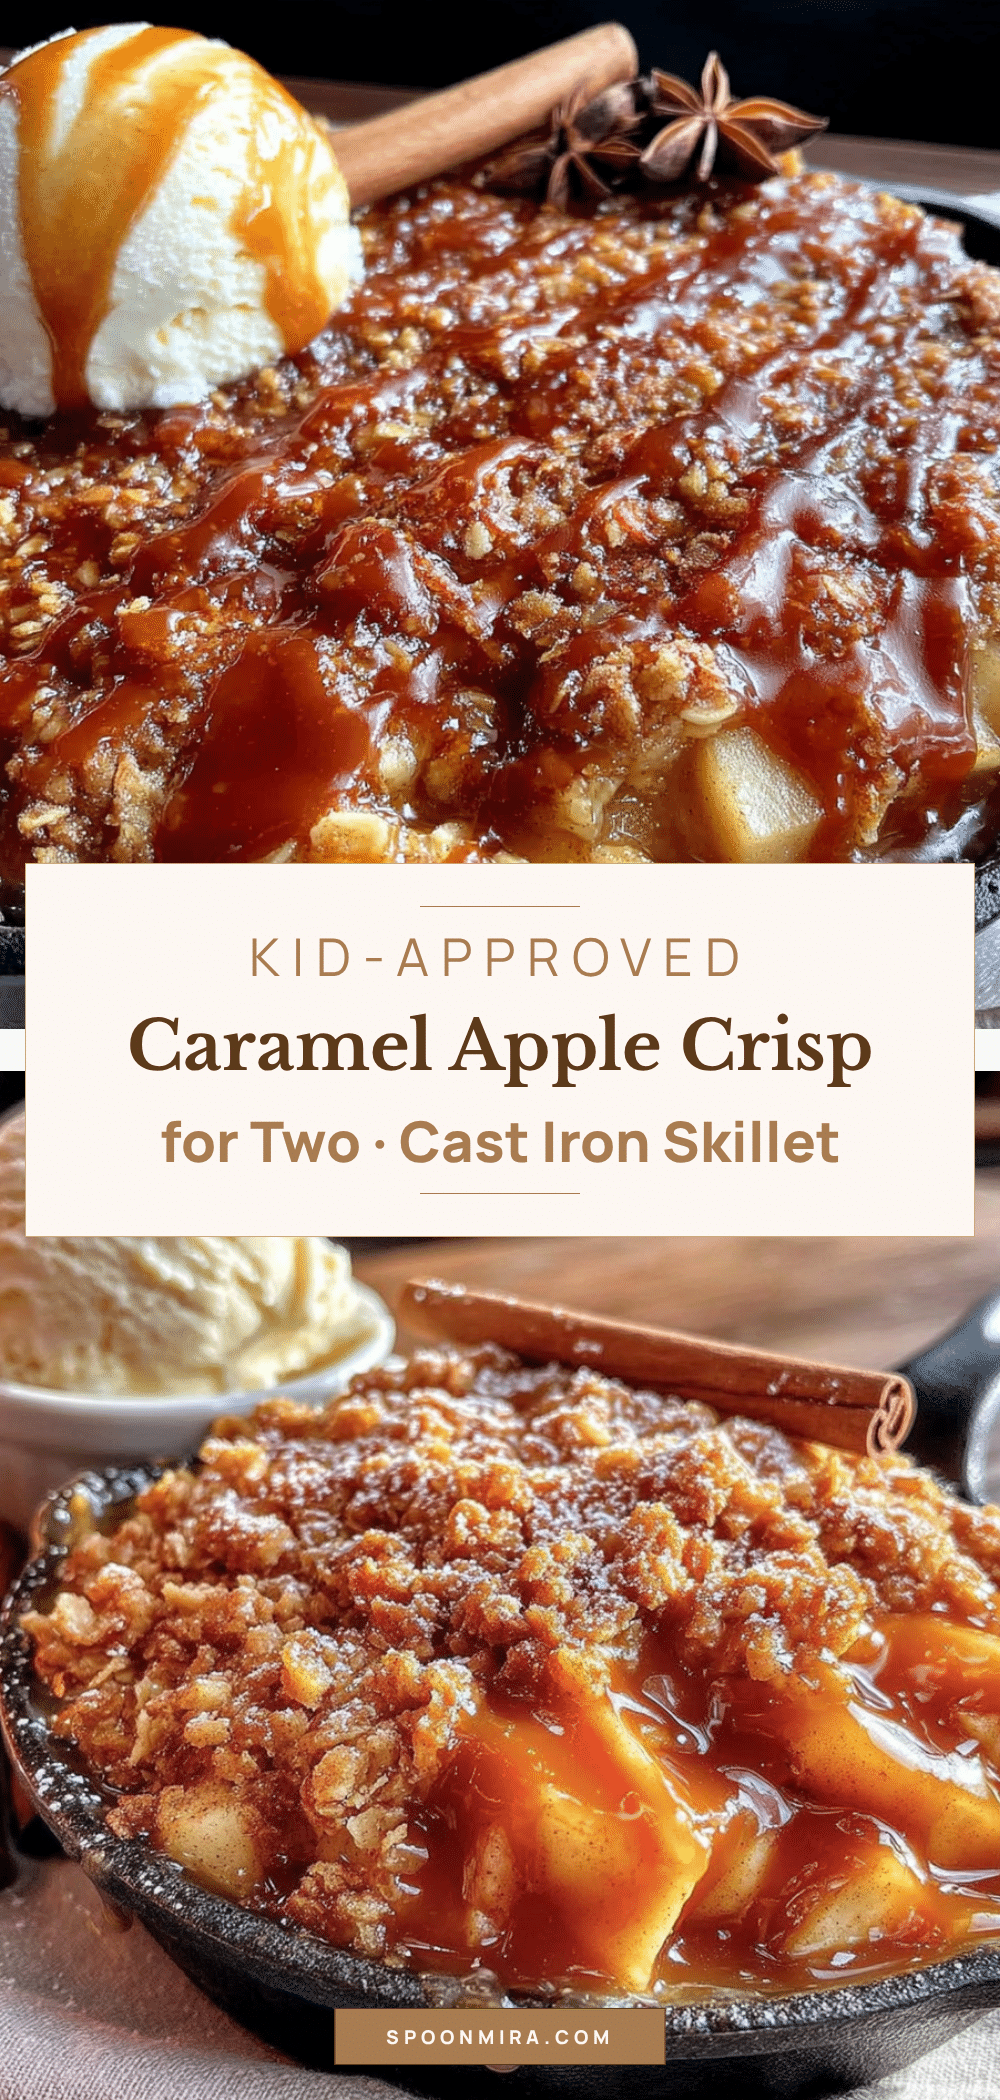
Easy Cast Iron Caramel Apple Crisp for Two

A warm, comforting dessert for two made in a cast iron skillet with tender caramelized apples and a buttery, crunchy oat topping. Perfect for busy weeknights or a cozy date night at home.
- Prep Time: 15 minutes
- Cook Time: 30 minutes
- Total Time: 45 minutes
- Yield: 2 servings 1x
- Category: Dessert
- Cuisine: American
Ingredients
- 2 medium apples (about 300g total), peeled, cored, and sliced (Honeycrisp or Granny Smith recommended)
- 2 tablespoons (25g) granulated sugar
- 1 tablespoon (8g) all-purpose flour
- 1 teaspoon ground cinnamon
- 1/4 teaspoon ground nutmeg
- 1 tablespoon (15ml) lemon juice
- 1/4 cup (60ml) caramel sauce, homemade or store-bought
- 1/2 cup (45g) old-fashioned rolled oats
- 1/4 cup (30g) all-purpose flour
- 1/4 cup (50g) packed light brown sugar
- 1/4 cup (55g) cold unsalted butter, cut into small cubes
- 1/2 teaspoon ground cinnamon
- 1/4 teaspoon salt
- Vanilla ice cream or whipped cream (for serving, optional)
- Extra caramel sauce for drizzling (optional)
Instructions
- Preheat your oven to 375°F (190°C). Place a 6-inch cast iron skillet inside to warm up.
- Peel, core, and slice apples into 1/4-inch thick slices. Place in a medium mixing bowl.
- Add granulated sugar, 1 tablespoon flour, 1 teaspoon cinnamon, nutmeg, and lemon juice to the apples. Toss to coat evenly. Let sit for 1-2 minutes.
- In a small bowl, combine rolled oats, 1/4 cup flour, brown sugar, 1/2 teaspoon cinnamon, and salt. Stir with a fork.
- Add cold butter cubes to the dry ingredients. Use a pastry cutter or fork to cut the butter in until the mixture resembles coarse crumbs with some pea-sized butter pieces.
- Carefully remove the hot skillet from the oven. Spoon caramel sauce over the bottom of the skillet.
- Pour the apple mixture into the skillet and spread into an even layer. Sprinkle the crisp topping evenly over the apples.
- Bake for 25-30 minutes, until the topping is golden brown and the apples are bubbling. If topping browns too quickly, tent with foil for the last 5-10 minutes.
- Remove from oven and let cool for 10-15 minutes before serving. Serve warm with ice cream or whipped cream and extra caramel sauce if desired.
Notes
Don’t skip the cooling step—it allows the filling to set up. For best results, use a mix of sweet and tart apples. The topping can be chilled for 10 minutes before baking if your kitchen is warm.
Nutrition
- Serving Size: 1/2 of recipe
- Calories: 410
- Sugar: 40
- Sodium: 210
- Fat: 18
- Saturated Fat: 11
- Carbohydrates: 62
- Fiber: 5
- Protein: 3
Keywords: apple crisp, cast iron dessert, caramel apple, dessert for two, easy apple crisp, small batch dessert


