The bento box came back with the lid unlatched. Not a single piece of salami left. Not one ring of pasta clinging to the container. I actually checked the trash can to make sure she hadn’t tossed it. Nope. She ate it. All of it. And then she asked if I could make the “rainbow noodles with the circles” again for tomorrow.
That’s the moment this easy cold pasta salad with salami for school lunches became a permanent fixture in our weekly rotation. I wasn’t trying to reinvent the lunchbox wheel that morning. I was just staring at an open fridge, a half-empty bag of tri-color rotini, and a package of salami that needed using up. Desperation, honestly, is the mother of some pretty good invention.
I threw it together in about twelve minutes, mostly because I was already running late. No fancy dressing. No complicated chopping. Just pasta, salami, cheese, and whatever vegetables hadn’t started wilting yet. I figured it would be adequate. I didn’t figure it would become the thing she requests on Sunday nights when we’re planning the week ahead.
There’s something about cold pasta salad that just works for school lunches. It sits in the thermos or container without getting sad. The flavors actually get better as they hang out together in the fridge. And for whatever reason, kids seem to trust food that looks like a little party in a box. This easy cold pasta salad with salami for school lunches delivers that without any stress on your end.
I’ve made it about fifteen times since that first desperate morning. Each time I tweak something small, but the core stays the same. Simple ingredients. No cooking required beyond the pasta. And a flavor combination that makes lunch something to look forward to, not something to trade away.
Let me show you how to make it.
Why You’ll Love This Recipe
I’ve tested this recipe through three different lunch phases, two picky-eater standoffs, and one particularly rough week where I forgot to prep anything on Sunday. It survived all of them with flying colors. Here’s why it works so well:
- Comes together in under 20 minutes : The pasta takes about 10 minutes to cook, and the rest is just chopping and tossing. You can make this during breakfast or while you’re packing the night before.
- No reheating required : This is a true cold lunch. No need for a thermos or access to a microwave. It comes straight from the fridge into the lunchbox and stays perfect until lunchtime.
- Budget-friendly ingredients : Salami, pasta, cheese, and a few vegetables. Nothing fancy, nothing expensive. You probably have most of it already.
- Actually holds up in a lunchbox : Unlike some pasta salads that get soggy or dry out, this one stays perfectly dressed and textured even after hours in a backpack.
- Customizable for picky eaters : My daughter hates olives but loves bell peppers. My nephew is the opposite. You can tailor this to whatever your kid actually eats.
What makes this recipe different from the other pasta salads out there is the dressing. I use a simple Italian vinaigrette that’s tangy enough to wake up the flavors but mild enough that kids don’t complain about it being “too vinegary.” It’s a balance I worked out after a few too many gloppy, sad pasta salads that ended up in the trash.
And honestly? This is the kind of recipe that makes you feel like a good parent without actually working that hard. It’s colorful, it’s filling, and it has protein and vegetables in ways that don’t feel like a lecture. That’s a win in my book.
What Ingredients You Will Need
This recipe uses simple, everyday ingredients that you can find at any grocery store. No specialty items, no obscure spices, nothing that requires a separate trip to a fancy market. I’ve kept it straightforward because the goal here is to make lunch prep easier, not more complicated.
For the Pasta Salad
- 8 ounces (about 2 ½ cups) dry rotini pasta – I prefer tri-color rotini for the visual appeal, but regular rotini, fusilli, or even bow-tie pasta works great. The little ridges and spirals grab the dressing beautifully.
- 4 ounces hard salami – Look for a good-quality hard salami from the deli counter. I like the Boar’s Head brand for its consistent flavor and firm texture. Cut it into small cubes or thin strips, about ½-inch pieces.
- 4 ounces mozzarella cheese – Fresh mozzarella pearls are perfect here because they’re already bite-sized. If you can’t find pearls, just cube a block of mozzarella into ½-inch pieces. The mild creaminess balances the salty salami perfectly.
- 1 cup cherry tomatoes – Halved or quartered depending on size. Grape tomatoes work too. I recommend using whatever looks ripest at the store.
- ½ cup English cucumber – Diced into small pieces. English cucumbers have fewer seeds and a milder flavor than regular cucumbers. No need to peel them.
- ½ cup red bell pepper – Diced small. The sweetness adds a nice contrast to the salty salami. Yellow or orange bell peppers work too.
- ¼ cup red onion – Finely diced. If your kid is sensitive to raw onion, try soaking the diced onion in cold water for 10 minutes before adding it. It takes the sharp edge off.
- ¼ cup black olives – Sliced. These are optional, but I love the briny pop they add. My daughter picks them out, so I leave them on the side for myself.
For the Dressing
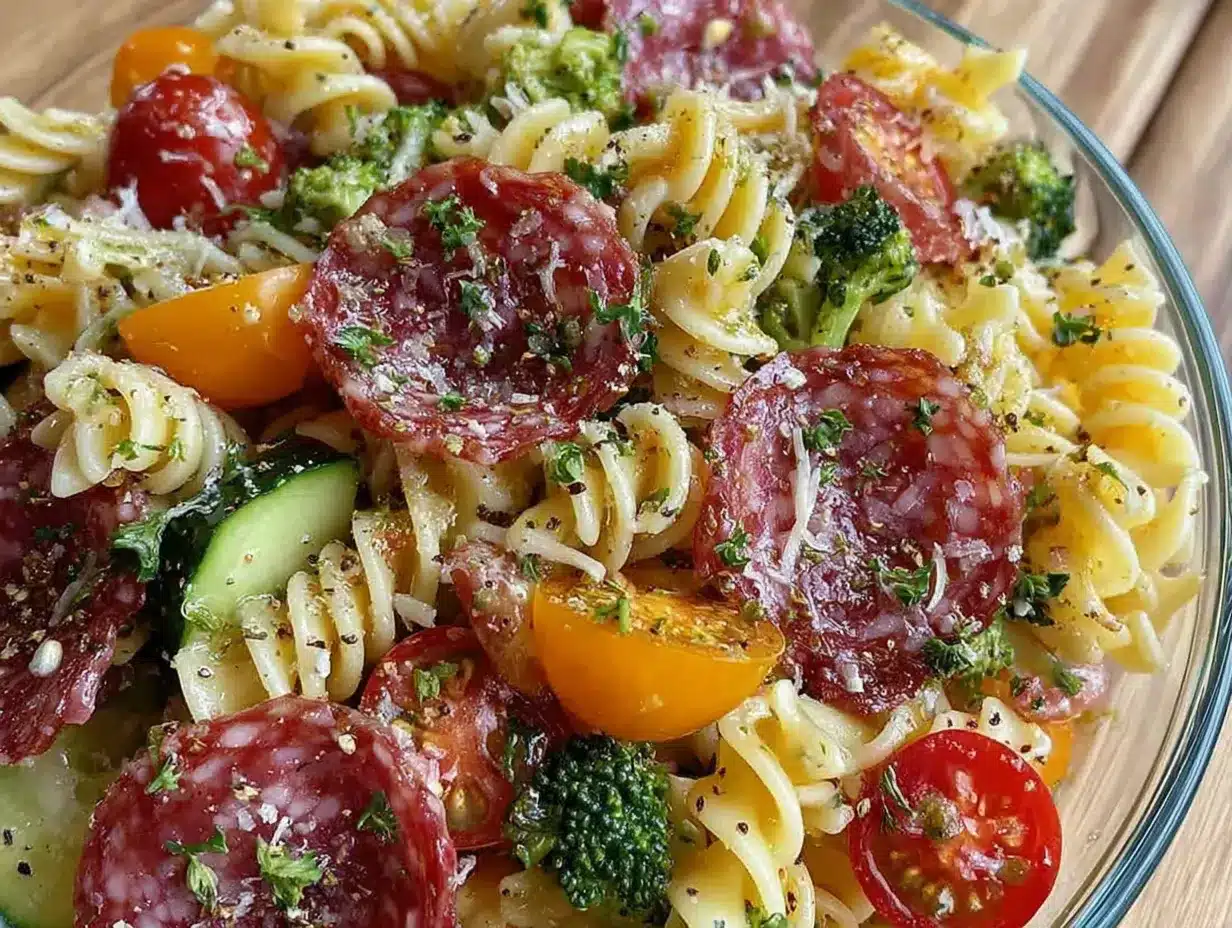
- ¼ cup extra virgin olive oil – Use a good-quality olive oil here since it’s the base of the dressing. Nothing too peppery or grassy.
- 2 tablespoons red wine vinegar – Red wine vinegar gives the perfect tang without being harsh. White wine vinegar or apple cider vinegar work as substitutes.
- 1 teaspoon Dijon mustard – This helps emulsify the dressing and adds a subtle depth of flavor. Don’t skip it.
- 1 clove garlic – Minced very fine. I use a microplane for this because nobody wants a chunk of raw garlic in their lunch.
- ½ teaspoon dried oregano – Italian seasoning works too if that’s what you have.
- ¼ teaspoon salt – I use fine sea salt.
- ¼ teaspoon black pepper – Freshly ground if you can manage it.
- Pinch of sugar – Just a tiny pinch. It balances the acidity without making the dressing sweet.
Ingredient note : For the salami, I recommend buying it from the deli counter in a thick slice and cubing it yourself. Pre-cubed salami tends to be drier and less flavorful. The extra minute of chopping makes a noticeable difference in texture.
Substitution guidance : If you need a gluten-free option, use chickpea pasta or brown rice pasta. Just be careful not to overcook it, gluten-free pasta gets mushy fast. For a dairy-free version, skip the mozzarella and add extra salami or some cubed avocado right before serving.
Equipment Needed
You don’t need anything fancy for this recipe. Here’s what I use:
- Large pot – For boiling the pasta. I use a 5-quart pot, but anything works as long as there’s enough water for the pasta to move around.
- Colander – For draining the pasta. A fine-mesh colander is nice but not necessary.
- Cutting board and sharp knife – A good chef’s knife makes the chopping go fast. I use an 8-inch chef’s knife from Wusthof, but any sharp knife works.
- Large mixing bowl – For combining everything. I prefer a glass or stainless steel bowl because they don’t hold onto odors.
- Small jar or bowl – For shaking or whisking the dressing. A mason jar with a tight-fitting lid is perfect for this.
- Measuring cups and spoons – For the dressing ingredients. Eyeballing works for the vegetables, but measure the oil and vinegar for the right balance.
- Storage containers – For packing the lunches. I use divided bento boxes from PlanetBox, but any airtight container works.
If you don’t have a jar for the dressing, just whisk everything together in a small bowl. It takes an extra 30 seconds. And if you’re really in a hurry, you can buy a bottle of Italian dressing at the store, but honestly, the homemade version takes two minutes and tastes so much better.
Preparation Method
This is where the magic happens. Follow these steps, and you’ll have a lunch that your kid will actually look forward to eating.
- Cook the pasta. Bring a large pot of salted water to a rolling boil. Add the rotini and cook according to package directions until al dente. For most brands, that’s about 8-10 minutes. Stir occasionally to prevent sticking. Taste a piece at the 8-minute mark. It should be tender but still have a slight bite in the center. Overcooked pasta gets mushy in the salad, so err on the side of underdone.
- Drain and rinse. Pour the pasta into a colander and rinse it under cold running water for about 30 seconds. This stops the cooking process and cools it down quickly. Shake the colander well to remove excess water. You want the pasta dry-ish so the dressing sticks properly.
- Drizzle with a little olive oil. Transfer the drained pasta to your large mixing bowl. Drizzle with about 1 teaspoon of olive oil and toss gently. This prevents the pasta from sticking together while you prep the other ingredients. I learned this the hard way after trying to separate a clump of cold pasta with my fingers.
- Prep the vegetables. While the pasta cools, dice the cucumber, bell pepper, and red onion. Halve or quarter the cherry tomatoes. Slice the olives if you’re using them. Keep everything in separate piles on your cutting board. This makes it easier to adjust quantities if you’re customizing for picky eaters.
- Cube the salami and cheese. Cut the salami into ½-inch cubes or thin strips, whichever your kid prefers. Cube the mozzarella into similar-sized pieces. If you’re using mozzarella pearls, you can leave them whole or cut them in half. I usually cut them in half so there are more pieces distributed throughout the salad.
- Make the dressing. Add the olive oil, red wine vinegar, Dijon mustard, minced garlic, dried oregano, salt, pepper, and sugar to a small jar. Screw the lid on tightly and shake vigorously for about 20 seconds until the dressing is emulsified and creamy-looking. If you’re using a bowl, whisk everything together until well combined.
- Combine everything. Add the cooled pasta, salami, mozzarella, cherry tomatoes, cucumber, bell pepper, red onion, and olives to the large mixing bowl. Pour the dressing over the top. Use a large spoon or spatula to gently fold everything together until all the ingredients are evenly coated. Don’t stir too aggressively, or the cheese might break apart.
- Taste and adjust. Take a small bite and check the seasoning. Does it need more salt? A little more vinegar? Trust your taste buds. I usually end up adding an extra pinch of salt and another crack of pepper at this stage.
- Chill before serving. Cover the bowl with plastic wrap or a lid and refrigerate for at least 30 minutes. This allows the flavors to meld together. The pasta absorbs some of the dressing, and everything becomes more cohesive. If you’re really short on time, you can serve it immediately, but it’s better after a brief rest.
- Pack the lunches. Divide the pasta salad into individual lunch containers. I like to pack it in divided bento boxes with some fresh fruit and a small treat on the side. The pasta salad stays good in the fridge for up to 4 days, so you can make a big batch on Sunday and portion it out each morning.
Pro tip : If you’re packing this for a school lunch, add a small ice pack to the lunchbox to keep everything cool and safe. The salami and cheese are fine at room temperature for a few hours, but the cold pasta salad is genuinely more enjoyable when it’s chilled.
Cooking Tips & Techniques
I’ve made this recipe enough times to have learned a few things the hard way. Here are the tips I wish someone had told me:
Salt your pasta water generously
This is the single most important tip for any pasta dish. The water should taste like the sea. I use about 1 tablespoon of salt per 4 quarts of water. The pasta absorbs the salt as it cooks, which seasons it from the inside out. You can’t fix bland pasta after it’s cooked.
Don’t overdress the salad
The dressing should lightly coat every piece, not pool at the bottom of the bowl. Start with about three-quarters of the dressing, toss, and then add more if needed. Pasta absorbs liquid as it sits, so what looks like a dry salad now might be perfectly dressed after 30 minutes in the fridge.
Cut everything the same size
This is more important than you think. If the salami is cut into big chunks and the cucumber is in tiny dice, you get uneven bites. Aim for everything to be about the same size as the pasta pieces. It makes each forkful balanced and satisfying.
Let the salad rest
I know you’re busy and tempted to pack it immediately. But trust me on this one. The pasta salad needs at least 30 minutes in the fridge for the flavors to come together. The dressing soaks into the pasta, the garlic mellows out, and everything starts tasting like it belongs together. I once served it immediately and it was fine. I served it after an hour and it was fantastic.
Double the dressing if making ahead
If you’re making this for the whole week, consider making a double batch of dressing and storing it separately. Toss the salad with about half the dressing initially, then add more right before packing each day. This keeps the pasta from absorbing all the dressing and becoming dry by day three.
My biggest failure
The first time I made this, I used pre-shredded mozzarella cheese. Don’t do it. Pre-shredded cheese has anti-caking agents that prevent it from melting properly, and it gets weirdly dry and clumpy in cold pasta salad. Fresh mozzarella cubes are non-negotiable here. I learned this lesson while picking sad, dry cheese shreds out of an otherwise good salad.
Variations & Adaptations
This recipe is incredibly flexible. Here are some variations I’ve tried and loved:
Vegetarian version
Skip the salami and add a can of drained and rinsed chickpeas or white beans. The beans add protein and fiber, and they soak up the dressing beautifully. I’ve also used cubed smoked tofu for a different texture. My vegetarian friend swears by this version and says it’s even better than the original.
Gluten-free adaptation
Use your favorite gluten-free pasta. I recommend chickpea pasta or lentil pasta for extra protein. Just watch the cooking time carefully, gluten-free pasta goes from al dente to mushy very quickly. Rinse it well with cold water and toss with a little olive oil immediately after draining.
Dairy-free option
Replace the mozzarella with cubed avocado or dairy-free cheese. The avocado adds creaminess and healthy fats. If you go this route, add the avocado right before serving to prevent browning. I’ve also used marinated artichoke hearts for a tangy, dairy-free alternative.
Seasonal vegetable swaps
In the summer, I add chopped fresh basil and halved cherry tomatoes from my garden. In the fall, roasted butternut squash cubes and dried cranberries work surprisingly well. In the winter, I add finely chopped broccoli florets and shredded carrots. The base recipe is forgiving enough to accommodate whatever vegetables you have on hand.
Protein swaps
If you don’t have salami, try cubed pepperoni, diced ham, chopped grilled chicken, or even canned tuna (drained and flaked). Each protein gives the salad a completely different personality. My husband prefers it with diced ham and Swiss cheese for a more traditional pasta salad vibe.
Dressing variations
For a creamier dressing, mix 3 tablespoons of mayonnaise with 2 tablespoons of red wine vinegar and a pinch of Italian seasoning. For a lighter option, use lemon juice instead of vinegar and add a teaspoon of fresh lemon zest. For a Greek-inspired version, add a tablespoon of red wine vinegar and a teaspoon of dried dill.
Serving & Storage Suggestions
This pasta salad is designed to be served cold, straight from the refrigerator. I pack it in a divided bento box with fresh fruit, some baby carrots, and a small treat like a cookie or a piece of dark chocolate. The contrast between the savory pasta salad and the sweet fruit makes for a satisfying lunch.
For serving at home, I like to present it in a large wooden bowl with extra fresh herbs sprinkled on top. It’s perfect for picnics, potlucks, and summer barbecues. The salad actually tastes better the next day, so making it ahead is always a good idea.
Storage instructions : Store the pasta salad in an airtight container in the refrigerator for up to 4 days. The flavors continue to develop over time, so day two and three are often the best. If the salad seems dry after a couple of days, just add a splash of olive oil and a squeeze of lemon juice and toss well.
Freezing : I don’t recommend freezing this pasta salad. The vegetables become watery and the cheese gets rubbery. If you want to prep ahead, cook the pasta and make the dressing separately, then combine with fresh vegetables and salami when you’re ready to serve.
Reheating : This is a cold salad, so no reheating is needed. If you prefer it at room temperature, let it sit out for about 15 minutes before serving. The flavors actually open up a bit when it’s not straight-from-the-fridge cold.
Flavor development : The garlic and oregano become more pronounced after a day in the fridge. The pasta absorbs some of the dressing and becomes more flavorful. The salami softens slightly and releases some of its oils into the salad. All of this is good. This is a recipe that rewards patience.
Nutritional Information & Benefits
Here’s an approximate nutritional breakdown per serving (based on 6 servings):
| Nutrient | Amount per Serving |
|---|---|
| Calories | 385 |
| Protein | 18g |
| Fat | 20g |
| Carbohydrates | 35g |
| Fiber | 3g |
| Sugar | 4g |
| Sodium | 680mg |
This pasta salad provides a good balance of protein, healthy fats, and complex carbohydrates. The salami and cheese provide protein and calcium, while the vegetables add fiber, vitamins, and antioxidants. The olive oil-based dressing provides heart-healthy monounsaturated fats.
Dietary considerations : This recipe is not gluten-free as written, but can be adapted with gluten-free pasta. It contains dairy from the mozzarella cheese. It is nut-free and egg-free. The salami is processed meat, so if you’re watching your sodium intake, you can use lower-sodium salami or reduce the amount.
Health perspective : I like that this lunch feels indulgent but actually has some nutritional substance. It’s not a health food, but it’s a real meal that keeps kids full and focused through the afternoon. That’s more than you can say for a lot of lunchbox options.
Conclusion
This easy cold pasta salad with salami for school lunches has genuinely changed how I think about packed lunches. It’s not just that it’s quick to make, though it is. It’s not just that it’s inexpensive, though it is that too. It’s that it actually gets eaten. No trading. No coming home with a full container. No guilt about wasting food or money.
I love this recipe because it reminds me that good parenting doesn’t have to mean complicated cooking. Sometimes the best thing you can do for your kid is hand them a lunch that’s colorful, satisfying, and made with a little bit of love and a lot of practicality. This pasta salad delivers on all fronts.
I’d love to hear how this works for your family. Do your kids prefer it with or without olives? Have you tried a different protein swap? Leave a comment below and let me know. And if you’re looking for more lunchbox inspiration, check out our no-sandwich snack box lunch for picky eaters or our ham and cheese quesadilla pockets for another quick win. Happy lunch packing!
Frequently Asked Questions
Can I make this pasta salad the night before?
Absolutely. In fact, it tastes better the next day. Make it the night before, store it in an airtight container in the refrigerator, and pack it in the morning. Just give it a quick stir before portioning it out.
How long does this pasta salad last in the fridge?
It stays good for up to 4 days when stored properly in an airtight container. The flavors actually improve over the first couple of days. By day four, the vegetables might start to soften, but it’s still perfectly safe and tasty.
Can I use a different type of pasta?
Yes! Rotini is my favorite because the spirals hold onto the dressing, but fusilli, bow-tie pasta, penne, or even macaroni work great. Just adjust the cooking time based on the pasta shape and cook until al dente.
My kid doesn’t like olives. Can I leave them out?
Of course. The olives are completely optional. I often leave them out of my daughter’s portion and add them to mine. The salad is still delicious without them. You can substitute with chopped bell peppers, shredded carrots, or just leave them out entirely.
Is this recipe safe for school nut-free policies?
Yes, this recipe is naturally nut-free. Just double-check the labels on your salami and cheese to make sure they weren’t processed in a facility that handles nuts. The dressing ingredients are also nut-free. This makes it a great option for nut-free classrooms and schools.
Pin This Recipe!
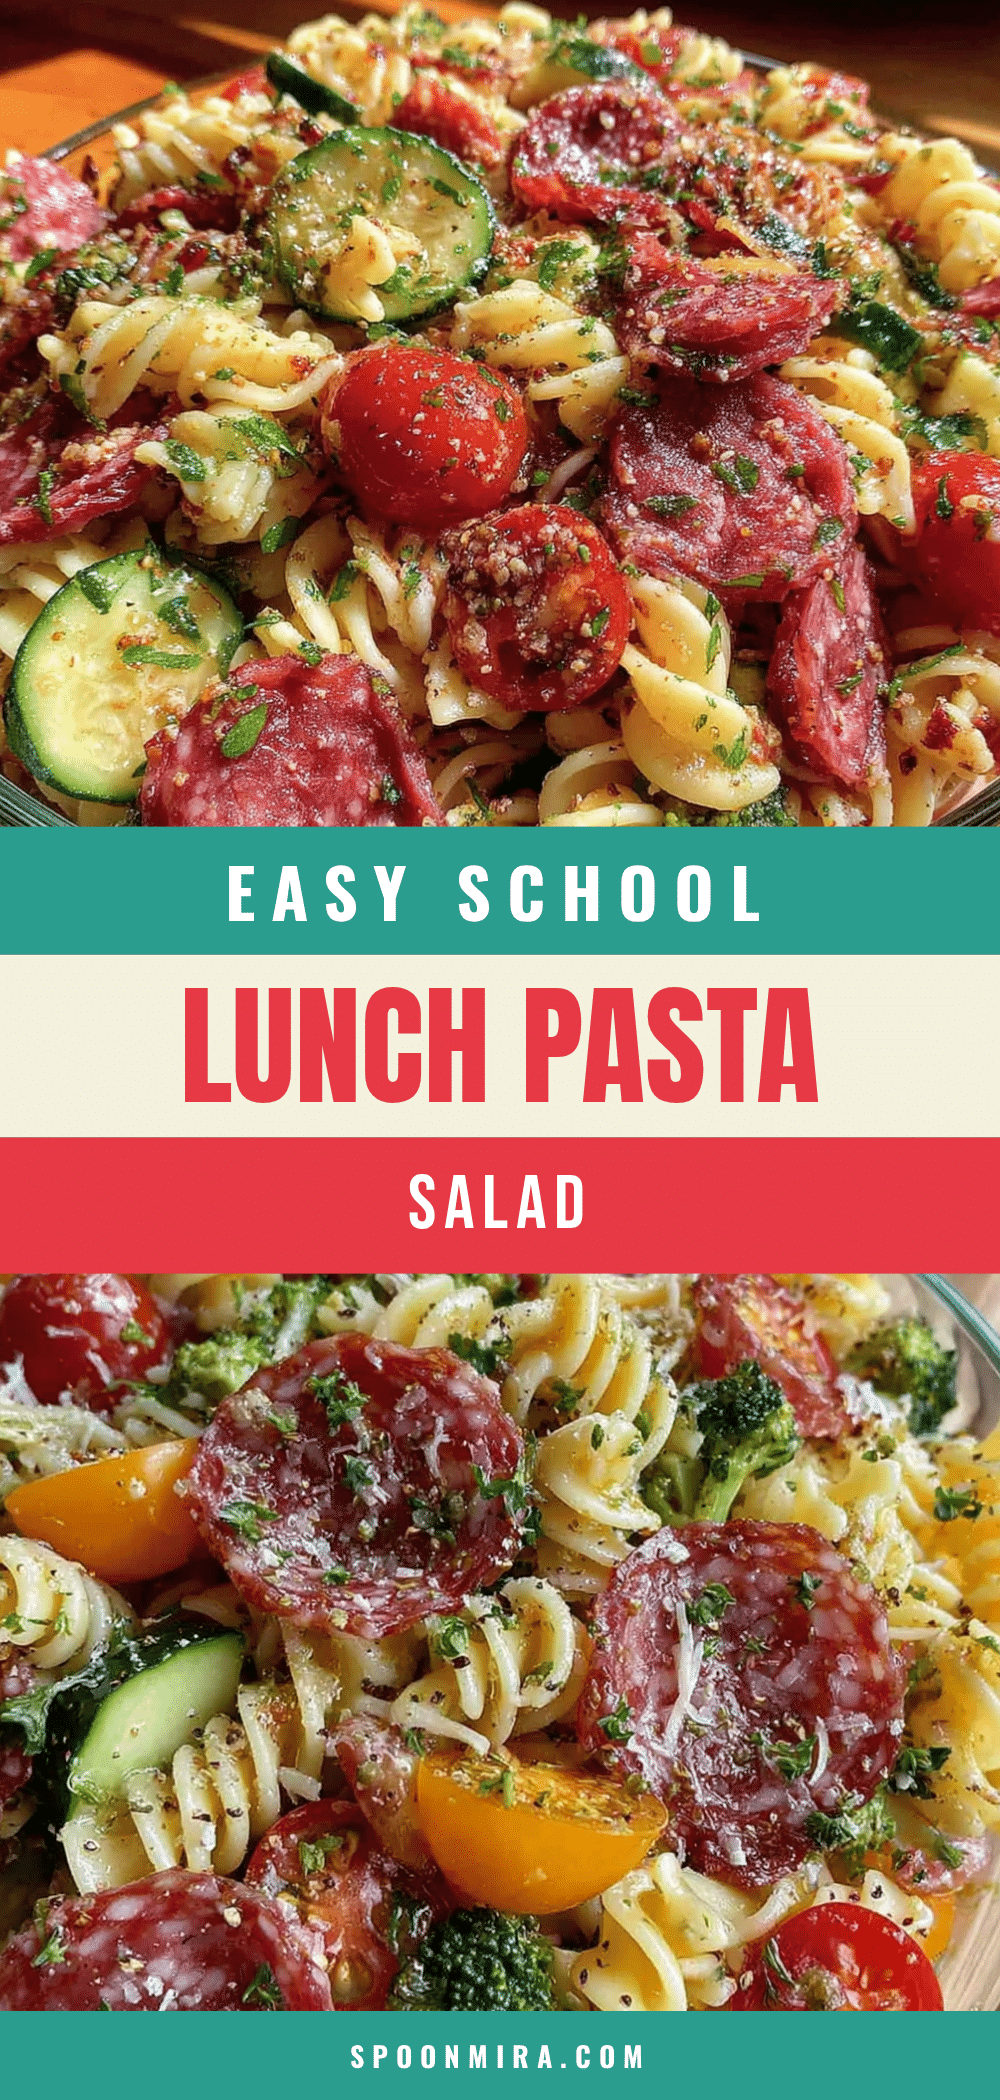
Easy Cold Pasta Salad with Salami: Best School Lunch
This easy cold pasta salad with salami is a quick, budget-friendly lunchbox solution that kids actually eat. Made with tri-color rotini, salami, mozzarella, and a simple Italian vinaigrette, it comes together in under 20 minutes and tastes even better the next day.
- Prep Time: 12 minutes
- Cook Time: 10 minutes
- Total Time: 22 minutes
- Yield: 6 servings 1x
- Category: Main Course
- Cuisine: Italian-American
Ingredients
- 8 ounces (about 2 ½ cups) dry rotini pasta
- 4 ounces hard salami, cut into ½-inch cubes
- 4 ounces mozzarella cheese (fresh pearls or cubed)
- 1 cup cherry tomatoes, halved or quartered
- ½ cup English cucumber, diced
- ½ cup red bell pepper, diced
- ¼ cup red onion, finely diced
- ¼ cup black olives, sliced (optional)
- ¼ cup extra virgin olive oil
- 2 tablespoons red wine vinegar
- 1 teaspoon Dijon mustard
- 1 clove garlic, minced
- ½ teaspoon dried oregano
- ¼ teaspoon salt
- ¼ teaspoon black pepper
- Pinch of sugar
Instructions
- Cook the pasta: Bring a large pot of salted water to a rolling boil. Add the rotini and cook according to package directions until al dente (about 8-10 minutes). Stir occasionally to prevent sticking.
- Drain and rinse: Pour the pasta into a colander and rinse under cold running water for about 30 seconds to stop the cooking process. Shake well to remove excess water.
- Drizzle with olive oil: Transfer the drained pasta to a large mixing bowl. Drizzle with about 1 teaspoon of olive oil and toss gently to prevent sticking.
- Prep the vegetables: While the pasta cools, dice the cucumber, bell pepper, and red onion. Halve or quarter the cherry tomatoes. Slice the olives if using.
- Cube the salami and cheese: Cut the salami into ½-inch cubes or thin strips. Cube the mozzarella into similar-sized pieces. If using mozzarella pearls, cut them in half.
- Make the dressing: In a small jar or bowl, combine the olive oil, red wine vinegar, Dijon mustard, minced garlic, dried oregano, salt, pepper, and sugar. Shake or whisk until emulsified.
- Combine everything: Add the cooled pasta, salami, mozzarella, cherry tomatoes, cucumber, bell pepper, red onion, and olives to the large mixing bowl. Pour the dressing over the top and gently fold until evenly coated.
- Taste and adjust: Take a small bite and adjust seasoning if needed (add more salt, pepper, or vinegar).
- Chill before serving: Cover the bowl and refrigerate for at least 30 minutes to allow flavors to meld.
- Pack the lunches: Divide the pasta salad into individual lunch containers. Store in the refrigerator for up to 4 days.
Notes
Salt the pasta water generously (about 1 tablespoon per 4 quarts). Don’t overdress the salad; start with ¾ of the dressing and add more as needed. Cut all ingredients to the same size for balanced bites. Let the salad rest for at least 30 minutes for best flavor. If making ahead, double the dressing and add more before serving to prevent dryness. Avoid pre-shredded mozzarella; use fresh cubes for best texture.
Nutrition
- Serving Size: 1 serving (about 1.5
- Calories: 385
- Sugar: 4
- Sodium: 680
- Fat: 20
- Saturated Fat: 6
- Carbohydrates: 35
- Fiber: 3
- Protein: 18
Keywords: cold pasta salad, salami pasta salad, school lunch, easy lunch, kid-friendly, no-cook lunch, make-ahead lunch


