My roommate Jenna asked why I couldn’t just throw everything in one pan and call it a day. I started to explain why that wouldn’t work — then stopped. She had a point. I was stress-planning a complicated Friendsgiving menu with three different casseroles, two sides, and a turkey that needed its own zip code. Jenna, meanwhile, was staring at me like I’d lost my mind. “It’s just chicken and stuffing,” she said. “Why are we making this harder than it needs to be?”
Honestly, I almost didn’t try it. I’d been cooking for years and had this stubborn idea that real stuffing had to be made separately, baked until the top got crispy, and treated with the kind of reverence usually reserved for heirloom recipes. But it was a Tuesday night, we were both exhausted, and the grocery store had already closed. So I grabbed a baking dish, threw in some chicken thighs, dumped a box of stuffing mix on top, and poured broth over the whole thing like I was committing a crime against culinary tradition.
Here’s the thing — it worked. Like, really worked. The chicken came out juicy, the stuffing soaked up all those savory pan juices, and the whole thing came together in about 40 minutes with exactly one dish to wash. Jenna took one bite and said, “Told you so.” And you know what? She was right. That night changed how I think about cooking for a crowd. I mean, who decided that hosting friends meant spending three days in the kitchen? Not me anymore.
This Easy One-Pan Chicken and Stuffing Bake for Friendsgiving became my go-to for every casual gathering since. It’s the kind of recipe that makes you look like you tried really hard when you actually just… didn’t. And that’s exactly the energy Friendsgiving needs, right? Maybe you’ve been there — hosting a dozen friends, wanting something special but also wanting to actually enjoy the party. This one’s for you.
Why You’ll Love This Recipe
Let me be real with you — I’ve tested this recipe about seven times to get it just right. The first version was too dry. The second was too salty. The third had the texture of wet sand. But by version four, I hit gold, and I’ve been tweaking it ever since. Here’s why this one actually works for Friendsgiving:
- Quick & Easy : Comes together in about 45 minutes, start to finish. No browning the chicken first. No sautéing vegetables. No separate baking dishes. Just mix, dump, and bake.
- Simple Ingredients : You probably already have most of this stuff in your pantry. Stuffing mix, cream of mushroom soup, chicken broth — these are the kind of ingredients you don’t have to hunt down at three different stores.
- Perfect for Friendsgiving : It feeds a crowd without taking over your entire kitchen. You can make it while your guests are arriving, and nobody will know you didn’t spend all day slaving away.
- Crowd-Pleaser : I’ve served this to picky eaters, food snobs, and people who claim they don’t like casseroles. Every single person went back for seconds.
- Unbelievably Delicious : The stuffing gets this perfect golden crust on top while staying soft and fluffy underneath. The chicken stays moist because it’s cooking in all that seasoned broth. It’s comfort food that actually delivers.
What makes this different from every other chicken and stuffing recipe out there? It’s the ratio. I spent a lot of time figuring out exactly how much liquid you need so the stuffing isn’t soggy or dry. Plus, I add a little sour cream to the soup mixture — it sounds weird, but it adds richness without making everything taste like a science experiment. This isn’t just another version. It’s the version I’d serve to people I actually like.
And here’s the emotional part — this recipe has saved me more times than I can count. Friendsgiving is supposed to be about hanging out with your people, not stress-crying over a burnt casserole. This bake lets you actually sit down, pour a glass of wine, and enjoy the evening. That’s worth more than any complicated recipe, if you ask me.
What Ingredients You Will Need
This recipe uses simple, everyday ingredients that come together to create something way bigger than the sum of their parts. Most of these are pantry staples, which means you can throw this together on a whim without a special grocery trip.
For the Chicken Layer
- Boneless, skinless chicken breasts or thighs (about 2 pounds) — I prefer thighs for this because they stay juicier, but breasts work fine too. If using breasts, try to get ones that are similar in size so they cook evenly.
- Salt and black pepper — to taste. Don’t be shy here. Chicken needs seasoning.
- Garlic powder (1 teaspoon) — adds that savory depth without any extra work.
- Onion powder (1 teaspoon) — same idea. These two powders are your best friends for quick cooking.
- Paprika (1 teaspoon) — gives the chicken a nice color and a little warmth. Smoked paprika works great here too.
For the Stuffing Layer
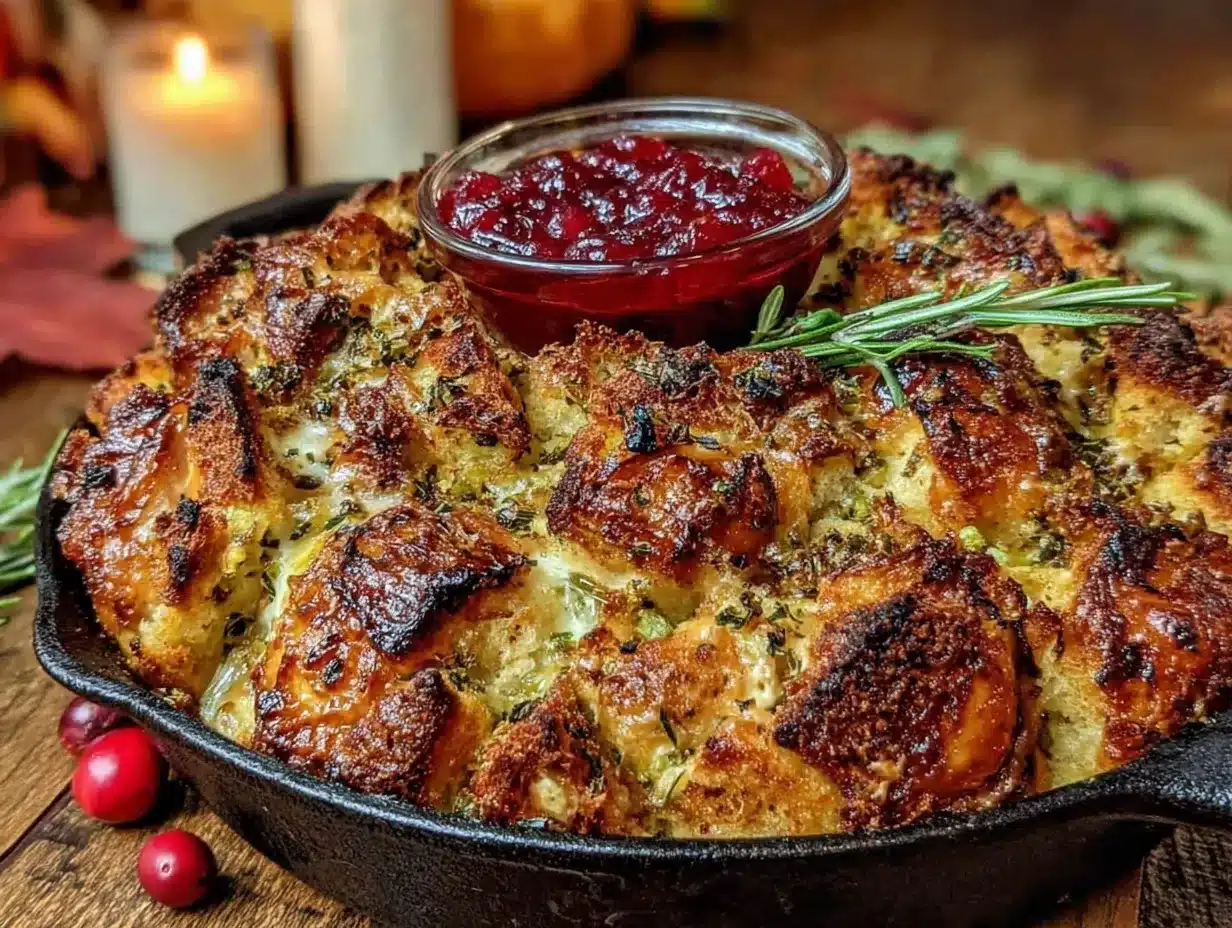
- One 12-ounce box of seasoned stuffing mix — I use Pepperidge Farm Herb Seasoned Stuffing, but any brand works. Don’t get the cubed kind meant for homemade stuffing; the pre-seasoned mix has better flavor for this recipe.
- One 10.5-ounce can of cream of mushroom soup — this is the secret to the creamy texture. You can use cream of chicken if mushroom isn’t your thing.
- 1/2 cup sour cream — trust me on this one. It sounds weird, but it keeps the stuffing moist and adds a subtle tang that balances all the savory flavors.
- 1 1/2 cups low-sodium chicken broth — low-sodium is important here because the stuffing mix already has a lot of salt. You can always add more salt later, but you can’t take it out.
- 1/2 cup unsalted butter, melted — because butter makes everything better. If you’re using salted butter, skip the extra salt in the seasoning.
- 1/2 cup chopped celery (optional) — adds a little crunch and freshness. I sometimes skip this if I’m in a hurry, but it’s nice when I have it.
- 1/4 cup chopped onion (optional) — same deal. Adds flavor but not essential.
For Topping (Optional but Recommended)
- Fresh parsley, chopped — for color more than flavor. Makes it look fancy.
- Cranberry sauce — not in the recipe, but I always serve this on the side. The tartness cuts through the richness perfectly.
Ingredient Selection Tip: For the best texture, look for a stuffing mix that has visible herbs and seasoning flakes — that means it’s fresher. I’ve tried generic store brands, and they’re fine, but the Pepperidge Farm one really does give the best flavor. If you’re gluten-free, there are good gluten-free stuffing mixes available now — just adjust the liquid slightly since they absorb differently.
Substitution Guidance: You can swap the cream of mushroom soup for cream of chicken or even a can of condensed cheddar cheese soup for a different flavor profile. For a dairy-free version, use dairy-free butter and a dairy-free cream soup alternative. Greek yogurt can replace sour cream in a pinch, though the texture will be slightly different.
Equipment Needed
The beauty of this recipe is that it barely uses any equipment. Here’s what you need:
- A 9×13-inch baking dish — this is the standard size for feeding 6-8 people. If you’re cooking for a smaller crowd, an 8×8 dish works, but you’ll need to reduce the ingredients by about a third.
- A large mixing bowl — for combining the stuffing mixture. Nothing fancy, just something big enough to stir without making a mess.
- A whisk or fork — for mixing the soup, sour cream, and broth together smoothly.
- Measuring cups and spoons — I’m not usually a stickler for exact measurements, but with this recipe, the liquid ratio matters. Use proper measuring tools.
- Aluminum foil — for covering the dish during the first part of baking. This keeps the stuffing from burning before the chicken is cooked through.
Personal Note: I’ve made this in a disposable aluminum pan before when I was bringing it to a friend’s house. It works perfectly, and you don’t have to worry about getting your dish back. Just make sure to put the aluminum pan on a baking sheet before putting it in the oven — those things can get wobbly when they’re full of hot liquid.
Budget-Friendly Tip: You don’t need any fancy equipment for this. No stand mixer, no food processor, no special casserole dish with a lid. If you have a baking dish and a bowl, you’re good to go. I’ve even made it in a cast iron skillet when my baking dish was in the dishwasher — worked like a charm.
Preparation Method
Alright, let’s get cooking. This is about as straightforward as it gets, but I’ll walk you through every step so you don’t end up with a mess like I did the first time.
- Preheat your oven to 375°F (190°C). While it’s heating up, lightly grease your 9×13-inch baking dish with cooking spray or a little butter. This step matters — I learned the hard way that stuffing can stick to the pan like cement if you skip it.
- Season the chicken. Pat your chicken pieces dry with paper towels. This helps the seasoning stick. Sprinkle both sides with salt, pepper, garlic powder, onion powder, and paprika. Don’t overthink this — just give them a good dusting. I usually use about 1/2 teaspoon of salt total for the whole dish, but adjust based on your taste.
- Arrange the chicken in the baking dish. Lay the seasoned chicken pieces in a single layer at the bottom of the dish. It’s okay if they’re touching a little, but try not to crowd them too much. If you’re using chicken breasts that are really thick, you might want to pound them to an even thickness first — about 1 inch thick is perfect. I’ve forgotten to do this before, and the chicken took forever to cook while the stuffing got too brown.
- Make the stuffing mixture. In your large mixing bowl, combine the dry stuffing mix, melted butter, chopped celery, and chopped onion (if using). In a separate small bowl or measuring cup, whisk together the cream of mushroom soup, sour cream, and chicken broth until smooth. Pour this liquid mixture over the dry stuffing mix and stir until everything is evenly moistened. It should look like a thick, shaggy mixture — not soupy, but not dry either. If it looks too dry, add another splash of broth.
- Top the chicken with stuffing. Spoon the stuffing mixture evenly over the chicken pieces. Don’t press it down — just let it sit on top in a nice, even layer. The stuffing will settle as it bakes.
- Cover and bake for 30 minutes. Cover the dish tightly with aluminum foil. This traps steam and helps the chicken cook through without drying out. Set a timer — I’ve gotten distracted and let this go too long, and the foil actually started to fuse to the stuffing. Not ideal.
- Uncover and bake for another 10-15 minutes. Remove the foil carefully — hot steam will escape, so tilt the lid away from your face. Continue baking until the stuffing is golden brown on top and the chicken is cooked through. The internal temperature of the chicken should reach 165°F (74°C) when checked with a meat thermometer. If the top isn’t as brown as you’d like, you can broil it for 1-2 minutes at the end. Watch it closely — broilers are unforgiving.
- Let it rest for 5 minutes before serving. This is important. The dish needs a few minutes to set so the juices redistribute. I know it’s hard to wait when your kitchen smells amazing, but trust me on this. Use this time to chop some parsley for garnish and set out the cranberry sauce.
Sensory Cue: When it’s done, the stuffing should look golden and slightly crisp on top, and you should see little bubbles of broth around the edges of the dish. The chicken should be tender enough that a fork slides in easily. If the stuffing looks pale and wet, give it another 5 minutes uncovered.
Time-Saving Note: You can prep this whole dish up to the baking step and keep it in the fridge for up to 24 hours. Just add about 10 minutes to the covered baking time since everything will be cold. This is a lifesaver for Friendsgiving — assemble it the night before, then pop it in the oven when people start arriving.
Cooking Tips & Techniques
I’ve made this recipe about a dozen times now, and I’ve learned a few things the hard way. Here’s what I wish someone had told me:
Don’t overmix the stuffing. When you add the liquid to the dry stuffing mix, stir just until everything is moistened. Overmixing makes the stuffing dense and gummy instead of light and fluffy. I made this mistake on my third attempt, and it came out looking like a hockey puck. Not cute.
Use a meat thermometer. I know, I know — it’s one more thing to wash. But chicken is tricky, and undercooked chicken is a party foul you don’t want to deal with. The stuffing might look done before the chicken is fully cooked, so trust the thermometer, not your eyes. I use a cheap instant-read one that cost me eight bucks, and it’s saved me more times than I can count.
Watch your liquid ratio. Different brands of stuffing mix absorb liquid differently. If you’re using a generic brand, you might need a little more broth. If you’re using a high-end organic mix, it might need less. The key is to look at the texture — it should be moist but not swimming in liquid. If you see broth pooling at the bottom of the bowl, you’ve added too much. Add a little more dry stuffing mix to balance it out.
Let the dish rest. I mentioned this in the instructions, but it bears repeating. If you cut into this right out of the oven, the juices will run everywhere and your stuffing will be soggy. Five minutes makes a huge difference. Use that time to set the table or pour yourself a drink — you’ve earned it.
One mistake I’ll never make again: The first time I made this for actual guests, I forgot to check the internal temperature of the chicken. I assumed it was done because the stuffing looked perfect. Turns out, the chicken was still a little pink near the bone (I was using bone-in thighs that time). I had to microwave individual pieces while everyone waited. It was humiliating. Now I check the temp every single time, no exceptions.
Multitasking tip: While the dish bakes, you can make a quick salad or steam some green beans to round out the meal. Or just sit on the couch and relax — that’s a valid option too. This recipe really does let you be a guest at your own party.
Variations & Adaptations
This recipe is super forgiving, so feel free to make it your own. Here are some variations I’ve tried and loved:
Vegetarian Version: Swap the chicken for 2-3 cups of hearty vegetables like cubed butternut squash, mushrooms, and cauliflower. You’ll need to adjust the baking time since vegetables cook faster than chicken — check for doneness after about 25 minutes total. Use vegetable broth instead of chicken broth, and you’ve got a main dish that even your vegetarian friends will love.
Dairy-Free Adaptation: Use dairy-free butter (I like Miyoko’s) and a dairy-free cream soup alternative. For the sour cream, try a plant-based version or just leave it out and add an extra splash of broth. The texture will be slightly different, but it’s still delicious. My friend Sarah made this for her dairy-free family, and they didn’t even notice the difference.
Gluten-Free Option: Use a gluten-free stuffing mix and make sure your cream of mushroom soup is gluten-free (Pacific Foods makes a good one). Everything else in the recipe is naturally gluten-free, so this is an easy swap. Just note that gluten-free stuffing tends to absorb liquid differently, so start with 1 1/4 cups of broth and add more if needed.
Seasonal Twist: In the fall, I add 1/2 cup of dried cranberries and 1/4 cup of chopped pecans to the stuffing mixture. The sweetness from the cranberries and the crunch from the pecans make it feel extra festive. In the spring, I stir in some fresh thyme and rosemary from my garden. In the summer, I’ve been known to throw in some chopped zucchini — it adds moisture and you barely notice it’s there.
Spicy Version: Add 1/2 teaspoon of cayenne pepper or a diced jalapeño to the stuffing mixture. Or use a spicy sausage stuffing mix if you can find one. My brother-in-law loves this version, and he’s the kind of guy who puts hot sauce on everything anyway.
Personal Variation I Love: Sometimes I swap the cream of mushroom soup for a can of cream of celery soup and add a handful of shredded cheddar cheese to the stuffing mixture. It’s not fancy, but it tastes like the casseroles my grandma used to make. Comfort food at its finest.
Serving & Storage Suggestions
This dish is pretty flexible when it comes to serving. Here’s how I like to do it:
Serving Temperature: Serve this hot, straight from the oven. The stuffing is at its best when it’s crispy on top and steamy underneath. If it sits too long, the top will soften, so try to time it so everyone’s at the table when you pull it out.
Presentation: I like to bring the whole baking dish to the table — it’s rustic and homey, which fits the Friendsgiving vibe. Sprinkle some fresh parsley on top right before serving for a pop of color. If you’re feeling fancy, you can scoop individual portions onto plates with a wide spatula, making sure each serving gets some chicken and some stuffing.
What to Serve With It: This dish is pretty rich on its own, so I like to balance it with something light and fresh. A simple green salad with a tangy vinaigrette works perfectly. Steamed green beans or roasted Brussels sprouts are also great. And don’t forget the cranberry sauce — the tartness cuts through all that savory goodness. For drinks, a crisp white wine like Sauvignon Blanc or a light beer pairs nicely.
Storage Instructions: Leftovers keep well in the fridge for up to 4 days. Let the dish cool completely, then transfer to an airtight container or cover the baking dish tightly with foil or plastic wrap. The flavors actually get better overnight as everything melds together.
Reheating Tips: The best way to reheat this is in the oven at 350°F for about 15-20 minutes, covered with foil to prevent the stuffing from drying out. You can also microwave individual portions, but the stuffing won’t be as crispy. If you’re in a hurry, the microwave works fine — just add a splash of broth or water before reheating to keep things moist.
Freezer Instructions: This dish freezes beautifully. Assemble it completely but don’t bake it. Cover tightly with foil and freeze for up to 3 months. When you’re ready to eat, thaw it in the fridge overnight, then bake as directed, adding about 10-15 minutes to the covered baking time. I’ve done this for several Friendsgivings, and it’s always a hit.
Flavor Development Note: If anything, this dish tastes better the next day. The stuffing soaks up even more flavor overnight, and the chicken gets even more tender. I’ve been known to make it a day ahead on purpose just for this reason.
Nutritional Information & Benefits
Let’s be honest — this isn’t a health food. It’s comfort food, and it’s meant to be enjoyed. But here’s the nutritional breakdown so you know what you’re working with:
| Nutrient | Amount Per Serving (based on 8 servings) |
|---|---|
| Calories | 420 |
| Total Fat | 18g |
| Saturated Fat | 8g |
| Cholesterol | 95mg |
| Sodium | 980mg |
| Total Carbohydrates | 35g |
| Dietary Fiber | 2g |
| Sugars | 4g |
| Protein | 32g |
Health Benefits: The chicken provides a solid dose of lean protein, which keeps you full and satisfied. If you use chicken thighs, you’ll also get some iron and B vitamins. The celery and onion add a tiny bit of fiber and vitamins, though let’s be real — you’re not eating this for the vegetables. The stuffing mix is usually fortified with some B vitamins and iron, so there’s that.
Dietary Considerations: This recipe contains gluten (from the stuffing mix) and dairy (from the butter, sour cream, and cream soup). It’s not suitable for vegans or vegetarians as written, but see the variations section for adaptations. The sodium is on the higher side, so if you’re watching your salt intake, use low-sodium broth and consider reducing the salt in the chicken seasoning.
My Personal Perspective: I don’t believe in labeling food as “good” or “bad.” This dish is rich and indulgent, and that’s exactly what Friendsgiving calls for. It’s the kind of meal that fills you up and makes you feel cared for. Balance it out with lighter meals the rest of the week, and enjoy every single bite of this one.
Conclusion
This Easy One-Pan Chicken and Stuffing Bake for Friendsgiving is the kind of recipe that proves you don’t have to sacrifice flavor for convenience. It’s warm, comforting, and genuinely delicious — the kind of dish that makes people close their eyes after the first bite and say “mmm” without thinking about it.
What I love most about this recipe is how adaptable it is. You can make it exactly as written, or you can tweak it based on what you have in your pantry and who’s coming to dinner. Add some cheese, throw in some vegetables, make it spicy or keep it classic — it works every time. That’s the mark of a truly great recipe, if you ask me.
I’d love to hear how yours turns out. Did you add any fun twists? Serve it with something unexpected? Burn the top and have to scrape it off like I did that one time? Drop a comment below and let me know. And if you share it on social media, tag me — I love seeing your creations.
Here’s to Friendsgiving dinners that actually let you enjoy your friends. Happy cooking, friend.
Frequently Asked Questions
Can I use bone-in chicken for this recipe?
Yes, but you’ll need to increase the baking time by about 10-15 minutes. Bone-in chicken takes longer to cook through. Make sure to check the internal temperature at the thickest part near the bone — it should reach 165°F. Also, bone-in pieces take up more space in the dish, so you might need to use a slightly larger pan or reduce the number of pieces.
Can I make this ahead of time for Friendsgiving?
Absolutely. You can assemble the whole dish (without baking) up to 24 hours in advance. Just cover it and keep it in the fridge. When you’re ready to bake, add about 10 minutes to the covered baking time since everything will be cold. I actually prefer making it ahead sometimes — the flavors meld together even more.
What if I don’t have cream of mushroom soup?
No problem. You can use cream of chicken, cream of celery, or even a can of condensed cheddar cheese soup. Each one will give the dish a slightly different flavor, but they all work. If you don’t have any canned soup at all, you can make a quick substitute by whisking together 1 cup of milk, 2 tablespoons of flour, and 1 teaspoon of chicken bouillon paste — cook it on the stove until it thickens, then use it in place of the soup.
How do I prevent the stuffing from getting soggy?
The key is getting the liquid ratio right. Start with 1 1/2 cups of broth and add more only if the stuffing looks dry after mixing. Also, make sure you’re covering the dish for the first 30 minutes of baking — this traps steam and helps the stuffing cook through without getting waterlogged. Finally, don’t skip the uncovered baking time at the end; that’s what gives the top that nice golden crust.
Can I add vegetables to this dish?
Definitely. Chopped celery and onion are the classics, but you can add almost any vegetable you like. Diced carrots, sliced mushrooms, or even frozen peas (added in the last 10 minutes of baking) all work well. Just keep in mind that watery vegetables like zucchini might release extra liquid, so you may need to reduce the broth slightly to compensate.
Pin This Recipe!
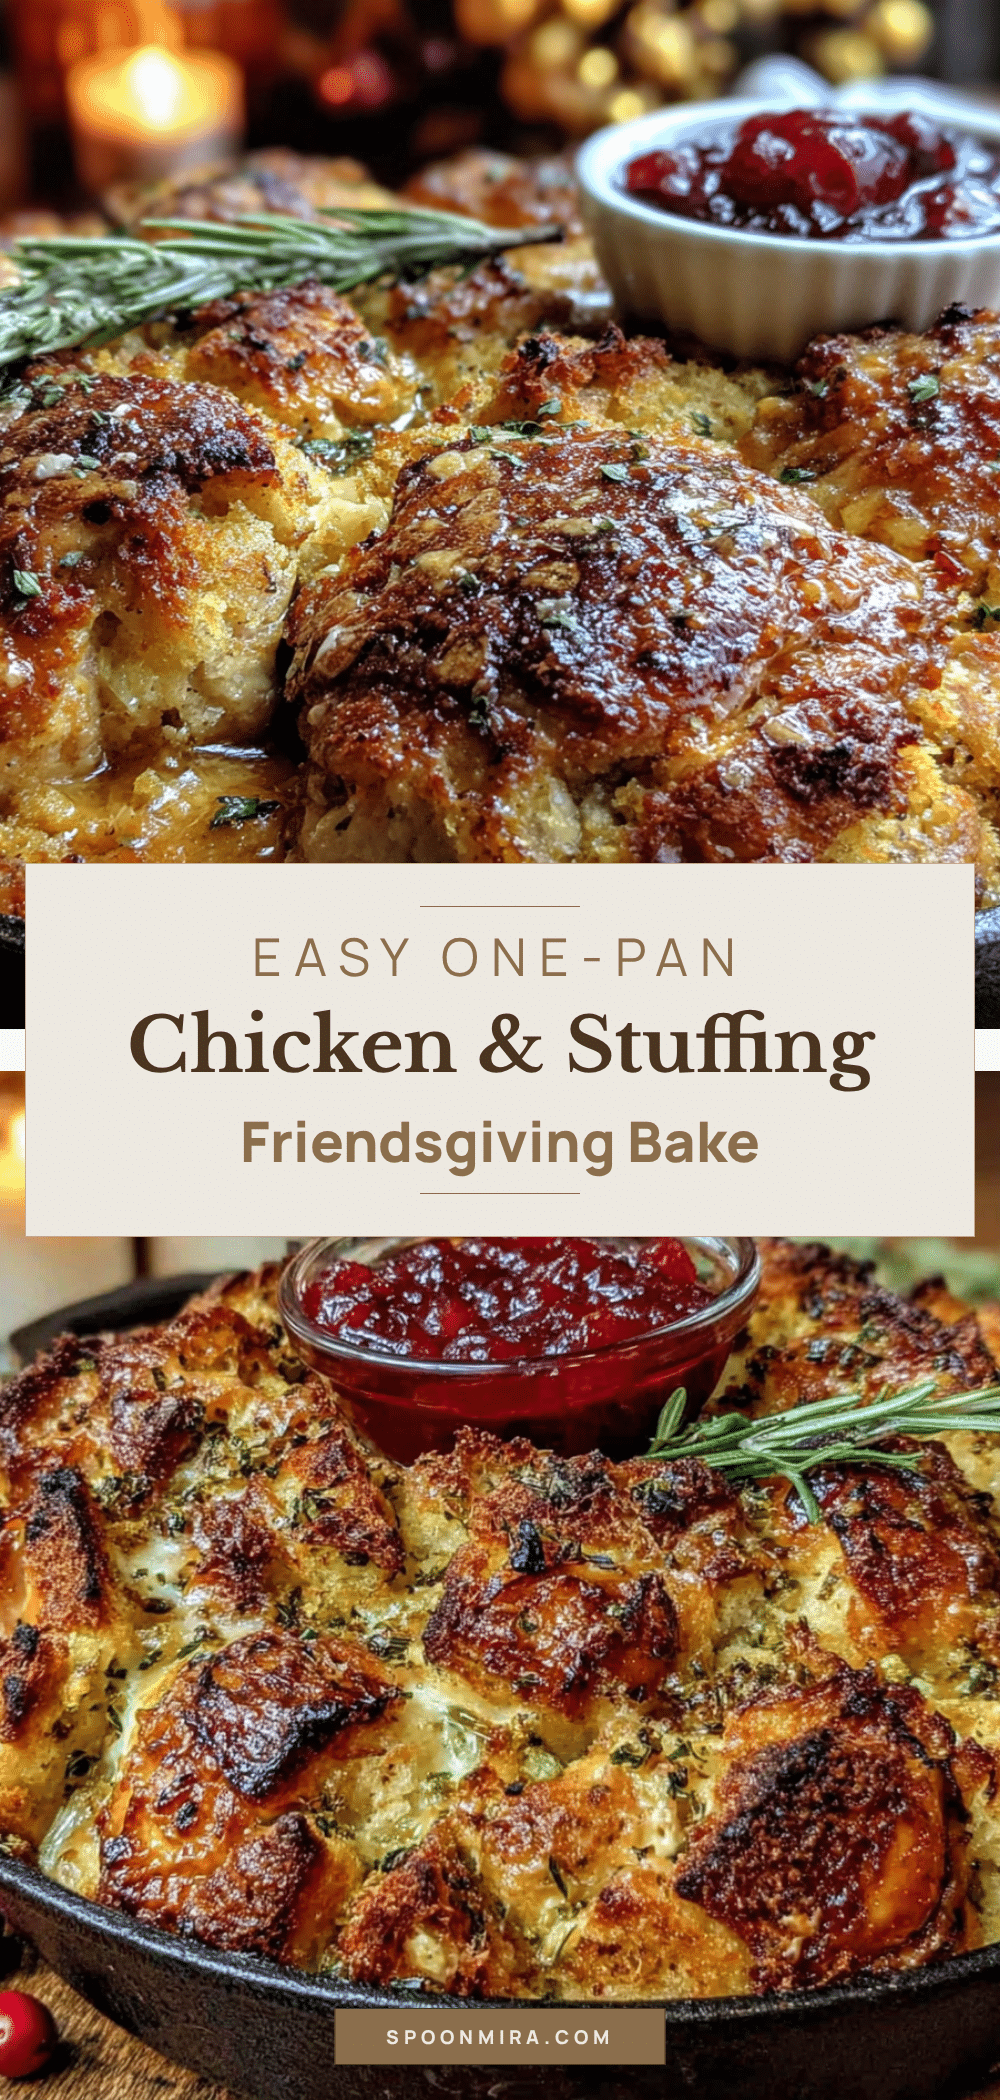
Easy One-Pan Chicken and Stuffing Bake for Friendsgiving

A quick and easy one-pan chicken and stuffing bake perfect for Friendsgiving. Juicy chicken thighs are topped with a creamy, golden stuffing, all baked together in one dish for minimal cleanup and maximum flavor.
- Prep Time: 15 minutes
- Cook Time: 40 minutes
- Total Time: 55 minutes
- Yield: 8 servings 1x
- Category: Main Course
- Cuisine: American
Ingredients
- 2 pounds boneless, skinless chicken breasts or thighs
- Salt and black pepper to taste
- 1 teaspoon garlic powder
- 1 teaspoon onion powder
- 1 teaspoon paprika
- 1 (12-ounce) box seasoned stuffing mix (e.g., Pepperidge Farm Herb Seasoned Stuffing)
- 1 (10.5-ounce) can cream of mushroom soup
- 1/2 cup sour cream
- 1 1/2 cups low-sodium chicken broth
- 1/2 cup unsalted butter, melted
- 1/2 cup chopped celery (optional)
- 1/4 cup chopped onion (optional)
- Fresh parsley, chopped (for garnish)
- Cranberry sauce (for serving)
Instructions
- Preheat oven to 375°F (190°C). Lightly grease a 9×13-inch baking dish with cooking spray or butter.
- Pat chicken pieces dry with paper towels. Season both sides with salt, pepper, garlic powder, onion powder, and paprika.
- Arrange seasoned chicken in a single layer in the prepared baking dish.
- In a large bowl, combine dry stuffing mix, melted butter, celery, and onion (if using). In a separate bowl, whisk together cream of mushroom soup, sour cream, and chicken broth until smooth. Pour the liquid mixture over the dry stuffing mix and stir until evenly moistened.
- Spoon the stuffing mixture evenly over the chicken pieces. Do not press down.
- Cover the dish tightly with aluminum foil and bake for 30 minutes.
- Remove foil carefully and continue baking for 10-15 minutes, until stuffing is golden brown and chicken reaches an internal temperature of 165°F (74°C). For extra browning, broil for 1-2 minutes.
- Let the dish rest for 5 minutes before serving. Garnish with fresh parsley and serve with cranberry sauce.
Notes
For best results, use a meat thermometer to ensure chicken reaches 165°F. Let the dish rest before serving to allow juices to redistribute. The stuffing can be prepped up to 24 hours in advance and refrigerated; add 10 minutes to covered baking time if starting from cold.
Nutrition
- Serving Size: 1 serving (based on
- Calories: 420
- Sugar: 4
- Sodium: 980
- Fat: 18
- Saturated Fat: 8
- Carbohydrates: 35
- Fiber: 2
- Protein: 32
Keywords: chicken, stuffing, one-pan, Friendsgiving, easy, casserole, comfort food


