I absolutely hated pumpkin dump cake the first three times I made it. That is not an exaggeration, and I am not being dramatic for effect. The top was either a sandy, powdery mess of dry cake mix, or the whole thing turned into a soupy, soggy casserole that looked like something you would feed a sick dog. I could not understand why everyone on the internet was losing their minds over this dessert. It looked like a mistake on a plate. But my mother-in-law, God bless her, brought one to a family dinner last November, and I watched my husband eat three servings without saying a word. That is when I realized the problem was not the recipe—the problem was me. I had been overthinking it. This Easy Pumpkin Dump Cake with Yellow Cake Mix and Pecans is the version I finally got right, and honestly, it took me burning the pecans twice and using the wrong pan size to figure out what I was doing wrong. It is not fancy. It is not complicated. But it is the kind of dessert that makes people close their eyes when they take the first bite, and that is the only thing that matters.
This is the dessert I bring to every fall potluck now, and I never bring home leftovers. It is the perfect combination of a spiced, custard-like pumpkin layer on the bottom and a buttery, crunchy, almost cookie-like topping on top. The yellow cake mix creates this incredible golden crust that gets slightly crisp around the edges, and the pecans toast right on top, adding this nutty crunch that makes every bite different. It is one of those recipes that looks like you spent hours in the kitchen, but it takes about ten minutes to throw together. You do not even need a mixer. Just a spoon, a pan, and a little bit of patience while it bakes.
Why You Will Love This Recipe
I have tested this recipe about seven times now, and I can tell you with complete confidence that this is the version worth making. Here is why this Easy Pumpkin Dump Cake stands out from every other recipe you will find online:
- Three Main Ingredients: Pumpkin puree, yellow cake mix, and pecans. That is it. You probably already have the butter and eggs in your fridge. No weird ingredients, no trips to a specialty grocery store.
- No Mixing Bowls Required: You literally dump the ingredients into the pan in layers. No separate bowls, no whisking, no dirtying your stand mixer. This is the laziest dessert you will ever make, and it tastes like you worked hard.
- Perfect for Fall Gatherings: I have brought this to Thanksgiving, Friendsgiving, Halloween parties, and random Tuesday night dinners. It fits every occasion. It travels well, it sits out nicely, and it tastes even better the next day.
- Feeds a Crowd: This recipe fills a 9×13 pan, which means you get about 12 to 15 generous servings. Perfect for potlucks, family dinners, or meal prep for your sweet tooth all week.
- Foolproof Once You Know the Trick: The secret is in the butter. You have to drizzle it evenly over the dry cake mix, and you have to use enough of it. I will show you exactly how to do it so you never end up with dry patches.
This is not just another pumpkin dessert. It is the one that makes people ask for the recipe before they finish their first serving. The texture is what gets them—the creamy pumpkin layer against that buttery, crumbly topping. It is comfort food at its most honest, and it does not try to be anything else.
What Ingredients You Will Need
This recipe uses simple, humble ingredients that come together to create something genuinely special. You do not need fancy baking supplies or expensive extracts. Just good, basic ingredients that work together.
- 1 can (15 oz) pumpkin puree – Make sure you grab pumpkin puree, not pumpkin pie filling. They are different! Puree is just pumpkin, while pie filling has sugar and spices already added. I prefer Libbys or store brand, just check the label. You want 100% pumpkin.
- 1 can (12 oz) evaporated milk – This adds richness and creaminess to the pumpkin layer without making it too heavy. Do not substitute with sweetened condensed milk—that is a different beast and will make your dessert cloyingly sweet.
- 3 large eggs – Room temperature eggs blend more smoothly into the pumpkin mixture. If you forgot to take them out of the fridge, just place them in a bowl of warm water for five minutes.
- 1 cup granulated sugar – Just regular white sugar. You could use coconut sugar if you want, but the texture will be slightly grainier.
- 2 teaspoons pumpkin pie spice – You can make your own blend if you do not have it on hand. Mix 1 teaspoon cinnamon, 1/2 teaspoon ginger, 1/4 teaspoon nutmeg, and 1/4 teaspoon cloves. That is basically pumpkin pie spice.
- 1 teaspoon ground cinnamon – Because you can never have too much cinnamon in a pumpkin dessert. I add a little extra because I like the warmth it brings.
- 1/2 teaspoon salt – Salt balances the sweetness and makes all the flavors pop. Do not skip it.
- 1 box (15.25 oz) yellow cake mix – This is the star of the show. I use Betty Crocker or Duncan Hines. Do not use a sugar-free or gluten-free mix unless you have tested it before—they behave differently. Just get the regular yellow cake mix.
- 1 cup chopped pecans – I prefer raw pecans that I chop myself because they toast better. Pre-chopped pecans are often smaller and can burn faster. Chop them into medium pieces—not too fine, not too chunky.
- 3/4 cup unsalted butter, melted – This is crucial. You need real butter here, not margarine. The butter soaks into the cake mix and creates that golden, crispy topping. Salted butter works too, just reduce the added salt to 1/4 teaspoon.
That is everything. Seven ingredients plus the cake mix, and most of them are pantry staples. The pecans are optional if you have a nut allergy, but I really think they make the dish. They add texture and a toasty flavor that complements the pumpkin beautifully.
Equipment Needed
You do not need a lot of fancy equipment for this recipe, which is part of why I love it. Here is what you will need:
- 9×13-inch baking pan – Glass or metal both work. I prefer glass because I can see the bottom layer browning, but metal conducts heat faster. If using metal, check your cake about five minutes earlier.
- Large mixing bowl – For whisking the pumpkin mixture. Nothing fancy needed.
- Whisk or wooden spoon – A whisk works better to get the eggs fully incorporated, but a wooden spoon gets the job done too.
- Small saucepan or microwave-safe bowl – For melting the butter. I use the microwave because I am impatient.
- Measuring cups and spoons – For the sugar, spices, and evaporated milk.
- Spatula – To spread the pumpkin mixture evenly. Not strictly necessary, but helpful.
- Cooling rack – Lets the cake cool evenly so the bottom does not get soggy.
I have made this in a disposable aluminum pan for potlucks, and it works fine. Just keep an eye on the baking time because aluminum heats up faster. If you do not have a cooling rack, just set the pan on a trivet or even a couple of wooden spoons to let air circulate underneath.
Preparation Method
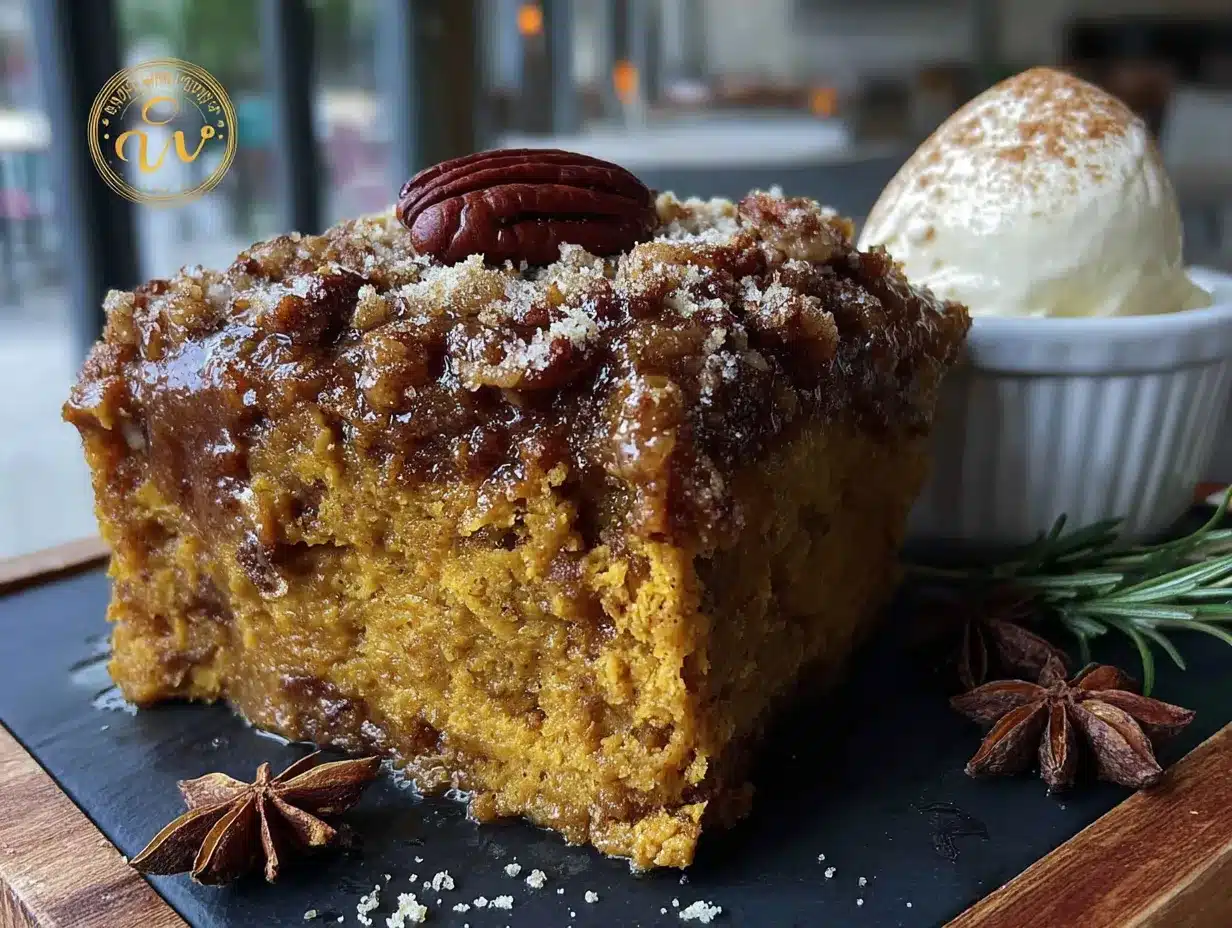
This is where the magic happens. Follow these steps carefully, especially the part about the butter, and you will get perfect results every time.
- Preheat your oven to 350°F (175°C). Place your oven rack in the middle position. Grease your 9×13 baking pan lightly with butter or non-stick spray. Do not skip this step, or the pumpkin layer will stick to the bottom.
- Make the pumpkin base. In your large mixing bowl, combine the pumpkin puree, evaporated milk, eggs, granulated sugar, pumpkin pie spice, cinnamon, and salt. Whisk until everything is smooth and fully combined. The mixture should be a deep orange color and slightly thick, like a thin pudding. Make sure there are no streaks of egg white floating around.
- Pour the pumpkin mixture into the prepared pan. Use your spatula to spread it evenly into all corners. The layer should be about 1/2 inch thick. Give the pan a gentle tap on the counter to release any air bubbles.
- Sprinkle the dry cake mix evenly over the top. This is the “dump” part. Open the box and slowly pour the cake mix over the pumpkin layer. Use your fingers or a spoon to break up any clumps. You want an even, uniform layer of dry cake mix covering the entire surface. Do not stir it in. Do not mix it. Just let it sit on top.
- Sprinkle the chopped pecans over the cake mix. Distribute them as evenly as you can. They will toast while baking and add that wonderful crunch.
- Drizzle the melted butter over everything. This is the most important step. Melt your butter in the microwave or on the stovetop. Using a spoon or a small measuring cup, drizzle the melted butter evenly over the entire surface. Try to cover as much of the cake mix as possible. Some dry spots are okay, but you want most of it to get butter. Do not pour it all in one spot—move your hand around the pan.
- Bake for 45 to 50 minutes. The top should be golden brown and the edges should be bubbling. The center might still jiggle slightly, but that is okay. It will set as it cools. If the top is browning too fast after 30 minutes, tent the pan loosely with aluminum foil.
- Let it cool for at least 20 minutes before serving. This is the hardest part, I know. But if you cut into it too soon, the pumpkin layer will be runny. It needs time to set up. The cake will continue to cook slightly from the residual heat as it cools.
One thing I learned the hard way—do not walk away during the butter-drizzling step. I did that once, thinking I could multitask, and I ended up with a huge puddle of butter in one corner and dry cake mix everywhere else. That corner turned into a greasy mess, and the dry parts stayed powdery. Take the extra thirty seconds to do it right.
Cooking Tips and Techniques
I have made enough mistakes with this recipe to fill a small notebook. Here is what I learned so you do not have to make the same errors.
The butter situation. This is the number one issue people have with dump cake. If you do not use enough butter, the cake mix stays dry and powdery. If you use too much, the bottom gets greasy. Three-quarters of a cup is the sweet spot. I have tested it with half a cup, and the top was still dry in spots. I have tested it with a full cup, and the bottom was swimming in butter. Three-quarters is perfect.
Let the cake mix be dry. I know it feels wrong to pour dry cake mix over a wet layer and just leave it there. But do not stir it. Do not press it down. The magic happens when the butter and the moisture from the pumpkin layer slowly soak into the cake mix during baking. If you stir it, you end up with a dense, gummy mess. Trust the process.
Check your pumpkin puree. I once grabbed a can of pumpkin pie filling by accident because the labels looked similar. The dessert was way too sweet and had a weird gelatinous texture. Always double-check that you are getting 100% pumpkin puree.
Room temperature eggs matter. Cold eggs can seize up the pumpkin mixture and make it lumpy. I know it is a pain to wait for them to warm up, but it makes a real difference in the smoothness of the final texture.
Bake it on a cookie sheet. This is a pro tip I picked up from a friend who runs a bakery. Place your 9×13 pan on a rimmed baking sheet before putting it in the oven. Dump cakes sometimes bubble over, especially if your pan is a little full. The cookie sheet catches any drips and saves you from scrubbing the bottom of your oven.
Let it rest overnight. If you can wait, this cake is actually better the next day. The flavors meld together, the pumpkin layer firms up perfectly, and the topping stays crisp. I have made it the night before Thanksgiving more times than I can count.
Variations and Adaptations
This recipe is forgiving and easy to adapt. Here are some variations I have tried and loved:
- Gluten-Free Version: Use a gluten-free yellow cake mix. I have tested this with King Arthur’s gluten-free yellow cake mix, and it worked beautifully. The topping was slightly more crumbly, but the flavor was spot on.
- Nut-Free Version: Skip the pecans entirely, or replace them with sunflower seeds or pumpkin seeds for a similar crunch. I have also used crushed graham crackers on top for a different texture.
- Spice It Up: Add 1/4 teaspoon of cardamom or allspice to the pumpkin mixture for a more complex flavor profile. I tried cardamom once on a whim, and it added this lovely floral note that paired perfectly with the pumpkin.
- Chocolate Lovers Version: Use a chocolate cake mix instead of yellow. I know it sounds weird, but chocolate and pumpkin are actually a great combination. The chocolate cake mix creates a brownie-like topping that is absolutely decadent.
- Caramel Drizzle: After the cake cools, drizzle caramel sauce over the top. I like to use a good quality store-bought caramel, but homemade works too. It adds another layer of sweetness and makes it look fancy.
- Spiced Pecans: Toss your pecans with a little cinnamon and sugar before sprinkling them on top. They get extra toasty and flavorful during baking.
I have also made this in a slow cooker for potlucks where I did not have access to an oven. Just layer everything in the slow cooker the same way, cook on low for 3 to 4 hours, and let it rest with the lid off for 30 minutes before serving. The texture is a little softer, but it is still delicious.
Serving and Storage Suggestions
This Easy Pumpkin Dump Cake is versatile when it comes to serving. Here is how I like to do it:
Serving temperature: I prefer it warm, about 20 minutes after it comes out of the oven. The pumpkin layer is still soft and creamy, and the topping is perfectly crisp. But it is also fantastic at room temperature, and honestly, I have eaten it cold straight from the fridge at midnight more times than I care to admit.
What to serve with it: A scoop of vanilla ice cream is the classic choice, and for good reason. The cold, creamy ice cream against the warm, spiced cake is perfection. Whipped cream works too, especially if you add a sprinkle of cinnamon on top. For a more indulgent experience, try it with a drizzle of caramel sauce and a dollop of the pumpkin cream cold foam for a dessert that feels extra special.
Storage: Cover the pan tightly with plastic wrap or aluminum foil, or transfer leftovers to an airtight container. It will keep in the refrigerator for up to 5 days. The topping will soften slightly over time, but it is still delicious.
Freezing: This cake freezes beautifully. Let it cool completely, then wrap the entire pan in plastic wrap, followed by a layer of aluminum foil. Freeze for up to 3 months. To serve, thaw in the refrigerator overnight and reheat in a 350°F oven for about 15 minutes. I have also reheated individual slices in the microwave for about 30 seconds, and it works fine.
Reheating: The best way to reheat is in the oven. Place the pan in a 350°F oven for 10 to 15 minutes, or until warmed through. The microwave works in a pinch, but the topping will lose its crunch. If you are reheating just one slice, the microwave is fine.
How flavors develop: This is one of those desserts that actually gets better after a day or two in the fridge. The pumpkin layer firms up and becomes almost cheesecake-like in texture, and the spices meld together beautifully. I often make this a day ahead of time on purpose.
If you are planning a fall gathering, this pairs wonderfully with a warm pumpkin chai latte for a cozy dessert experience. For a more casual occasion, try serving it alongside some mini banana muffins for a dessert spread that everyone will love.
Nutritional Information and Benefits
Let me be honest—this is a dessert, not a health food. But it does have some redeeming qualities worth mentioning.
Estimated nutritional values per serving (based on 12 servings):
- Calories: 380
- Total Fat: 18g
- Saturated Fat: 8g
- Cholesterol: 75mg
- Sodium: 420mg
- Total Carbohydrates: 52g
- Dietary Fiber: 3g
- Sugars: 34g
- Protein: 6g
Health benefits of key ingredients: Pumpkin is packed with vitamin A, which is great for your eyes and immune system. It is also high in fiber, which helps with digestion. Pecans are a good source of healthy fats and antioxidants. The eggs provide protein and essential amino acids. So while this is definitely a treat, it is not entirely empty calories.
Dietary considerations: This recipe contains gluten (from the cake mix), dairy (butter and evaporated milk), eggs, and tree nuts (pecans). It is not suitable for vegans or those with nut allergies unless you make the substitutions mentioned above. There is no soy in the basic recipe, but check your cake mix label to be sure.
Potential allergens: Wheat, milk, eggs, and tree nuts are the main allergens here. If you are serving this at a gathering where allergies might be a concern, I recommend making a nut-free version and clearly labeling it.
I personally love that this dessert uses real, whole ingredients. There is nothing artificial about it, aside from the cake mix, which I consider a fair trade-off for the convenience. It is a dessert you can feel good about serving to your family, even if it is not something you eat every day.
Conclusion
This Easy Pumpkin Dump Cake with Yellow Cake Mix and Pecans is the dessert I turn to when I want something impressive without the stress. It is forgiving, adaptable, and consistently delicious. I have brought it to Thanksgiving dinners where it disappeared before the pie. I have made it for random Tuesday nights when I needed something sweet but did not want to spend an hour in the kitchen. It has never let me down.
If you try this recipe, I really hope you make it your own. Add extra cinnamon if that is your thing. Swap the pecans for walnuts. Drizzle it with caramel. The beauty of a dump cake is that it is hard to mess up once you know the basics. And now you know the basics.
I would love to hear how yours turns out. Did you try a variation? Did you serve it with something unexpected? Drop a comment below and let me know. And if you have a friend who thinks they cannot bake, share this recipe with them. This is the one that changes their mind.
Now go preheat your oven. Your pumpkin dump cake is waiting.
Frequently Asked Questions
Can I use pumpkin pie filling instead of pumpkin puree?
I do not recommend it. Pumpkin pie filling already has sugar and spices added, which will throw off the sweetness and texture of this recipe. Stick with 100% pumpkin puree for the best results. If you only have pie filling, reduce the sugar to 1/2 cup and skip the added spices, but the texture will still be different.
Why is my cake mix still powdery after baking?
This usually happens when the butter was not distributed evenly. Make sure you drizzle the melted butter over every part of the cake mix. If you see dry spots, use a spoon to gently push some butter over them. Also, make sure you are using the full 3/4 cup of butter—skimping on it will leave dry patches.
Can I make this in a different size pan?
Yes, but you will need to adjust the baking time. An 8×8 pan will give you thicker layers and will need about 55 to 60 minutes. A 9×9 pan works too, with a similar time adjustment. If you use a larger pan, the layers will be thinner and will bake faster, so start checking at 35 minutes.
How do I know when the dump cake is done?
The top should be golden brown and the edges should be bubbling. The center might still jiggle slightly when you shake the pan, but that is normal. It will set as it cools. If you insert a toothpick into the cake mix layer, it should come out mostly clean. Do not test the pumpkin layer—it will be wet.
Can I use a different flavor of cake mix?
Absolutely! Spice cake mix is a popular choice that adds even more warm flavor. White cake mix works too, though it is a little less flavorful. I have even used butter pecan cake mix for extra nutty flavor. Just avoid sugar-free or gluten-free mixes unless you have tested them, as they behave differently during baking.
If you enjoyed this recipe, you might also love my creamy swirled chocolate chip pumpkin bread for another easy fall dessert that never disappoints. And for a savory option to balance out all that sweetness, try my cheesy ground turkey taco skillet for a quick weeknight dinner.
Pin This Recipe!
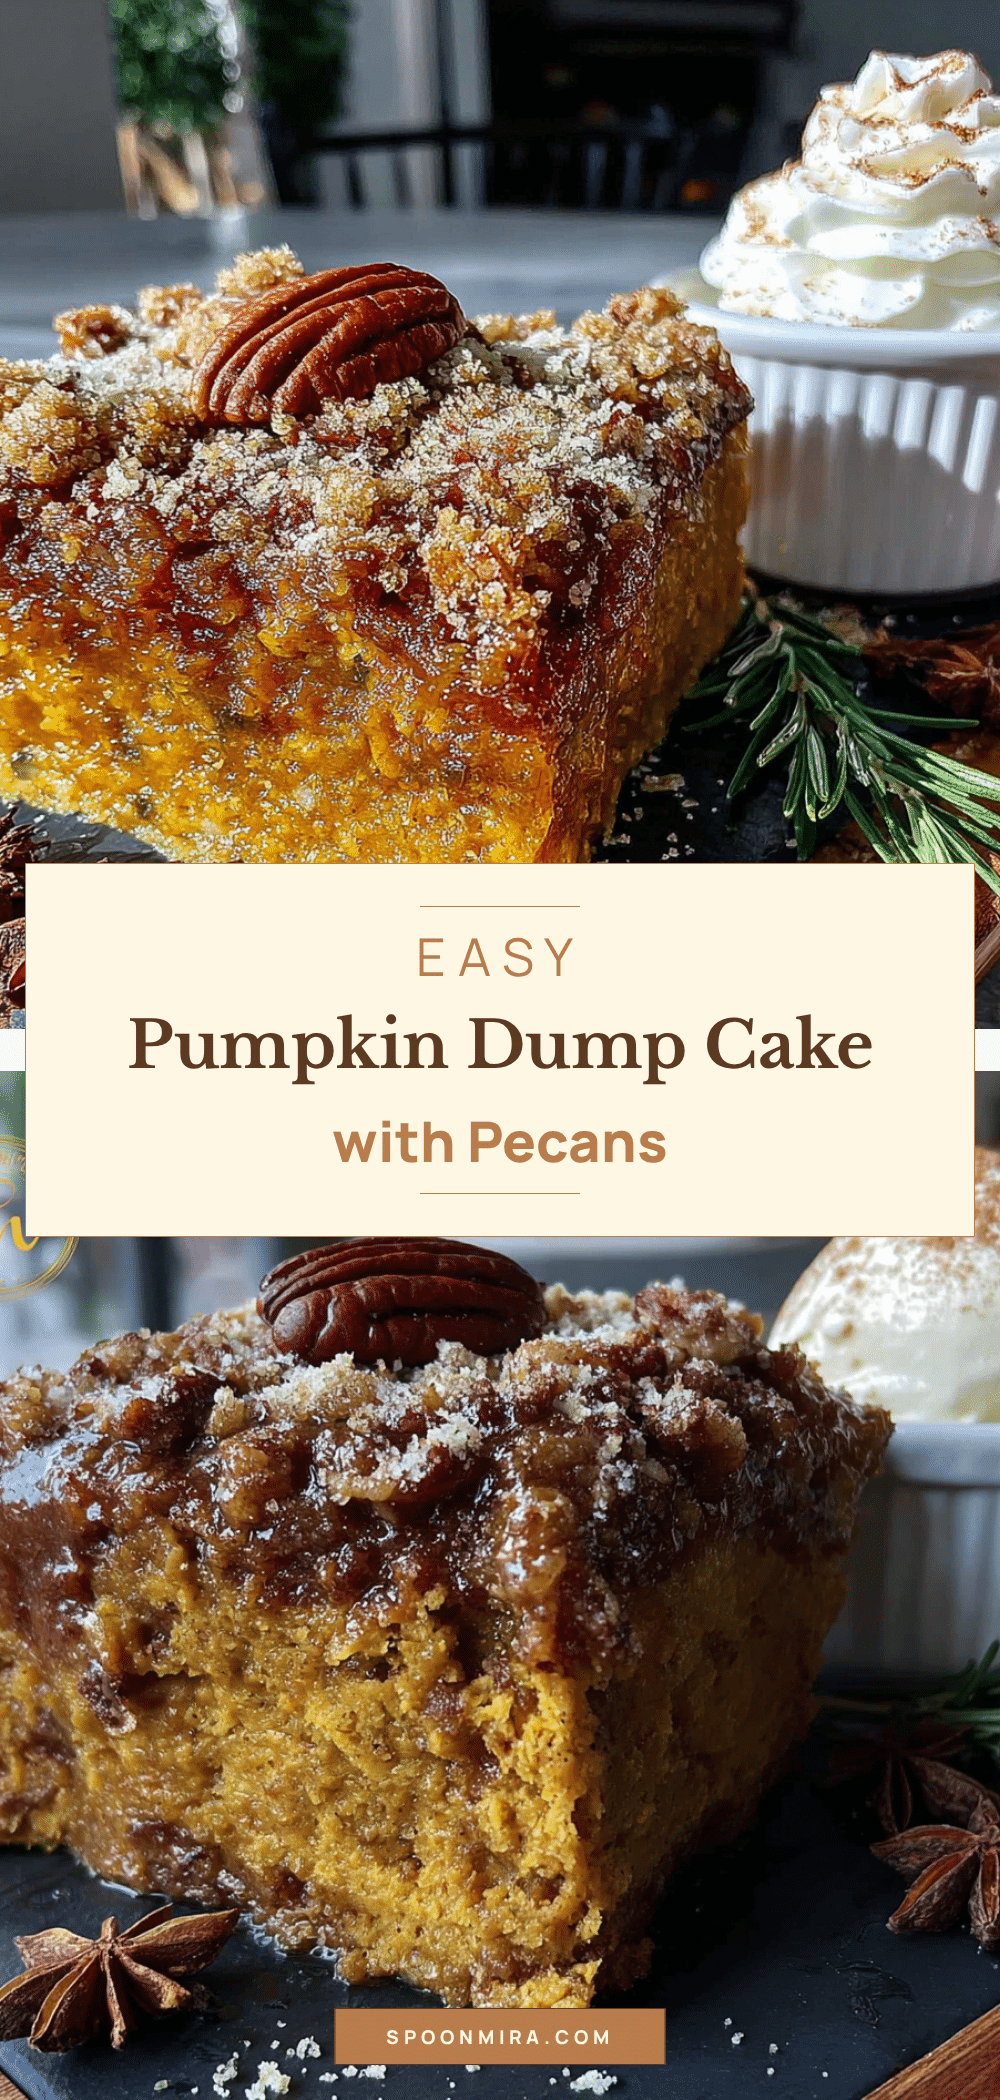
Easy Pumpkin Dump Cake: Best 3-Ingredient Dessert
This Easy Pumpkin Dump Cake with Yellow Cake Mix and Pecans is a simple, foolproof dessert that combines a spiced, custard-like pumpkin layer with a buttery, crunchy topping. Perfect for fall gatherings, it requires just a few ingredients and minimal effort.
- Prep Time: 10 minutes
- Cook Time: 45 minutes
- Total Time: 55 minutes
- Yield: 12 servings 1x
- Category: Dessert
- Cuisine: American
Ingredients
- 1 can (15 oz) pumpkin puree
- 1 can (12 oz) evaporated milk
- 3 large eggs, room temperature
- 1 cup granulated sugar
- 2 teaspoons pumpkin pie spice
- 1 teaspoon ground cinnamon
- 1/2 teaspoon salt
- 1 box (15.25 oz) yellow cake mix
- 1 cup chopped pecans
- 3/4 cup unsalted butter, melted
Instructions
- Preheat your oven to 350°F (175°C). Place your oven rack in the middle position. Grease a 9×13-inch baking pan lightly with butter or non-stick spray.
- In a large mixing bowl, combine the pumpkin puree, evaporated milk, eggs, granulated sugar, pumpkin pie spice, cinnamon, and salt. Whisk until smooth and fully combined.
- Pour the pumpkin mixture into the prepared pan and spread evenly with a spatula. Tap the pan gently on the counter to release air bubbles.
- Sprinkle the dry cake mix evenly over the pumpkin layer. Do not stir or mix.
- Sprinkle the chopped pecans evenly over the cake mix.
- Drizzle the melted butter evenly over the entire surface, covering as much of the cake mix as possible.
- Bake for 45 to 50 minutes, until the top is golden brown and the edges are bubbling. If the top browns too fast, tent loosely with aluminum foil after 30 minutes.
- Let the cake cool for at least 20 minutes before serving. The center will set as it cools.
Notes
The secret is in the butter: drizzle it evenly over the dry cake mix and use the full 3/4 cup. Do not stir the cake mix into the pumpkin layer. Let the cake cool for at least 20 minutes before serving to allow the pumpkin layer to set. For best results, make it a day ahead—the flavors meld and the texture improves.
Nutrition
- Serving Size: 1 slice (1/12 of cak
- Calories: 380
- Sugar: 34
- Sodium: 420
- Fat: 18
- Saturated Fat: 8
- Carbohydrates: 52
- Fiber: 3
- Protein: 6
Keywords: pumpkin dump cake, easy pumpkin dessert, 3-ingredient dessert, fall dessert, pumpkin cake with yellow cake mix


