My sister called me on a Tuesday night, desperate. She had a cookie craving so intense she was considering a trip to the gas station for a sad, packaged cookie. I told her to wait. I had a recipe that could be in her hands in under 30 minutes, no waiting, no chilling, no fuss. She didn’t believe me. She thought a proper chocolate chip cookie required a soul-testing chill in the fridge. Honestly, I used to think the same thing.
I spent years believing that the only way to get a good, chewy cookie was to let the dough rest. I’d plan my baking around a two-hour window of patience I simply didn’t have. Then, during a particularly chaotic holiday season, I just couldn’t wait. I scooped the dough straight from the bowl and into the oven out of pure desperation. The result was a revelation. The cookies were perfectly golden, slightly crisp at the edges, and impossibly soft in the center. No chill needed. That single, impatient moment changed my entire approach to cookies.
This recipe for Easy Small-Batch Chocolate Chip Cookies (No Chill) was born from that night. It’s the answer to the late-night craving, the unexpected guest, or the simple need for a warm cookie without a long wait. It’s the kind of recipe you memorize because you’ll make it that often. I’m not here to tell you it’s the only way to make a cookie, but it is the way I make cookies now, and I haven’t looked back since.
Why You’ll Love This Recipe
These aren’t just any chocolate chip cookies. They are a testament to the fact that you don’t need a complicated process to get a spectacular result. I’ve tested this recipe more times than I can count, tweaking the ratios of butter to sugar and flour to ensure the perfect texture without that dreaded chill time. It’s a recipe built on trust—trust that you can get a bakery-quality cookie in your own kitchen, right now.
- No Chill Required: This is the star of the show. You mix, you scoop, you bake. No waiting. The dough goes straight from the bowl to the oven, saving you at least an hour.
- Perfectly Portioned: It makes exactly six generous cookies. No leftover dough begging to be eaten raw, and no massive batch that goes stale before you can finish it. It’s the perfect amount for a small household or a personal treat.
- Simple Pantry Ingredients: You probably have everything you need right now. Butter, sugar, an egg, flour, and chocolate chips. No fancy extracts or obscure flours required.
- Consistently Perfect Texture: The edges are delightfully crisp and caramelized, while the centers stay soft, chewy, and slightly underdone. It’s the ideal cookie texture, achieved without any special techniques.
- Quick from Start to Finish: In under 30 minutes, you can go from a craving to a warm, gooey cookie. It’s faster than ordering delivery. It’s the ultimate instant gratification dessert.
This recipe is different because it respects your time. It doesn’t ask for patience or planning. It just asks for a bowl and a spoon. It’s the kind of cookie that makes you close your eyes on the first bite, not because it’s complicated, but because it’s so perfectly simple and good. It’s comfort food, pure and uncomplicated.
What Ingredients You Will Need
This recipe uses simple, humble ingredients to create something truly special. Each one plays a crucial role in building that perfect texture and flavor. Here’s what you’ll need to gather.
- Unsalted Butter (4 tablespoons, melted and slightly cooled): Melted butter is the secret to a chewy, no-chill cookie. It coats the flour proteins differently than creamed butter, reducing gluten formation and ensuring a tender crumb. I always use unsalted so I can control the salt level. Let it cool for a minute or two after melting so it doesn’t cook the egg.
- Brown Sugar (¼ cup, packed, light or dark): Brown sugar is non-negotiable for that chewy texture and deep, caramel-like flavor. It contains molasses, which adds moisture and that signature soft center. I prefer light brown sugar, but dark brown sugar will give you an even richer, more molasses-forward cookie.
- Granulated Sugar (2 tablespoons): A small amount of granulated sugar helps with spread and creates those slightly crisp, lacy edges. It’s the perfect counterpoint to the moisture of the brown sugar.
- Large Egg Yolk (1): This is the most important trick. Using just the yolk instead of the whole egg gives you all the richness and binding power of the egg without the excess moisture from the white. The white would make the cookies puff up and become cakey. The yolk keeps them dense, chewy, and rich.
- Vanilla Extract (½ teaspoon): A good vanilla is the backbone of any cookie. It enhances the chocolate and adds a warm, floral note. I use pure vanilla extract, not imitation, for the best flavor.
- All-Purpose Flour (½ cup + 1 tablespoon, about 75g): This is the structure. The precise measurement is key. Too much flour and the cookies will be dry and cakey. Too little, and they’ll spread into a flat puddle. Spoon the flour into your measuring cup and level it off with a knife for accuracy.
- Baking Soda (¼ teaspoon): This is our leavening agent. It helps the cookies spread just enough and gives them a slight lift. Make sure it’s fresh for the best results.
- Salt (¼ teaspoon): Salt is not just for flavor; it balances the sweetness and strengthens the gluten structure, leading to a better texture. I use fine sea salt. A flaky sea salt like Maldon is also wonderful for sprinkling on top right after baking.
- Chocolate Chips (⅓ cup, semi-sweet or dark): The star of the show. I prefer semi-sweet or dark chocolate chips because they balance the sweetness of the dough perfectly. Use a good quality chip or chop up a chocolate bar for those beautiful, melty puddles. You can also use milk chocolate if you prefer a sweeter cookie.
Equipment Needed
You don’t need a fancy kitchen to make these cookies. A few basic tools will do the job perfectly. Here’s what I use.
- Mixing Bowls: One medium-sized bowl for the wet ingredients and a small one for the dry ingredients is all you need. I use a glass or ceramic bowl.
- Whisk or Fork: For whisking together the melted butter and sugars, and for beating the egg yolk. A simple fork works in a pinch.
- Rubber Spatula or Wooden Spoon: For folding the dry ingredients into the wet. A rubber spatula is my favorite because it scrapes the bowl clean.
- Cookie Scoop or Two Spoons: A 1.5-tablespoon cookie scoop is perfect for getting even, uniform cookies. If you don’t have one, just use two regular spoons to portion out the dough.
- Baking Sheet: A standard half-sheet pan is ideal. I recommend a light-colored, uncoated pan for even browning. Dark pans can cause the bottoms to burn.
- Parchment Paper or Silicone Baking Mat: Essential for preventing sticking and ensuring easy cleanup. Parchment paper is my go-to.
- Cooling Rack: For letting the cookies cool properly. This prevents the bottoms from becoming soggy from the steam.
Preparation Method
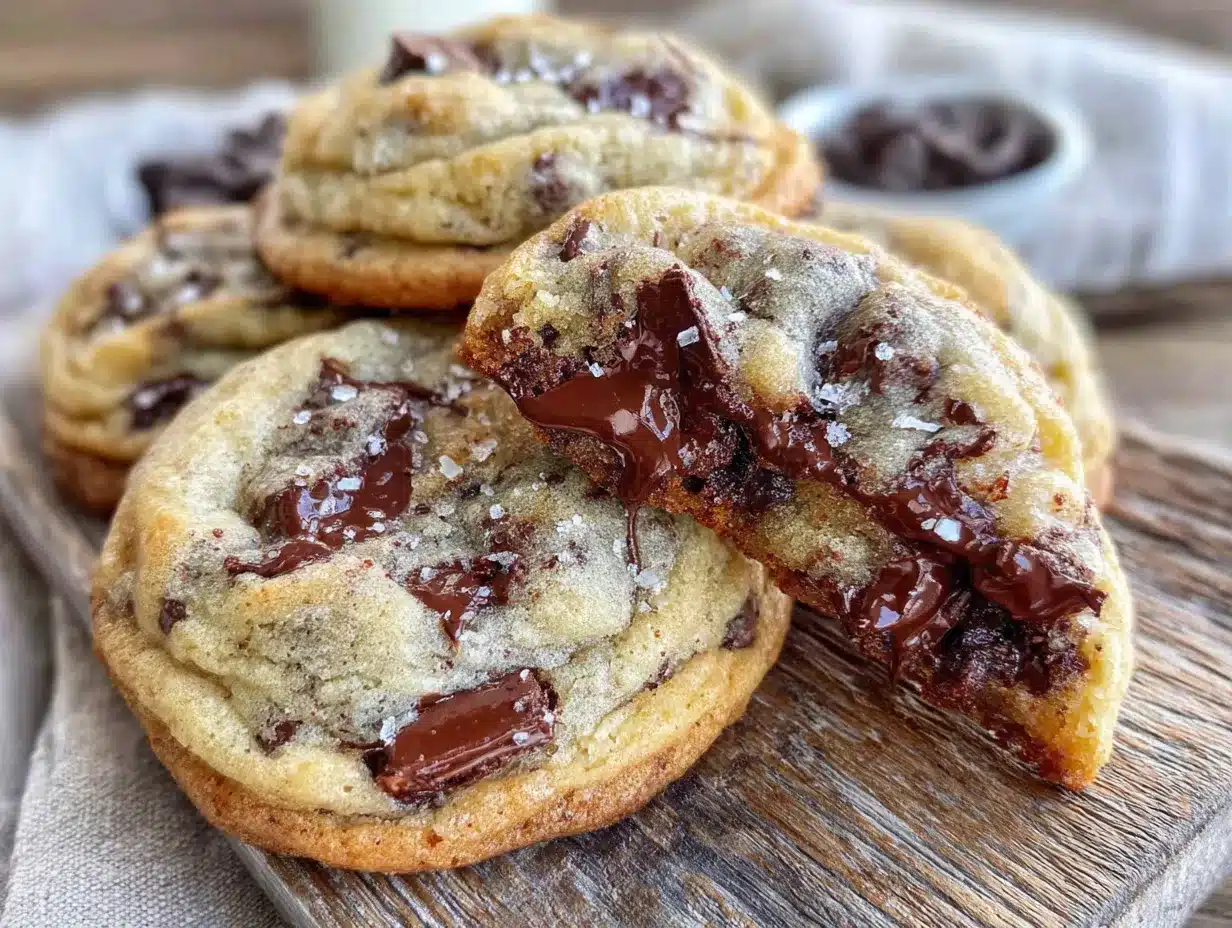
This is the fun part. Follow these steps, and you’ll have warm cookies in your hands in no time. The key is to work quickly and not overmix.
- Preheat and Prep: Preheat your oven to 350°F (175°C). Line your baking sheet with a piece of parchment paper or a silicone baking mat. This is a small step that makes a big difference in cleanup and even baking.
- Melt the Butter: In a medium microwave-safe bowl, melt the 4 tablespoons of unsalted butter. Heat it in 20-second bursts, stirring in between, until it’s just melted and smooth. Set it aside for a minute or two to cool slightly. You don’t want it hot enough to scramble the egg yolk.
- Combine Wet Ingredients: To the melted butter, add the ¼ cup packed brown sugar and 2 tablespoons granulated sugar. Whisk them together vigorously for about 30 seconds. The mixture should look like a smooth, grainy paste. Then, add the single egg yolk and ½ teaspoon vanilla extract. Whisk again until everything is well combined, glossy, and slightly thickened. This is where the magic starts.
- Mix Dry Ingredients: In a separate small bowl, whisk together the ½ cup + 1 tablespoon all-purpose flour, ¼ teaspoon baking soda, and ¼ teaspoon salt. This ensures the leavening and salt are evenly distributed throughout the dough, so you don’t get one salty bite.
- Combine Wet and Dry: Pour the dry ingredients into the bowl with the wet ingredients. Use your rubber spatula to fold everything together. Stir gently, just until you see the last streaks of flour disappear. Do not overmix! Overmixing develops the gluten and will result in tough, dense cookies. A few small lumps are perfectly fine.
- Add the Chocolate Chips: Fold in the ⅓ cup of chocolate chips. Reserve a few chips to press into the tops of the dough balls right before baking. This makes them look pretty and ensures every bite has a visible chocolate chunk.
- Scoop the Dough: Using your 1.5-tablespoon cookie scoop or two spoons, portion the dough into 6 equal balls. They should be about the size of a golf ball. Place them on the prepared baking sheet, spacing them about 2 inches apart. They will spread, so give them some room. Press a few of the reserved chocolate chips onto the tops of each dough ball.
- Bake Immediately: This is the “no chill” part. Place the baking sheet directly into the preheated oven. Do not refrigerate the dough! Bake for 10-12 minutes. I start checking at 10 minutes. The cookies are done when the edges are golden brown and the centers look slightly puffed and pale. They will look a little underdone in the middle—that’s perfect.
- Cool on the Pan: This is a crucial step. Let the cookies cool on the hot baking sheet for 5-10 minutes. The residual heat will continue to bake the centers, setting them perfectly. If you try to move them immediately, they will fall apart. After 5-10 minutes, transfer them to a wire rack to cool completely, or enjoy them warm.
Cooking Tips & Techniques
I’ve made these cookies dozens of times, and I’ve learned a few things the hard way. Here are my best tips to ensure your batch is perfect every single time.
- Weigh Your Flour: This is the number one tip. Using a kitchen scale to measure your flour (75g) is far more accurate than using measuring cups. If you must use cups, spoon the flour into the cup and level it off with a knife. Scooping directly from the bag can pack in up to 25% more flour, leading to dry cookies.
- Don’t Skip the Yolk: I know it feels wasteful to discard the egg white, but it is the key to the texture. The white adds too much moisture and protein, making the cookies puff up like little cakes. The yolk provides all the fat and richness for a dense, chewy, fudgy center. Save the white for an omelet or a scramble the next morning.
- Use a Cookie Scoop: For the most consistent results, invest in a cookie scoop. It ensures all your cookies are the same size, so they bake evenly. If one is bigger than the others, it will be underbaked while the smaller one burns.
- Bake on a Cool Baking Sheet: If you’re making a second batch, make sure your baking sheet has cooled down completely before placing the raw dough on it. A hot pan will cause the butter to melt before the structure sets, resulting in flat, greasy cookies. Just run it under cold water, dry it off, and let it cool for a few minutes.
- Resist the Urge to Overbake: When in doubt, take them out. The cookies will look underdone in the middle when they come out of the oven. That’s exactly what you want. They will continue to bake and set on the hot pan. Overbaking them will result in a hard, crunchy cookie, not a soft, chewy one.
Variations & Adaptations
This base recipe is incredibly versatile. Once you master it, you can change it up in a hundred different ways. Here are a few of my favorite variations.
- Double Chocolate: Replace 1 tablespoon of the all-purpose flour with 1 tablespoon of unsweetened cocoa powder. Use dark or semi-sweet chocolate chips. The result is a rich, fudgy, double-chocolate cookie that is dangerously good.
- Chocolate Chip & Walnut: Add ¼ cup of chopped, toasted walnuts along with the chocolate chips. The nutty crunch adds a fantastic textural contrast to the soft cookie. Toast the walnuts in a dry pan for a few minutes to really bring out their flavor.
- M&M Cookies: Swap the chocolate chips for ⅓ cup of your favorite M&M’s. This is a fun, colorful variation that’s perfect for kids or a birthday treat. Press a few extra M&M’s onto the tops of the dough balls for a pop of color.
- Gluten-Free Option: This recipe works surprisingly well with a 1:1 gluten-free all-purpose flour blend that contains xanthan gum (like Bob’s Red Mill or King Arthur’s). The texture will be slightly more tender and crumbly, but still delicious. Do not use almond flour or coconut flour, as the results will be very different.
- Peanut Butter Swirl: After scooping the dough onto the baking sheet, drop a small ¼ teaspoon of peanut butter onto the top of each dough ball. Use a toothpick to gently swirl it into the dough. This creates a beautiful marbled effect and a fantastic flavor combination.
Serving & Storage Suggestions
These cookies are best enjoyed warm, fresh out of the oven. The combination of the crisp edge and the melty, gooey center is unbeatable. Here’s how to make the most of them.
- Serving: Serve them while they are still slightly warm. A glass of cold milk is the classic pairing. For an extra special treat, serve them with a scoop of vanilla ice cream for an impromptu ice cream sandwich. They are also wonderful alongside a cup of coffee or a mug of hot chocolate. If you’re feeling fancy, you can pair them with a cozy homemade pumpkin chai latte for a perfect fall afternoon treat.
- Storage: Store any leftover cookies in an airtight container at room temperature. They will stay soft and chewy for up to 3 days. To keep them extra soft, add a slice of plain bread to the container. The bread will absorb excess moisture and release it back to the cookies, keeping them perfectly tender.
- Reheating: The best way to reheat a cookie is in the microwave for about 10-15 seconds. This will bring back that warm, gooey center. You can also pop them in a 300°F (150°C) oven for 3-5 minutes if you want to re-crisp the edges. If you have a craving for a baked good but want something a little different, you might also enjoy these easy no-bake peanut butter granola bars for a quick, no-oven-required snack.
- Freezing the Dough: You can freeze the unbaked dough balls. Scoop them onto a parchment-lined baking sheet and freeze until solid (about 1 hour). Then, transfer the frozen dough balls to a zip-top bag. You can bake them directly from frozen, adding 2-3 minutes to the baking time. This is a great way to have fresh cookies on demand.
Nutritional Information & Benefits
While these are a treat, it’s always good to know what’s in your food. This recipe makes 6 cookies. The following nutritional information is an estimate based on one cookie using the ingredients listed.
- Estimated Nutritional Info (per cookie): Calories: 210, Fat: 12g, Saturated Fat: 7g, Cholesterol: 55mg, Sodium: 150mg, Carbohydrates: 26g, Fiber: 1g, Sugar: 17g, Protein: 3g.
- Health Benefits: While not a health food, this recipe uses real, whole ingredients without any preservatives or artificial flavors. The dark chocolate chips provide a small dose of antioxidants. Using a single egg yolk reduces the overall cholesterol and fat compared to using a whole egg.
- Dietary Considerations: This recipe is vegetarian. It can be made gluten-free by using a 1:1 gluten-free flour blend. It is not vegan, but can be adapted with a vegan butter substitute and a flax egg (1 tablespoon ground flaxseed mixed with 3 tablespoons water).
- Potential Allergens: This recipe contains wheat (gluten), dairy (butter), and eggs. Be sure to check your chocolate chips for any potential cross-contamination if you have severe allergies.
Conclusion
This recipe is proof that you don’t need a lot of time or a lot of fuss to make a truly wonderful chocolate chip cookie. It’s for the moments when you just need a little bit of sweetness, and you need it now. I love this recipe because it feels like a secret weapon. It’s my go-to for quiet nights in, for cheering up a friend, or for satisfying that sudden, undeniable craving for something warm and chocolatey.
I encourage you to make this recipe your own. Try the variations, play with the chocolate-to-dough ratio, and find your perfect bake time. The best part about a small batch is that there’s very little risk—if they disappear in five minutes, you’re not left with a mountain of leftovers. So go ahead, preheat that oven, and treat yourself. You deserve a warm cookie.
I’d love to hear how they turn out! Leave a comment below and let me know if you tried a fun variation, or tag me in your photos on social media. Happy baking!
Frequently Asked Questions
Can I use a whole egg instead of just the yolk?
You can, but the texture will change significantly. Using a whole egg adds too much moisture and protein, which will make the cookies puff up and become more cake-like rather than dense and chewy. For the best results, stick with just the yolk.
Why are my cookies spreading too much?
This is usually a sign that your butter was too warm or your dough was too soft. Make sure your melted butter has cooled slightly before adding the sugar and egg. Also, ensure you measured your flour correctly. Too little flour will cause the cookies to spread into flat puddles.
Can I double this recipe?
Absolutely! This recipe is very easy to scale up. Simply double all the ingredients. The baking time will remain roughly the same, but you may need to bake in batches to avoid overcrowding the baking sheet.
How do I know when the cookies are done baking?
The edges should be golden brown and set, while the centers will still look puffy, pale, and slightly underdone. They will look a little soft in the middle. That’s your cue to take them out. They will continue to bake and set on the hot baking sheet.
Can I make these cookies with margarine or a butter substitute?
I don’t recommend it for this specific recipe. Real butter provides the best flavor and texture. Margarine has a higher water content, which can lead to more spreading and a less satisfying, greasy texture. If you need a dairy-free option, use a high-quality vegan butter stick, not a spreadable margarine from a tub.
Pin This Recipe!
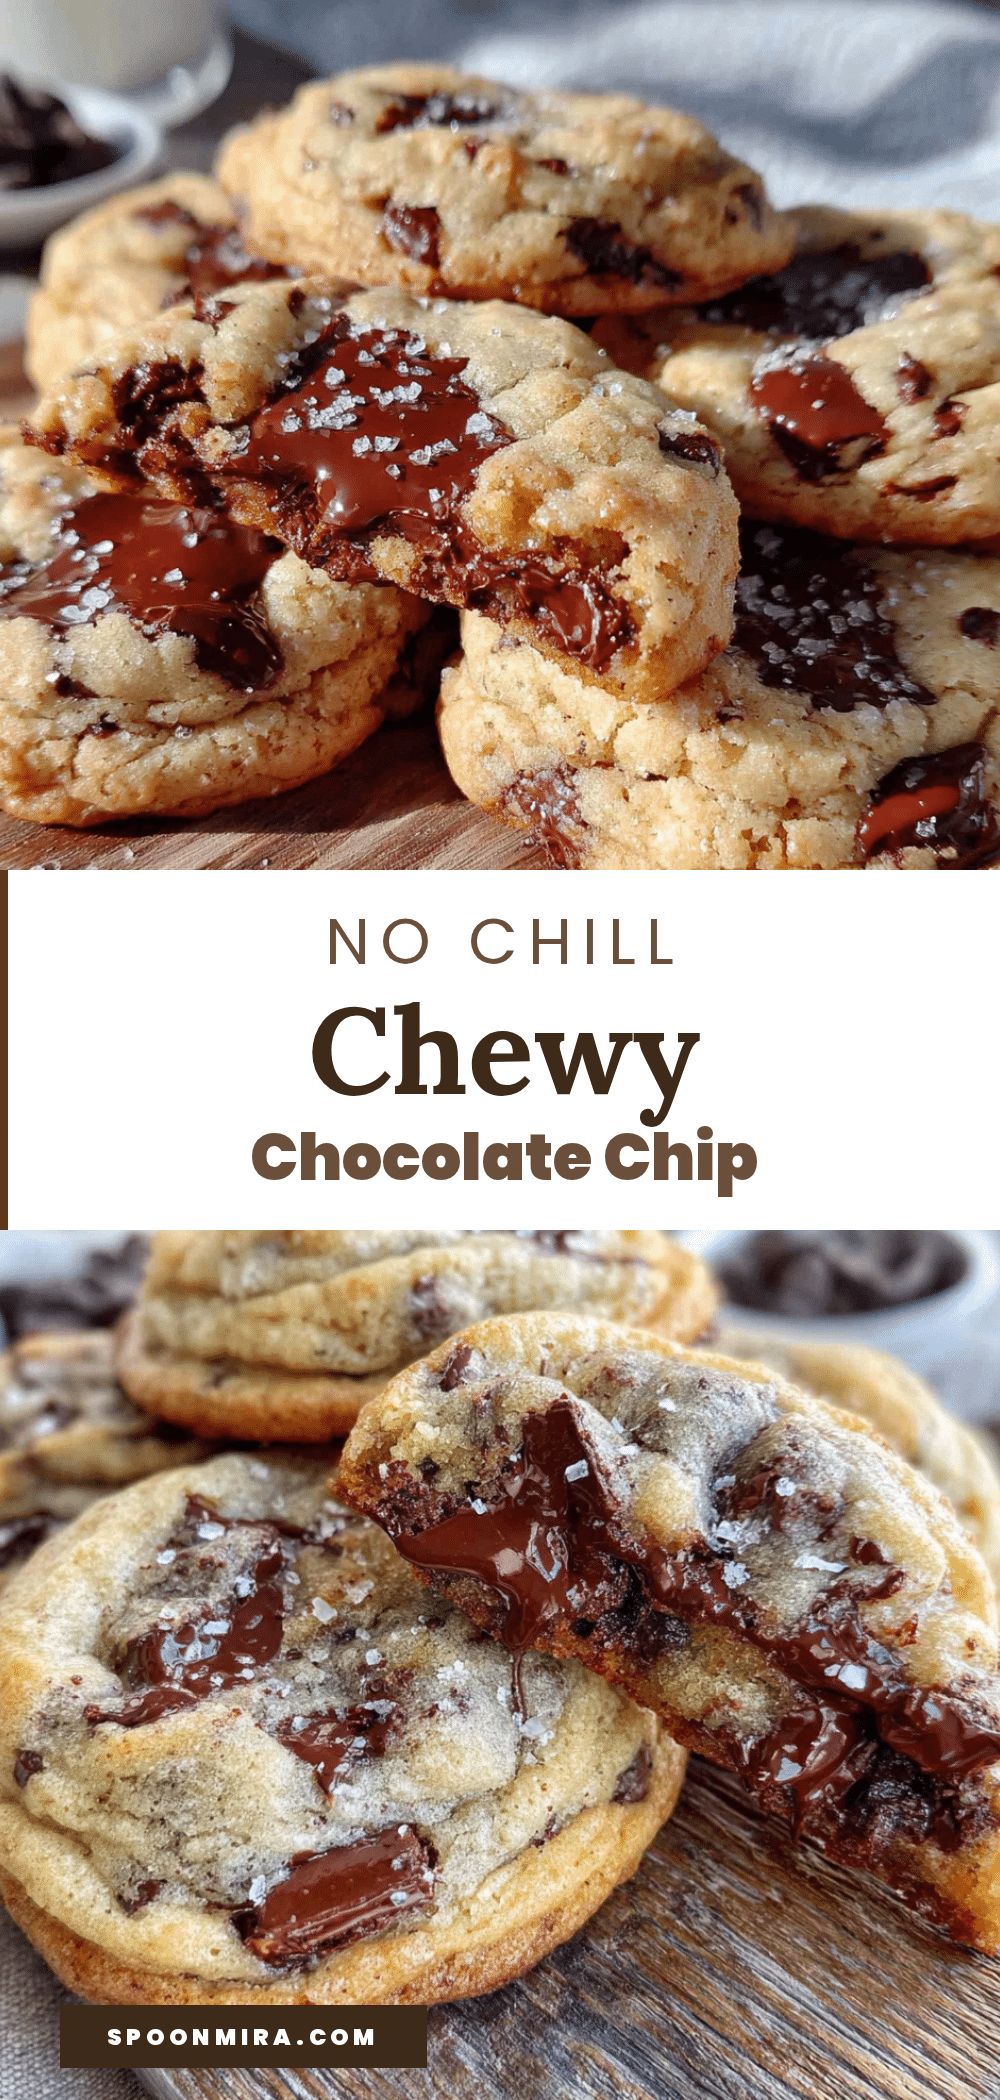
Easy Small-Batch Chocolate Chip Cookies (No Chill)
These no-chill chocolate chip cookies are the answer to a late-night craving, delivering perfectly golden, chewy cookies in under 30 minutes. Made with simple pantry ingredients, this small-batch recipe yields six generous cookies with crisp edges and soft, gooey centers.
- Prep Time: 10 minutes
- Cook Time: 12 minutes
- Total Time: 22 minutes
- Yield: 6 cookies 1x
- Category: Dessert
- Cuisine: American
Ingredients
- 4 tablespoons unsalted butter, melted and slightly cooled
- ¼ cup packed brown sugar (light or dark)
- 2 tablespoons granulated sugar
- 1 large egg yolk
- ½ teaspoon vanilla extract
- ½ cup + 1 tablespoon all-purpose flour (about 75g)
- ¼ teaspoon baking soda
- ¼ teaspoon salt
- ⅓ cup semi-sweet or dark chocolate chips
Instructions
- Preheat oven to 350°F (175°C). Line a baking sheet with parchment paper or a silicone baking mat.
- In a medium microwave-safe bowl, melt the butter in 20-second bursts. Let cool slightly.
- Add brown sugar and granulated sugar to the melted butter. Whisk vigorously for about 30 seconds until smooth and grainy.
- Add egg yolk and vanilla extract. Whisk until well combined, glossy, and slightly thickened.
- In a separate small bowl, whisk together flour, baking soda, and salt.
- Pour dry ingredients into wet ingredients. Fold with a rubber spatula just until no streaks of flour remain. Do not overmix.
- Fold in chocolate chips. Reserve a few chips to press onto the tops of the dough balls.
- Using a 1.5-tablespoon cookie scoop or two spoons, portion dough into 6 equal balls (about golf ball size). Place on prepared baking sheet, spacing 2 inches apart. Press reserved chips onto tops.
- Bake immediately (do not chill) for 10-12 minutes, until edges are golden brown and centers look puffed and pale.
- Let cookies cool on the baking sheet for 5-10 minutes, then transfer to a wire rack to cool completely or enjoy warm.
Notes
For best results, weigh the flour (75g) for accuracy. Do not skip the egg yolk—it ensures a dense, chewy texture. The cookies will look underdone in the center when you take them out; they will continue to bake on the hot pan. Store leftovers in an airtight container at room temperature for up to 3 days. To reheat, microwave for 10-15 seconds.
Nutrition
- Serving Size: 1 cookie
- Calories: 210
- Sugar: 17
- Sodium: 150
- Fat: 12
- Saturated Fat: 7
- Carbohydrates: 26
- Fiber: 1
- Protein: 3
Keywords: small batch chocolate chip cookies, no chill cookies, easy cookie recipe, chewy chocolate chip cookies, quick cookies


